Tag Archives: wooden

Replica Chest from Game of Thrones

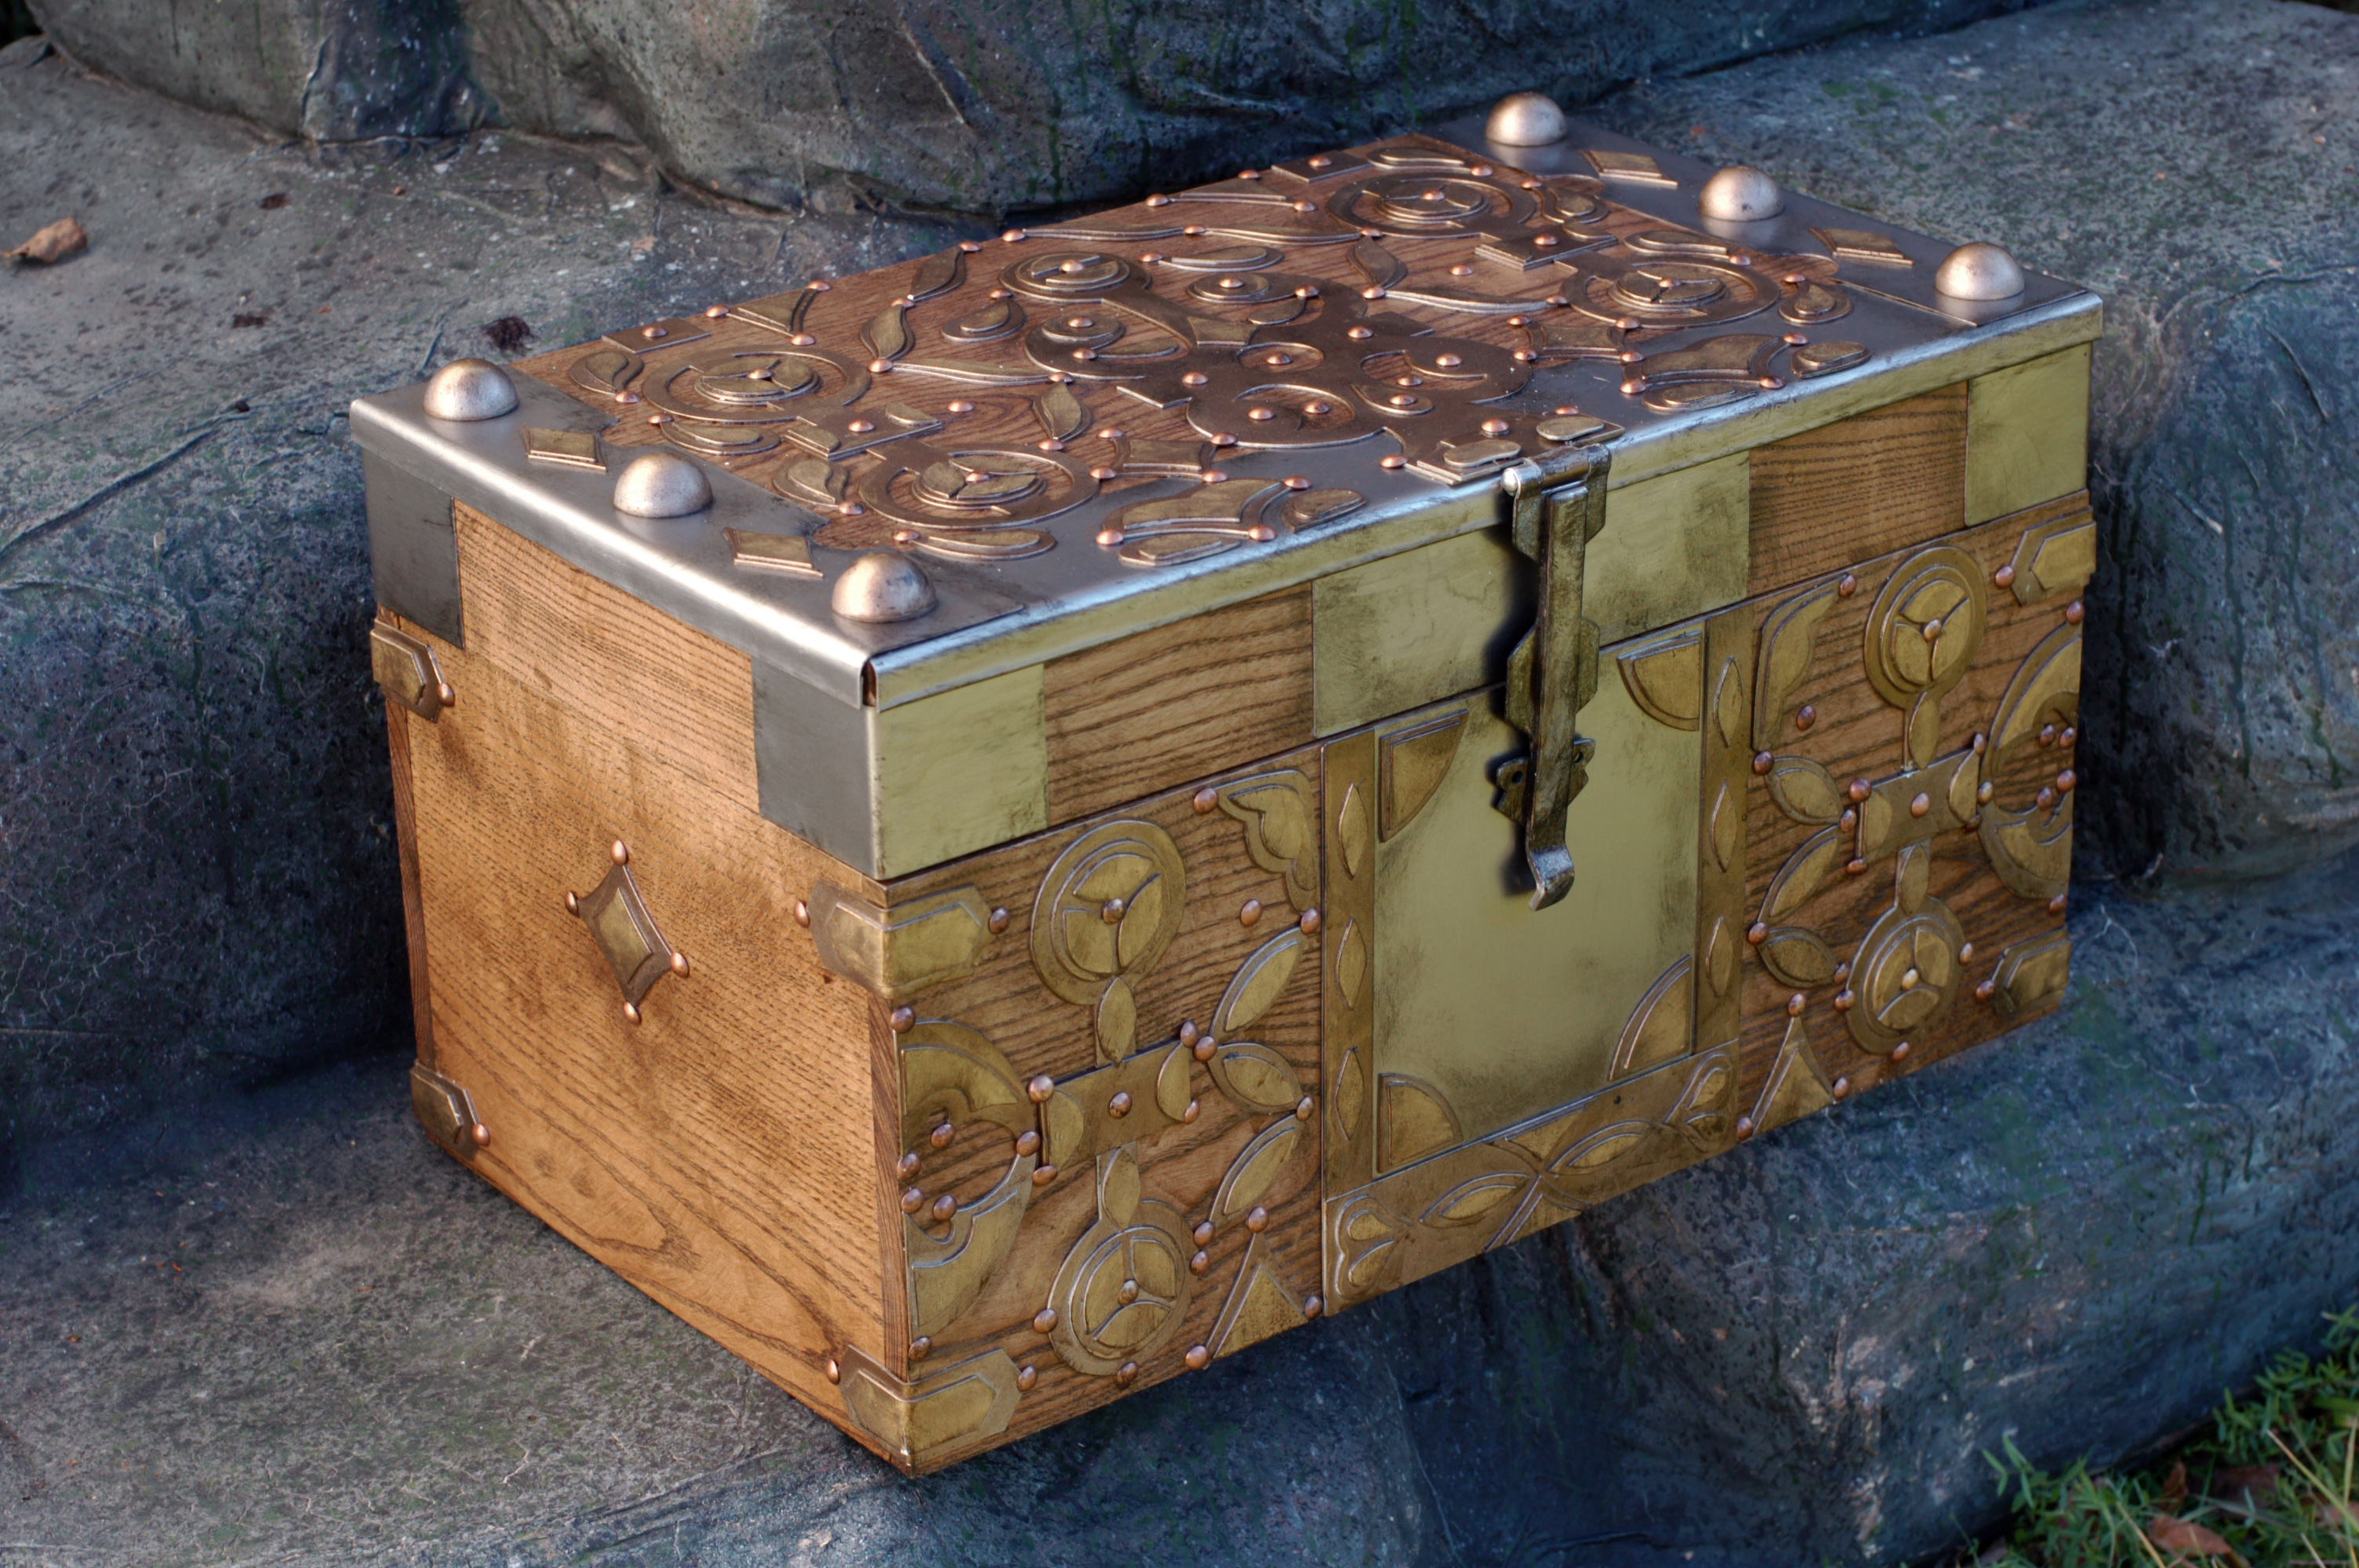
Usually, I am building props for a show or production I am working on. I rarely have time to work on my own projects. However, someone was interested to see if I could replicate a chest from the television show Game of Thrones. Now, I have nothing to do with the show itself, but it sounded like an interesting challenge to see if I could match something I could only see on screen. There wasn’t anything particularly tricky about this chest; it just had a lot of pieces and parts made of an assortment of materials, and some very time-consuming detail. For those who watch the show, this is the chest given to Daenerys in season one, which held her petrified dragon eggs.

I shot video of most of the build along the way and somehow edited several months of work into seven and a half minutes of video, giving an overview of the process.

If you are interested in more detail and photographs, read on!
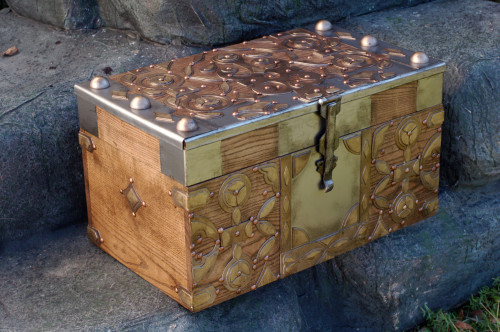
Daenerys' chest of dragon eggs
Daenerys’ chest of dragon eggs

The first part was the box itself. I worked out a quick mock-up of the whole piece in SketchUp to figure out the sizes and proportions of all the parts. I decided to use ash on this because it is hard and strong like oak, but I really hate working with oak. The grain pattern of ash was also a better match to the real chest than oak. We have a great local hardwood store that I visited, and I was able to find boards wide enough that I could build every side (except the top) from a single width of wood. The bottom was a piece of oak plywood.
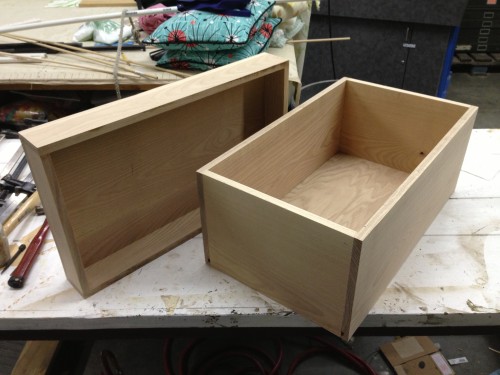
Wooden box
Wooden box

The chest has a number of areas covered in metal. I bought a sheet of 22 gauge steel and cut it up by hand with my airplane snips. I used my sheet metal bending brake on the corner pieces, while the rolled-over edges of the top pieces were bent by hand with sheet metal tools and pliers. Although I could have saved time by making these out of plastic and painting them to look like metal, the “roll over” parts would have ended up too fragile; on the very corners, you can see how thin the metal is, and any plastic that thin would flex whenever you touch it. The hasp on this chest also rests against a metal section, so it gives that solid metal-to-metal sound every time you open and close the lid.
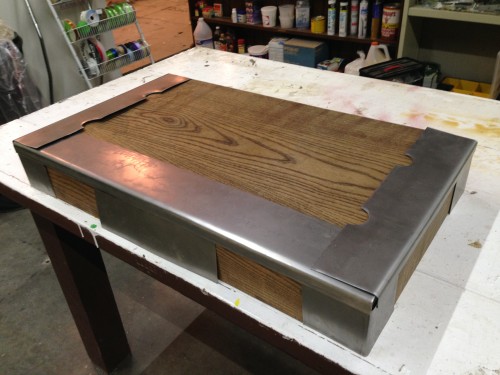
Sheet metal layers
Sheet metal layers

The most time-intensive part was the applied decoration. I used styrene plastic for this because using actual brass would have been prohibitively expensive and time-consuming, and a cheaper metal would have required just as much paint to match the appearance that the added labor was not worth it. I began by going through all the scenes in the TV show where the chest appeared and pulling out as many clear screen shots as I could, and then manipulating them in Photoshop to get a straight-on view. I scaled them up to full-size, printed them out and cut the pieces into patterns to trace on the styrene. Some parts of the design needed to be extrapolated slightly because I never got a clear view, but because it was symmetrical, repetitive and followed a certain logic, I was pretty confidant with how well my version matched the original.
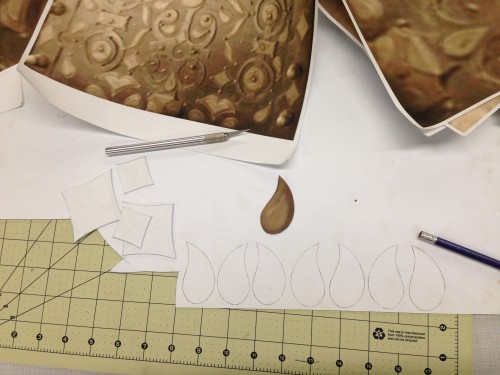
Patterns and reference

Nearly every element was made of at least two layers of styrene, so after cutting the several hundred pieces out, I began gluing them together using model airplane glue. I did not attach them to the box just yet, but I did lay them out to test fit everything.
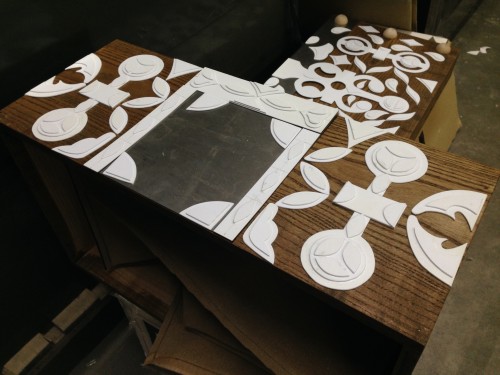
Unpainted decoration

With all the pieces ready, I began painting. They received a base coat of hammered silver spray paint, followed by a heavy dusting of hammered bronze spray paint. They would receive more paint later on, but at this point I began attaching them. Working on one side at a time, I first laid every piece out and used careful measurements to make sure everything was symmetrical and evenly-spaced. I then traced every single piece in place and labeled them by number before taking them off. I did some tests and found contact cement gave the strongest bond, though that meant I had to apply it to both the plastic piece and the box, and I could not apply it to the parts of the box where the wood was visible, so I had to carefully paint it within the traced outlines I had made. Luckily, the contact cement bonds almost instantly, so I could begin working on another side after one was completed.
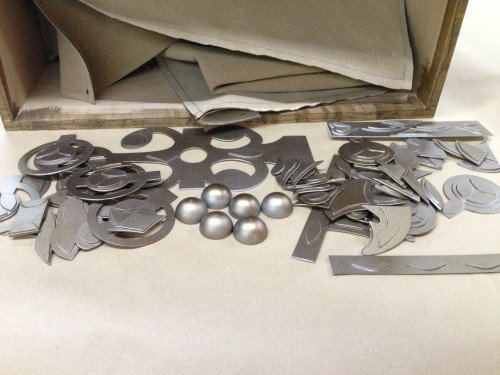
Spray painted pieces

The inside of the chest was leather, though I went with a slightly-more processed version which was already finished and could fit through my sewing machine. I stitched all the pieces together first, and then attached them in as a single unit. I used a bit of spray adhesive to keep them from shifting around, but they are mostly held in place with the visible upholstery tacks. I pre-drilled holes for the tacks so I could make sure the spacing was even, and also because the ash was too hard to just hammer the tacks straight in.
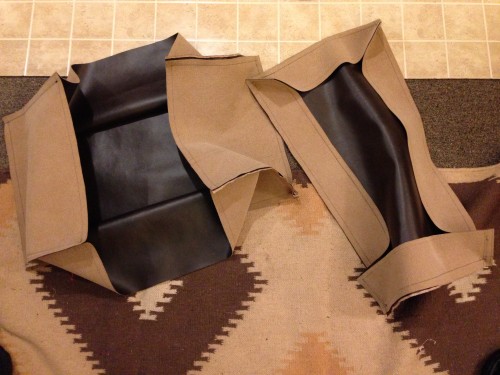
Leather interior
Leather interior

I found hinges online that were so close to the ones on the real chest that I wouldn’t be surprised if the prop makers bought theirs from the same supplier. I could not source the hasp though, so I had to fabricate it from scratch. I started with a basic hardware store hasp and cut notches in the edges. The tip was cut from another decorative gate hinge. I cut a bar of steel to length and bent a curl in the edge, than plug welded the whole thing together from behind and ground the welds flush to the surface.
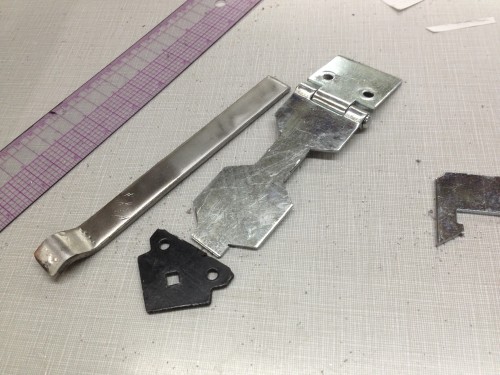
Pieces for the hasp
Pieces for the hasp

With all the pieces in place, all that was left was some painting and sealing. The top layers of all the decoration were sponged with a lighter brass color to set them off, and the whole chest was washed down with some dark browns and blacks to age and weather it. Finally, everything was coated in a clear satin Polycryclic.
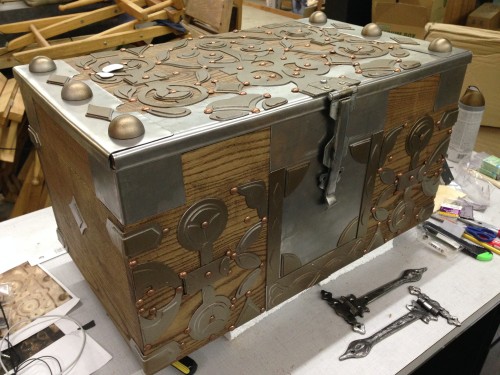
Pristine and unsealed chest

I hope you enjoyed this as much as I did!

Button-Tufted Settee

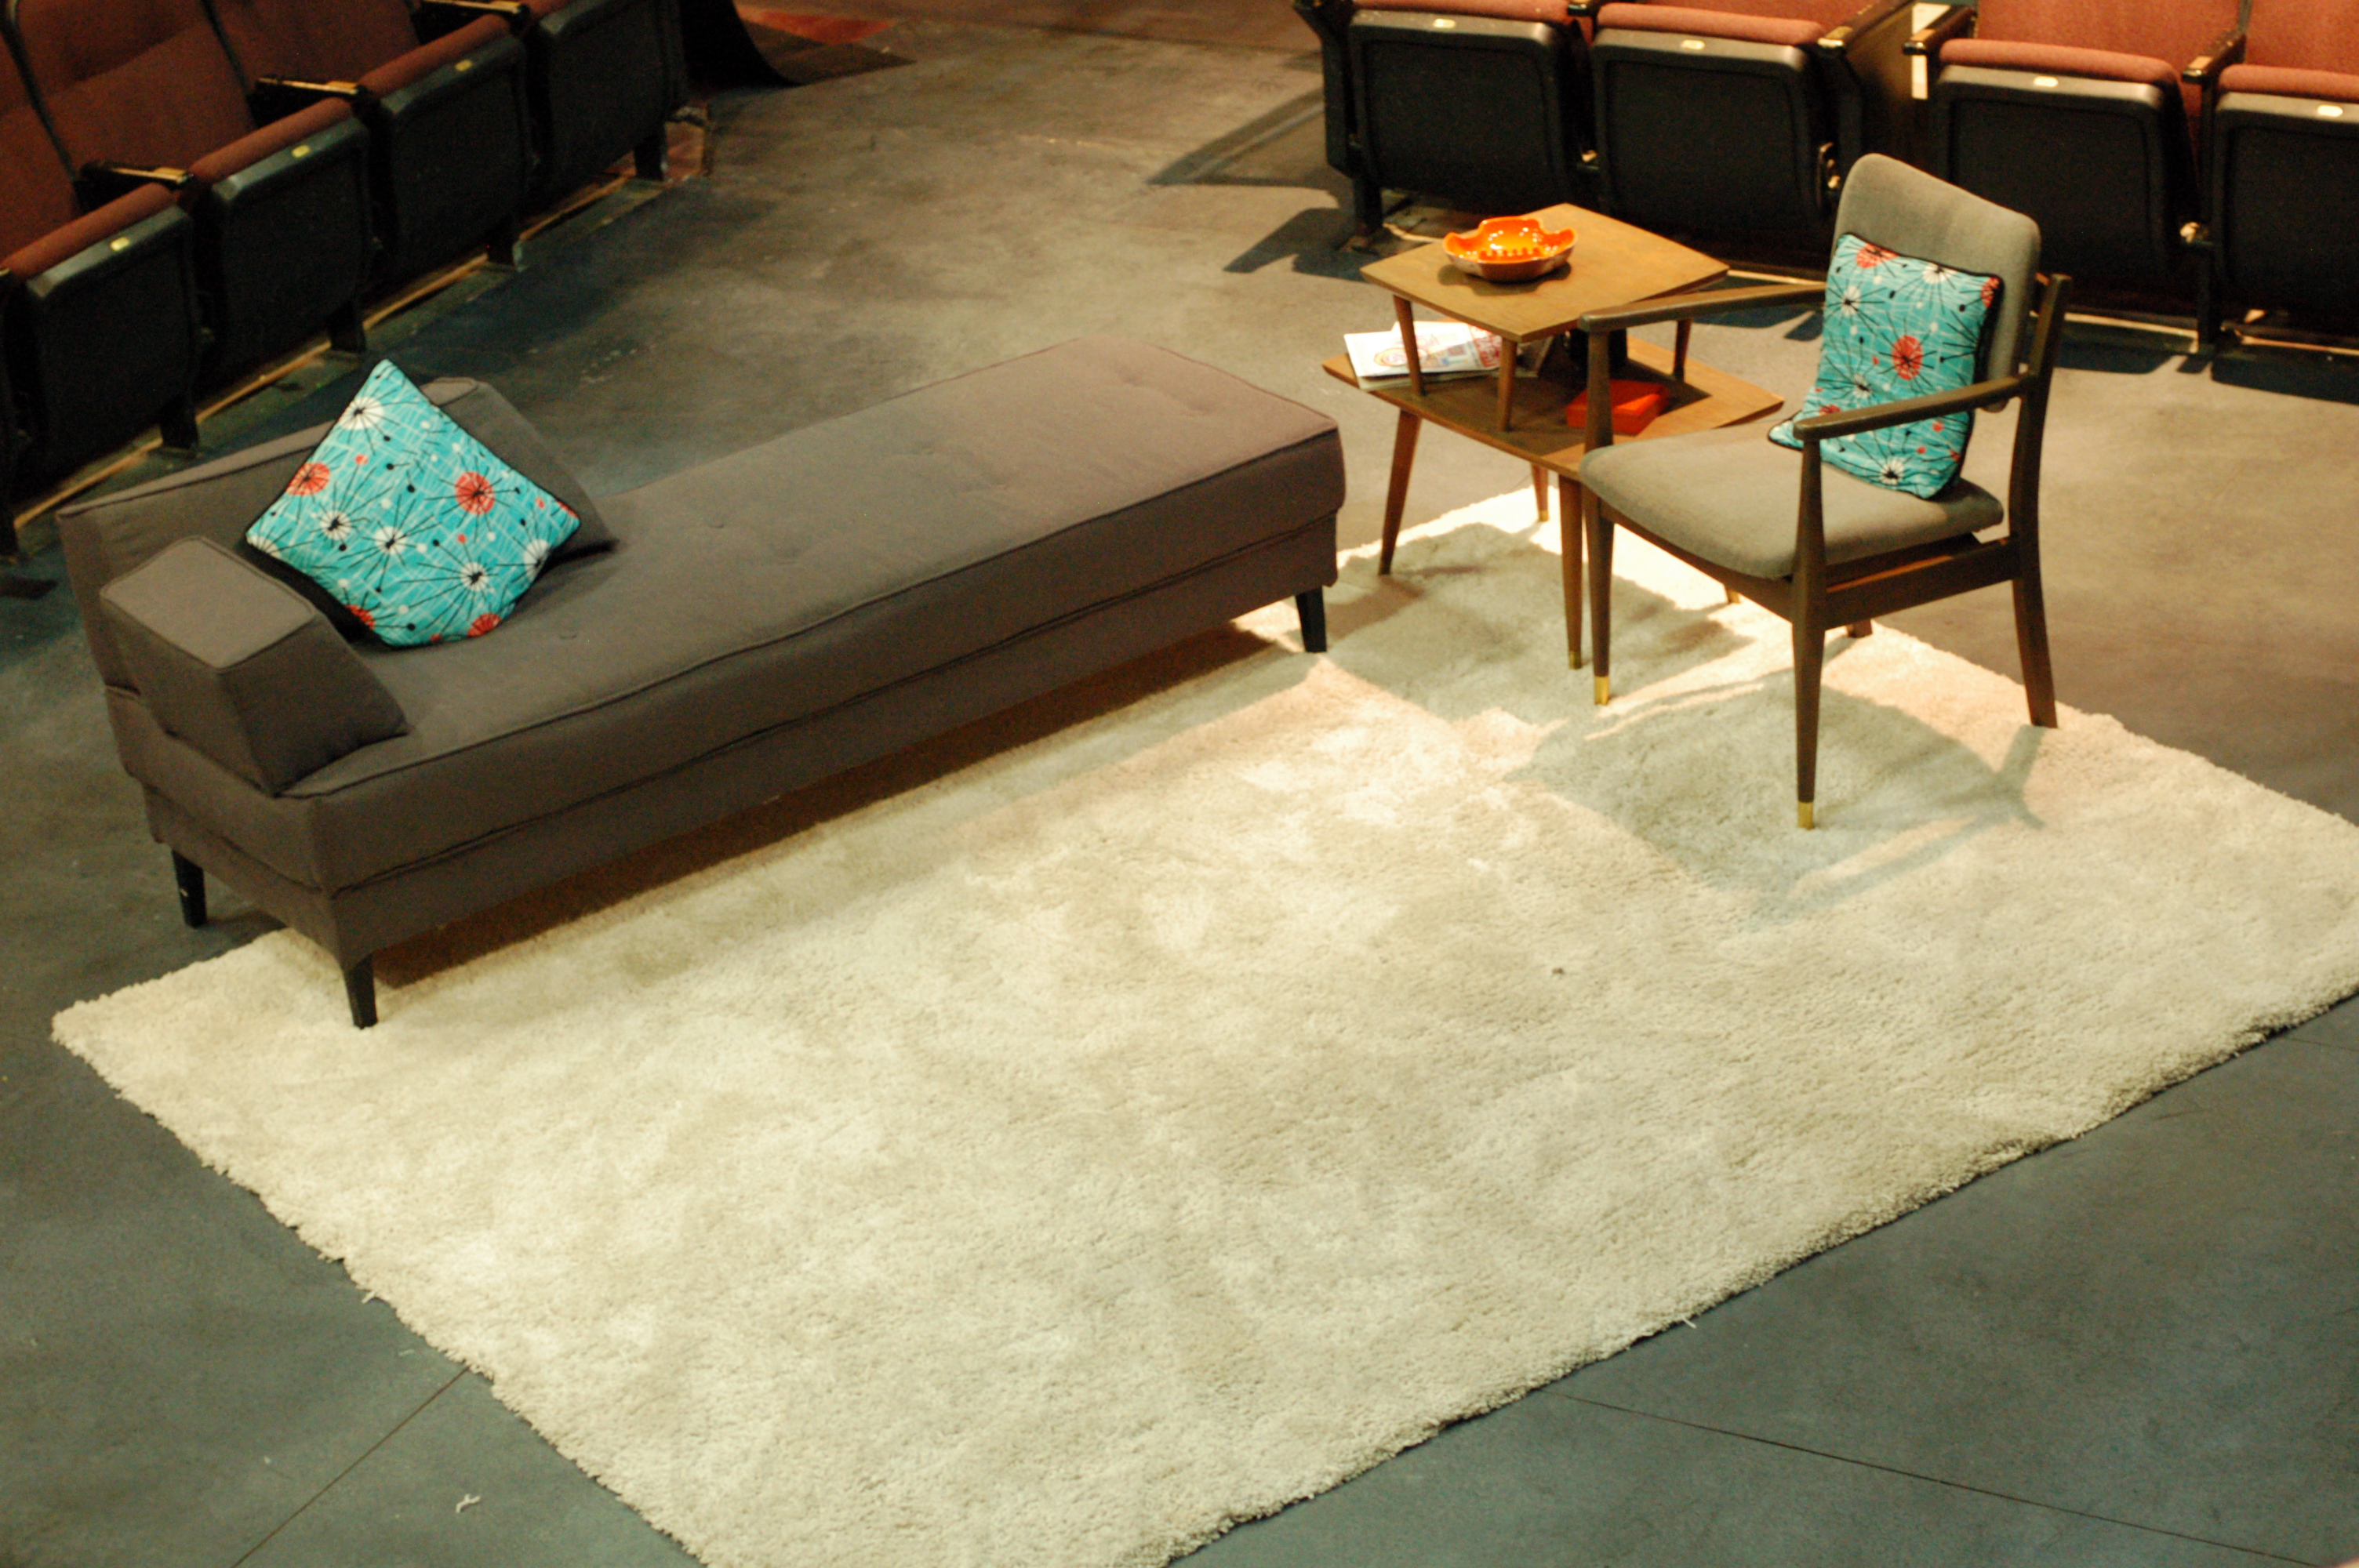
Triad Stage’s production of Wait Until Dark was set in a hip and modern New York City apartment circa 1963. The kind of furniture it required was not easily found in your typical antique store, nor was it cheap to come by. One key piece we needed was a sleek upholstered settee; with the stage in a thrust configuration, it needed to be low-profile as well. A settee like this easily cost as much as my entire props budget, so I had to build it from scratch.

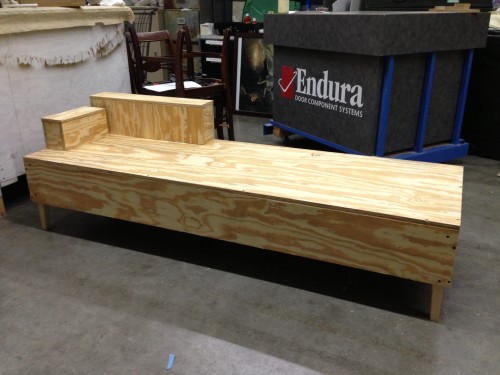
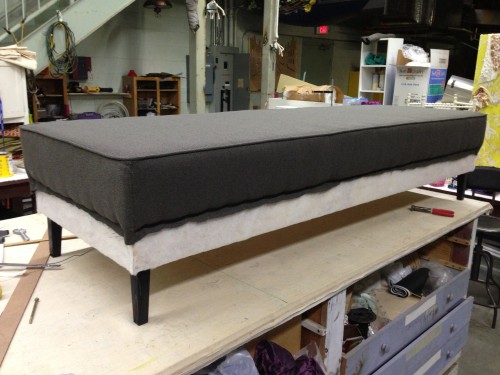
Settee structure
Settee structure

I started off by building the basic shape out of plywood, with wooden tapered legs. A lot of the challenge here was thinking forward to how I would upholster and attach all the parts. It’s easy to work yourself into a corner if you don’t plan ahead; you may end up covering a bolt with a piece of fabric, but you cannot attach the bolt until the fabric is on. It can be quite the brain-twister.

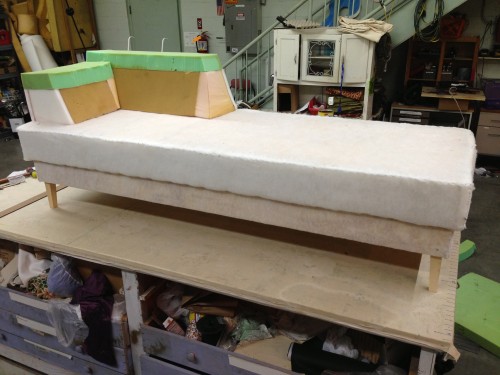
Padding and batting
Padding and batting

I then began covering the plywood with upholstery foam, followed by batting. The cushioning was a lot more stiff than what you may typically find in a settee, since actors tend to sink into soft cushioning, making it harder to stand up quickly. I find myself reinforcing and stiffening a lot of upholstered furniture for this reason, so I just built this settee to be somewhat stiff from the get-go.

Fabric and piping
Fabric and piping

I was lucky to have the costume shop pitch in and help me with the fabric parts. Once I found a fabric the designer approved of, my intern cut all the pieces, and the costume shop made all the piping and stitched the pieces together. All I had to do was staple it on.

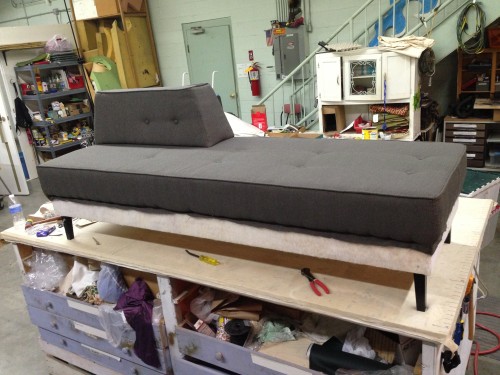
Button tufting
Button tufting

This particular settee had some buttons, so I got to try button tufting for the first time. It only had nine buttons laid out in a simple grid, so it was relatively easy to figure out. The cushions on top were attached by bolting through the settee into the plywood below. Again, that was only possible by planning it all out ahead.

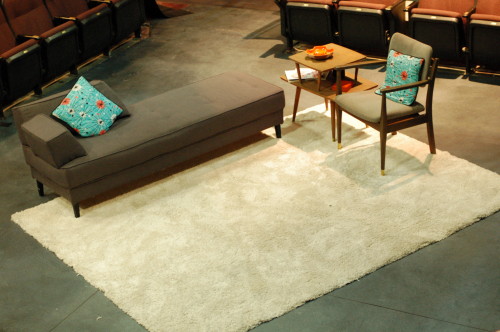
Settee on stage
Settee on stage

So there is the final piece with all the fabric attached. It was very much a group project, with the other people at Triad chipping in, as well as my wife giving me a crash-course in upholstery as I built this. The result was a piece of furniture that helped give the set the right touch.


Friday Links

Before I jump into this week’s links, I wanted to mention that next Saturday (October 26th), I’ll be traveling to Central Pennsylvania for a book signing at my alma mater, Bucknell University. If you’re in the area and want a signed copy of my Prop Building Guidebook: For Theatre, Film, and TV, or just want to say hi, swing on by the Barnes and Noble from 10-11am!

First up is this fantastic glimpse into the Trinity Rep prop storage. Take a look at the thousands of props which props master Michael Getz keeps in what was once an old cotton mill.

Dug North has another great installment of 10 Handy Tips for Woodworkers and Automaton-makers. The tips are useful for anyone working on smaller and more detail-oriented props, not just automaton or wooden pieces.

Collectors Weekly has a great article on the history of amusement park dark rides. A “dark ride” is like a haunted house, except you ride in a car, rather than walk. Collectors Weekly interviews George LaCross, one of the leading experts on dark rides. LaCross has produced a documentary on the history of the Knoebels Haunted House, a well-known dark ride which I must have ridden at least once a year throughout my entire childhood.

Fresh has a quick little interview with Alexis Labra, props master on the film Bunks

and Marvel has a short interview with Barry Gibbs, prop master on Thor: The Dark World.

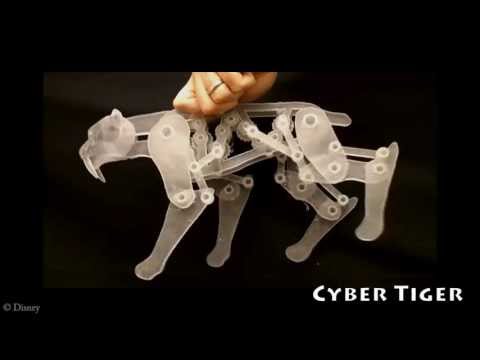
Finally, this is interesting in its possibilities. Disney is developing software to help design automaton and other moving machines. It looks like you just draw what you want a figure to do, whether it is a cheetah that runs or a man that pushes a block, and the software will automatically position levers, linkages and gears to create that movement from a single rotating axle. The video below shows it much better. Not only can you design it all, but it looks like you can then send the drawings of the parts to a 3D printer or laser cutter and have them fabricated exactly as they were in the software. It’s the future!

Cannon Carriages

In previous posts, I showed off some foam cannon barrels I built and some giant champagne bottles I helped work on for the Santa Fe Opera. I also built the four carriages they rode around on.

Cutting the shape
Cutting the shape

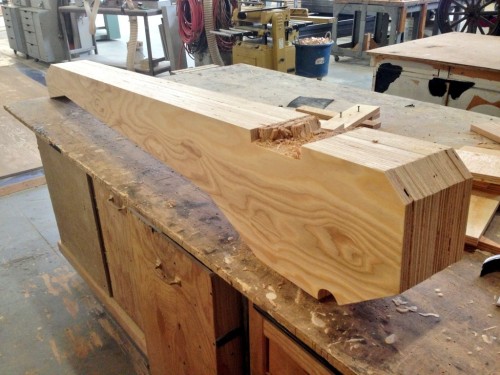
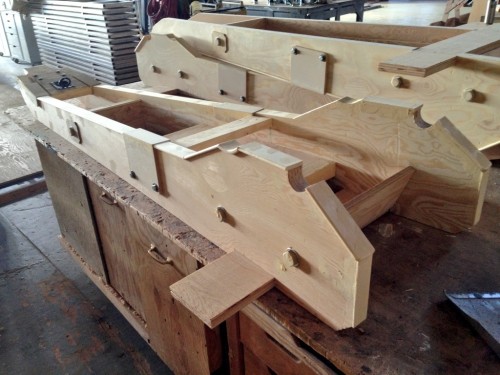
The main beams of the bases were cut out of plywood. I drew out a full-scale pattern for one of them and cut it out, then transferred it to all the pieces of plywood and cut those out to match. The bottom needed a square notch to hold the axle assembly, and it needed to be in the exact same location on all the pieces so the wheels would sit straight, so I attached all the pieces together and cut the notch out on all of them at once.

Assembling in the jig

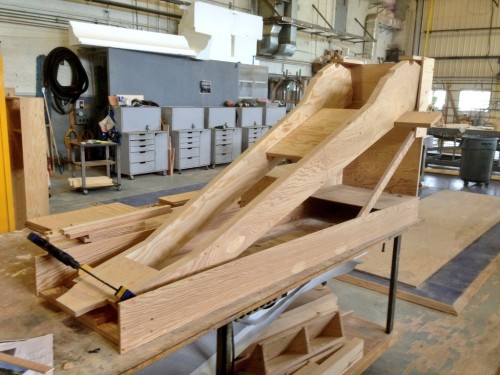
Next I built a jig to hold the beams. They sat at an angle and tapered out at the top. While in place, I measured and cut the cross pieces to fit exactly. This part took awhile to get perfectly correct, but once I had the pieces for one of them, I could just duplicate them for the other three carriages.

Attaching the facing

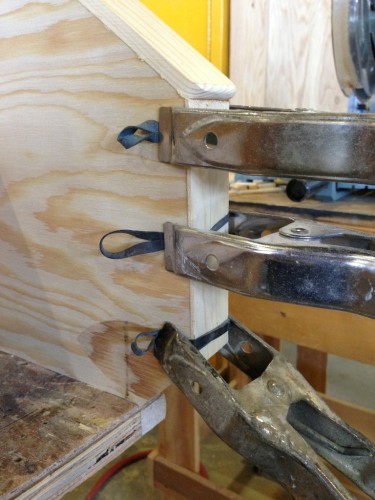
The carriages wanted to look like cast iron, so I faced all the edges with some strips of wood that were a little wider than the bases and rounded over on the ends. This gave it that look you might find on I-beams or similar pieces of metal. The photograph above shows a trick I read about that I wanted to try out: clamping a long strip of wood using rubber bands and spring clamps. It was not as effortless as I thought it would be, but it was a better clamping method than anything else I’ve used in the past.

Adding details
Adding details

With the major structure in place, I began adding details, like bolt heads and plates. These were all applied pieces; I cut and shaped the larger bolt heads out of MDF, while the smaller bolt heads were just short lag bolts that I screwed in.

Positioning the axles

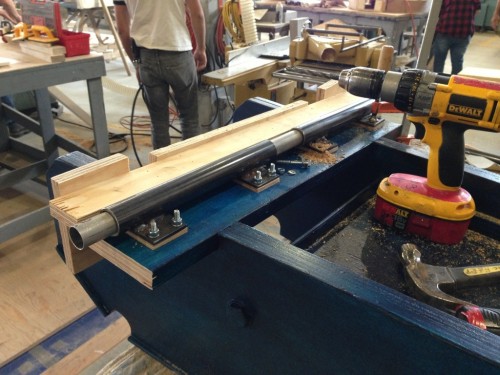
The wheels we used were bought from a place that makes wooden carriage wheels; I’ve made wheels in the past, but it’s very time-consuming, and hard to make them as strong as a legit wooden wheel. I attached a pipe to each of the wheels as an axle, and found a slightly larger pipe that could sleeve over them. I welded this larger pipe to some plates so I could bolt it to the carriage. In the photo above, you can see the axle pipe is in two sections. When building a carriage like this, you need the wheels to be able to spin independently of each other, because when you make turns, they spin at different speeds. The long aluminum pipe going through both larger pipes in the photograph was used to line them up with each other while attaching them.

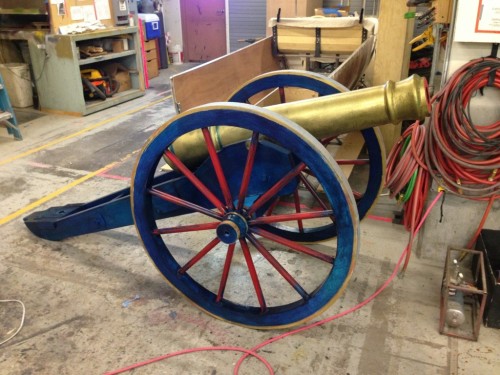
Cannon for Duchess of Gérolstein‎

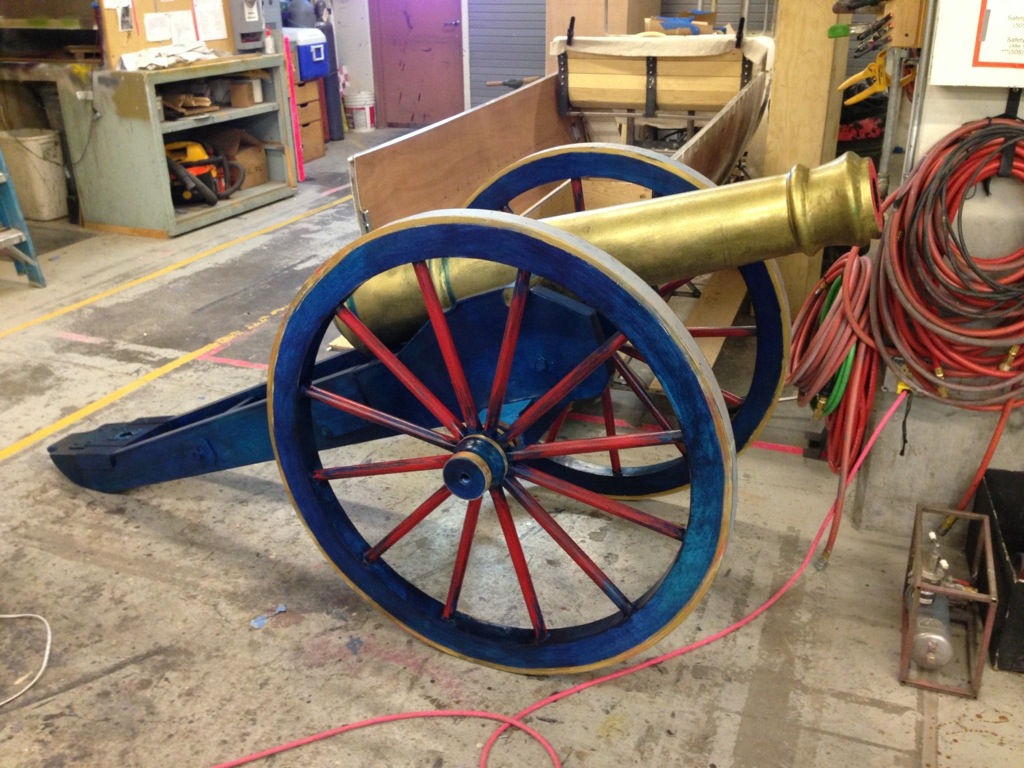
The whole thing got a pretty interesting paint treatment by the paint crew. Overall, it was a very fun project that saw a lot of stage time during the performance. It was also interesting to compare it to the previous cannon I have built, which could not be more different than this one both in appearance and in methods of construction.