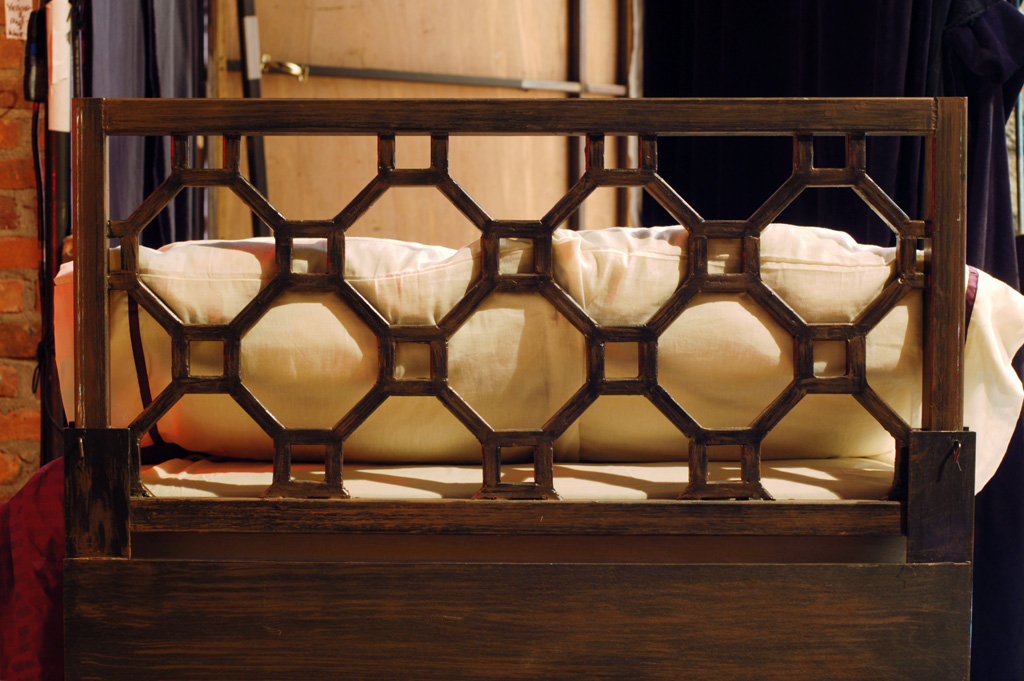
The next play to open here at the Public Theater is “In the Wake”, by Lisa Kron. One of the props they needed was a headboard. The design was based off of an existing style of headboard, but as the bed was a custom size to allow it to fit between the scenery, the headboard would also need to be a custom size. In addition, the bed moved to the middle of the stage where the headboard would be freestanding, and I was told the actresses would be leaning against it. For those reasons, a store-bought headboard would not fit the requirements. It had to be built, and it had to be built out of steel.
Since the design of the headboard was based around a repetitive pattern, the first thing I did was break it apart to make a cut list. I divided the pieces so the cut list would be as straight forward as possible, with as few angles as I could get away with. I managed to come up with a way where most of the pieces were straight cuts, and only a third of the pieces would need 45 degree angle cuts.
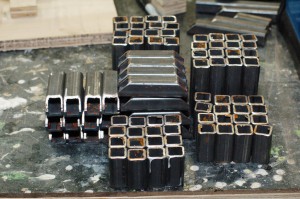
Before I could begin welding, I needed to create a jig. As you may already know, a jig is a device to maintain the spatial relationships between your materials, or between your tool and the materials. In this case, I wanted a jig that would allow me to lay my pieces of steel down in a consistent pattern while welding them together.
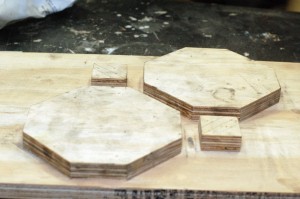
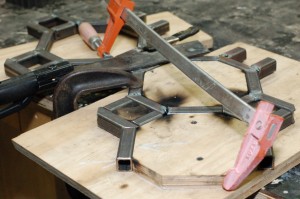
I thought I was being clever by making only one section of the jig. The idea was that it would keep everything consistent. In hindsight, I should have made a jig of the entire piece. Then I could have dry-fit all the steel before welding it together, and adjusted the pieces individually to ensure they all fit. The way I did it, the piece as a whole ended up just slightly “off”, with the minute inconsistencies in my jig being amplified through repetition. Even someone as talented as me can still have learning lessons.
As you can see in the following photograph, I had to clamp it to make it fit even after adding just a few pieces.
I decided to TIG weld this project. In theatre, the majority of welding we do is MIG welding steel. TIG welding is useful if you need to weld stainless steel, aluminum, brass, or if you need to weld two different kinds of metal together. In this case, I was TIG welding regular steel; even though it takes a lot longer, I could weld with little to no filler rod, which left me with very clean welds, and no spatter. I felt it was important for this piece since the cleanliness of the lines was an important part of the design. Plus, I wanted to brush up on my TIG welding skills.
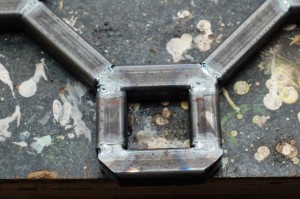
Even though I had TIG welded before, I still learned some new things about it. For one, the difference between using Argon and using an Argon/Carbon Dioxide mix is astounding. If you aren’t using pure Argon, you can literally watch impurities form on your tungsten electrode while you weld. Another tip I learned was that it is important to grind your electrode parallel to its direction, as opposed to in circles. TIG welding is so precise and exacting that little piddling tips like these really go a long way. Its actually a very Zen way to weld, if you have the time.
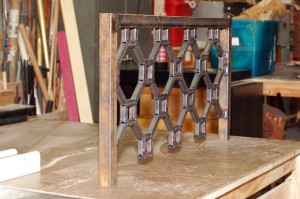
Once all the pieces were in place, my next step was to add Bondo to smooth over all the welds and fill all the holes. Bondo will cause nerve damage over time, so you must work with adequate ventilation and wear a respirator with cartridges that filter organic vapors. You should also wear gloves and sleeves to keep it off your skin, as it is a skin sensitizer as well. Remember that even after it hardens, you still need protective equipment while sanding it, as you release dust and fumes that can still harm you. With the proper safety precautions, Bondo is an incredibly versatile material for many projects.
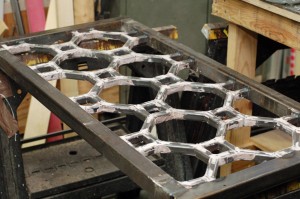
After I sanded it all down, all that was left was to attach it to the bed, prime it, and paint it.
