Tag Archives: vacuum forming

Giant Champagne Bottles

With this summer’s season at the Santa Fe Opera at an end, I can begin to show off some of the props I’ve built there. First up is a giant champagne bottle.

We needed four champagne bottles of a very specific size; they were going to be the barrels of cannons that I would also build. Nobody manufactures champagne bottles that large, so we had to make them. Since we would vacuum-form them from plastic, I began by making a solid foam bottle.
Blank and pattern
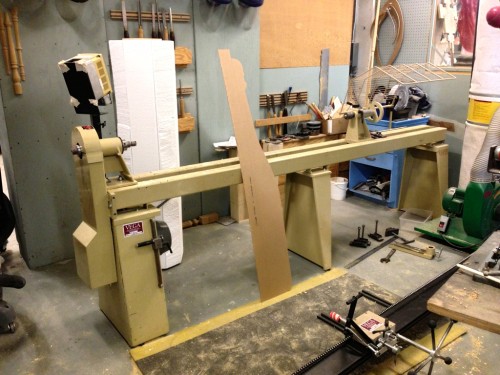
Blank and pattern

I drew out half the shape at full-scale on a piece of plexiglass. We have a duplicator on our lathe, which allows us to rough out the shape by directly following a pattern like this. I also got the block of foam ready. This piece was so wide, it barely fit on the lathe; I had to take most of the attachments off and round off the foam by hand before there was enough room to put the attachments back on.
Turning foam
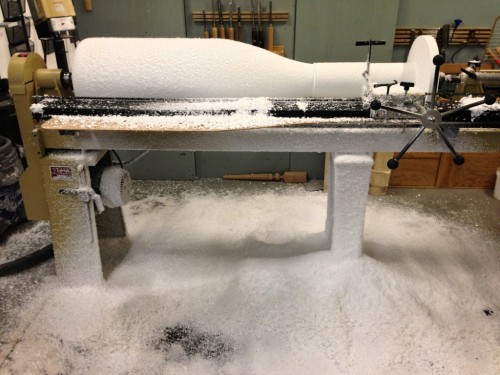
Turning foam

As you can imagine, turning a block of foam this large creates quite a bit of debris. I am still finding bits of foam in my clothes to this day.
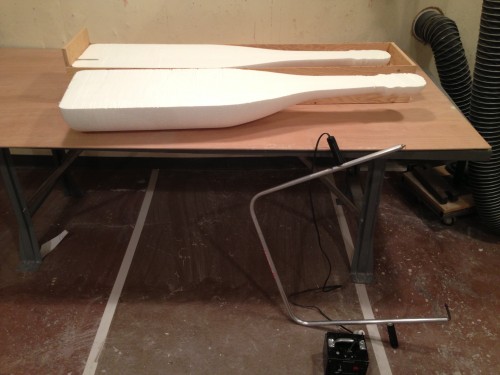
Splitting the foam in half

To vacuum form this piece, I only needed half of the bottle. I built a box so I could hold the bottle straight. The top of the box reached the exact middle point of the bottle, so when I ran a hot wire along it, it sliced the foam bottle directly in half.
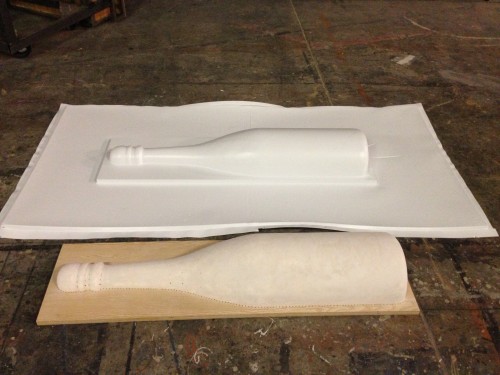
Vacuum formed half
Vacuum formed half

I mounted the foam onto a board and drilled holes all around the circumference, as well as holes in the concave portions to ensure the plastic would be sucked all the way down. I also coated the foam with Aqua Resin and sanded it smooth. I posted a video a few weeks ago showing the vacuum forming machine in action; check it out if you want to see how I made the piece in the photo above.
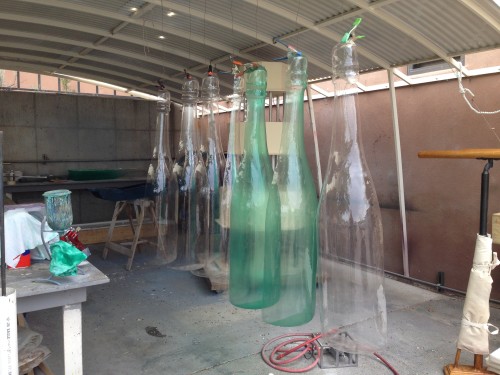
Painting the halves
Painting the halves

With a successful pull on the vacuum former, this project was turned over to the crafting department, and my work on it ended. They began manufacturing clear plastic halves like you see above, and spraying them down with green dye to match the color of a real champagne bottle.
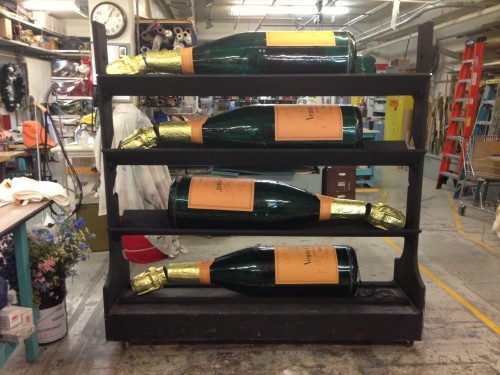
Finished bottles
Finished bottles

They glued the halves together and added some labels and gold foil to complete the look. The final bottles were over four feet tall.


Vacuum Formed Balustrades

One of the first projects I worked on when arriving in Santa Fe was actually for a scenic element. One of the shows has a number of decorative balustrades way upstage, and they wanted to vacuum form them. I was tasked with turning the wooden master.

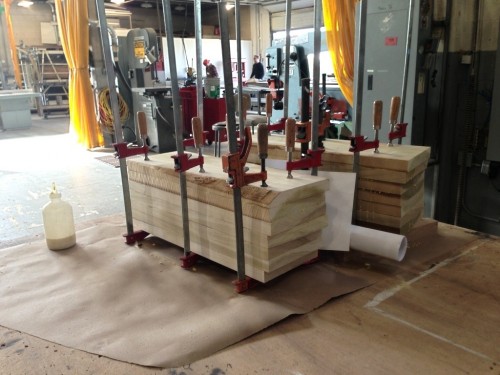
Clamping the boards
Clamping the boards

The first step was gluing up a number of poplar boards. This was going to be a fairly thick piece. I made two, so I could split them down the middle and give them four halves to vacuum form on a single sheet of plastic.

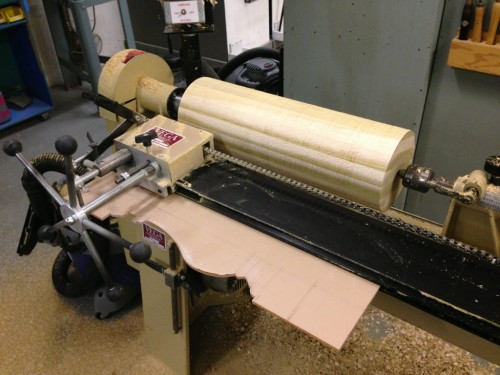
Turning the blank
Turning the blank

The lathe in our props shop has a duplicater set up. This allows you to cut out the profile of what you want to turn in a thin sheet of plexiglas, and the blade can follow that shape. You still need to finish it up by hand to make sharp corners and smooth it out, but it helps keep your shapes and sizes consistent across multiple pieces.

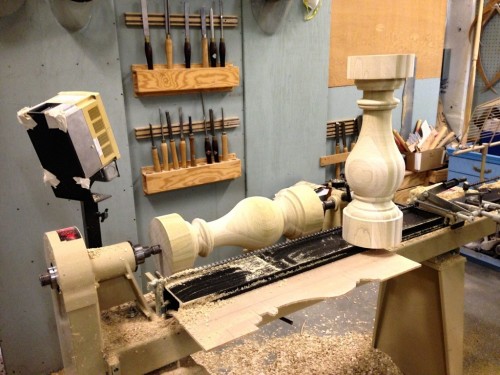
Completed balustrades

Above are the two balustrades, ready to go!

Cutting in half
Cutting in half

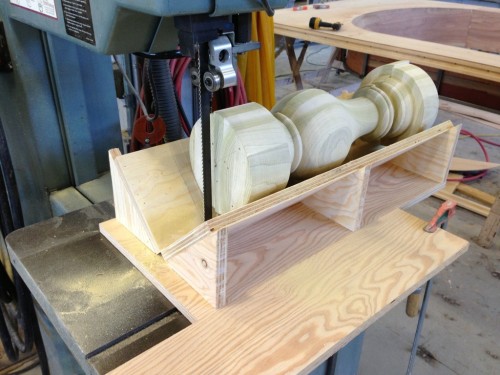
Next I had to split them directly in half. Luckily, we have a massive bandsaw, and I could build an oversized dowel-splitting jig to cut the whole baluster in half in one pass.

Mounting the wooden forms

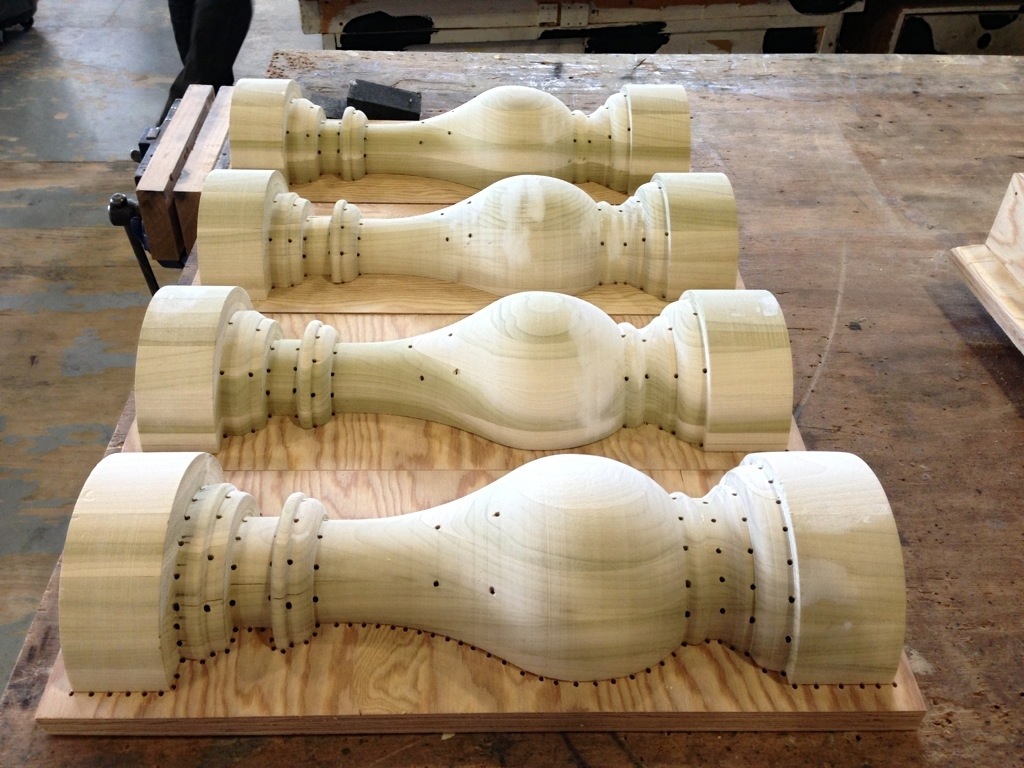
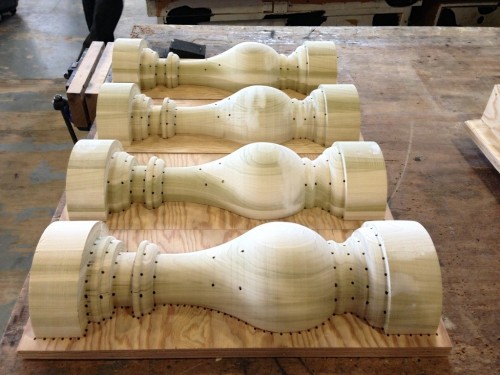
The next step included a new technique for me. I had to drill holes throughout the wooden mold for the vacuum to pull air through, paying particular attention to the undercuts. They also asked me to mount the molds on a sheet of plywood with a gap underneath, and drill holes all along the periphery. Since the vacuum form platen only has holes at regularly-spaced intervals, it would not suck the plastic tight against the bottom of the mold; this technique was like creating a custom platen to sit on top of the regular platen.

Vacuum formed copies

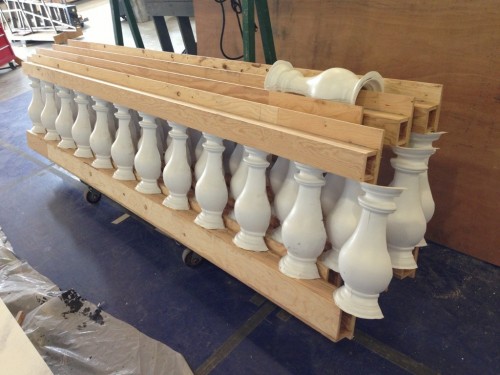
That was actually the end of my part. The scenery department took my molds and began running them through the vacuum former. I don’t have any pictures of that, but I do have a video of the machine in action. Above is a photo of the resulting pieces as they get mounted to the scenic piece.

Spiritual Stones from Legend of Zelda

Here are the last of my Legend of Zelda props I made last month for a local theatre group. I previously posted about the Master Sword, and some rupees; you can find out more about this project in general at those links if you are interested.

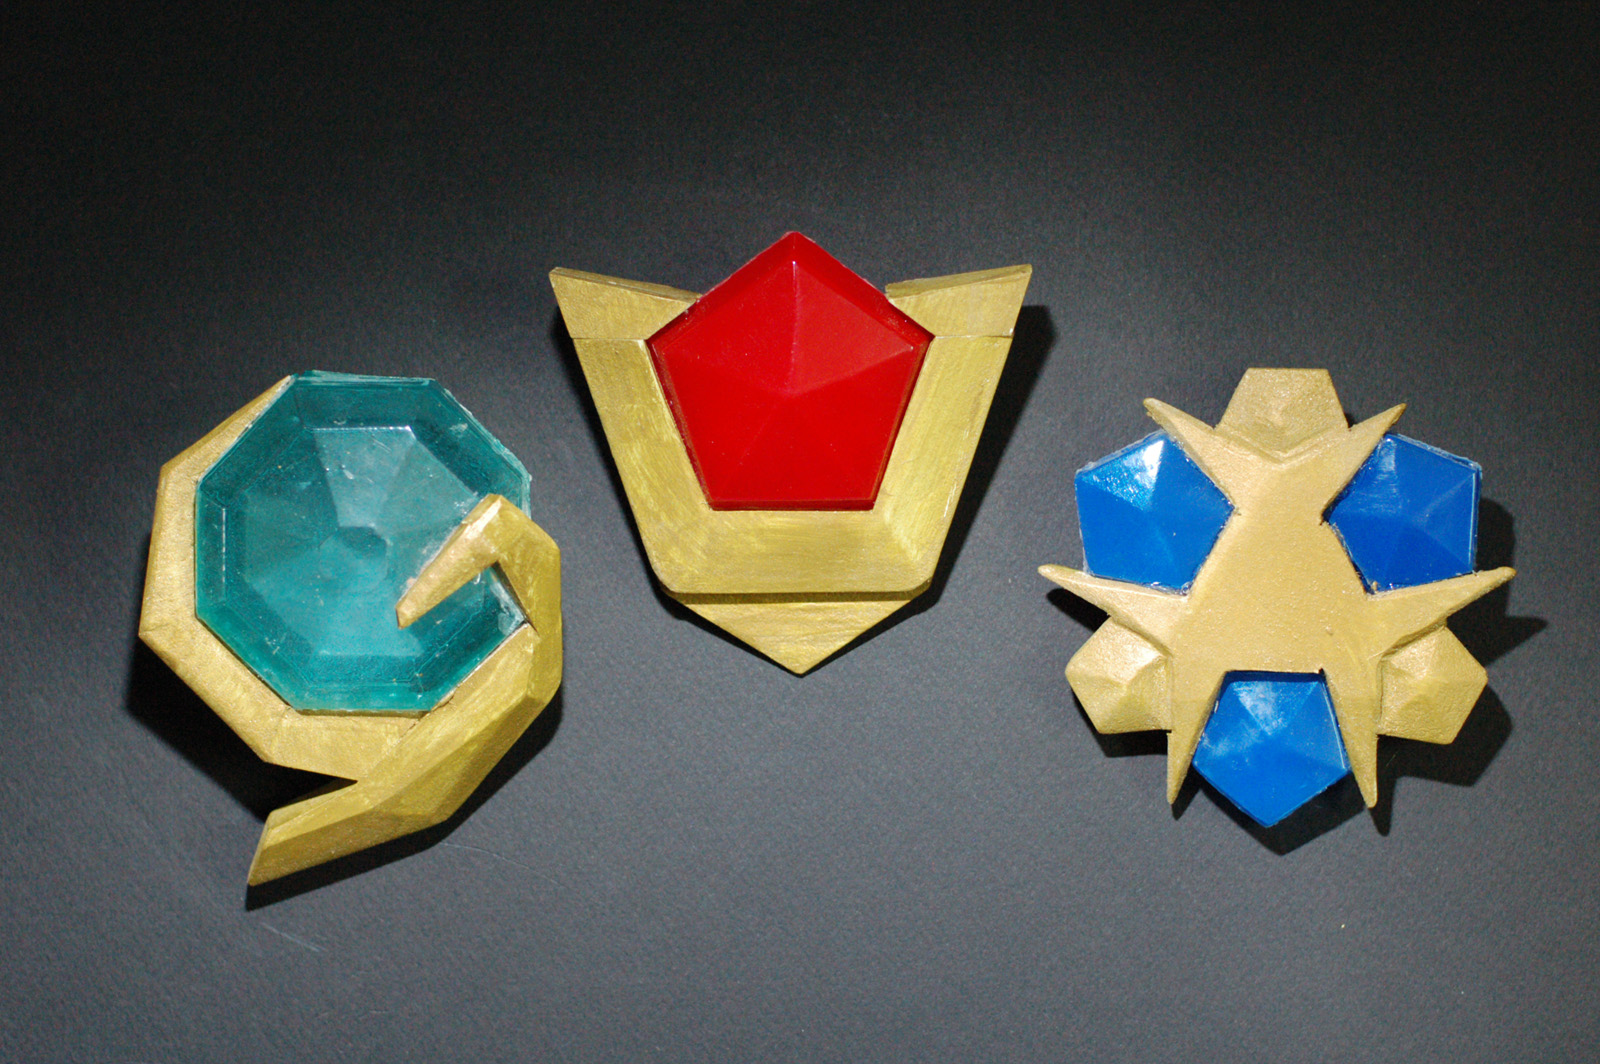
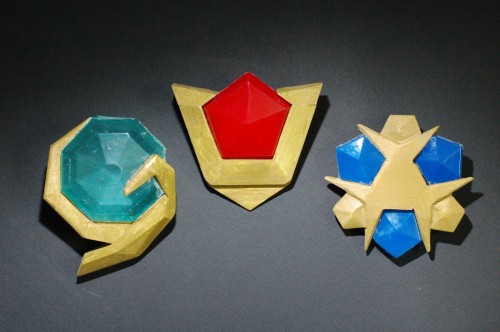
The last prop, which is actually three items, are the spiritual stones. These are various colored gems in gold settings. They have names, too: Kokiri’s Emerald, Goron’s Ruby, Zora’s Sapphire.

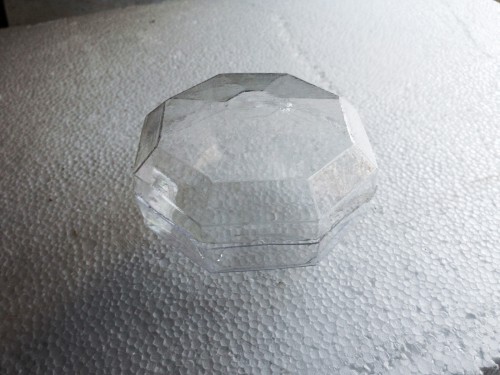
Vacuum formed jewel
Vacuum formed jewel

As with the rupees, I cut the shape of the stone out of a piece of wood, vacuum formed two halves out of acrylic, and glued them together (painting the inside before gluing, of course).

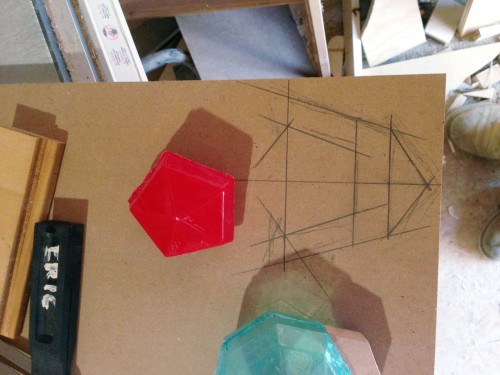
Layout of Goron's Ruby
Layout of Goron’s Ruby

Starting with Goron’s Ruby, I used some reference images from the video game itself to lay out a full scale drawing of the stone’s setting onto some 3/4″ MDF.

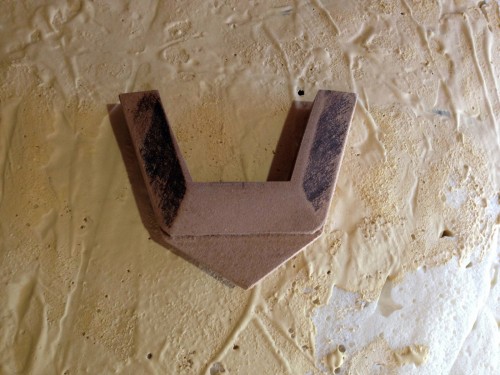
Cut and shaped
Cut and shaped

I made most of the cuts on the table saw (my nifty cross-cutting jig lets me safely cut arbitrary angles on small pieces). The bevels were also cut on the table saw with the blade set at an angle.

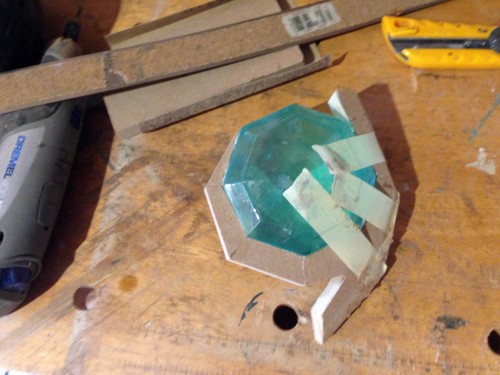
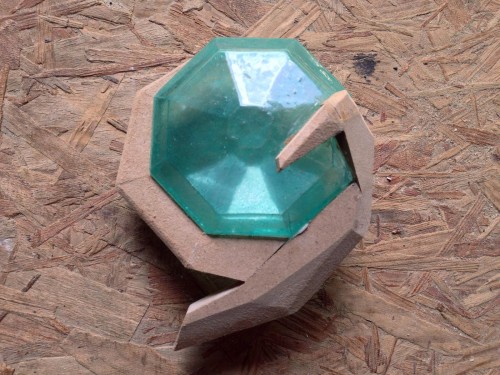
Piecing together the emerald

Since the emerald had a sort of “wrap around” design, I cut the pieces individually and glued them on one at a time to achieve an exact fit. It was a bit tricky getting all the angles right, but it gave the nicest result.

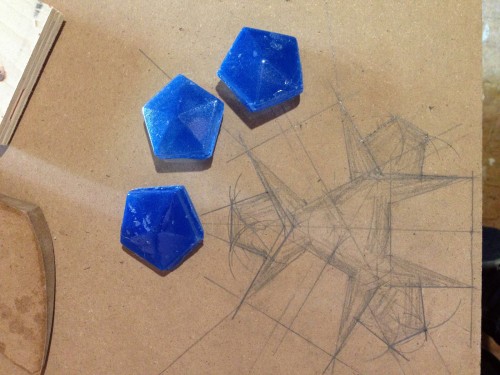
Drawing the sapphire setting

Because the shape of the sapphire is trilaterally symmetrical, I used my compass and bevel gauge to make sure all three parts were drawn the same.

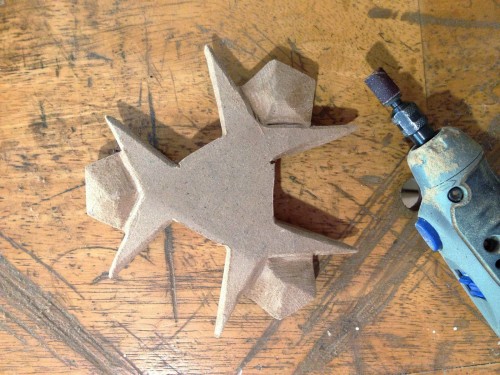
Cutting and shaping
Cutting and shaping

It had to be cut out with the jigsaw and cleaned up by hand with files. Some further shaping was done with the Dremel.

Kokiri's Emerald
Kokiri’s Emerald

Once finished, the pieces just needed to be primed and painted. The emerald was painted with the stone already attached. For the others, I painted the settings first, and then the stones were glued in (so I didn’t have to mask anything).

Spiritual Stones
Spiritual Stones

Of course, it always helps to take cool photographs of your props. One day, I’ll get around to posting a quick tutorial on photography.

Using a Big Boy Vacuum Former

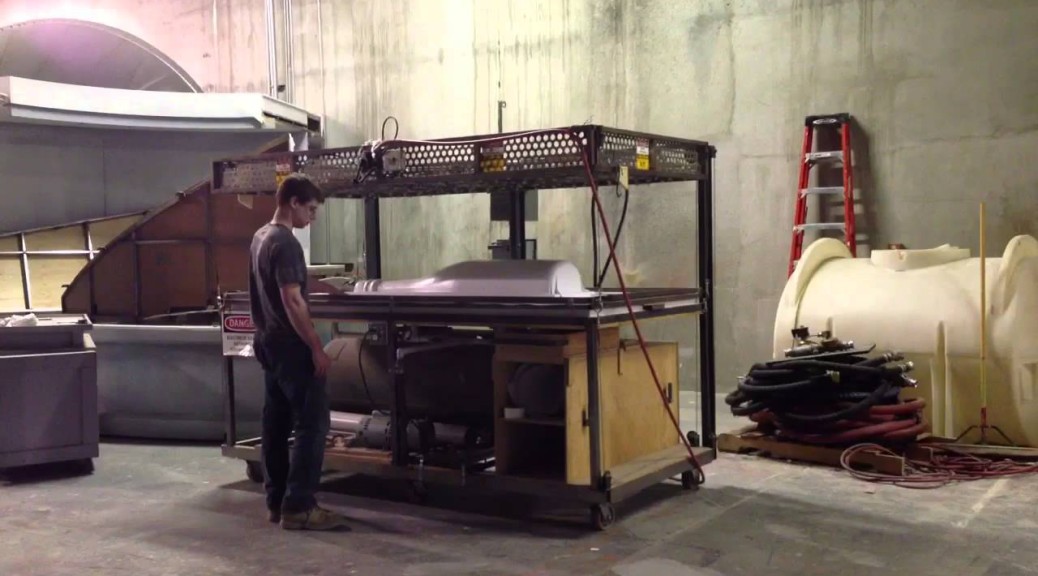
I have been working at the Santa Fe Opera for a few weeks now. While I haven’t completed anything enough to show on this blog yet, I did shoot the video below. I needed to vacuum form a giant champagne bottle which I turned in foam on the lathe (actually, half of the champagne).

The Opera has a large vacuum former capable of taking full 4′ by 8′ sheets of plastic; even cooler is that the whole thing was built by the technical director, Eric Moore. This video shows me pulling a sheet of thin styrene over my form.

Rupees from Legend of Zelda

For the last few weeks before I came out to Santa Fe, I was building some props for a local theatre group known as The League of Extraordinary Thespians. They are doing a musical of The Legend of Zelda: Ocarina of Time. The first props I finished were the rupees, which are a type of jewel used in the game to buy items (some of you may have already seen these in an Instructable I posted last week. Sorry).

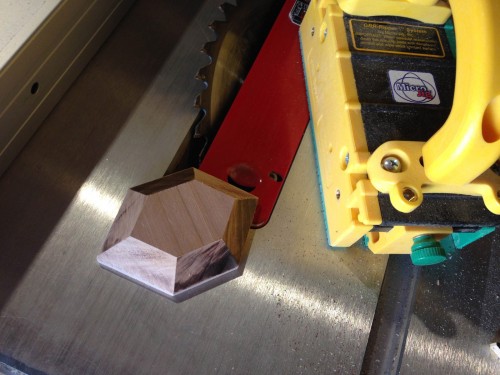
I figured the best way to make a translucent gem was to vacuum form the shape. You remember my ultra-cheap vacuum former, correct? Before I could use that, I would need a form. I decided to do the front and back of each rupee separately, and then glue them together. So first, I would need to cut a piece of wood into a rupee shape.

Wood form
Wood form

You can see I’m using the (oddly-named) GRR-Ripper from Micro-Jig; it makes accurate cuts on tiny pieces in a safe and straight-forward manner. I did all the cuts with my table saw, giving me a pretty clean-looking rupee half.

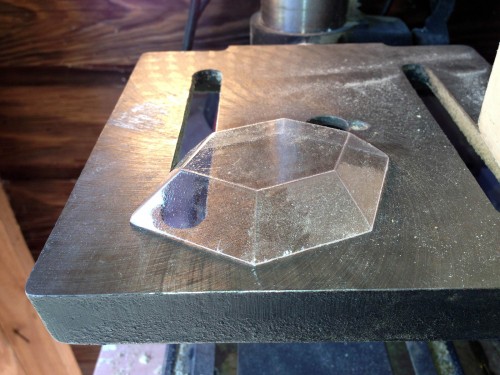
Vacuum formed half
Vacuum formed half

I got a sheet of clear acrylic from Hobby Lobby. They only had it in one thickness; I’m not sure what it is exactly, but it’s less than 1/16″. I started vacuum forming the halves and trimming them out, leaving exactly what you see above.

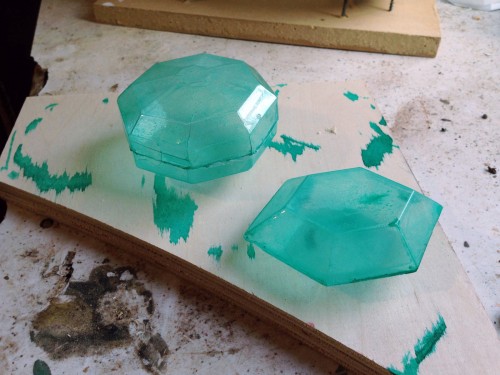
Painted green
Painted green

Before gluing the halves together, I painted the insides. This way, the paint would never wear off, no matter how much the actors handled them.

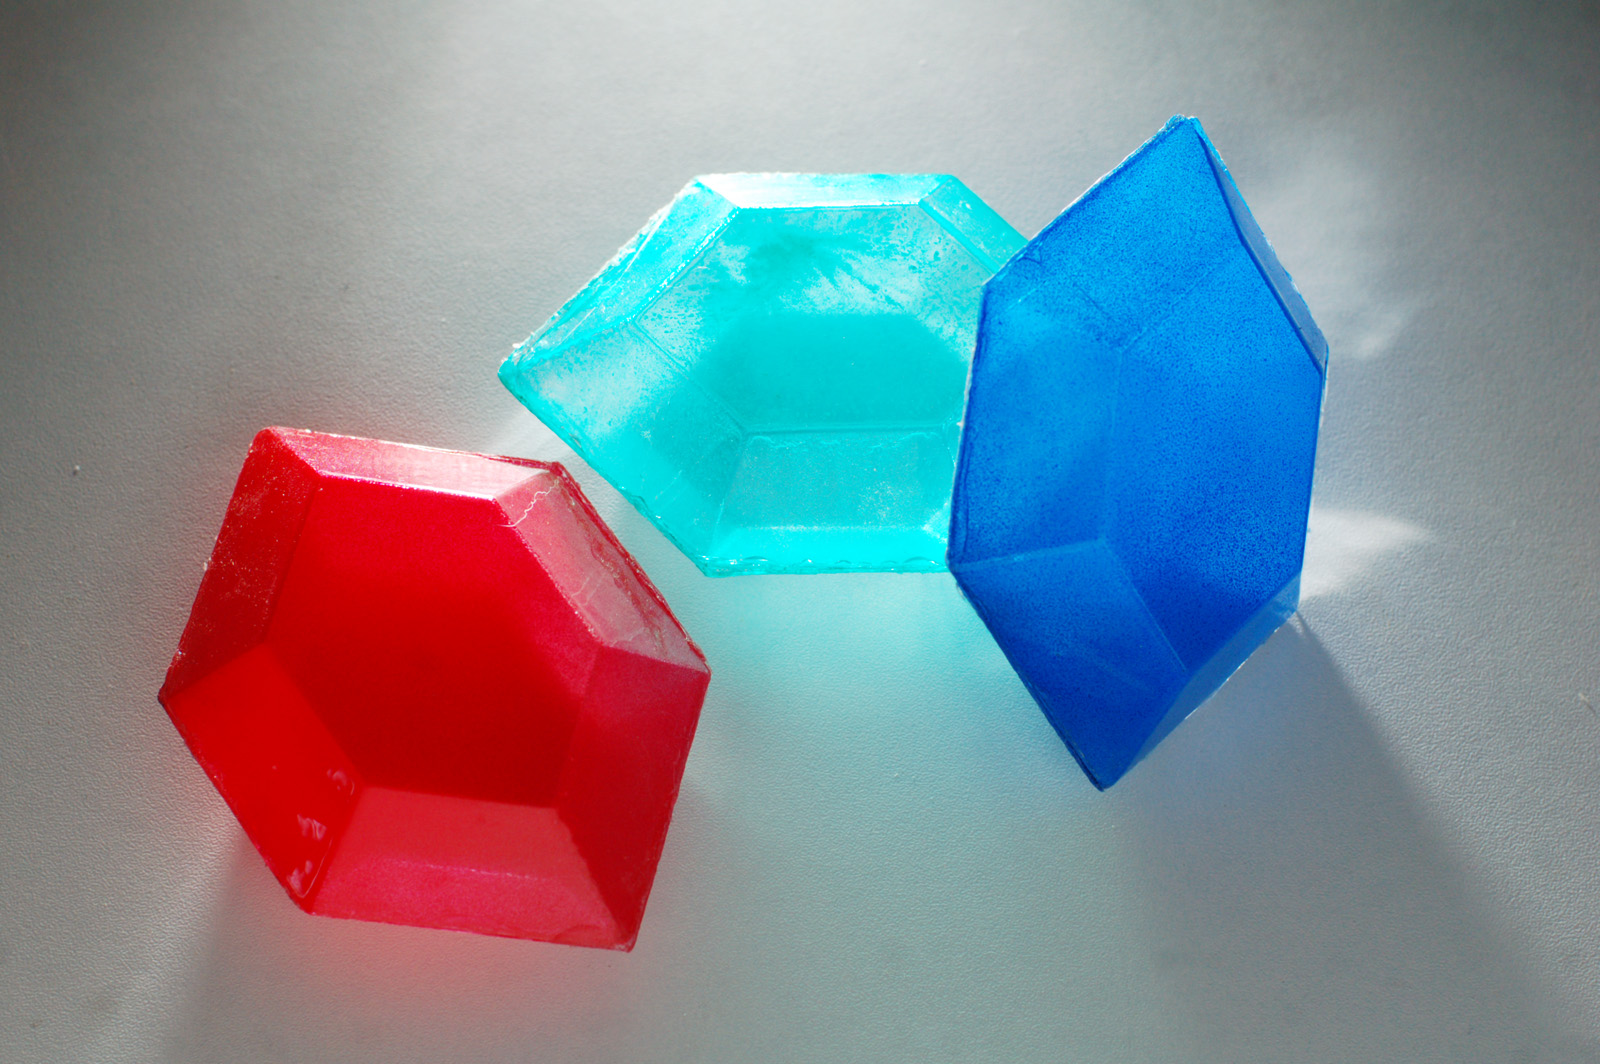
For the green ones, I tried watering down acrylic paint. It was pretty tricky, since the paint kept wanting to bead up. Normally, you would lightly sand the surface of the plastic to help the paint adhere better, but that would kind of kill the “translucency” effect. So I bit the bullet and bought some blue and red spray paint so I could just lightly dust the other rupees.

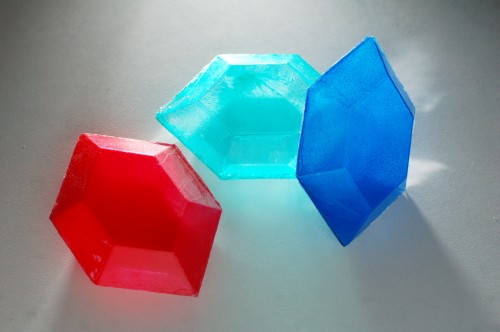
Rupees
Rupees

I used a solvent-based glue (Amazing Goop) to glue the halves together. The glue was a bit thick and dried flexible, which helped make a stronger bond since the edges didn’t quite match up exactly.

And that is how you make a rupee!