Tag Archives: Triad Stage

Crow Puppet Revisited

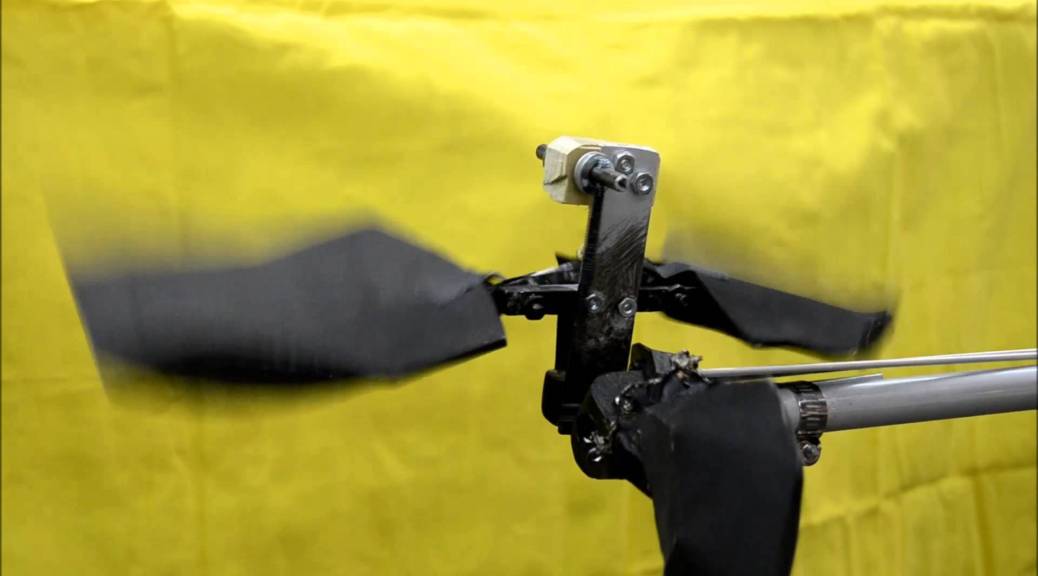
For the holiday show at Triad Stage in Greensboro, we remounted the production of Snow Queen we made last year. I had built a number of puppets for the show which only requited minor adjustments and maintenance, but I wanted to completely rebuilt the crow puppet. He went through so many iterations and modifications last year as we tried to discover what worked best, so the end result was a hodge-podge of cobbled-together parts and mechanisms. He was difficult to maintain and he broke frequently.  When I knew we were remounting this production, I budgeted in a complete rebuild of the crow.This time around, I was able to order more appropriate and precise materials, rather than assembling it with whatever I could find at the Home Depot.

I made a video showing the inner mechanisms of the puppet and how it is operated:

You can compare that to the puppet I made last year. The rod is now two pieces of aluminum which sleeve together, rather than two pieces of PVC pipe which bend and wobble. I abstained from using any string this year, which always stretched and lost tension, or broke completely. Most importantly, I planned the construction out so the parts were completely modular, and everything could be taken apart with bolts, screws or Velcro. The crow last year was a bit of a nightmare when it came to maintenance, because a lot of the pieces were permanently attached to each other, so it practically required laparoscopic surgery to fix anything that broke.

Making a Giant Chandelier

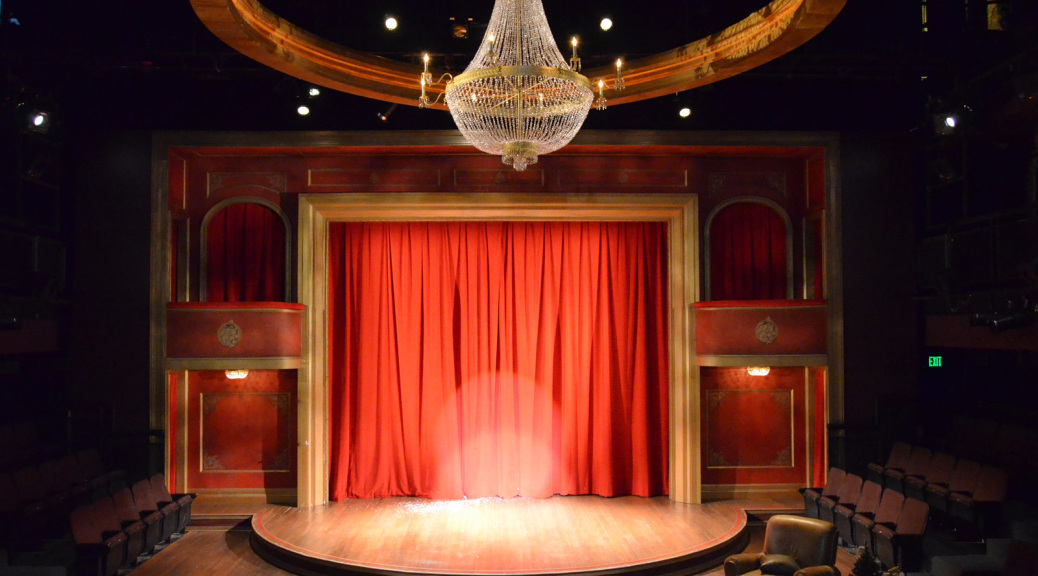
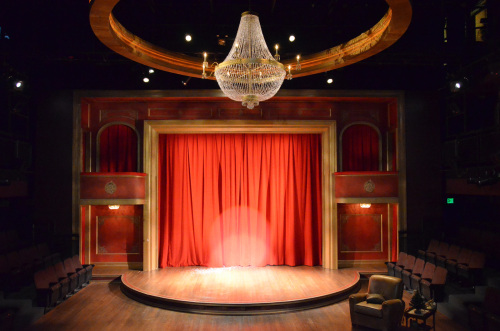
The set for 39 Steps at Triad Stage was reminiscent of an old vaudeville theatre. One of the focal points was a massive chandelier overhead. I knew we could never be able to afford to buy a five-foot diameter chandelier, and even if I could find one to rent or borrow, transporting it would be difficult. So I figured we would just spend the time making one.

39 Steps chandelier
39 Steps chandelier

The design of the chandelier made construction simple; it was just three rings with beads of crystals draped between them. I found rolls of garland with acrylic beads, which spared me from having to string them all individually. I took a lot of the individual crystals from another chandelier I had in stock. The arms came from an existing chandelier as well.

I put together a video showing the progression of the build. Though straightforward, it was a very time-consuming prop. Towards the end, I got help from Lisa Bledsoe and DeDe Farrell with attaching all the crystals and getting it wired.

Making of a King

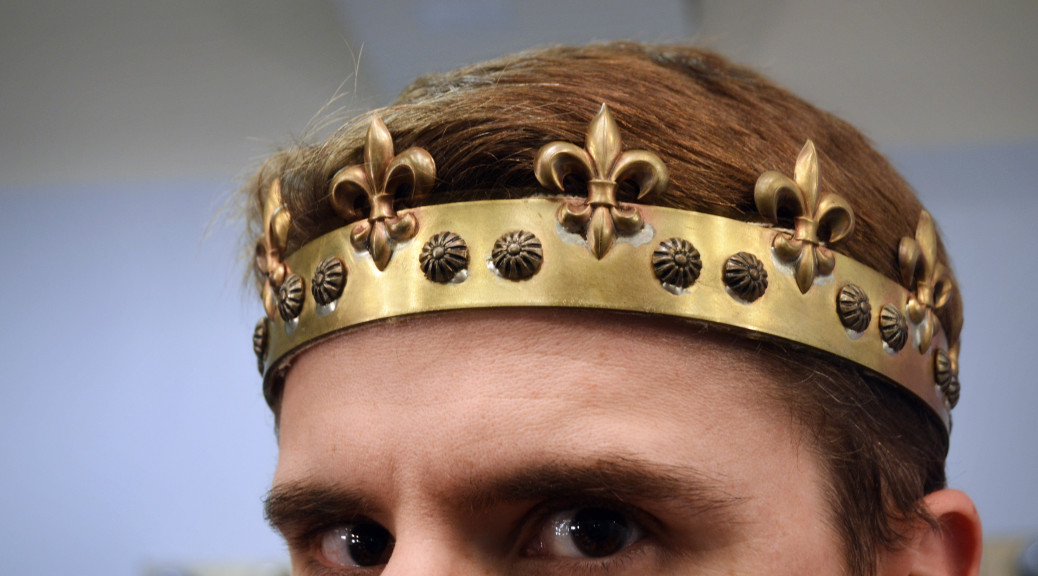
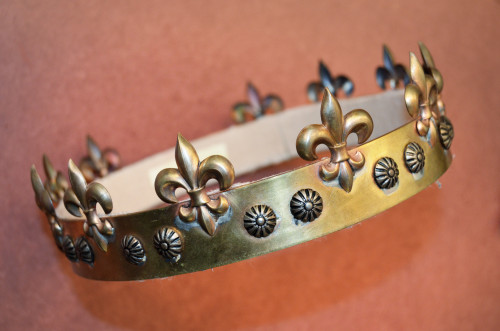
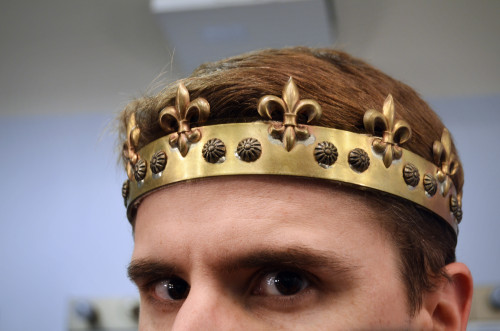
Our last show of the season at Triad Stage is All’s Well That Ends Well, a Shakespeare piece I had worked on before (you may recognize the cannon I built for the previous production at Shakespeare in the Park). There were no cannons this time around, but we did need a crown for the King of France. Since Shakespeare isn’t our typical shtick, we did not have any crowns in stock. I had to make one.

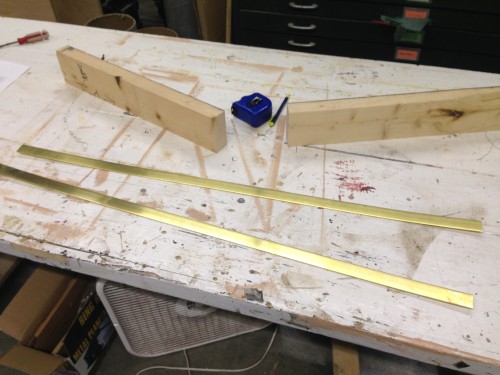
Brass bar
Brass bar

The base of the crown was a piece of one-inch wide brass bar that was 3/16″ thick. I ordered a long piece of it from McMaster Carr in case I messed up and had to make another one.

Ring bender
Ring bender

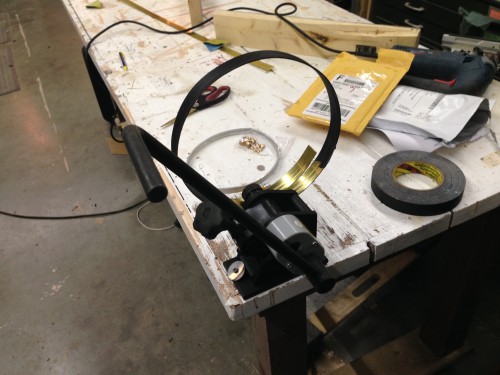
I ran it through a cheap little ring bender from Harbor Freight. It’s small, but it can handle metal up to an inch wide, so I was golden. I covered the brass bar in tape because the wheels on the bender marred up the soft metal. The bender made a nice circle, but since the crown was actually an oval, I had to do some shaping by hand to get it just right.

Solder paste
Solder paste

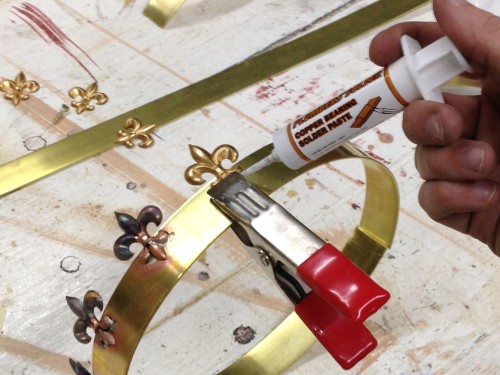
I had some stamped brass fleurs-de-lis which I needed to solder on. I discovered “solder paste”, which is a mixture of flux and powdered solder in a liquid form. You just squirt it into the joints you want to be soldered and then run a torch over it until it melts.

Soldering with a propane torch

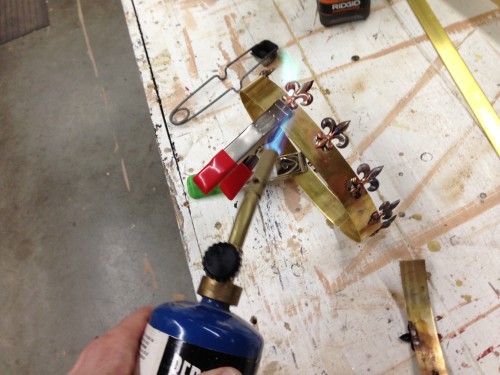
Since the solder paste has a very low melting temperature, I could use a regular propane torch from any hardware store. Brass has a very low melting temperature, and since the fleurs-de-lis were very thin, I was worried that any kind of brazing or silver soldering would melt them before it melted the solder. The solder paste was a great solution.

Upholstery tacks
Upholstery tacks

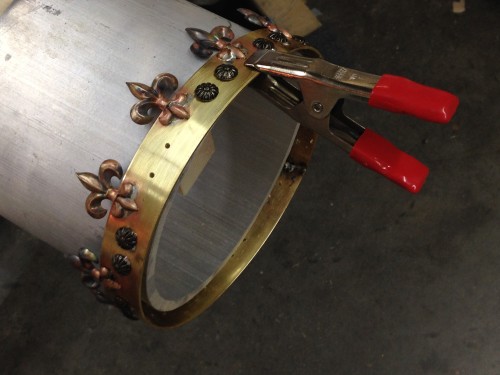
Next I added some decorative upholstery tacks to the crown. I drilled some holes for the tack part to stick through. At first, I thought I could solder them on from the back, kind of like plug welding. That wasn’t working, so I just soldered them from the front. I was using this giant piece of aluminum tube as a heat sink so that the torch would not de-solder the pieces I had already soldered.

Moleskin Lining
Moleskin Lining

I was able to remove all of the charring and discoloration with some #000 steel wool. I lined the inside of the crown with moleskin, a very thin but soft padding. You can find self-adhesive pads of it in any drugstore near the foot pads and shoe inserts.

King's crown
King’s crown

I think you can get the solder paste in a copper or brass color; I was going to cover up all the silver bits of solder with some brass craft paint, but they didn’t show up once the crown was on stage. I think I look pretty good as a king.

Fake Tree Branches

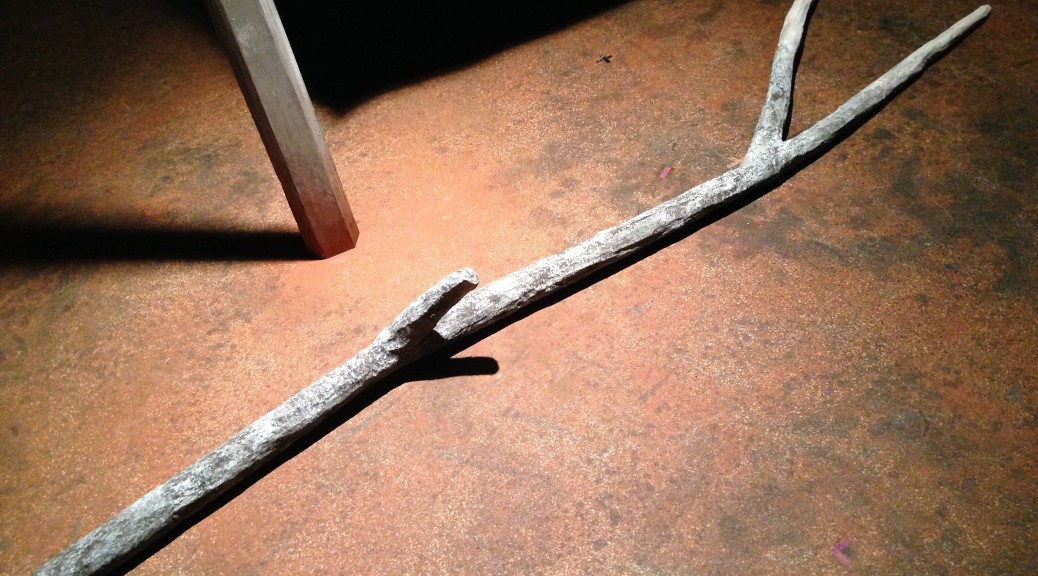
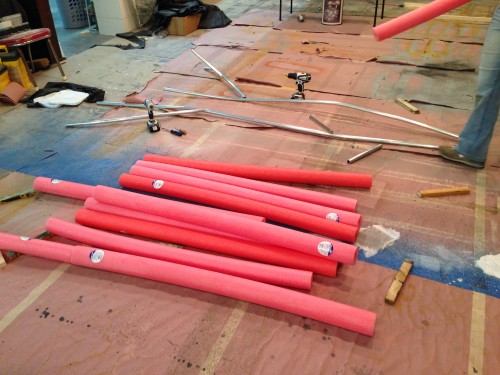
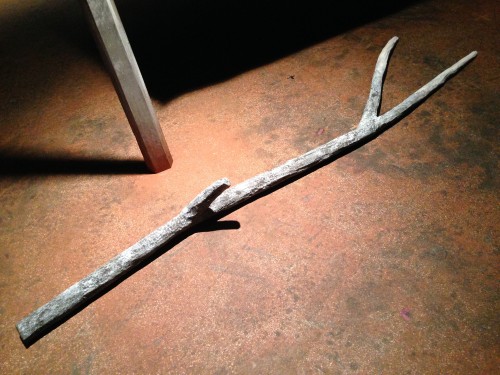
We have a production of Brother Wolf currently running out in Winston-Salem. One of the props they needed were some tree branches which they were doing some choreography with. So they needed to be light-weight and safe around the actors. We decided to go with pool noodles over an aluminum pole, coated in cheesecloth and glue. I sent a photo of the following sample over to Howard Jones, the scenic designer, and got approval.

Tree branch sample
Tree branch sample

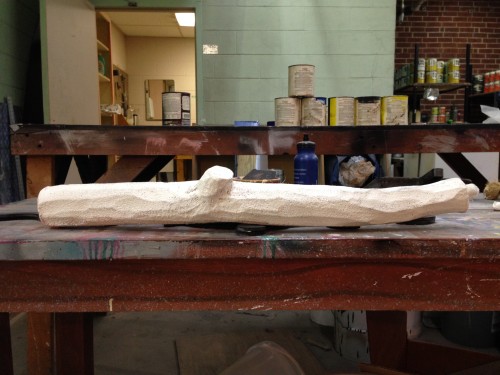
The two full-size branches were made by the assistant props master, Lisa Bledsoe (I merely took the pictures). She started by bending the poles to match what was drawn, and adding a few extra branches. They were bolted on since we do not have an aluminum welder at the shop.

Foam and structure
Foam and structure

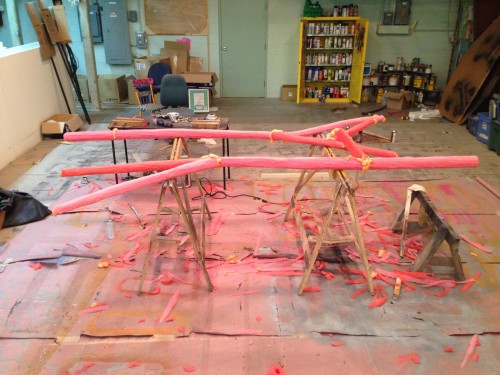
She adhered the separate pieces of pool noodle together with spray foam, which also filled the gaps. Once it had cured, she set to shaping the foam using a mix of knives and an angle grinder with an abrasive flap wheel.

Carving the shape
Carving the shape

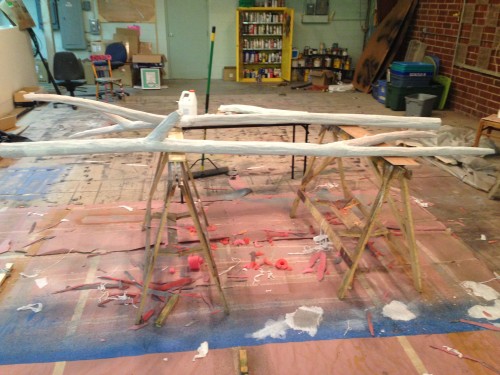
Once the branches were properly shaped, she painted on the cheesecloth with a 50/50 mix of Elmer’s Glue and water. I should mention that the branches got a quick coat of grey primer, since the cheesecloth is fairly translucent, and we did not want pink trees.

Coated
Coated

Once everything was dry, our scenic painter, Jessica Holcombe, gave the final paint treatment. It was a weathered grey wood, with a thin white wash over top. It matched all the wood elements in the scenery, so it was easier to just have her do the branches as well, rather than having us try to match it.

Fake tree branch
Fake tree branch

Overall, they worked pretty well. They are far lighter than a real tree branch, and they won’t hurt an actor if they accidentally make contact. There are a few spots at the tips where the pool noodle extends past the aluminum pole, and we found they were cracking at those points; a few times during the run, we had to glue on a “bandage” of cheesecloth to repair those cracks. Other than that, I thought they were a great solution.

Two Fake Pies

We opened Pump Boys and Dinettes here at Triad Stage a few weeks ago. Set in a diner famed for its home cookin’, we needed some pies. They sing about them, after all. Of course, we didn’t want to be buying brand new pies for every performance, so I asked my assistant, Lisa Bledsoe, to make a few.

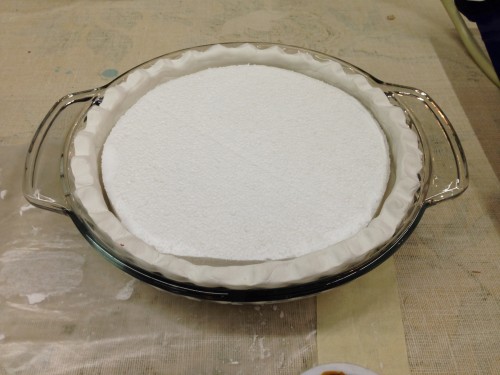
Pie crust and base
Pie crust and base

She started off making the pie crusts out of Crayola Model Magic. She shaped a layer into a glass pie tray and let it harden over night. She cut some white bead foam discs to fill most of the inside.

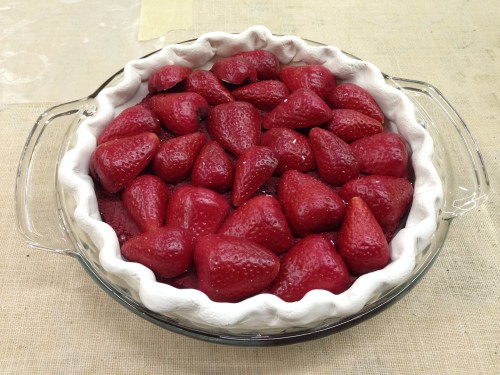
Strawberry filling
Strawberry filling

She was making two pies; a fruit pie and a coconut cream pie. For the fruit pie, she had some fake strawberries from the floral section at Hobby Lobby, and cut all of them in half to make a layer on top of the foam disc. She painted the disc red to continue the illusion that it was strawberries all the way down.

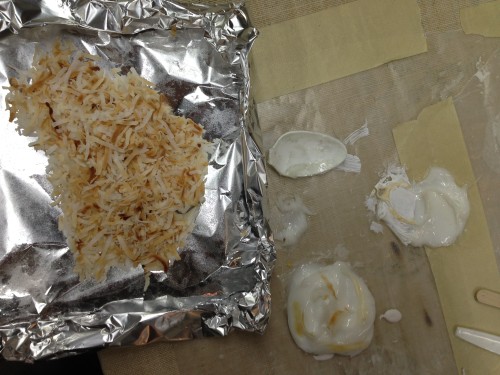
Toasted coconut
Toasted coconut

To top the coconut pie, she used actual dried coconut flakes. They were painted with acrylics to make them look toasted.

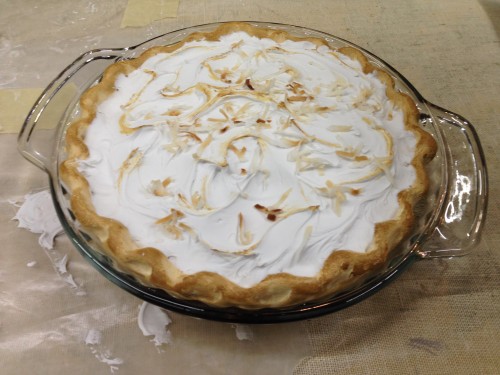
Coconut cream pie
Coconut cream pie

The Model Magic did not stick to the pie tray, so she was able to pop the whole pie out and paint the crust with acrylics before popping it back in. The cream on top was made from acrylic caulk. She had visited the hardware store and picked up a few different brands and types of caulk and spackle to test out which would dry the most like a cream pie.

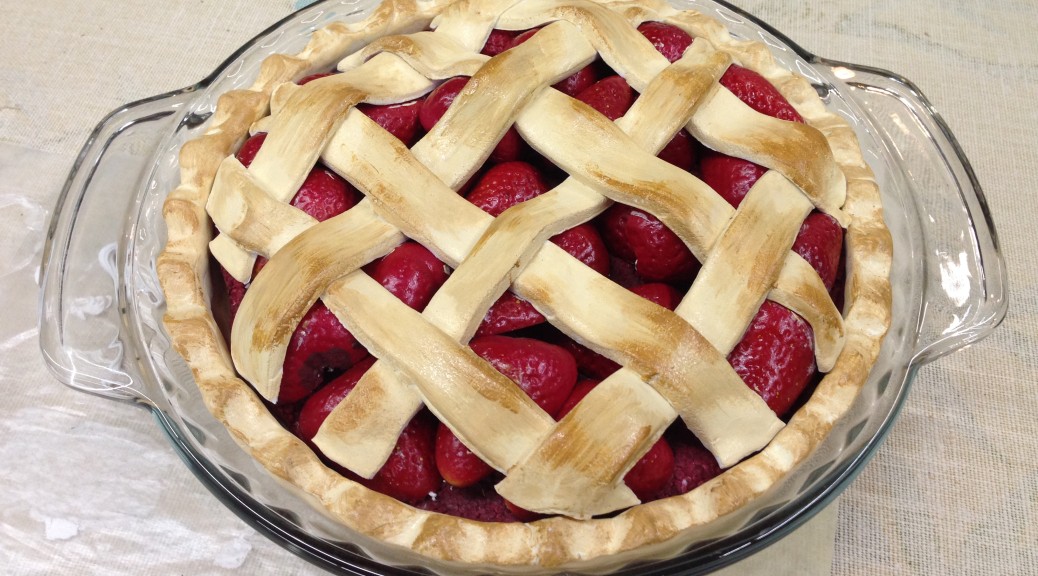
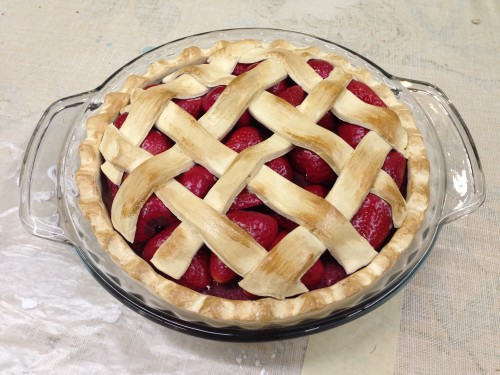
Strawberry pie
Strawberry pie

The strawberry pie got a lattice crust made of more Model Magic painted with acrylics. So there you have it; the Double Cupp Sisters’ famous pies!