Tag Archives: Triad Stage

Sofa from The Price

We recently closed Arthur Miller’s The Price at Triad Stage (preceding the Broadway version by a few weeks). With a week before tech, a concern arose that the “Biedermeier-style” sofa blocked too many sightlines. We needed a backless version, and since nothing like that exists in our stock, I had to build one.
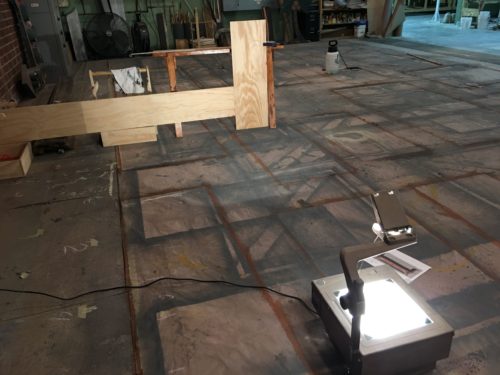
Tracing the profile
Tracing the profile

The designer, Fred Kinney, found a research image he liked. The photograph was taken straight on from the front, so I was able to trace it directly onto some plywood with an overhead projector.
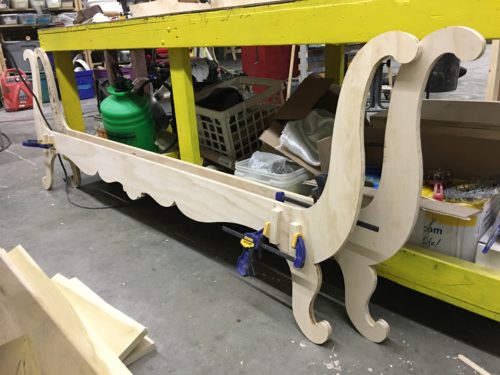
Cut outs
Cut outs

I made each front and back piece out of three pieces of plywood and doweled them together. I have some temporary blocks attached in the photograph above to help clamp them. They will also be held together in the back by the cushion frame.
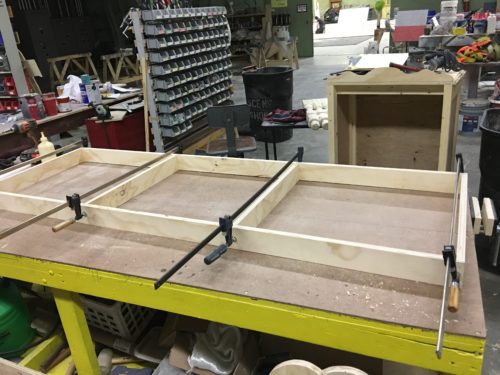
Building the base
Building the base

The base for the cushion was just a simple platform frame.
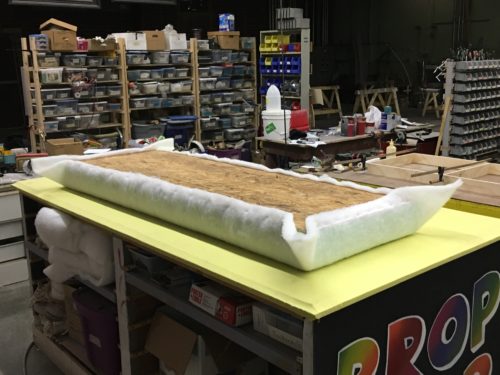
Cushion
Cushion

The cushion for the couch was a separate piece made of high density foam on top of a sheet of oriented strand board (OSB). The whole thing can be removed from the couch at any time. The plywood from the home improvement stores is so prone to warping; I’ve switched to OSB for my upholstered pieces because it is one of the flattest sheet goods you can buy there. It is really cheap too, though it does add a bit of weight and you have to build a good frame underneath it.
Armrest
Armrest

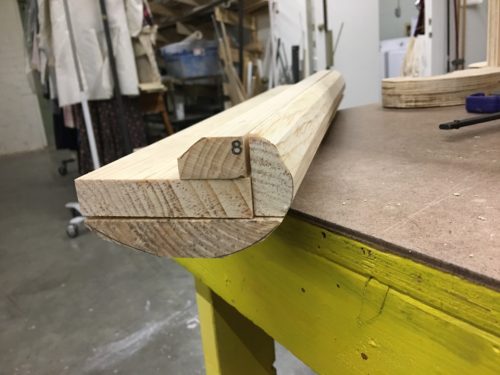
The armrests needed to be long pieces of solid wood shaped into a rolling curve. I traced the curve onto several smaller pieces of lumber, and cut away most of the waste with several passes through the table saw. After gluing the pieces together, I smoothed all the angles into curves using a belt sander.
Unpainted piece
Unpainted piece

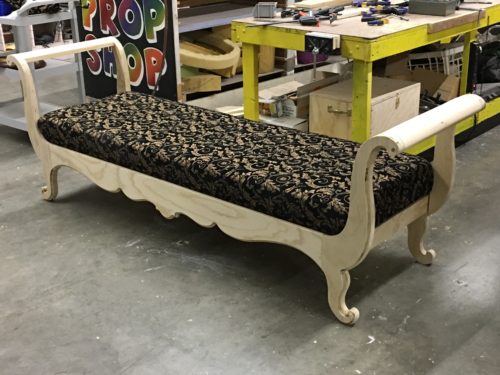
I routed the edges of the front and back to give them a decorative profile. The armrests were screwed in, but I also ran a large through-dowel to help support them since actors were going to be resting there. I also doubled up the plywood on the legs and arms to make them appear thicker and to give more structure.
Backless couch from The Price

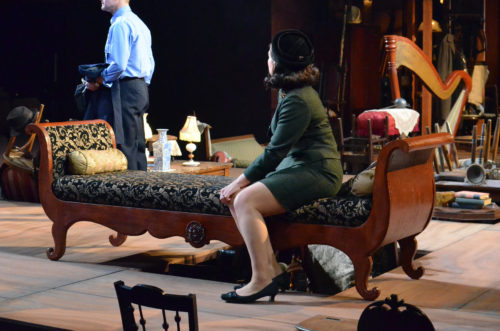
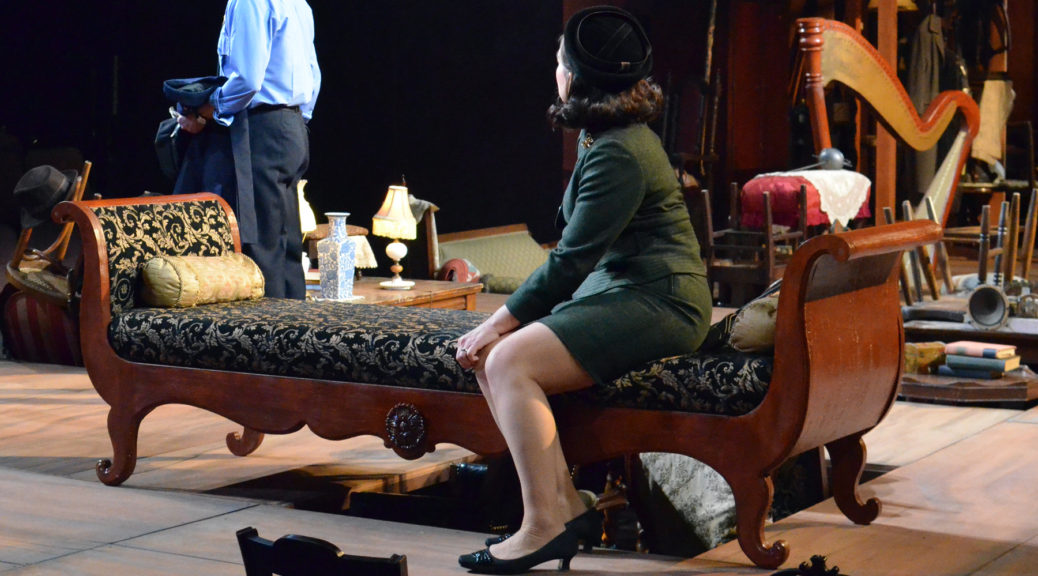
The inside panels of the arms were covered in fabric, while the outside panels were capped with a piece of wiggle wood. The whole thing was painted and covered in amber shellac. I found two rosettes in stock and added them to the center for that final decorative touch.

Breakaway Window Pane

A few months back, I did the props for Arms and the Man at Triad Stage. Set during the 1885 Serbo-Bulgarian War, the first scene revolves around a Swiss soldier breaking into the bedroom of a Bulgarian woman. The war rages around them, and at one point, a bullet shatters through the glass of her balcony door. That’s a prop.

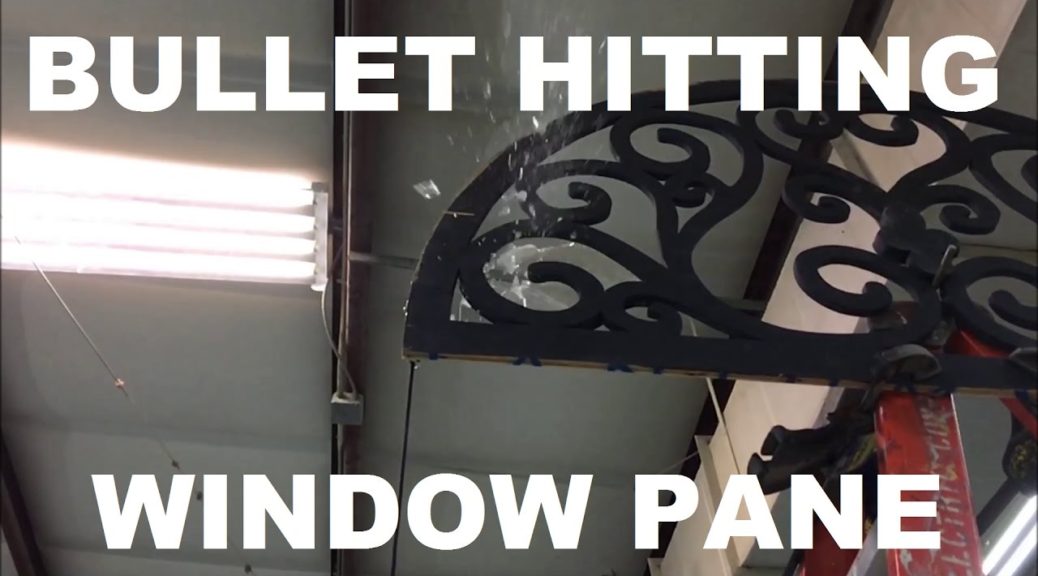
We not only needed to make a breakaway window pane that would fit the decorative transom, but I had to come up with a way to break it. Obviously, we couldn’t fire a bullet through it; we couldn’t fire any projectile through it because it was facing the audience. I needed something that could be triggered from offstage and remain hidden both before and after the trick. Luckily, the audience could not see the upstage side of the door unit. The video below shows the mechanism in action.

Essentially, I took a mousetrap and tied a nut to it. When triggered, the mousetrap flung the nut into the window, breaking it, and then it hung out of sight. The rest of the mechanism is simply to keep the mousetrap secure so it will not trigger prematurely, but also to make it easy to pull the string when the cue is called.

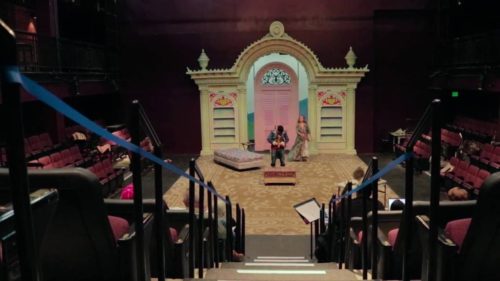
The Bedroom, Act One

The photo above shows the window in the context of the set. Somehow this is the best photo I could find.

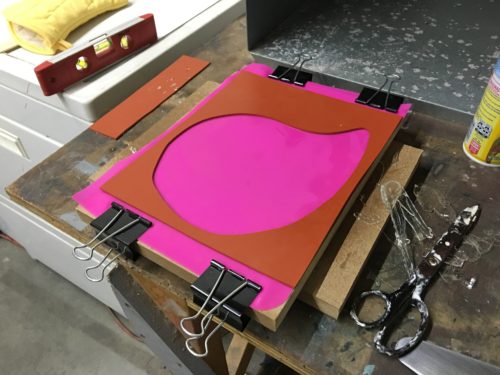
Glass mold
Glass mold

The window pane itself was made from isomalt, a sugar substitute which works a lot better for breakaways than traditional sugar glass. I get mine from Make Your Own Molds, but you can find it at many baking and confectioners shops since it is used for sugar sculpture on cakes.

For the mold, I cut the shape of the pane I needed out of a sheet of silicone rubber, and placed it on a silicone baking pad.

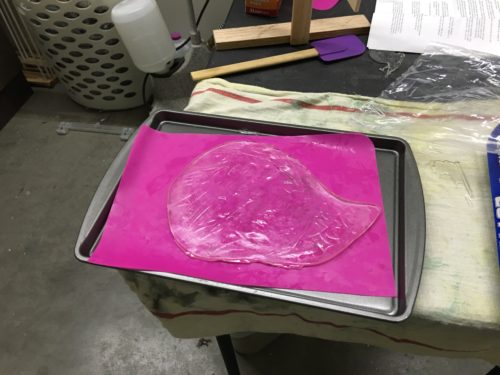
Breakaway glass pane

Above is one of my first attempts. The panes became a little clearer and smoother as I made more of them and experimented with the process. Below is a behind the scenes video put out by Triad Stage for this production. It has a bit of footage showing me making the breakaway window panes.

The effect was eventually cut during tech. The scene was rather dark, so the audience could not see the glass breaking. The setup and cleanup of the effect was not worth the little it added to the scene, so it was replaced with a sound and lighting effect.

Irma Vep Chandelier

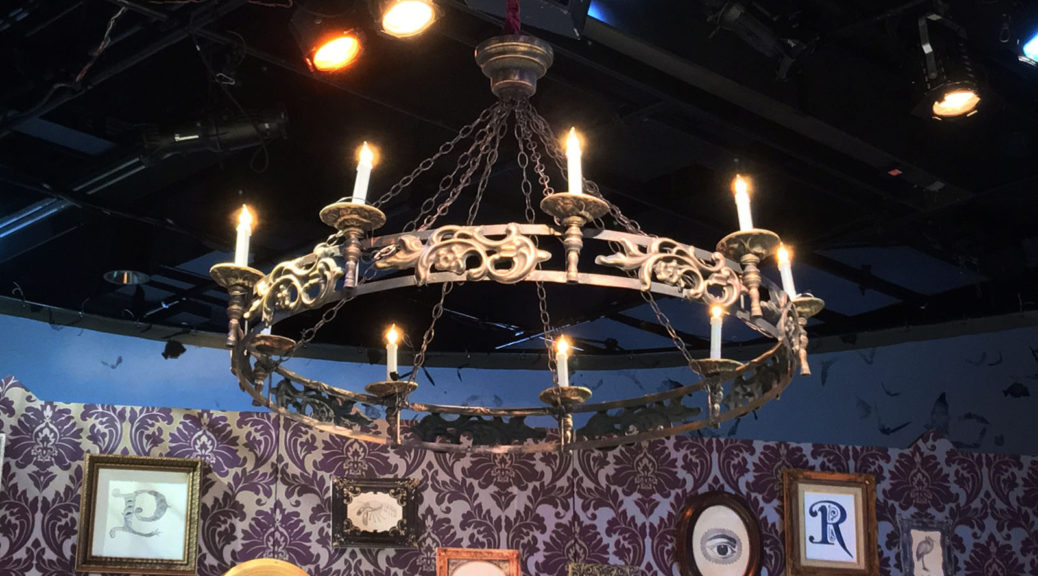
Triad Stage’s production of Irma Vep opened last Saturday. Anyone who has ever propped that show knows it has a ton of tricks and unique pieces. On top of all that, our production also had a massive Gothic ring chandelier. Our scenic designer, Robin Vest, drew a four-foot diameter chandelier with nine candles. I knew I would never be able to afford such a piece (even if I could find it), so it was off to the shop to construct it from scratch.

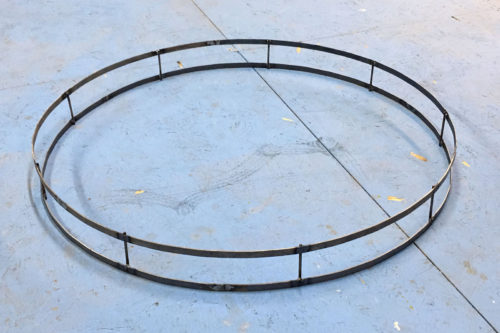
Steel frame
Steel frame

First up was the ring itself. I bent two bars of steel using my ring bender, and welded them into a single wheel connected by short rods of steel.

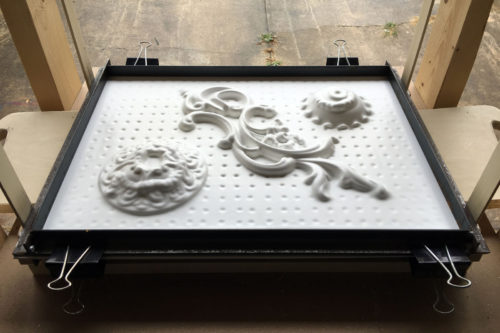
Vacuum forming bucks

I needed some bobeches for under the candles and some scrollwork around the ring. I decided to fire up my new vacuum former for the first time and make all those pieces out of plastic. I already had some bobeches and a carved floral scroll-y piece that I was able to use as forms.

Formed plastic
Formed plastic

Each sheet of plastic fit one bobeche, one scroll piece, and one smaller bobeche for some sconces I was also altering. I pulled nine sheets, and then cut out all the pieces.

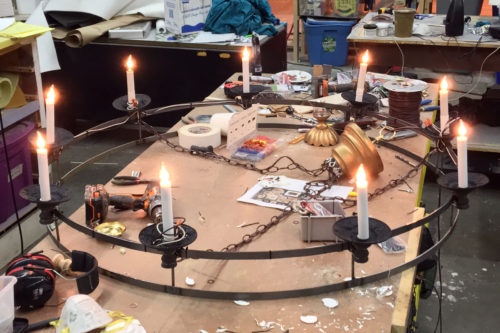
Wiring the lights
Wiring the lights

The candlestick holders were wooden pieces I picked up at the craft store. I attached them to the ring and then wired the whole thing together. The candelabra sockets had small tails of wire, so I wired three together, than ran some lamp cord up the chain to the center hanging piece. With nine candles, this meant I had three pieces of lamp cord running up the chains, and those three were wired together inside the center piece to another longer piece of lamp cord that the electricians could attach a plug to. The bulbs were 7 1/2 watts each, so the whole fixture was only 67.5 watts, which made lamp cord totally fine for this.

Painted pieces
Painted pieces

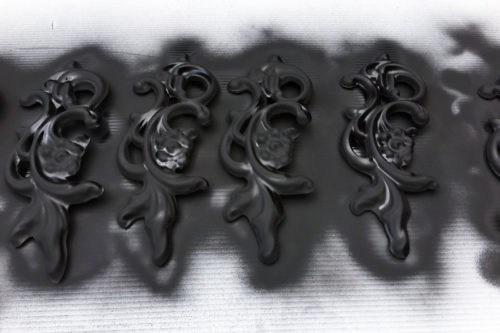
I spray painted all the plastic pieces before attaching them. Once everything was assembled, I drybrushed some bronze acrylic paint over the whole thing, and then it got some gold paint highlights.

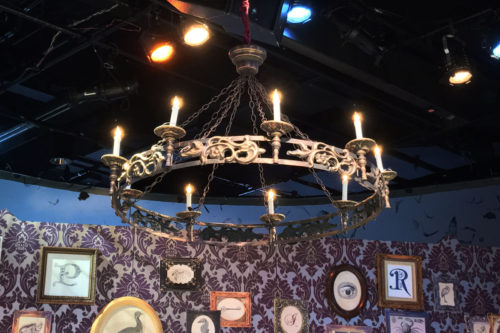
Irma Vep chandelier
Irma Vep chandelier

It’s the spookiest, scariest chandelier ever!

Elephant Puppet Heads

Last week I showed you the Lion Puppets I made for Triad Stage’s Beautiful Star. Today you can see how the Elephant Puppets were done.

The idea was similar; they were designed to look like a giant papier-mache head with a flowing fabric body made of silk.

Stack of foam
Stack of foam

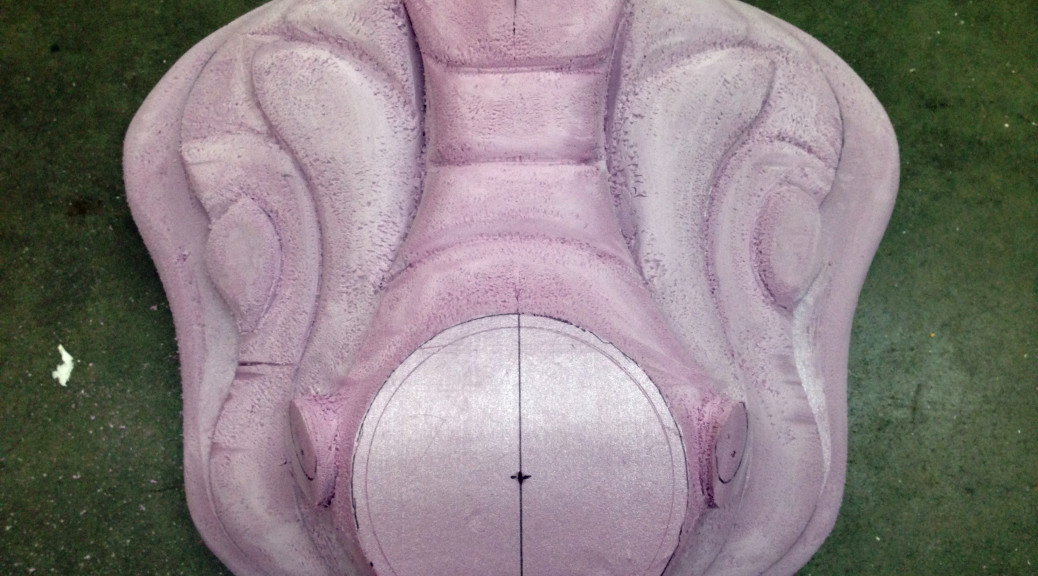
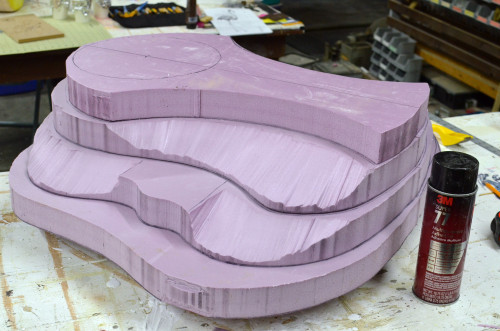
I made this one from a stack of insulation foam sheets. I cut their outlines and did some beveling with the hot wire cutter before attaching them together. This helped establish the proportions and maintain some symmetry.

Someone in the shop told me that Spray 77 would work well to stick them together. I thought it would eat into the foam, but I was surprised when I tried it. It attacked the foam a little bit, but it made a pretty strong bond.

Shaping with a rasp
Shaping with a rasp

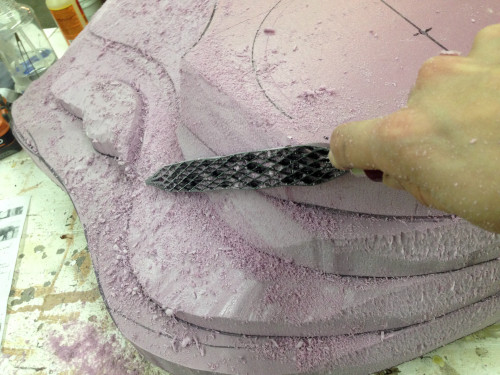
I began shaping the foam with a mix of snap-blade knives and surform tools. I also tried out one of my newer purchases, a saw file rasp. It is made up of a bunch of criss-crossing saw blades, making it very aggressive in removing material. It is completely open, though, so all the foam passes right through rather than clogging it up. Very nice.

Carved elephant head

The finished foam piece may look a little funny, but that is because it doesn’t have a trunk or tusks. The trunk was going to be a piece of silk which the actors can manipulate, and the tusks would be separate pieces of Wonderflex. This piece of foam was now ready to use to make Wonderflex shells for the head.

Wonderflex head
Wonderflex head

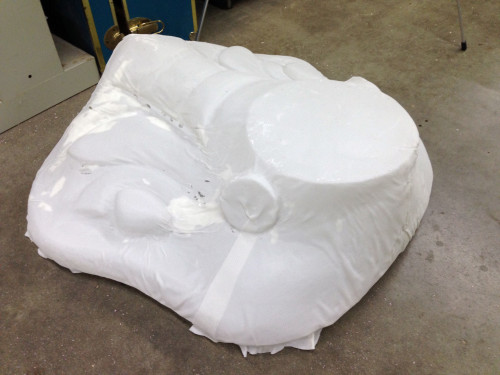
I covered the foam piece in aluminum foil so the Wonderflex would not stick to the foam. I’ve tried other methods, like coating the foam in plaster or using Vaseline as a mold release, but the aluminum foil is so much faster and easier. The Wonderflex does not pick up enough detail for the texture of the aluminum foil to show, and it peels off the back of the Wonderflex piece pretty easily.

Painted with tusks
Painted with tusks

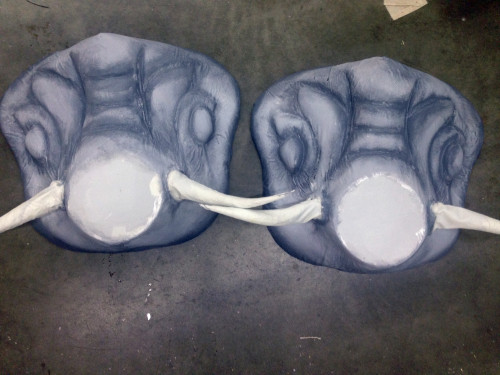
I had a set of bull horns in stock which I used as a form to make the tusks out of Wonderflex.

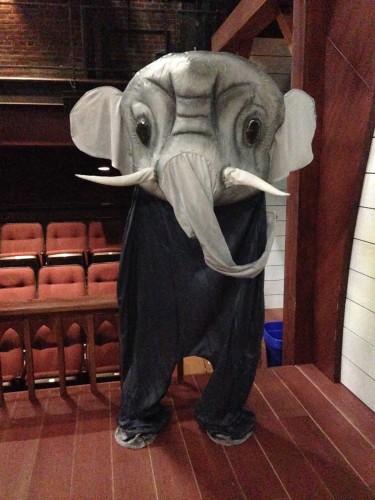
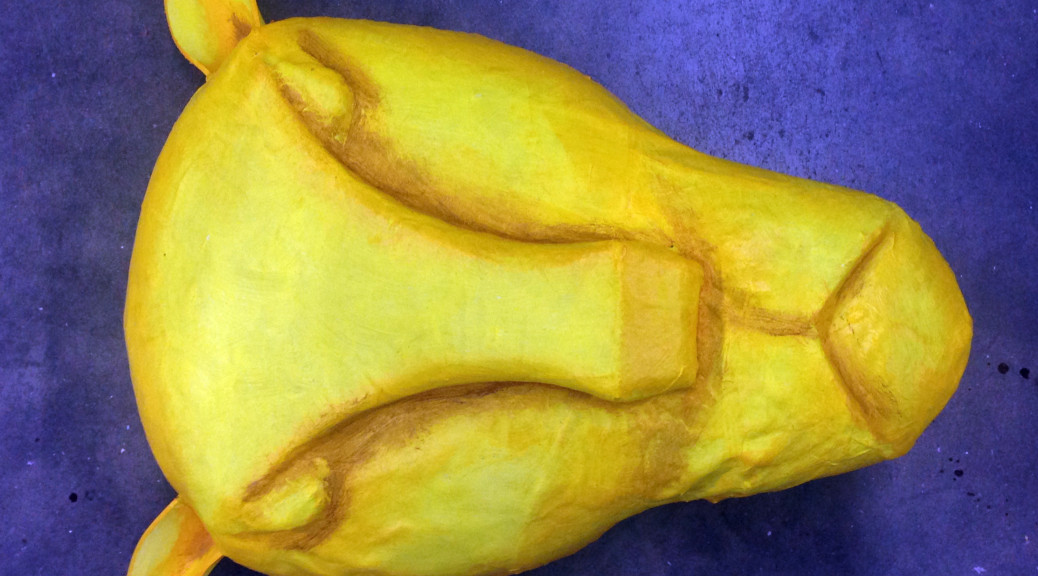
Elephant puppet. Photo by Lisa Bledsoe.

My assistant Lisa made the ears, trunks, and legs out of China silk. During the performance, the elephants flew down on a line from the catwalks and hung there. The actors could grab a stick that was attached to their trunk to make the trunk dance around.

Lion Puppet Heads

Triad Stage’s holiday show this past year was Beautiful Star: An Appalachian Nativity. It was one of their most popular shows from before I started working there, so they decided to bring it back. It had a whole new design though, including some all new puppets. The lion puppets are the first ones I’ll show you.

Drawing the Lion
Drawing the Lion

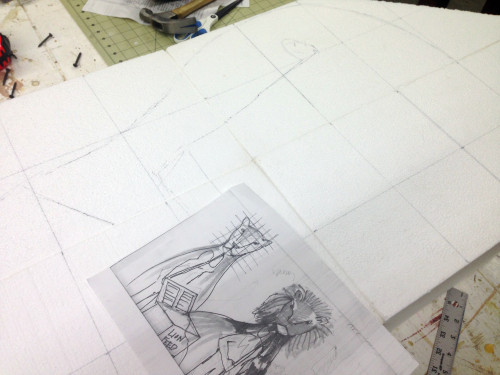
Robin Vest, the scenic designer, made the drawings for the lion puppets in the photo above. They were for the Noah’s Ark scene, so we needed two. She wanted them to look like folksy papier-mâché puppet heads with floaty silk bodies. I decided to carve a head out of foam to use as a form for Wonderflex.

Using the hot wire
Using the hot wire

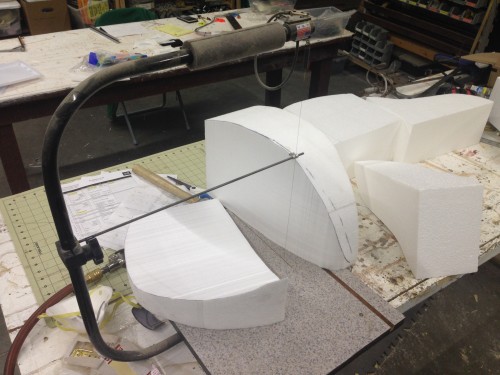
I used my favorite kind of foam: free. It was polystyrene foam and the pieces were fairly big, so I broke out our hot wire cutter to cut the initial shapes. I pieced it together from a few pieces since it was so big; it also made it easier to maintain symmetry.

Carved form
Carved form

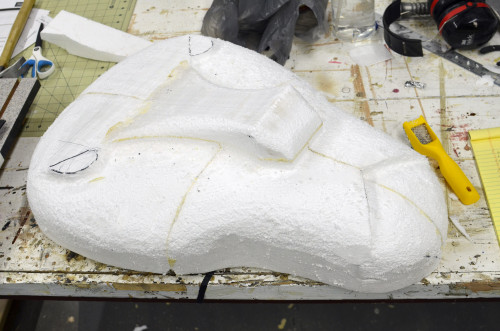
The pieces were joined with Gorilla Glue, which works great on foam. The rest of the carving was pretty standard stuff; lots of Olfa snap blades and carving with the surformer. When it was finished, I had a form that I could use to make as many lion heads as I wanted.

Shaping the Wonderflex

Next up was the Wonderflex. If you’ve never used it, it’s a low-melting thermoplastic sheet with an embedded fabric mesh. You can heat it up with a hot air gun and it becomes flexible, but it is still cool enough to shape with your bare hands. I used it because I could quickly form a mask-like shell around the form that would retain its shape but remain light-weight. It also cools down and is ready to paint in just a few minutes, unlike papier-mâché, which can take a few days to dry.

Shaping the ears
Shaping the ears

I made the ears out of more Foamies. I still don’t know whether this is XLPE or EVA foam, but it doesn’t matter, it’s great stuff. It can be shaped with heat, too. I curved them over a PVC pipe, heated them up, and they maintained that little curl when they cooled down.

Painting the lion
Painting the lion

I ended up doing a single layer of papier-mâché on top of the Wonderflex to give it the right texture and to cover up some of the seams. I used butcher paper dipped in Rosco Flexbond so it would remain somewhat flexible when dry. That way, no matter how many times it got pulled in and out of its crate during the show, it would always bounce back to its proper shape.

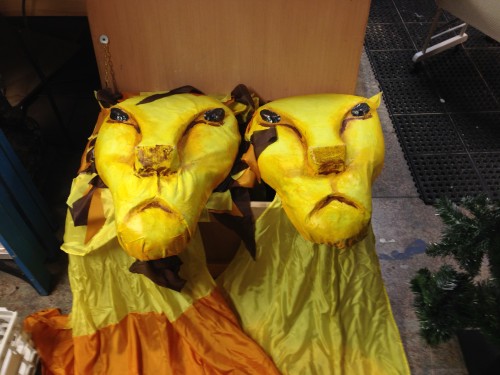
Finished Lions. Photograph by Lisa Bledsoe.

My assistant, Lisa Bledsoe, cut and sewed the long silk bodies and made a fun mane for the male lion out of small pieces of silk. The show is coming back next holiday season if you wanted to see them in action!