Tag Archives: table saw

10 Things to Know about your Table Saw

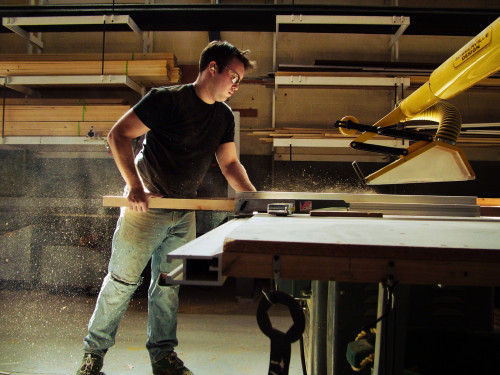
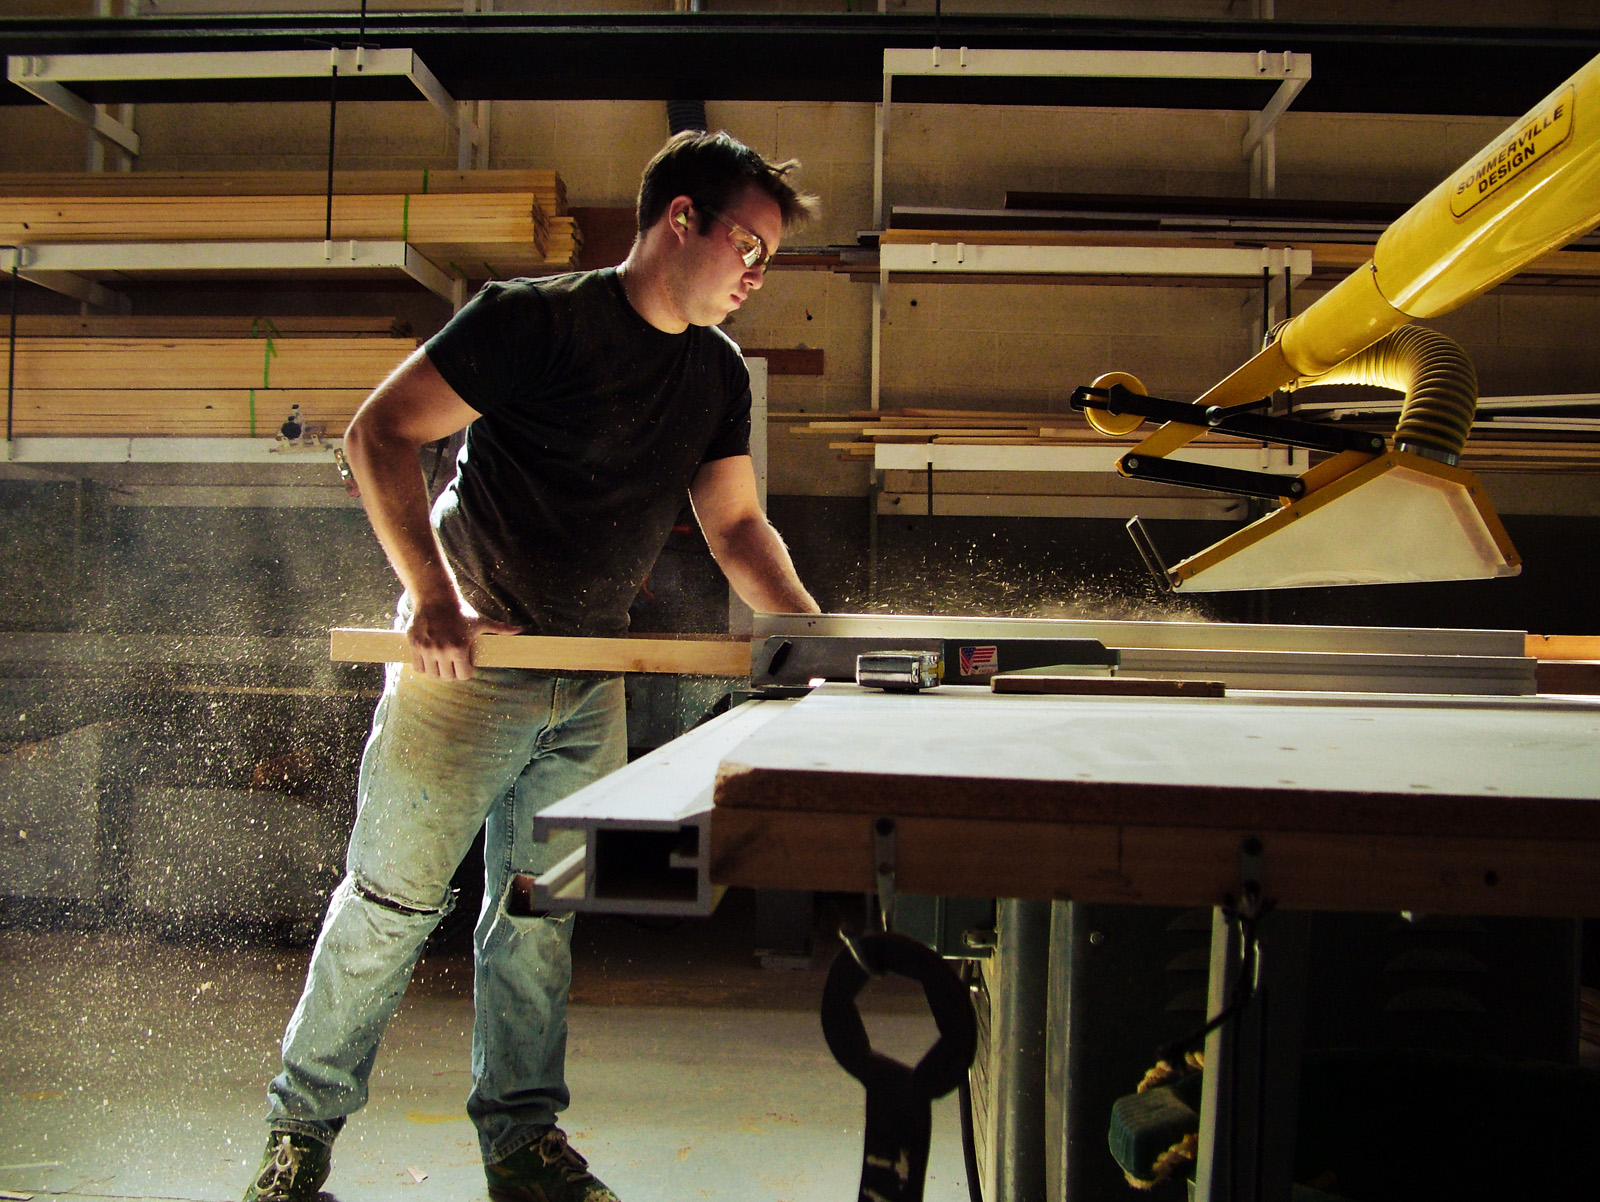
Stephen Dobay using the table saw.

1. There are two main types of table saws: contractor and cabinet.  Contractor saws are lighter and cheaper, and often built to be portable. They are also usually less exacting and have less power. Cabinet saws have an enclosed “cabinet” base, making them quieter and easier to use dust collection on. Compared to contractor saws, they typically have a larger table size and are more precise, but can be far more expensive, and are definitely not portable. They also typically require a 220v outlet. Most permanent props shops use cabinet saws, as contractor saws are not sturdy enough on their own to handle full-size sheet goods. Some manufacturers are now making hybrid saws, which capture features from both. You can also find hobby saws in specialty shops, which are small and fit on a table top. They can be useful for small projects and model work (though a full-size machine can also do this work with the proper setup). Hobby table saws range from cheap and inaccurate toys, to highly precise machines packed into small bodies.

2. Watch for kickback. While a SawStop can prevent your fingers being cut off (a very expensive accident), the most common injuries on a table saw come from kickback, which is when the spinning blade catches the material and flings it back at you. Never stand directly behind the piece you are cutting, but rather, just to the side. And never, ever let go of the wood while it is in contact with the blade; even if kickback is in progress, you have more control if you keep hold of the board than if you panic and let go. A splitter, or “riving knife”, is the single most effective method for preventing kickback. Never force the wood through; the blade may be too dull, or it may be binding, either of which can cause kickback. Pay attention to the sound of the blade; if it is whining or sounds like it is slowing down, you’re getting close to a kickback.

3. Double-check your measurements. Always measure from the fence to the blade, especially when using a particular saw for the first time. The ruler which is attached to the fence rail may not be accurate or precise. Only when you are certain the ruler on the machine is accurate and precise should you use it for setting your fence.

4. Keep the wood in place. Your wood (or other material) needs to be held snugly against the rail and down against table. Use featherboards or other attachments to hold your wood if your fingers will get too close during a cut. Featherboards are especially useful on miter cuts. Push sticks and push shoes are also vital accessories for holding your material snug and keeping your fingers away from the blade.

5. Never wear gloves when cutting. If a bit of the glove, or even just a single loose thread, gets caught by the spinning blade, it can be pulled into the blade, which will catch more of the fabric and pull more of the glove into the blade. This creates a vicious chain reaction where your entire hand can be pulled into a spinning blade within a fraction of a second. Without gloves, the blade cuts through the skin or bones before being able to grab on and pull more in. On this same note, avoid rings, ties, necklaces, loose hair, apron strings in the front, &c. If you are wearing long sleeves, roll them up tightly before using the table saw.

6. With the correct jigs, you can do almost anything on the table saw. You can cross-cut, cut slots and channels, cut patterns, cut tapers, cut circles, taper long boards, make cove molding, and much more, and you can do it all safely. For tricky cuts or complex operations, it will actually take longer to set up the tool than to carry out the actual operation.

7. Maintain the top of your table. Rust will slowly damage the top, making it hard to push material through. It will also discolor your wood. Clean the top with metal cleaners, or even steel wool for stubborn rust spots. When clean, you should wax and polish it to prevent further rusting. Paste wax works well, particularly carnauba-based wax; anything made for cars will work as well. A freshly-waxed surface will also make your materials slide through the saw much more effortlessly.

8. Watch where your wood goes. Never start a cut until you know that the wood can go all the way through without falling off the edge or hitting an obstacle, and that you can reach it and keep hands on it at all times. Use stands, outfeed tables, or a friend when necessary. You may wish to “walk-through” a cut first, to check all this before you cut. Do not forget that the balance of the wood will change after it is cut into two pieces; where a full-size piece may rest comfortably on your table, the off-cut may tip off the side.

9. Use the right blade. Some blades are made for ripping, some for cross cutting, while more specialty blades exist for cutting veneers, laminates and plastics. For most props shops, you will be ripping and cross-cutting plywoods and soft woods throughout the day, and constantly changing the blade will be inefficient, so invest in a good combination blade that will work for the majority of your most common operations.

10. Set the correct blade height. Your blade should be high enough so the gullets of the teeth (the spaces between the teeth) are at or just below the top of the wood’s surface. This allows the blade to clear sawdust and introduce fresh air into the cut, while minimizing the amount of exposed blade to your fingers.

A Friday of Links

This photograph of a country store from 1939 has all sorts of amazing things going on in it. I could look at it for hours. The whole website it comes from, Shorpy Historical Photo Archive, is a treasure trove of imagery like this one, and all of them can be viewed at incredibly large sizes so you can spot every little detail.

At the other end of history are Trevor Traynor’s photographs of contemporary New York City newsstands.

This short blog post up at Popular Woodworking taught me some interesting things about how British table saws are different from American ones, particularly in the safety features. I think the fence that stops at the blade is an interesting concept, and would love to try it out.

Have you heard about this? A team of people out in Tennessee are building a full-scale replica of the Millennium Falcon from Star Wars. That’s a 114 foot long spaceship for those who don’t know. What’s great is that if you look back through the blog, you can see that work began on this over six years ago, and now there is some hard-core construction going on nearly every single day. It looks fairly certain that they can pull this whole thing off.

I tweeted this earlier in the week, but if you missed it, NPR had a great story about faux food artisan Sandy Levins, who recreates historical dishes for display at George Washington’s Mount Vernon estate, New York’s Lower East Side Tenement Museum, and many other museums and historical sites.

Box Elder Boxes

Welcome back, everybody! I hope the holidays went well. There is a lot of great stuff on the way for this blog as we count down to the release of The Prop Building Guidebook, one of the first guides to building props to be published in a decade, and one of the most complete ever.

Today, I wanted to show off some boxes I made as Christmas gifts. These were done awhile ago, but I did not post them because the recipients read this blog. It was interesting working with “nice” wood and building an item the “real” way, because it makes you realize how many shortcuts you can take in prop making, and how much you can get away with when an object is only viewed at a distance from the audience.

Not that the props I and others make aren’t well-made; frequently, they are sturdier and more polished than many items you can find in the store. But there is a difference when the item you are making will be held up close, and any joints that are a bit proud can actually be felt, or an errant glue drip on the inside will be studied closely.

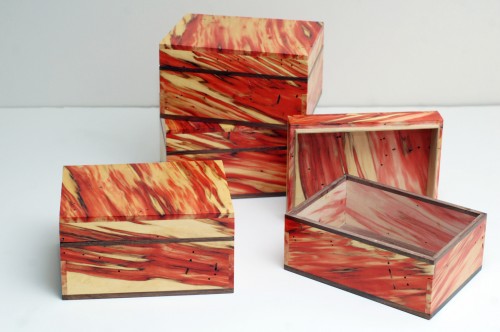
Four boxes made from box elder.

I used an exceptional piece of box elder for these boxes. You can see in the open box above, the inside is completely unfinished. The polyurethane coating adds a bit of contrast and depth to the surface, but otherwise, that is the natural color of the wood. The red streaks comes from a fungal growth. Box elder is rarely harvested commercially, because it grows in flood plains. Many people do not realize it can look like that on the inside, so they just burn it as firewood or turn it to mulch when they need to get rid of a box elder tree that has fallen down or died.

I found my pieces at a local sawmill that specializes in salvage lumber. The sawyer had rescued a bunch of box elder trees when the park services cleared a riverfront. My wife and I saw this wood at a wood show awhile back and were asking questions about it. The next day, we returned to the show and the sawyer had set aside some particularly bold pieces of the box elder for us.

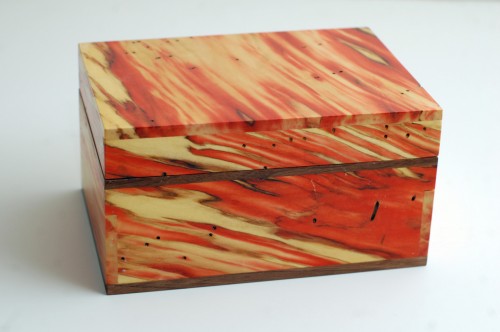
A box made from box elder.

I used a piece of walnut for the bottom and as an accent around the lid opening. The boxes were cut entirely on my table saw. As I mentioned above, I finished them with a few coats of polyurethane; specifically, I used spar varnish because it imparts a lot of UV protection. The red coloring will actually fade away when left in direct sunlight, which would be a shame.

Some Links for You

I like this photography series called “Much Loved”. The photographer took photographs of teddy bears and similar toys which have been cherished for decades by their owners, and wrote a bit about their back story as well. It’s great research not just for teddy bears from 50-70 years ago, but also for the kind of extreme distressing and aging that these archetypal and cherished “favorite toys” can go through.

Some more interesting research can be found with these color photographs inside Nazi-occupied Poland, circa 1940.

A whole subculture exists of prop makers making replicas of objects which exist in popular video games. Here is a great step-by-step build of a dagger from Skyrim. Though the end result is a bit “plastic-y”, the process shots show some interesting techniques and use of materials.

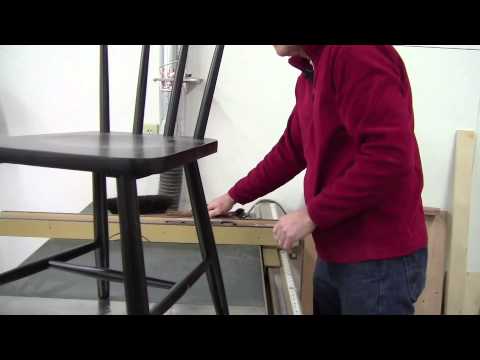
Finally, here is an interesting solution to the age-old problem of four-legged furniture that does not sit flat. When your tables or chairs rock, try trimming one of the legs… on the table saw:

Friday Errata

Sorry for the scant list of links today; I have to get back to budgets and sourcing and stuff. I have some pretty cool projects in the works, though, which I will be showing off on this blog in the coming weeks.

Remember how California was considering legislation to make flesh-detection technology (like the “Saw-Stop”) mandatory in all table saws sold in the state? Well, it looks like that bill is dead. So, for now at least, you do not have to worry about your new table saws becoming several hundred dollars more expensive to protect untrained hobbyists.

This M*A*S*H site has a few articles about some of the more iconic props from that series, such as this one on the appearance and evolution of the homemade still. Lots of photographs illustrate the story of this wonderfully intricate prop.

Any practical use by us prop makers is probably some years off, but this article claims that wood pulp is the new wonder material. Nanocrystalline cellulose (NCC), which is processed from wood pulp, not only has a strength-to-weight ration which is 8 times greater than stainless steel, but it is also transparent and can be made from waste material (sawdust), recycled wood or even twigs and branches.