Tag Archives: styrofoam

Good Friday Links

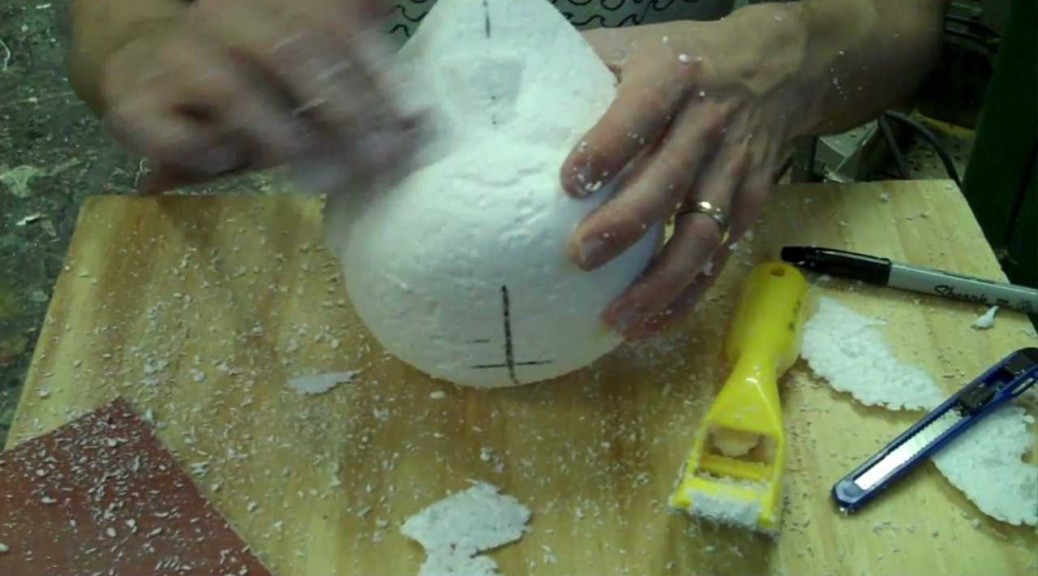
David Neat starts us off with making smooth shapes from Styrofoam. He’s dealing with the real-deal Styrofoam here, not that white bead foam stuff. And sure, this article is over a year old, but it has some really useful techniques.

Bill Doran has a helpful video on adding rust to your props. Ninety percent of the time when I show a completed prop to a designer, they say, “that’s great… once we age it down a bit.” Knowing how to weather, age, distress or generally tone down props is an essential skill for a props person, and adding rust is one of the ways to do this.

Make Magazine takes a look at some Maker-Friendly hardware stores from around the US. It’s a fascinating look at the vast array of materials a store might choose to stock, as well as a sobering reminder of how awesome hardware stores used to be to those of us whose only local options are Lowes and Home Depot.

I covered some basic stitching for fabric in my Prop Building Guidebook, but if you get into embroidery and ornamental stitching, there is a whole other world of ways to manipulate needle and thread. Tipnut has some great vintage illustrations of ornamental borders and the basic stitches to make them happen.  It’s a relaxing project for when you are bored in tech and the designer wants the napkins to be “fancier”.

Finally, here is an article called “The Most Important Lessons in Woodworking“. Robert Lang uses his experience cutting plugs as a lesson in woodworking in general, and I think this lesson can be expanded out to prop making in general. It’s not just about how to use specific tools or techniques, but how to approach your whole project in the most efficient and easiest manner possible.

 

A Capital Idea

Last week I got a call from Triad Stage, a theatre over in Greensboro, NC, to do some carving for the scene shop. I had done some foam carving in the props shop last autumn, and when another project came up, they thought of me.

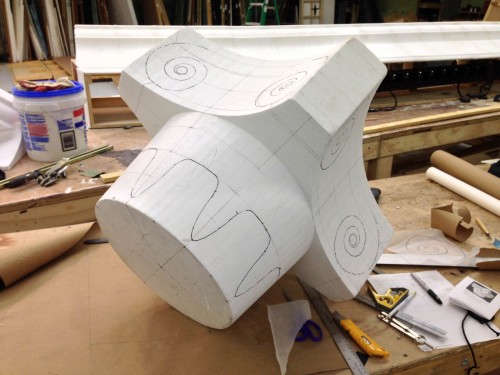
Layout on the blank
Layout on the blank

They already had a blank cut to size when I arrived at the shop. This blank was cut by the foam manufacturer, and was made of two pieces glued together (it looked like they used a 2-part polyurethane foam, or even just Gorilla Glue as the adhesive). This helped immensely in getting me started, since the piece was already symmetrical and scaled to the size they wanted. I started by dividing the piece into equal pie shapes and transferring the design from the research onto the foam.

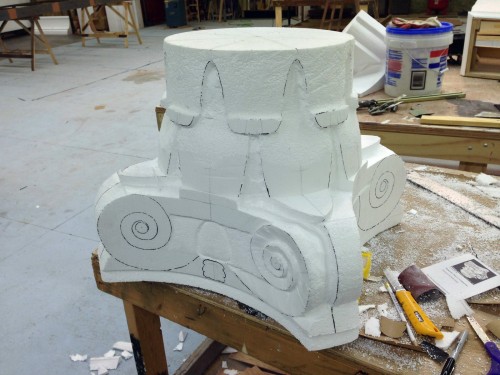
Beginning the carving

The foam they gave me was a 3 lb EPS foam, which was a lot denser than anything I had ever used before. Basically, EPS foam comes in a variety of densities, with 1 lb, 2 lb and 3 lb being the most common. The numbers come from the weight of one cubic foot of foam. So 3lb foam has three times as much polystyrene packed into the same area as 1 lb foam. Of course, EPS is the beaded foam, so it is still trickier to get a smooth surface than it is with either blue or pink foam, but those are not readily available in large blocks like this.

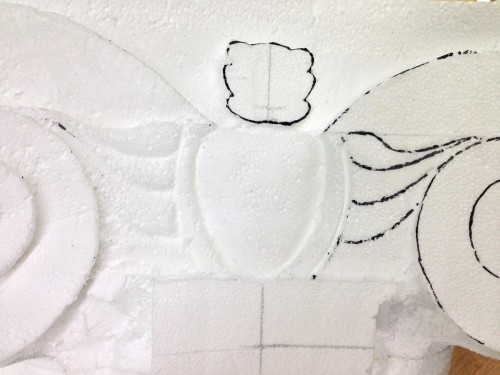
Adding details
Adding details

The designs on this style of classical capital are very symmetrical and repetitive, so I really only had to draw out one half of one side, and then just trace and transfer it to the other seven halves. I carved the whole thing mainly with my snap-blade knife, surform, sandpaper, and a big ol’ half-round bastard rasp. I broke out a router a couple of times to clear out some of the deep pockets; the router also helped me cut to a consistent depth around the whole piece.

Coated
Coated

Since the capital was being placed on a column high above the set and was not going to move or be handled during the show, I opted for a simple coating of joint compound to keep the cost and time down. I basically applied just enough to give it a smooth coating and a nicer surface for paint.

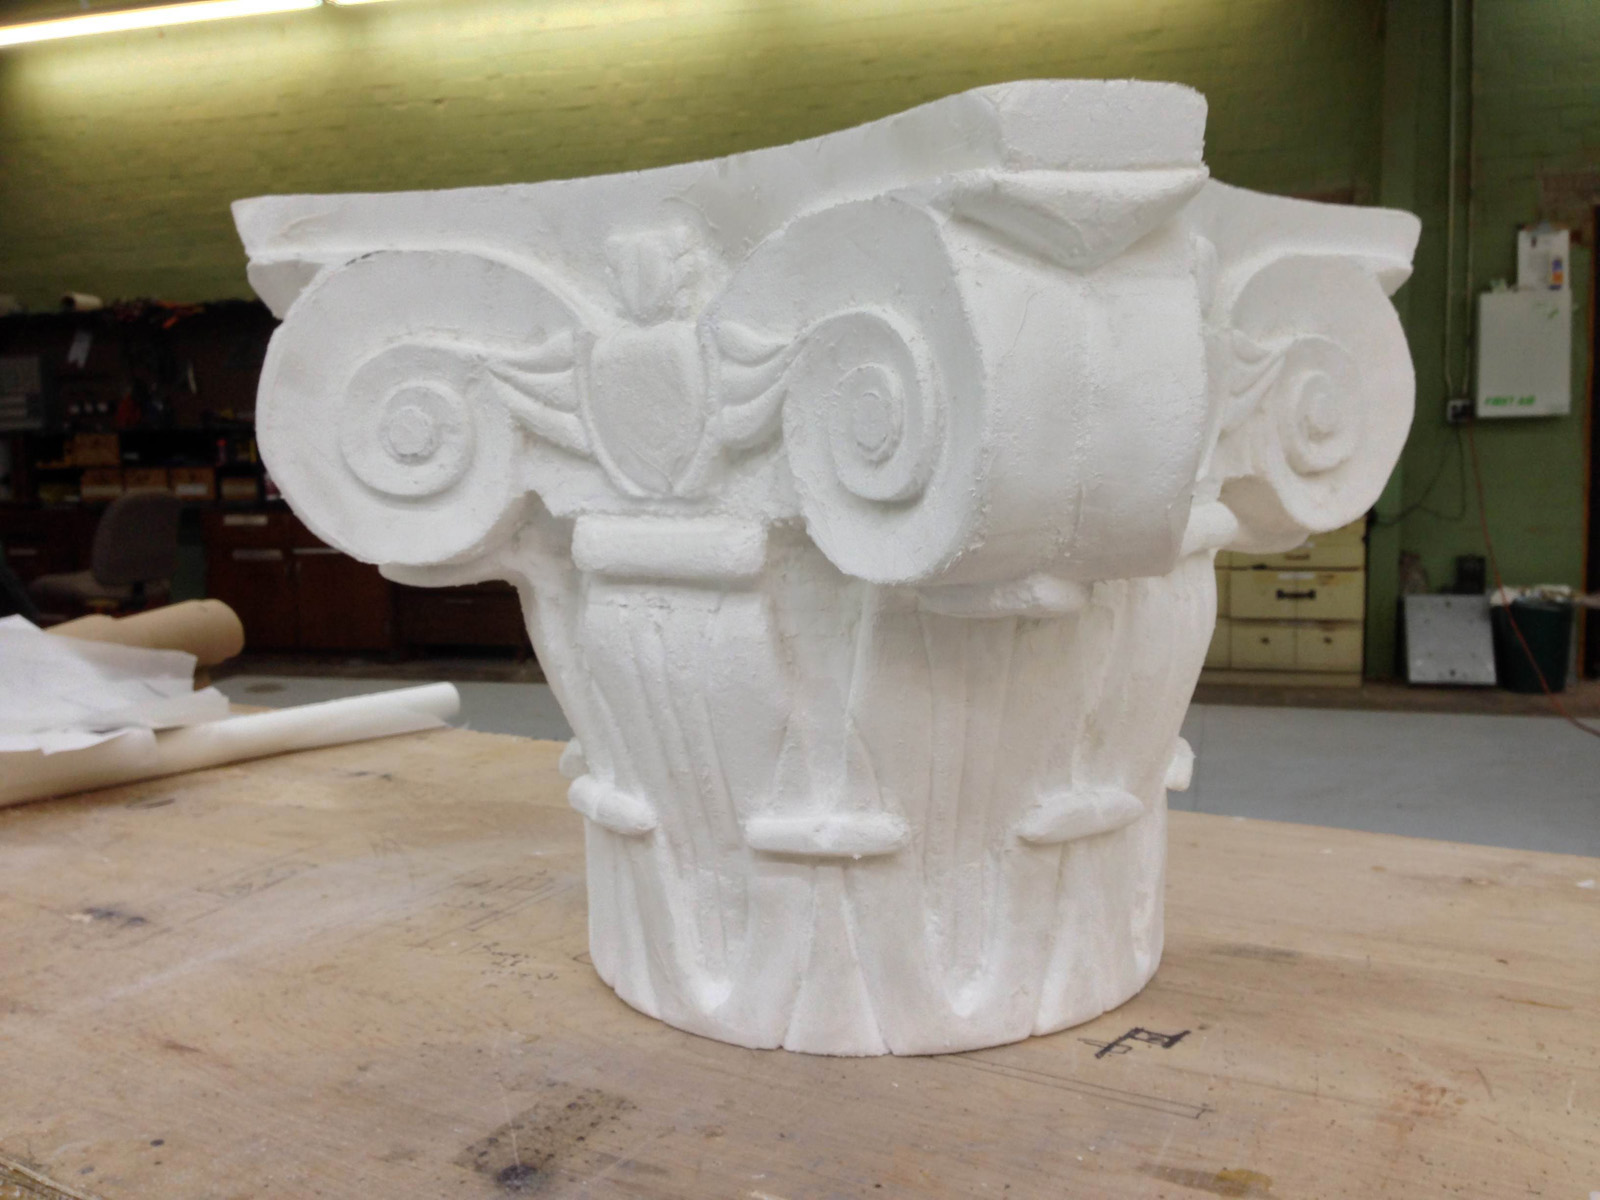
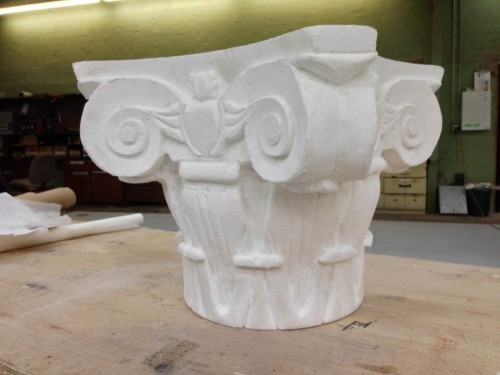
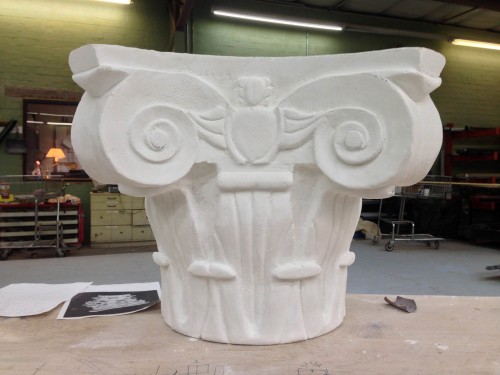
Finished capital
Finished capital

The design on this capital was greatly simplified to allow it to be carved in about half a week. Because it was going to be painted black and be placed high above the set in the shadows, it just needed to hit the high points of the shape so the audience would go “oh, there’s a fancy thing up there.” Or at least, that’s what the audience in my head says after the show.


Elevenses Links

Happy October 29th! Or for those of you on the Gregorian calendar, happy 11/11/11!

From Ryan Voss comes this fantastic-looking blood recipe based off of Crayola washable markers. They said they used it in a production where a character in a white wedding dress was covered in blood every night. (h/t to Propnomicon)

So Field & Stream, of all places, has a behind-the-scenes look at the props of AMC’s upcoming western show, Hell on Wheels. They focus a lot on the guns used and how they achieved the many gun effects in the show, but be sure to make it to the bottom of the article, where they have a video on building an entire train. That’s right, an historically-accurate steam locomotive made of styrofoam, wood and a fog machine. I thought my cannon was cool, but this is simply amazing.

You’ve seen some of this before on my blog, but Rosco shared a more in-depth look at how we made the portraits for Bloody Bloody Andrew Jackson.

This looks strange and promising. Autodesk has a free preview of their 123D Make software, which will turn a 3D computer file into something you can print out, cut apart, and assemble into a three-dimensional object. They have a video which does a better job explaining it. The software is only available for Mac, and it is only free until February, so if anyone with a Mac tries it out, let me know how it goes.

Mantle Studios has a very well-made tutorial on sculpting with wax. I’ve done a bit of wax sculpting, but nothing approaching the level of detail in this tutorial.