Tag Archives: PVC

Special Saturday Prop Links

Happy Saturday, everyone. Unforeseen emergencies kept me from posting this yesterday, but have no fear, your props reading list is here:

If you somehow missed this article, Maria Bustillos had a great piece in Bloomberg Business called “How High Def is Changing Your Brain – and Driving the Prop Master Crazy.” It delves into how the increased resolution and clarity of film makes amazing props look like cheap plastic knock-offs. It has a fair bit of prop-making history in it, and some wonderful anecdotes as well (the bit about attaching the leaves from small carrots onto the bodies of larger carrots for a perfect carrot was something every prop master could recognize).

Rosco Spectrum has more on the 160 candlestick holders which Jay Duckworth constructed for Hamilton (now on Broadway!). Using his drill press as a lathe, and some FoamCoat, he made short work of this project. Jay, you know you have an actual lathe in your shop, right?

User Ratchet built a Recharger Rifle from Fallout: New Vegas and posted pictures over at the Replica Prop Forum. The process photos do a wonderful job showing how a few simple materials layered up on top of each other can quickly become a complex and interesting prop. The fantastic paint job helps a lot as well.

Finally, I saw this Giant PVC Centipede over at Instructables. It’s the stuff of nightmares, but it’s also interesting some basic hardware store supplies can transform into a fully articulated monstrosity.

Some Light Prop Reading

If you’ve ever wandered over to Dave Lowe’s blog, you may have noticed he’s a bit into Halloween. He has already began building props and decorations for his house this year. I got a kick out of this ghostly gravestone made of foam core and spray foam. Be sure to check his blog regularly for many more projects leading up to the big day.

Lewis Baumstark, Jr. made a fake crowbar out of a piece of PVC pipe and wrote an Instructable showing how he did it. It looks so devilishly simple and quick, especially if you don’t have the time or money to mold and cast one.

Chris Schwartz has scanned some drawings of English furniture styles throughout history and posted them on his blog. It’s a great aid for recognizing the style of pieces you find in the antique store, or for choosing furniture based on the period of the play you are doing. It’s also fun just to see how furniture has evolved in the last 800 years or so; a chest of drawers used to literally be just a chest.

Finally, Make Magazine has shared this wonderful short video of Dan Madsen painting signs by hand.

Gramophone Horn

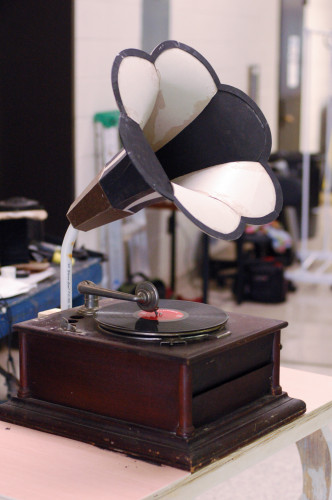
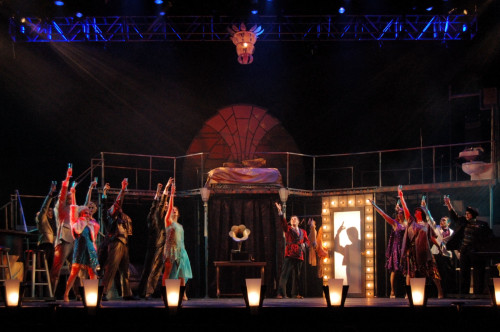
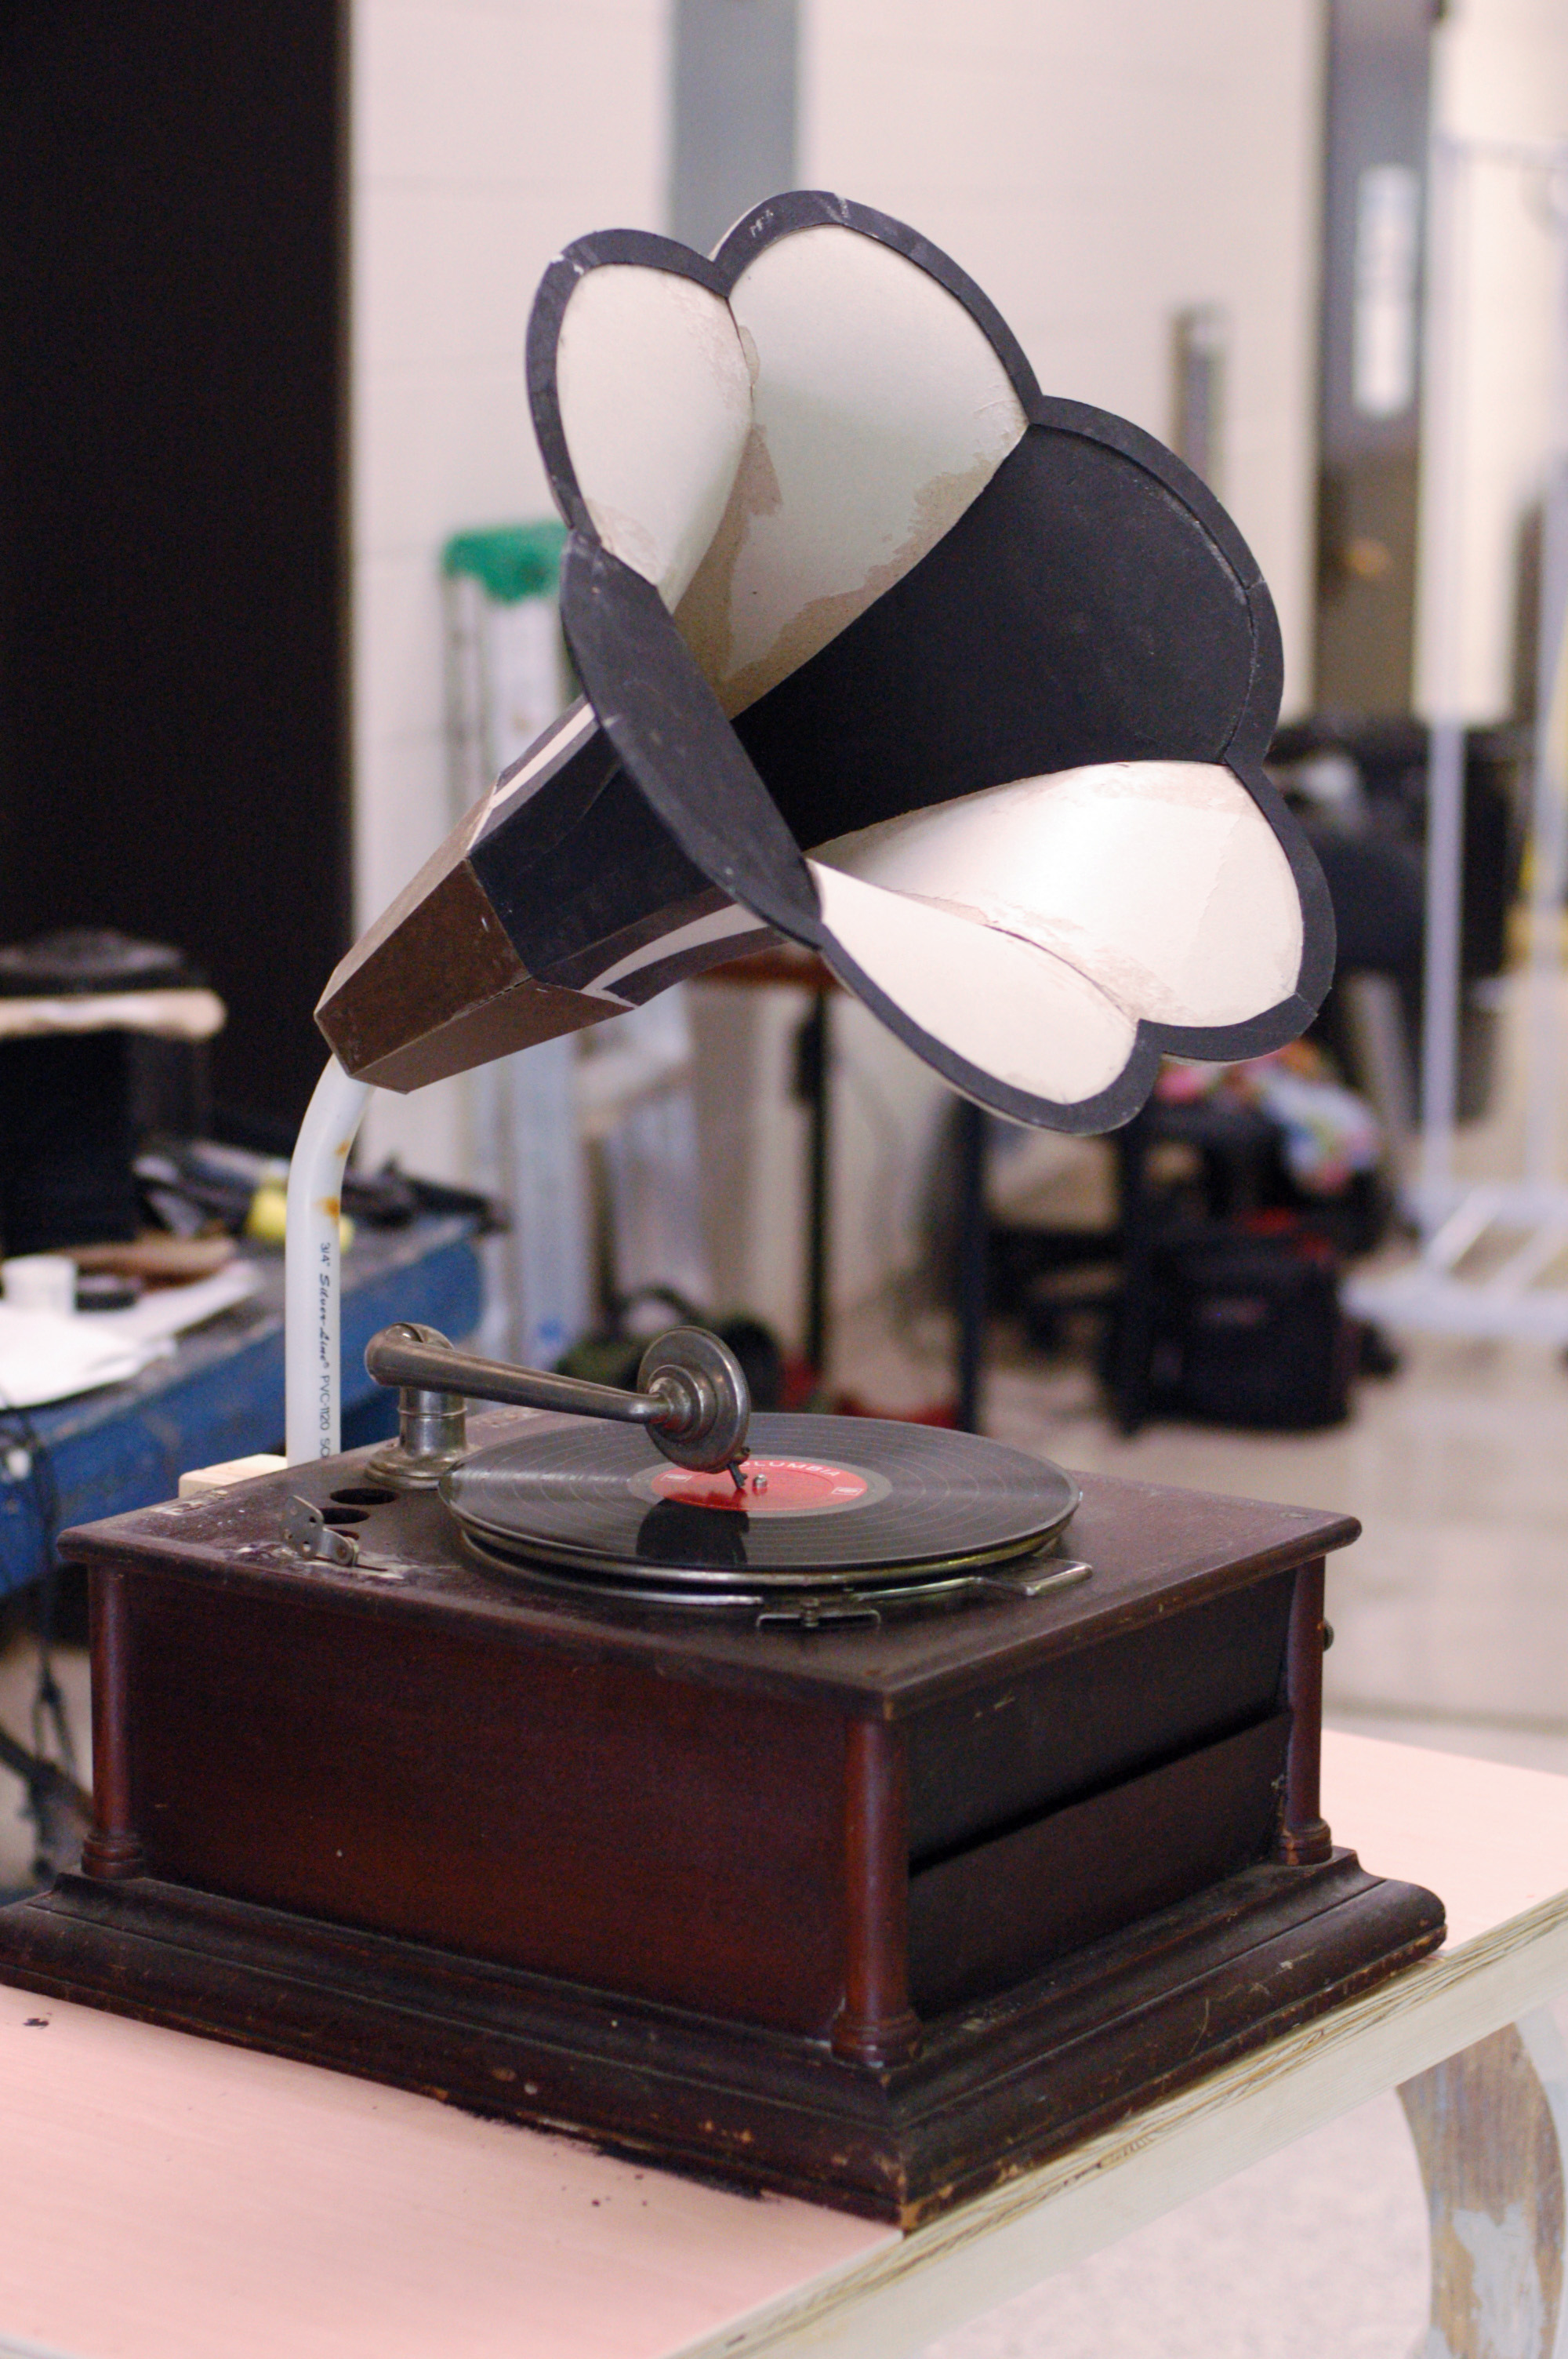
I did the props for Elon University’s Wild Party back in February, but I haven’t gotten around to posting pictures of a quick gramophone horn I made. The budget was tight and nothing was available to borrow or rent, so I decided to construct my own.

Pattern pieces
Pattern pieces

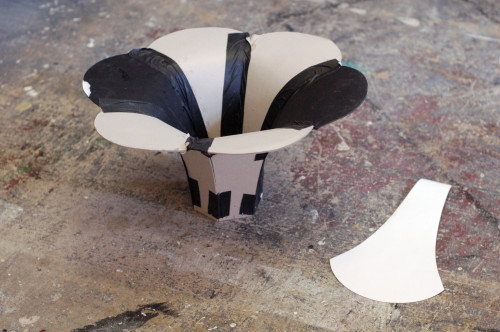
The style of gramophone horn we needed is made up of six “petal” pieces all connected together. Luckily, I found a drafting of the pattern piece needed online. I scaled it up and copied it six times onto some matboard (I used two different colors of matboard because that was all I had in the shop). I attached the bottoms of the pieces to a hexagon of plywood I had cut out.

Extending the back
Extending the back

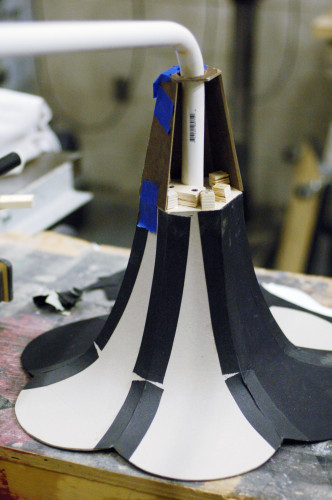
The horn was attached to a length of PVC pipe which I heated up and bent. The back of the horn needed to be longer, so I cut some trapezoids of Masonite to extend the shape back.

Mounting to the table

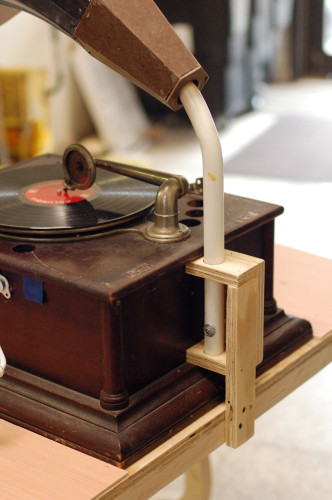
The record player itself was totally not the kind that would have a gramophone horn, so there was nowhere to attach it (a big apology to all you fans of historical accuracy). It was also a rental piece, so it could not be modified. Since the upstage side would never be seen, I attached the horn itself to the table, and built this little plywood bracket to hold the horn so it would look like it was coming out of the record player.

Almost finished
Almost finished

I cut out some matboard “trim” to run along the circumference of the horn to strengthen it and give it a nice clean edge. It was almost ready for paint, but the back of the horn still looked pretty bad.

Tapering on a curve
Tapering on a curve

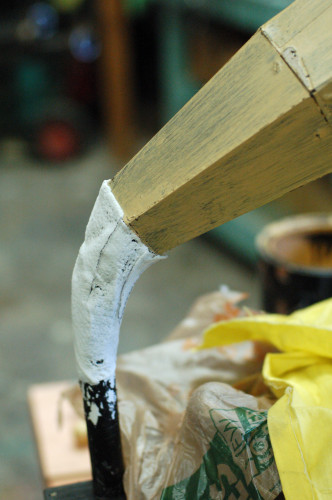
To finish off the shape, I needed a piece that could taper from the horn to the pipe, while curving around the bend in the pipe. The shape was also starting from a hexagon and ending up as a circle. Also, it was only a day or two before opening night. The quickest solution I could think of was to pattern a scrap piece of Wonderflex and wrap it on there. It needed some sanding and filling to make it smoother, but otherwise it worked like a charm.

Wild Party
Wild Party

So there you have it; a down-and-dirty gramophone horn made of paper and plastic.


Legend of Zelda Master Sword

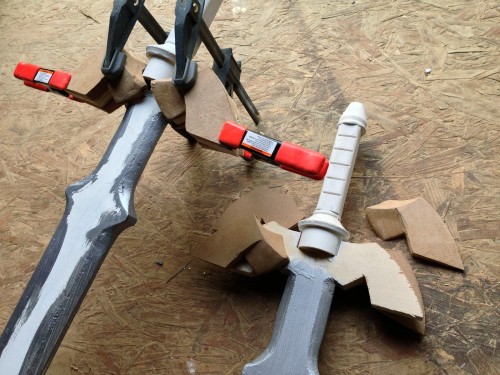
A while back I wrote about some rupees I made for a Legend of Zelda musical. The group doing the musical is called The League of Extraordinary Thespians, and I made a few more props for them, such as Link’s Master Sword.

Making the pattern
Making the pattern

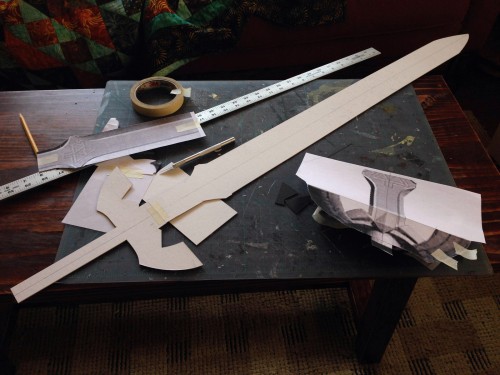
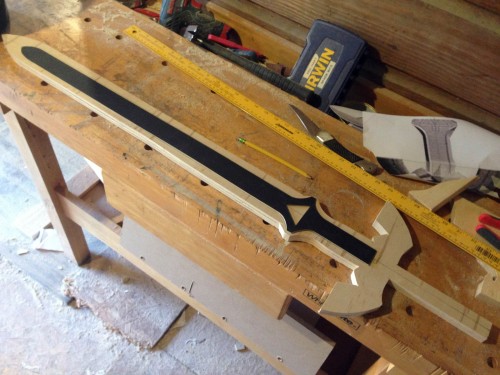
The musical is based off of The Ocarina of Time video game, so first I had to find some accurate reference images from the game. From those, I drew out a paper pattern for the blades.

Layout for bevel
Layout for bevel

After cutting the pattern out of plywood, I made another pattern to find the bevel on the blade. I was working on three swords (one for Link, one for Dark Link, and one for a lobby display) so taking the time to make these patterns saved a lot of time in the long run.

Shaping the blade
Shaping the blade

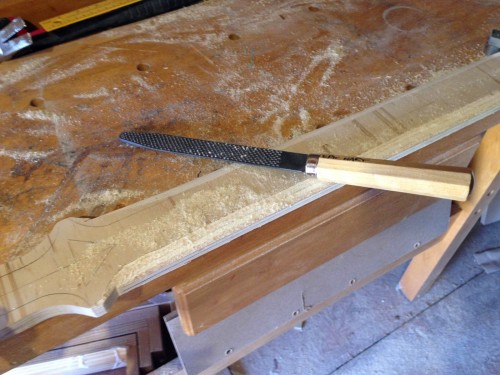
I used a rasp and block sander to shape the blade.

Pommel and Shoulder
Pommel and Shoulder

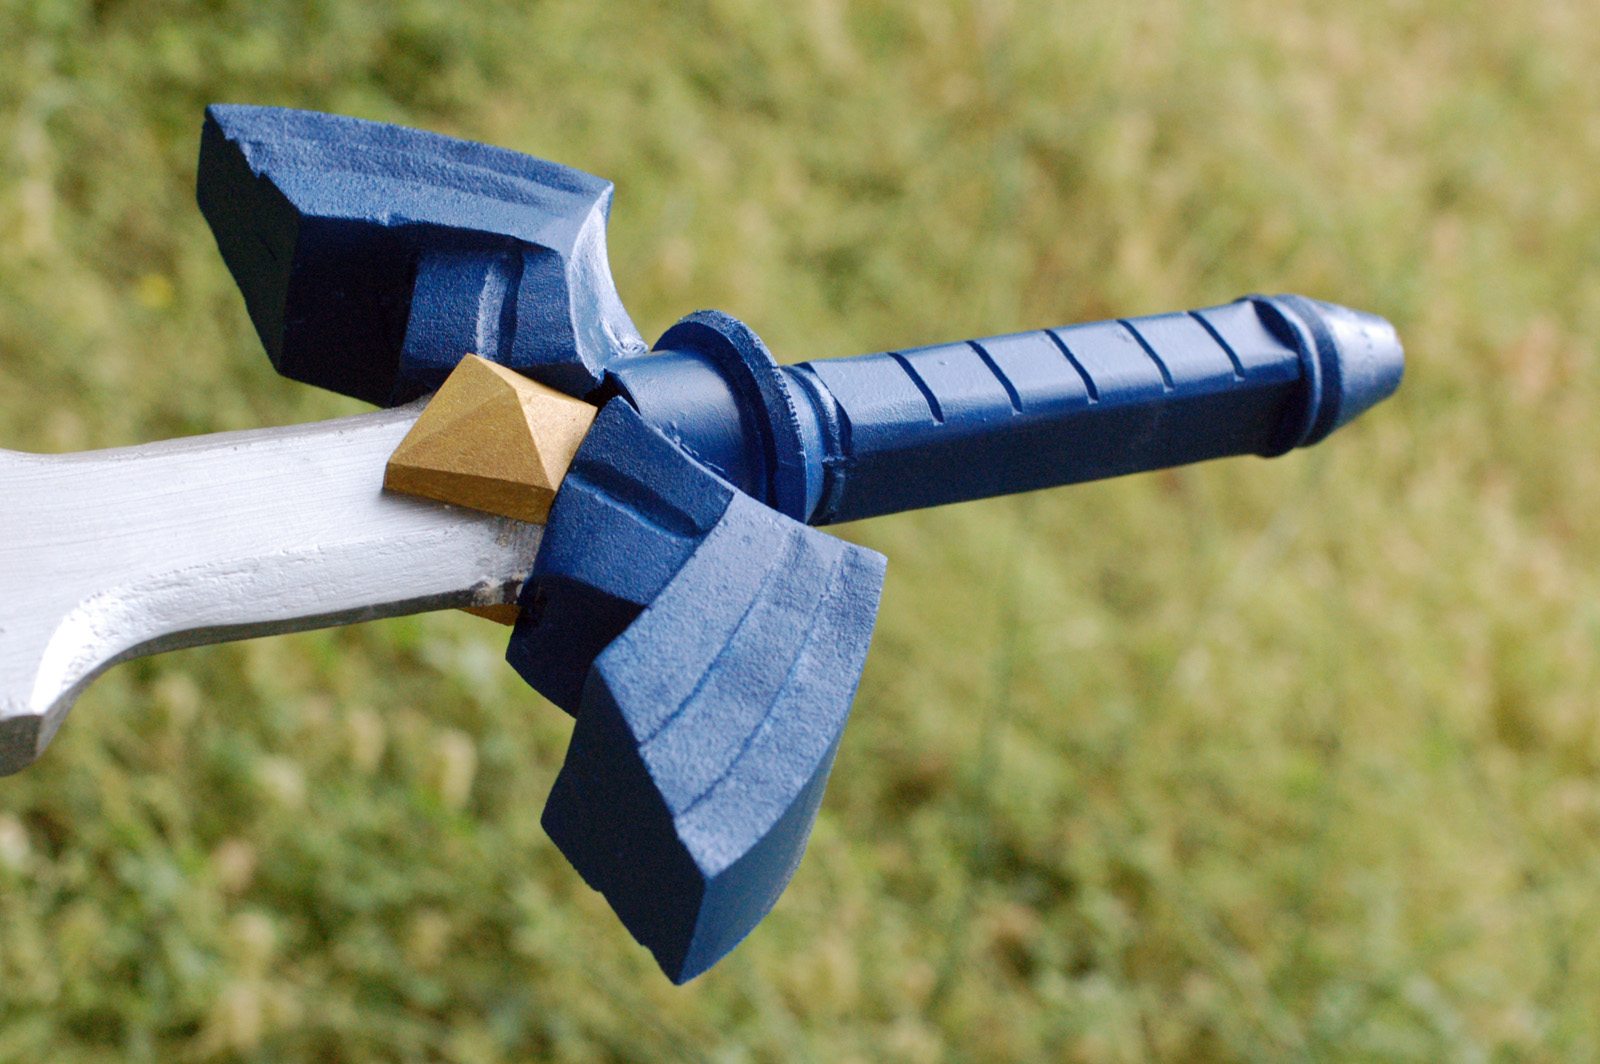
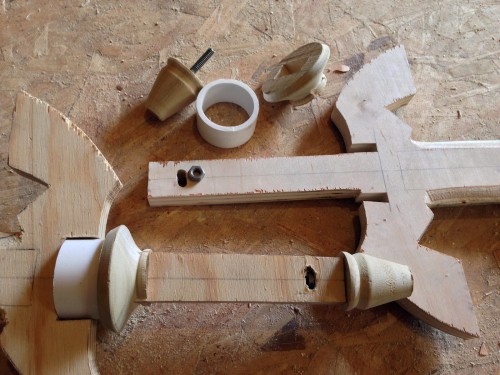
I turned some of the handle and guard parts on a lathe. The quillon block (otherwise known as the écusson) is just a slice of PVC pipe.

Adding the quillons
Adding the quillons

For the rest of the detail on the guard, I used pieces of MDF which I shaped with my belt sander and fine tuned with a Dremel.

Continue reading Legend of Zelda Master Sword

Milky the Cow

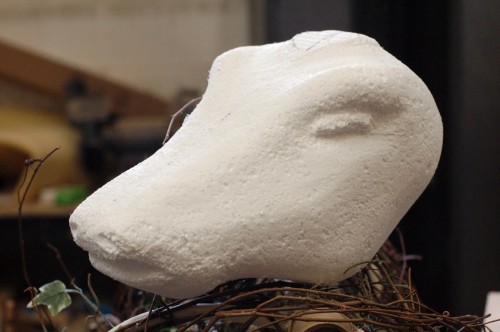
I recently finished some work on a production of Into the Woods at Elon University. The students hired me to build the animals (some may call them puppets). Milky the Cow is one of the main animals, appearing in many of the scenes. I began by sculpting a cow head in white foam.

Sculpted foam head
Sculpted foam head

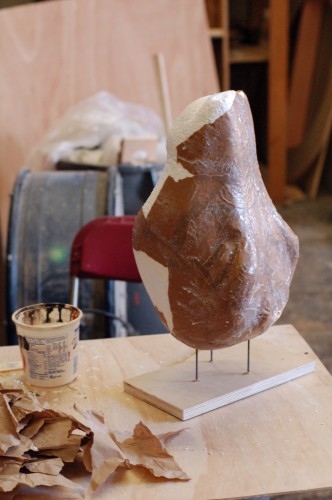
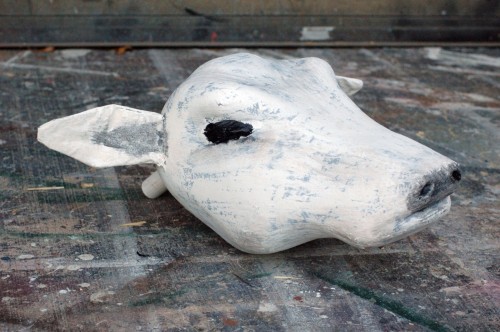
I gave the head a coating of papier-mâché. The design of the show used a lot of found object and natural material arranged to suggest a forest, rather than attempting a realistic portrayal of one. So the construction of the head proceeded in a manner to highlight the fact that it was a handmade object, rather than attempting to completely mimic an actual cow’s head.

Applying papier-mache

The body was a separate piece; it was just the torso, tail and udder, without any legs. They were basing their design off of the Regent’s Park production (which transferred to the Public Theater this past summer, though I left just before it came).

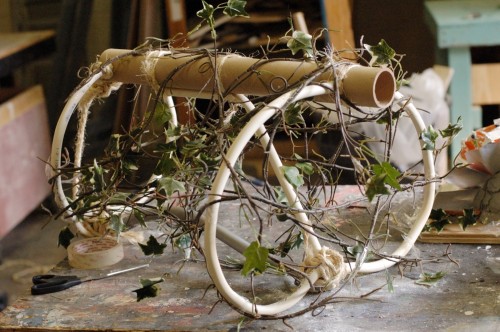
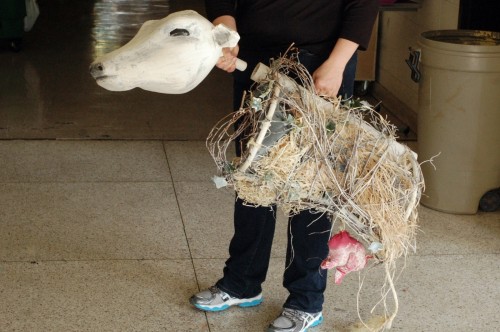
I started with a structure made of a cardboard tube “spine” and some bent PVC pipe to define the shape. I than began wrapping vines around to create the outer surface. Everything was wired in place, but I also added some twine to make it appear as though it was lashed together.

Body structure
Body structure

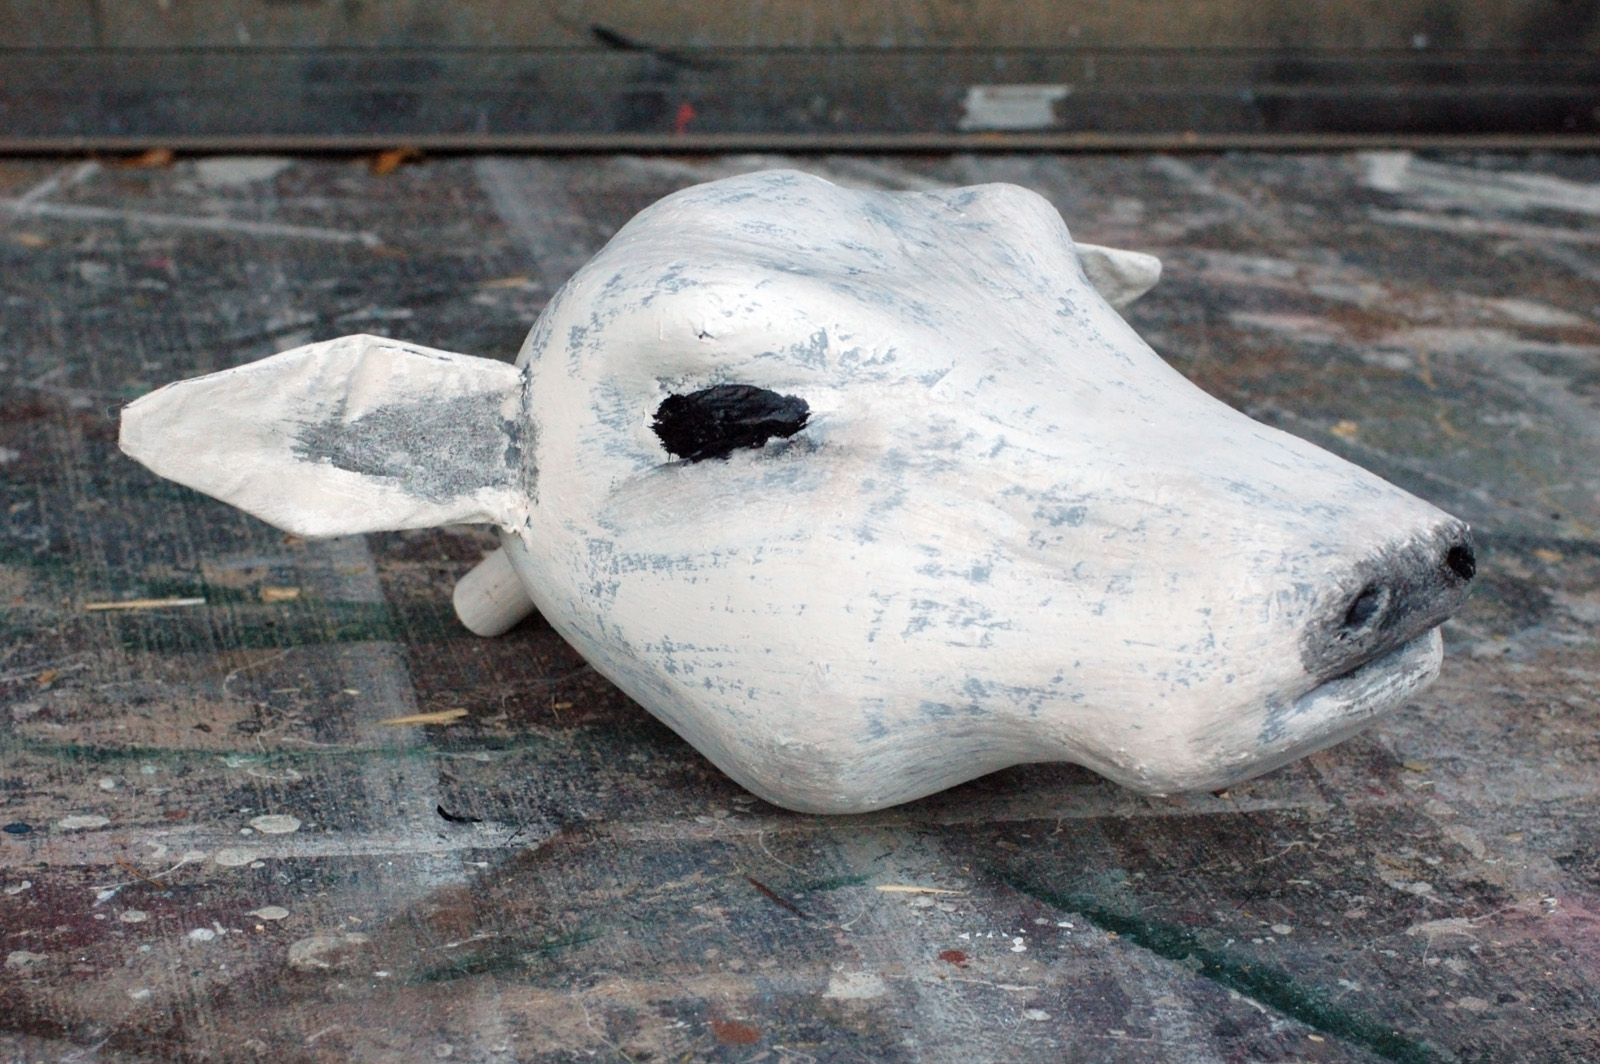
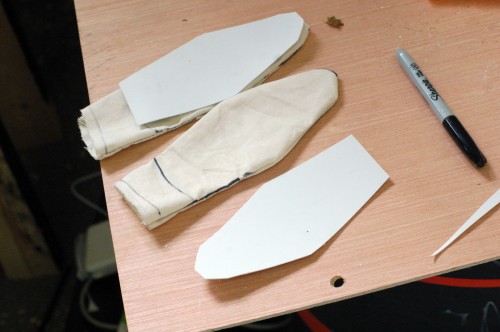
Next for the head were some ears. I patterned and sewed them out of muslin, with a piece of styrene inside to give it some stiffness. Once the ears were on the head, I heated them with a hot air gun so I could curl and shape them. When cool, the styrene retained that shape.

Ears
Ears

The head got a coat of grey primer, followed by a dry brush of off-white over top. I glued a dowel coming out of the back of the head so the handler could hold onto it and manipulate it around.

Cow head
Cow head

The udder was a few pieces of red fabric which I patterned, sewed, and stuffed with polyester batting. I lined the inside of the body with some screen material so the actors could throw objects inside as Milky “ate” them, and they would be easy to retrieve after the show. I added some raffia to beef out the body since the vines did not give enough coverage on their own.

Milky White
Milky White

So there you have it; one Milky the Cow!