Tag Archives: puppet

Elephant Puppet Heads

Last week I showed you the Lion Puppets I made for Triad Stage’s Beautiful Star. Today you can see how the Elephant Puppets were done.

The idea was similar; they were designed to look like a giant papier-mache head with a flowing fabric body made of silk.
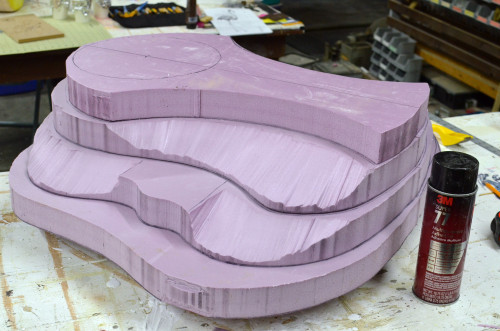
Stack of foam
Stack of foam

I made this one from a stack of insulation foam sheets. I cut their outlines and did some beveling with the hot wire cutter before attaching them together. This helped establish the proportions and maintain some symmetry.

Someone in the shop told me that Spray 77 would work well to stick them together. I thought it would eat into the foam, but I was surprised when I tried it. It attacked the foam a little bit, but it made a pretty strong bond.
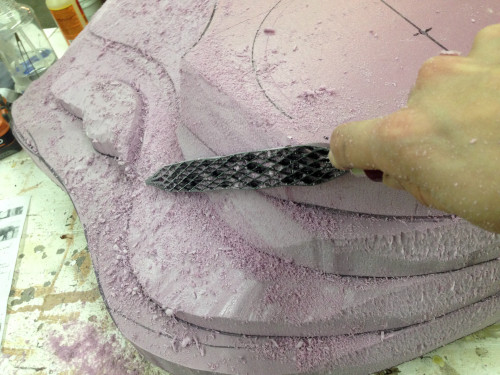
Shaping with a rasp
Shaping with a rasp

I began shaping the foam with a mix of snap-blade knives and surform tools. I also tried out one of my newer purchases, a saw file rasp. It is made up of a bunch of criss-crossing saw blades, making it very aggressive in removing material. It is completely open, though, so all the foam passes right through rather than clogging it up. Very nice.

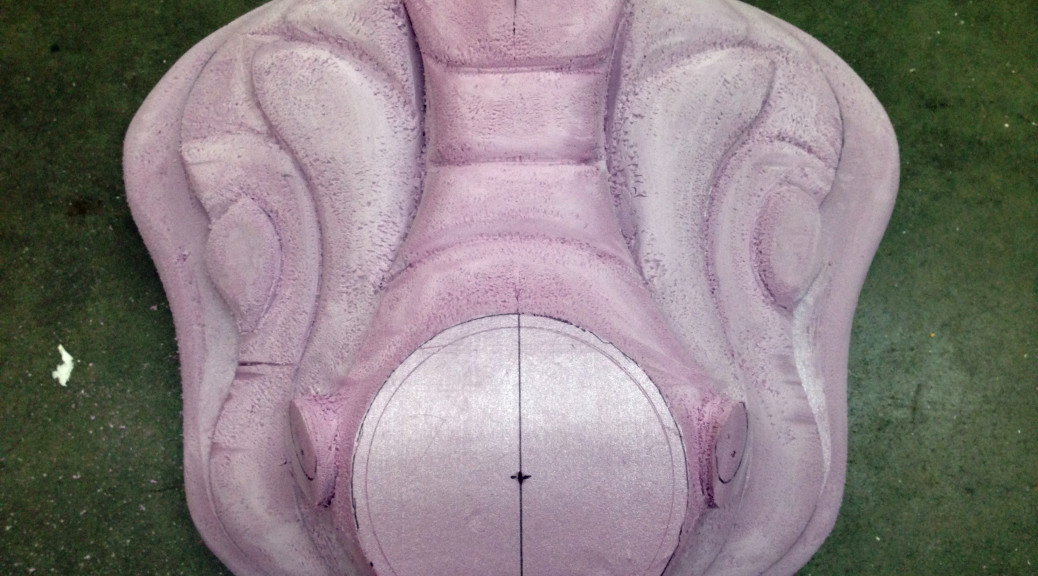
Carved elephant head

The finished foam piece may look a little funny, but that is because it doesn’t have a trunk or tusks. The trunk was going to be a piece of silk which the actors can manipulate, and the tusks would be separate pieces of Wonderflex. This piece of foam was now ready to use to make Wonderflex shells for the head.
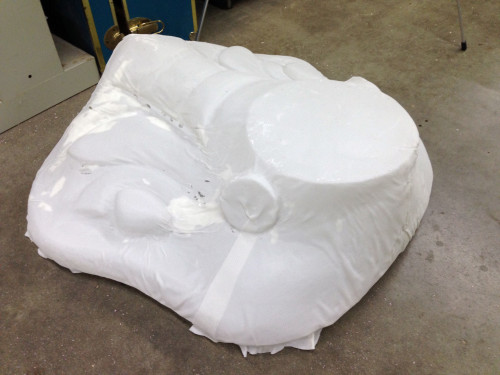
Wonderflex head
Wonderflex head

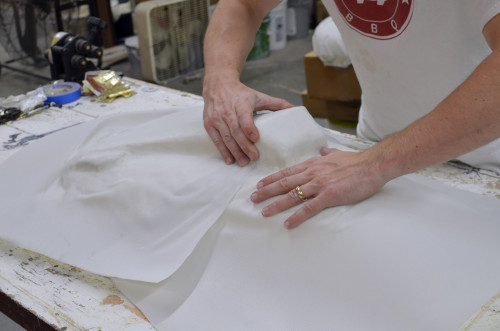
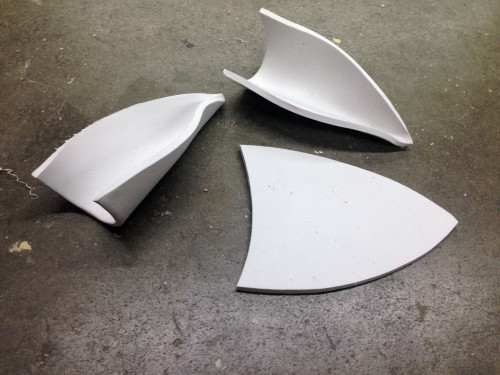
I covered the foam piece in aluminum foil so the Wonderflex would not stick to the foam. I’ve tried other methods, like coating the foam in plaster or using Vaseline as a mold release, but the aluminum foil is so much faster and easier. The Wonderflex does not pick up enough detail for the texture of the aluminum foil to show, and it peels off the back of the Wonderflex piece pretty easily.
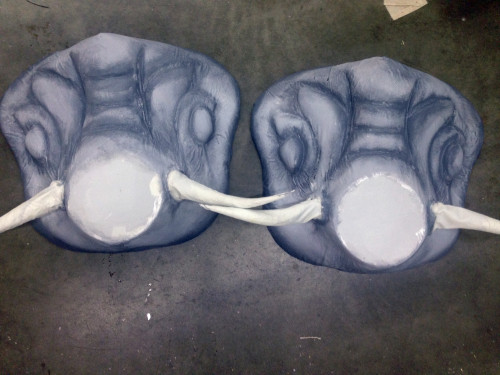
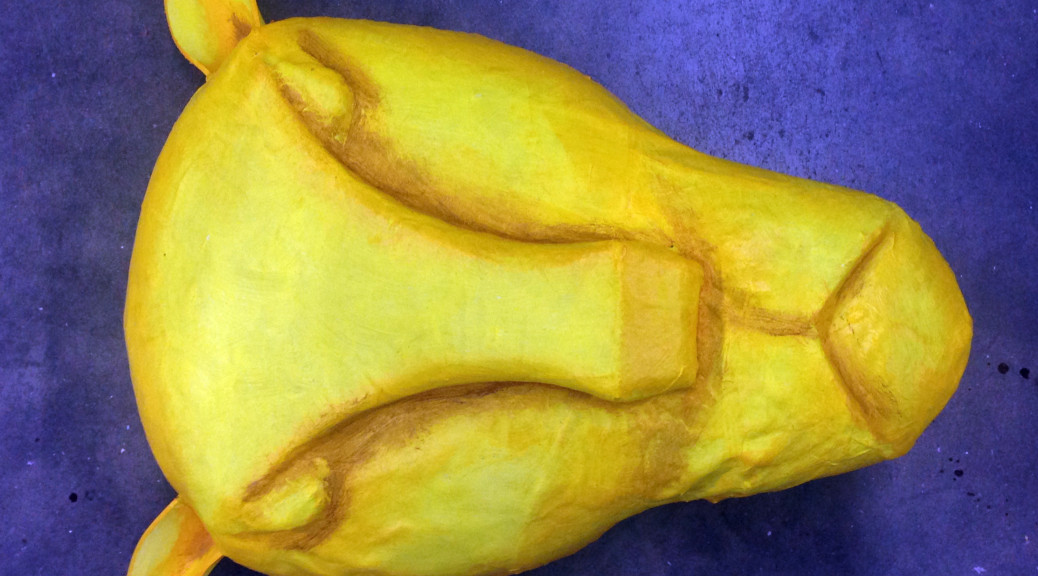
Painted with tusks
Painted with tusks

I had a set of bull horns in stock which I used as a form to make the tusks out of Wonderflex.
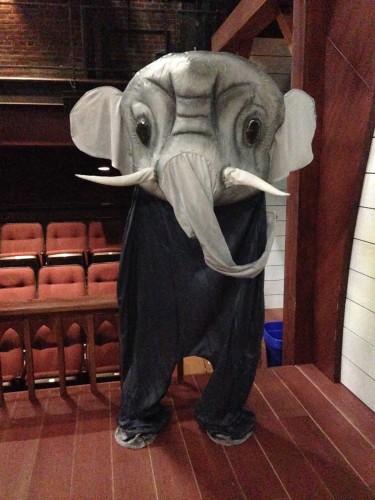
Elephant puppet. Photo by Lisa Bledsoe.

My assistant Lisa made the ears, trunks, and legs out of China silk. During the performance, the elephants flew down on a line from the catwalks and hung there. The actors could grab a stick that was attached to their trunk to make the trunk dance around.

Lion Puppet Heads

Triad Stage’s holiday show this past year was Beautiful Star: An Appalachian Nativity. It was one of their most popular shows from before I started working there, so they decided to bring it back. It had a whole new design though, including some all new puppets. The lion puppets are the first ones I’ll show you.

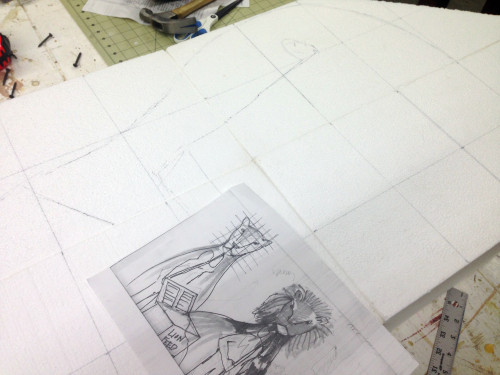
Drawing the Lion
Drawing the Lion

Robin Vest, the scenic designer, made the drawings for the lion puppets in the photo above. They were for the Noah’s Ark scene, so we needed two. She wanted them to look like folksy papier-mâché puppet heads with floaty silk bodies. I decided to carve a head out of foam to use as a form for Wonderflex.

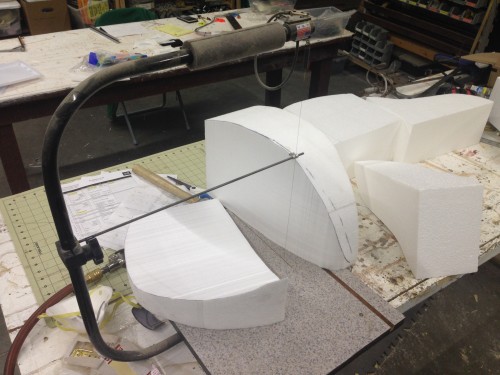
Using the hot wire
Using the hot wire

I used my favorite kind of foam: free. It was polystyrene foam and the pieces were fairly big, so I broke out our hot wire cutter to cut the initial shapes. I pieced it together from a few pieces since it was so big; it also made it easier to maintain symmetry.

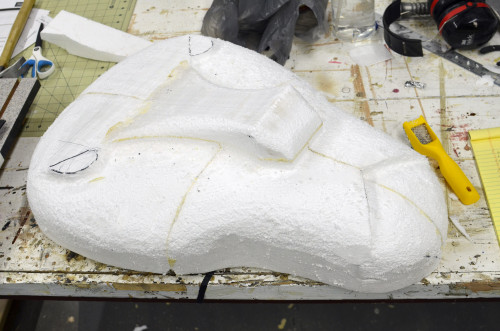
Carved form
Carved form

The pieces were joined with Gorilla Glue, which works great on foam. The rest of the carving was pretty standard stuff; lots of Olfa snap blades and carving with the surformer. When it was finished, I had a form that I could use to make as many lion heads as I wanted.

Shaping the Wonderflex

Next up was the Wonderflex. If you’ve never used it, it’s a low-melting thermoplastic sheet with an embedded fabric mesh. You can heat it up with a hot air gun and it becomes flexible, but it is still cool enough to shape with your bare hands. I used it because I could quickly form a mask-like shell around the form that would retain its shape but remain light-weight. It also cools down and is ready to paint in just a few minutes, unlike papier-mâché, which can take a few days to dry.

Shaping the ears
Shaping the ears

I made the ears out of more Foamies. I still don’t know whether this is XLPE or EVA foam, but it doesn’t matter, it’s great stuff. It can be shaped with heat, too. I curved them over a PVC pipe, heated them up, and they maintained that little curl when they cooled down.

Painting the lion
Painting the lion

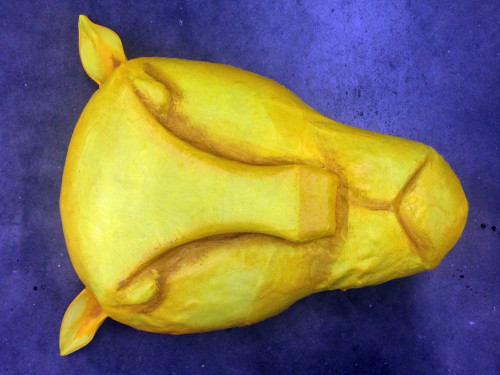
I ended up doing a single layer of papier-mâché on top of the Wonderflex to give it the right texture and to cover up some of the seams. I used butcher paper dipped in Rosco Flexbond so it would remain somewhat flexible when dry. That way, no matter how many times it got pulled in and out of its crate during the show, it would always bounce back to its proper shape.

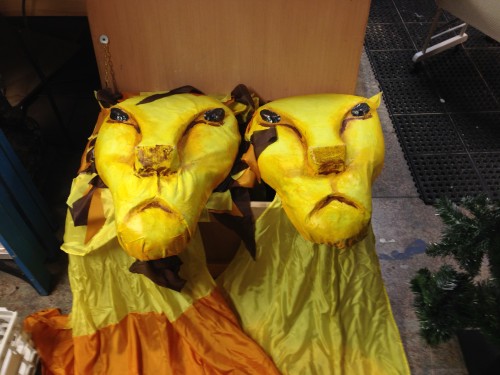
Finished Lions. Photograph by Lisa Bledsoe.

My assistant, Lisa Bledsoe, cut and sewed the long silk bodies and made a fun mane for the male lion out of small pieces of silk. The show is coming back next holiday season if you wanted to see them in action!

Friday Webby Goodness

I am the Master of Props. I am the Devourer of Foam. Ok, that’s a bit much, but you can check out a Q&A with me in this month’s USITT Sightlines. I talk about my blog and reveal a bit of my origin story.

Tested takes a look at this very cool animatronic Skeksis puppet being built by Chris Ellerby. He’s using a great mix of traditional and high-tech techniques to bring this creature from Dark Crystal to life.

Lost Art Press introduced me to the Index of American Design. This WPA project had artists drawing and painting all manner of household items, toys, furniture and tools in an attempt to document and define the American aesthetic. You can follow the links on his page to get to the online Index, which has over 18,000 of these images for your viewing pleasure.

Finally, if you’re really bored, check out this board foot calculator you can use on your next carpentry project.

Friday’s Reading List

How did they build all those vehicles in Mad Max: Fury Road? Credits has an article on the whole devilish process. They talk with production designer Colin Gibson and show off some of the CAD drawings they used to weld two Cadillacs together and build custom suspension and frames, among other things.

What’s it like to audition for a Jim Henson puppet workshop? Mary Robinette Kowal participated in one and shared her experience. She made it to round 2; we’ll see in a few weeks how she does in the next part.

You may have run across the cheap version of silicone mold-making, where you mix corn starch with hardware store silicone caulk. Make Your Mark has a quick little video showing how it’s done. Whether or not you already know about this technique, this is a great tutorial for it.

Frank Ippolito and Tested show us how to make a realistic horror skull prop. This half-hour video goes in-depth through all the steps and really digs deep into a number of techniques. The painting portion is especially helpful.

Links From the Wider World of Props

Credits sits down with Jason Allard, a carpenter for the movies. He talks about how he got started and some of the films he has worked on. He has built things such as the gazebos in 12 Years a Slave, and the treehouse in Moonrise Kingdom. You can also check out a short video showing him at work and some of the projects he’s completed.

Caroll Spinney, the puppeteer who has performed Big Bird and Oscar the Grouch for the last 46 years, sits down with Reddit to answer some questions. Careful, your tears will be jerked with some of the stories he tells.

Make Magazine has a nice video showing a simple but impressive technique for adding wire inlay patterns to wood. I wish they would ease up on the “out of focus” shots in the video, but it does display the technique quite effectively.

Finally, a whole range of desktop milling machines are coming out in the near future, and Tested has a nice roundup of some of the more promising ones. These machines can cut, carve and mill materials like wood, plastic and even metal, all for $2600 or less.