I am currently in the desert of Arizona. It’s time for another S*P*A*M conference, and this year, our hosts are Childsplay Theatre. I will report on all things of interest sometime later next week. For now, enjoy these sites of interest from the comfort of your own home.
Rich Dionne tackles the many methods for making a budget estimate in theatre. I discovered I use a mix of these methods when I deal with the fuzzy world of estimating the costs of props for a show.
In an earlier issue of their magazine, Make published a primer on working with carbon fiber (aka graphite fiber). They have now posted the entire article for free on their website.
This is interesting: why are there no guns in MoMA? It’s a podcast looking at the role of design in guns. What I found fascinating is how the manufacturing of guns is what really began the standardization of parts and machines in the industrial age. Despite their role and importance in modern life, museums of design like MoMA do not display any guns.
The Monster Mummies of Japan is a strange diversion into the history of imaginary taxidermy in Japanese temples.
Also at Make is this great interview with food sculptor Ray Villafane. Not only are the pictures incredible, but his explanation of his carving process is very clear and well thought out; it’s helpful even if food is not your medium of choice.
Finally, here are some great photographs of intimate spaces of renowned artisans. On a personal note, the first photograph of Henry Mercer’s home is where my wife and I were married. Not right inside his bedroom; it was on the grounds surrounding his home and in the courtyard of his tile factory.
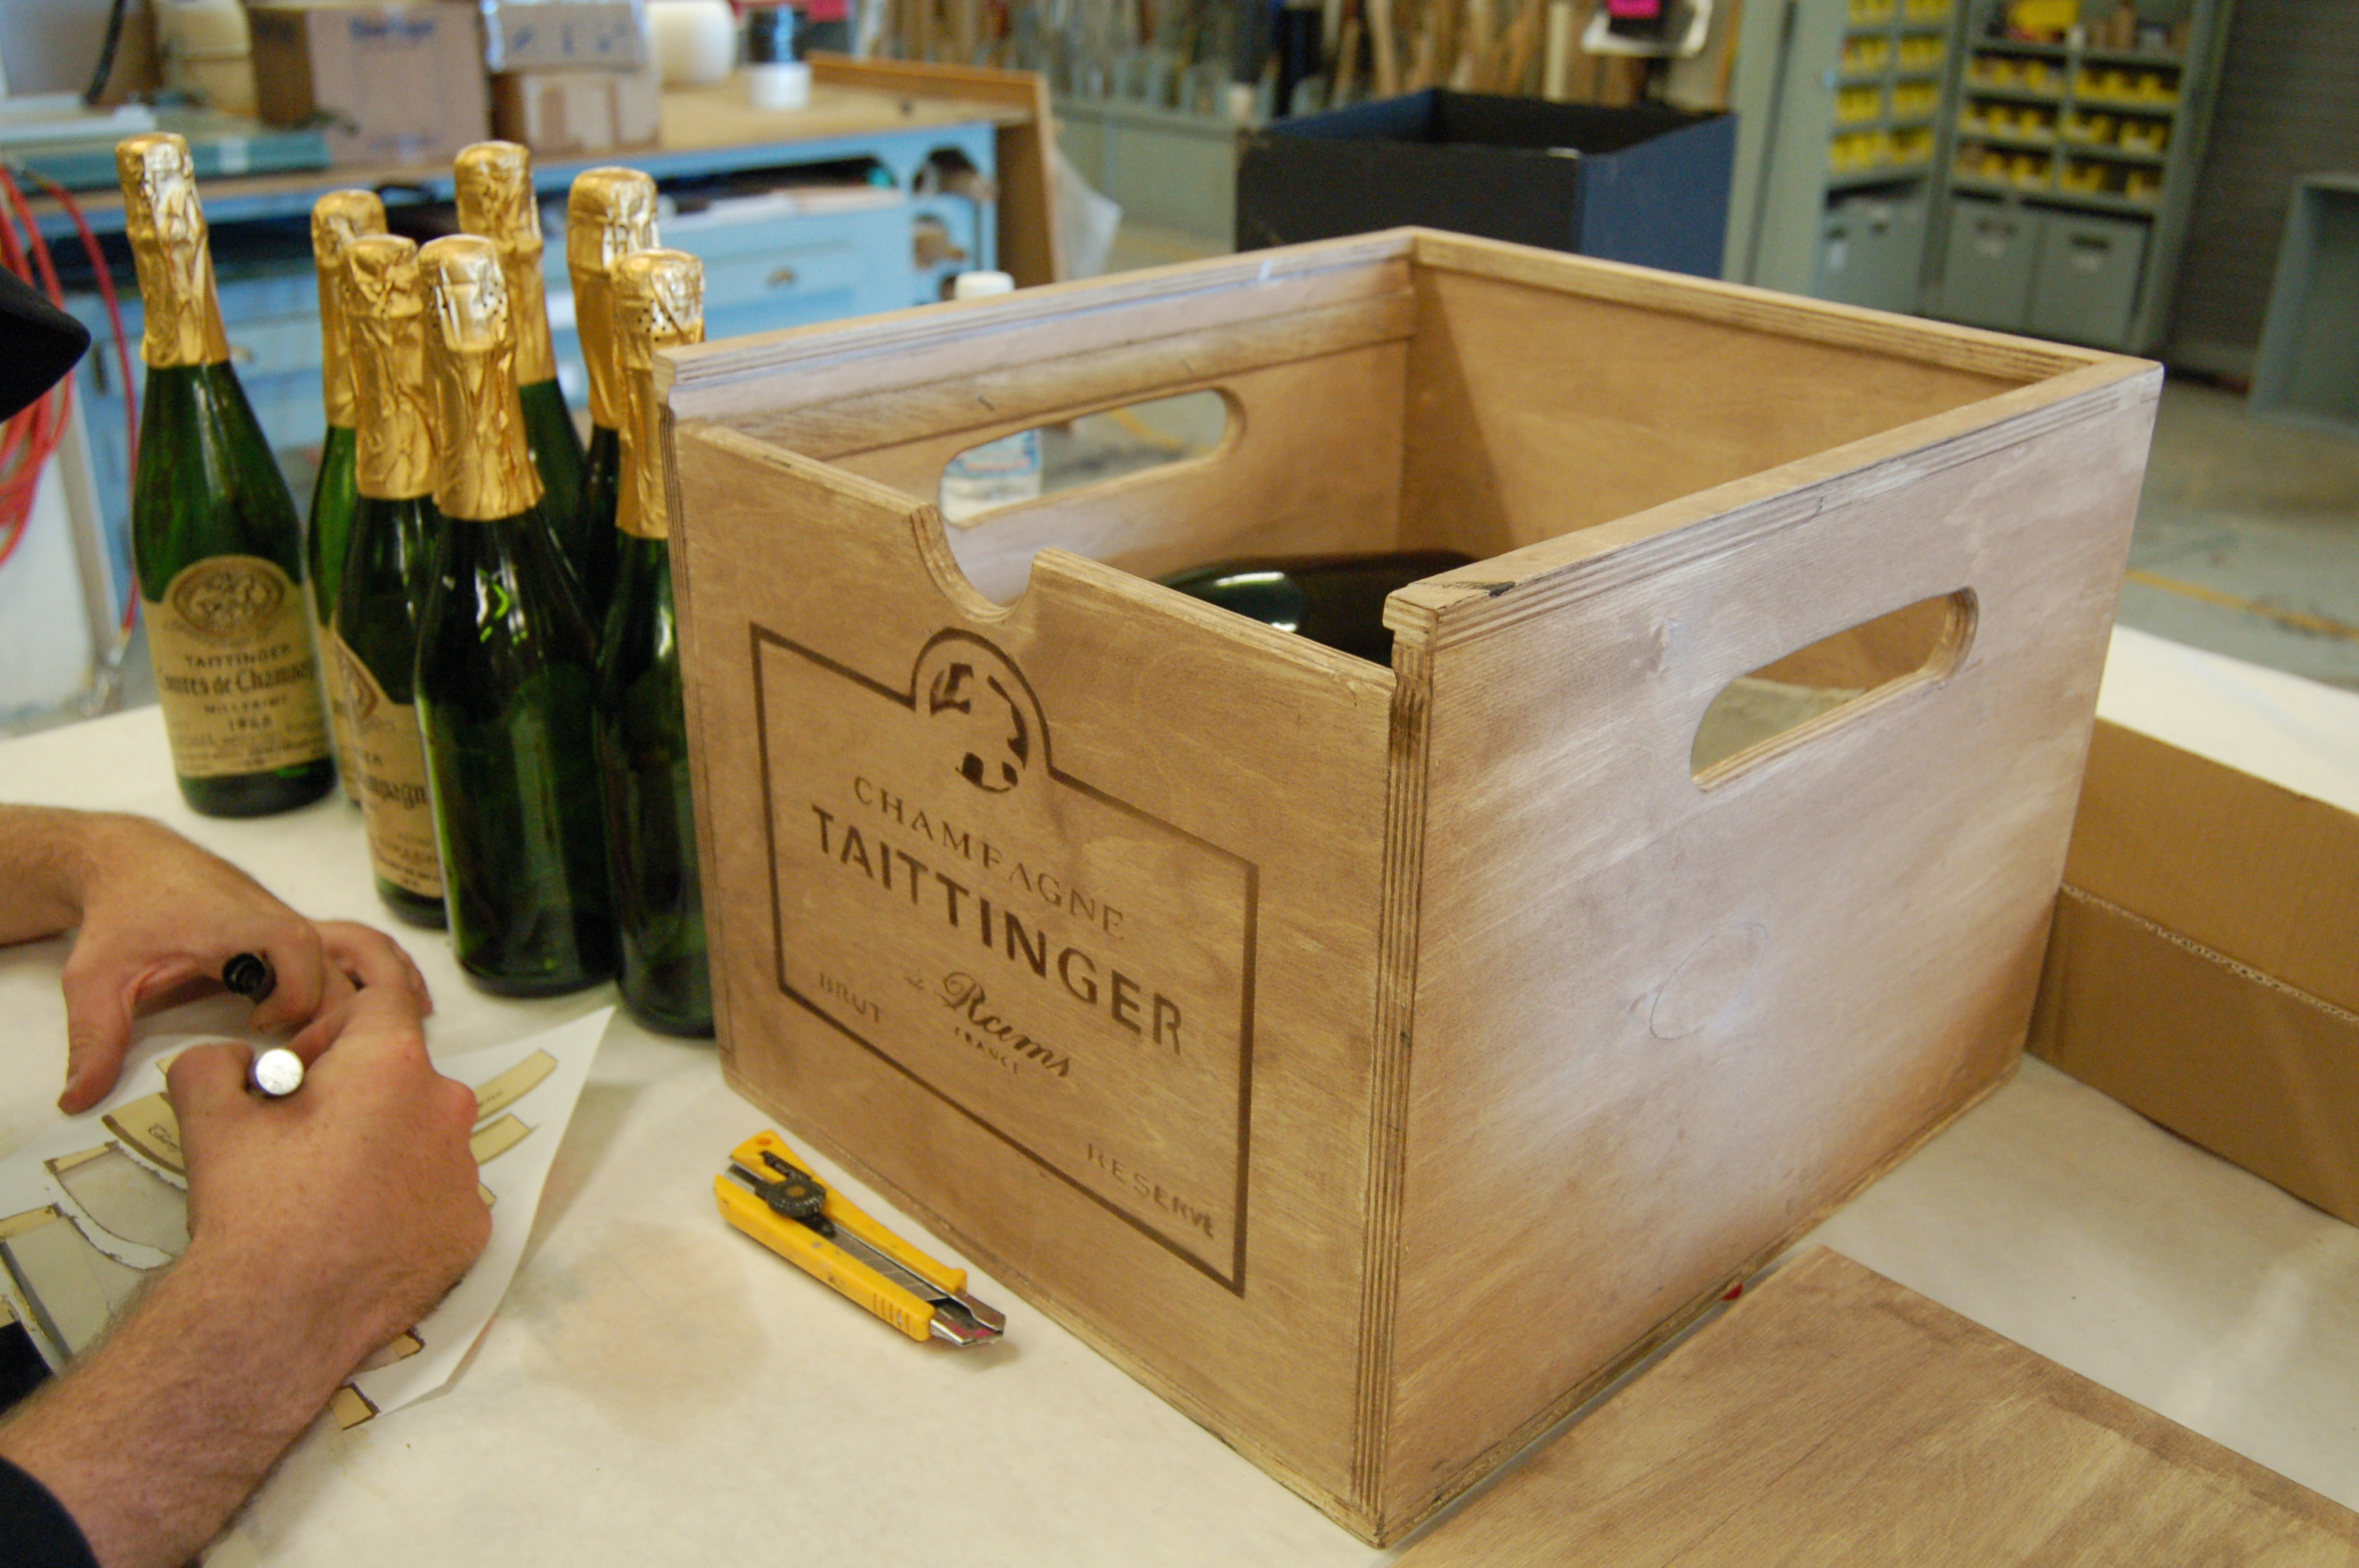
I try to photograph all the props I make. It’s a good habit to have. Look at the box above. It’s a champagne box I built a few years ago. There’s nothing terribly special about it, and I will probably never put it in my portfolio. I took a picture of it anyway. What is the cost of storing a digital image on your harddrive? Realistically, it is close to zero. You can store images and files online with a variety of free sources. You have no reason not to take a picture.
When I was first building props, I did not have a camera. I bought disposable cameras from the drug store and used them to take pictures of my props. I then had to get the film developed and scanned in to a computer. These days, my phone has a camera. Most phones have cameras. Even if your phone does not have a camera, chances are there is a camera nearby that can take a picture. In other words, you can’t use “I don’t have a camera” as an excuse to not have pictures of your props.
Why would I photograph props if I have no intention of putting them in my portfolio? First, my portfolio layout may change. I may not have much use for a picture of a box. Maybe after a few years, I’ve constructed quite a few interesting boxes. Suddenly, I have a potential page in my portfolio of boxes I’ve constructed. I wouldn’t have that opportunity if I did not take the pictures in the first place. Basically, the cost of taking and keeping a photograph is so minimal that taking one and never using it is so minimal compared to not taking one and wishing you had. Just take the picture.
I don’t know of any serious prop masters who will ever object to one of their artisans spending a few seconds to take a photograph. The fact is that no one else is going to photograph your props for you. No one is going to be checking to make sure you are keeping your portfolio up to date. No one is going to be asking whether you are documenting your work for future reference. It is entirely up to you.
Speaking of taking photographs for portfolios, I will be at USITT next week, and I will be reviewing some portfolios. It looks like portfolio reviews are divided up randomly, so if you are in my slot, congratulations. If you are not but you still want to stop and say hi, I will most likely be at the S*P*A*M table for some time frame (to be determined later). You can also contact me directly if you really want to meet up in Charlotte.
When you are building a prop, you are often working off of some kind of reference material. In many cases, a photograph is the only reference you have. I’ve learned a couple of tricks over the years to help me construct a prop from a photograph.
Hot Dog Vendor Standing Beside Cart
The first thing you want to do is take note of all the details in the photograph to learn as much as you can about the context in which it was taken. Do you have a time, place, name of photographer or name of subjects to go along with your photograph? If you do, you can use it to search for additional photographs of the same object. For a production of La Boheme, I was given a poorly-photocopied image of a street cart vendor as research for a cart I needed to build. Using that image, I found the above picture online, which is a crisper and cleaner reproduction of the exact same photograph. If you’re lucky, your research will lead you to multiple pictures of the same object, showing different angles or details. Otherwise, do your best with the single image you have.
Next, you want to figure out the scale of the items in your photograph so you can begin assigning measurements and dimensions to the different elements. The above photograph offers one of the best items to scale against: the human body. By measuring against our own body, we can determine the heights of the various elements. The photograph of the crepe cart gives us a great advantage by showing the cart straight on. We can essentially lay a grid over the whole image using the man as the basis for the measurements. We know that the man uses the handles to push the cart, so we can use our own hands to decide the optimal thickness of the handles rather than trying to guess it from the picture.
Crepe cart from La Boheme
(You’ll notice the cart in the photo above does not match the research exactly; the designer made some changes and alterations of his own based on the needs of the production.)
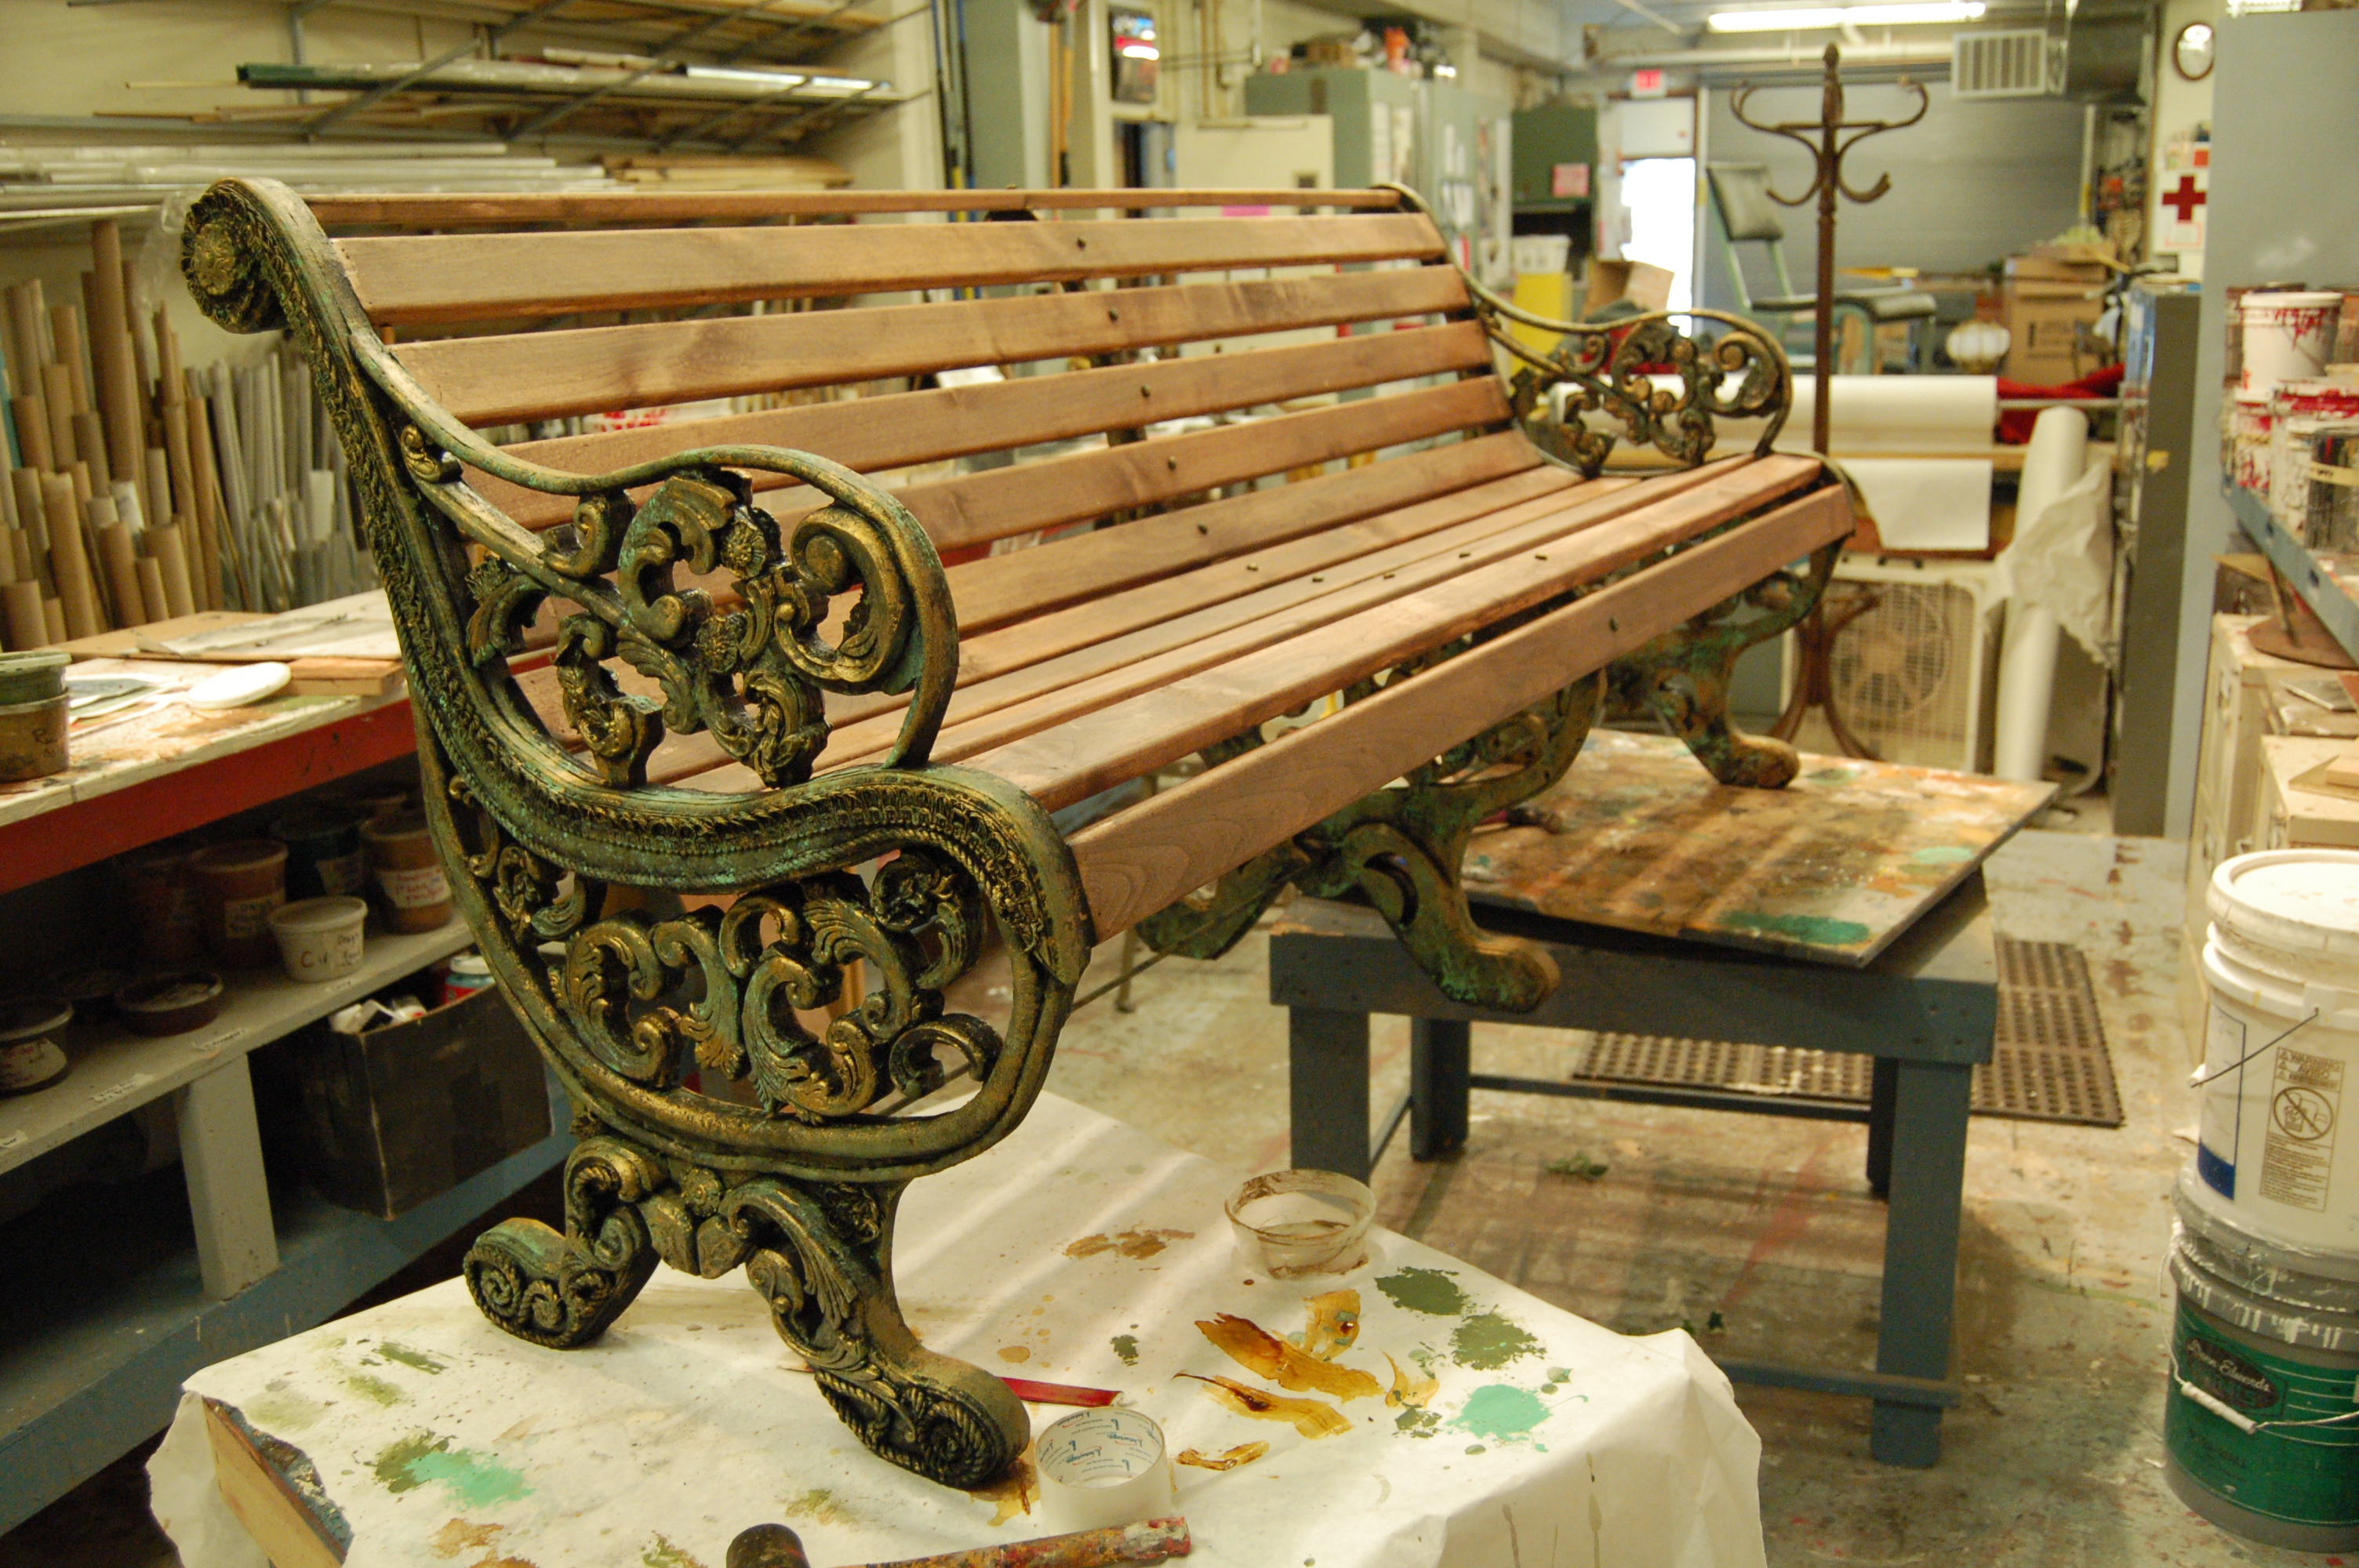
Sometimes the photograph has nothing in it to scale against, and we need another method. I had to build a park bench once based off of the research below. Though we do not know the size of that park bench, we do know the sizes of other park benches.
A cast iron park bench
Most seats have a sitting height of eighteen inches. Even if the specific bench in the photograph above has a different height, the actors on stage will be most comfortable in an eighteen-inch high seat, so we can decide that this bench will have a sitting height of eighteen inches. Now that we have that measurement, we can again determine the rest of the measurements and draw out a full-scale version of what we are making. The length of the bench is a little harder to determine. For that, we can defer to the needs of the production (by asking how many actors need to sit in it at one time, and what the maximum length the set will allow is) as well as the length of typical park benches to come up with our length.
I’ve come across these great resources in the last couple of weeks:
Bolt Depot has these handy printable charts for identifying bolts and machine screws. You print out the PDF with page scaling turned “off”, and you can lay your bolt down on the different drawings until you find a match, and it will tell you what the diameter and thread count is. It has already helped me identify a metric bolt on a piece of furniture I needed to replace. Normally, I’ll check the bolt against my nuts to find a match, but I don’t have any metric hardware in the shop. Bolt Depot also has other handy information about nuts and bolts.