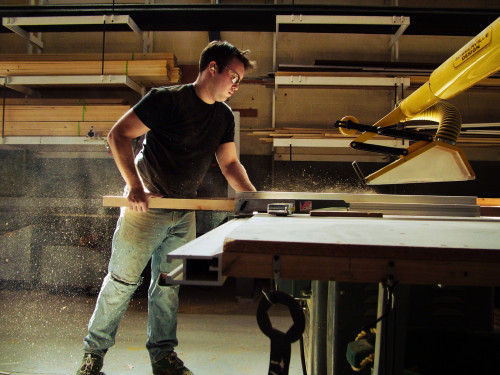
1. There are two main types of table saws: contractor and cabinet. Â Contractor saws are lighter and cheaper, and often built to be portable. They are also usually less exacting and have less power. Cabinet saws have an enclosed “cabinet” base, making them quieter and easier to use dust collection on. Compared to contractor saws, they typically have a larger table size and are more precise, but can be far more expensive, and are definitely not portable. They also typically require a 220v outlet. Most permanent props shops use cabinet saws, as contractor saws are not sturdy enough on their own to handle full-size sheet goods. Some manufacturers are now making hybrid saws, which capture features from both. You can also find hobby saws in specialty shops, which are small and fit on a table top. They can be useful for small projects and model work (though a full-size machine can also do this work with the proper setup). Hobby table saws range from cheap and inaccurate toys, to highly precise machines packed into small bodies.
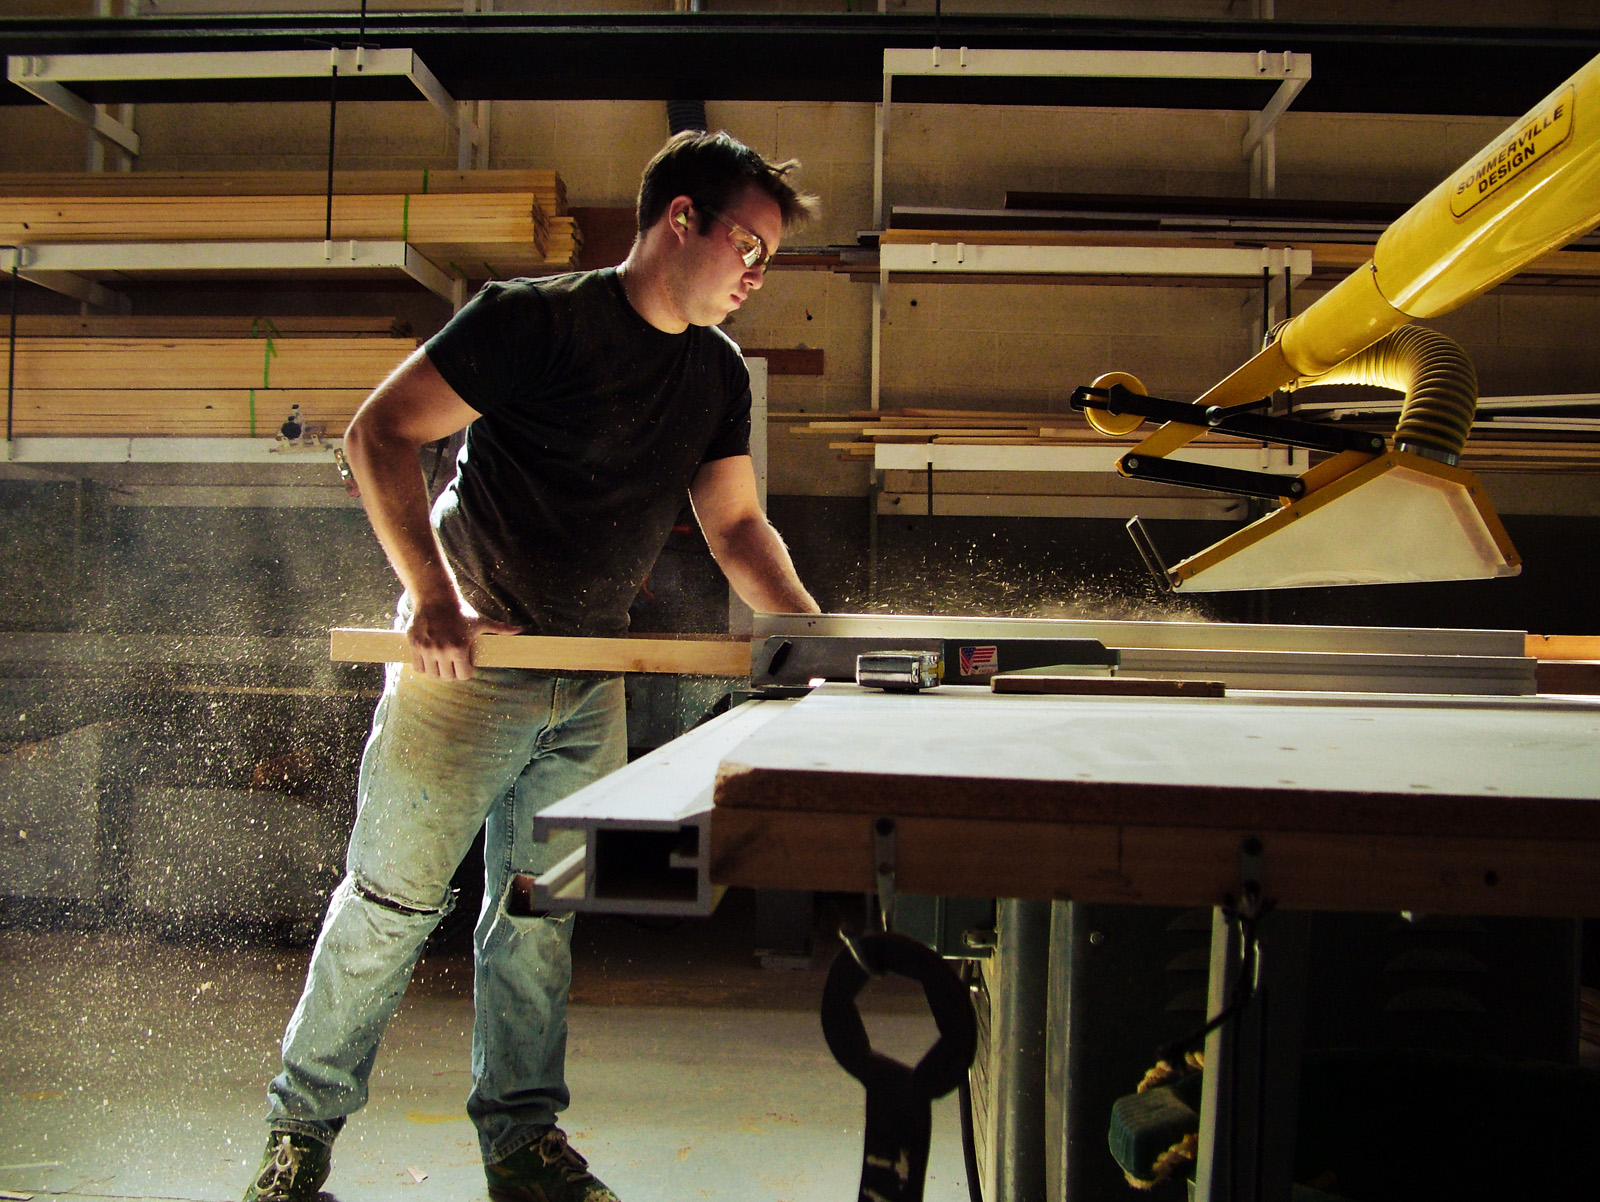
2. Watch for kickback. While a SawStop can prevent your fingers being cut off (a very expensive accident), the most common injuries on a table saw come from kickback, which is when the spinning blade catches the material and flings it back at you. Never stand directly behind the piece you are cutting, but rather, just to the side. And never, ever let go of the wood while it is in contact with the blade; even if kickback is in progress, you have more control if you keep hold of the board than if you panic and let go. A splitter, or “riving knife”, is the single most effective method for preventing kickback. Never force the wood through; the blade may be too dull, or it may be binding, either of which can cause kickback. Pay attention to the sound of the blade; if it is whining or sounds like it is slowing down, you’re getting close to a kickback.
3. Double-check your measurements. Always measure from the fence to the blade, especially when using a particular saw for the first time. The ruler which is attached to the fence rail may not be accurate or precise. Only when you are certain the ruler on the machine is accurate and precise should you use it for setting your fence.
4. Keep the wood in place. Your wood (or other material) needs to be held snugly against the rail and down against table. Use featherboards or other attachments to hold your wood if your fingers will get too close during a cut. Featherboards are especially useful on miter cuts. Push sticks and push shoes are also vital accessories for holding your material snug and keeping your fingers away from the blade.
5. Never wear gloves when cutting. If a bit of the glove, or even just a single loose thread, gets caught by the spinning blade, it can be pulled into the blade, which will catch more of the fabric and pull more of the glove into the blade. This creates a vicious chain reaction where your entire hand can be pulled into a spinning blade within a fraction of a second. Without gloves, the blade cuts through the skin or bones before being able to grab on and pull more in. On this same note, avoid rings, ties, necklaces, loose hair, apron strings in the front, &c. If you are wearing long sleeves, roll them up tightly before using the table saw.
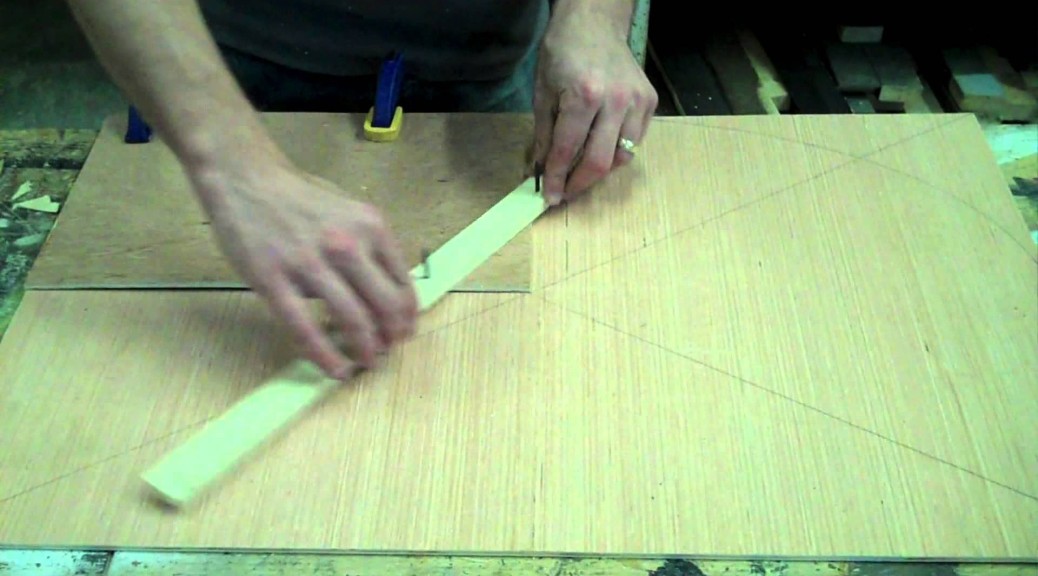
6. With the correct jigs, you can do almost anything on the table saw. You can cross-cut, cut slots and channels, cut patterns, cut tapers, cut circles, taper long boards, make cove molding, and much more, and you can do it all safely. For tricky cuts or complex operations, it will actually take longer to set up the tool than to carry out the actual operation.
7. Maintain the top of your table. Rust will slowly damage the top, making it hard to push material through. It will also discolor your wood. Clean the top with metal cleaners, or even steel wool for stubborn rust spots. When clean, you should wax and polish it to prevent further rusting. Paste wax works well, particularly carnauba-based wax; anything made for cars will work as well. A freshly-waxed surface will also make your materials slide through the saw much more effortlessly.
8. Watch where your wood goes. Never start a cut until you know that the wood can go all the way through without falling off the edge or hitting an obstacle, and that you can reach it and keep hands on it at all times. Use stands, outfeed tables, or a friend when necessary. You may wish to “walk-through” a cut first, to check all this before you cut. Do not forget that the balance of the wood will change after it is cut into two pieces; where a full-size piece may rest comfortably on your table, the off-cut may tip off the side.
9. Use the right blade. Some blades are made for ripping, some for cross cutting, while more specialty blades exist for cutting veneers, laminates and plastics. For most props shops, you will be ripping and cross-cutting plywoods and soft woods throughout the day, and constantly changing the blade will be inefficient, so invest in a good combination blade that will work for the majority of your most common operations.
10. Set the correct blade height. Your blade should be high enough so the gullets of the teeth (the spaces between the teeth) are at or just below the top of the wood’s surface. This allows the blade to clear sawdust and introduce fresh air into the cut, while minimizing the amount of exposed blade to your fingers.

