Tag Archives: layout

Spiritual Stones from Legend of Zelda

Here are the last of my Legend of Zelda props I made last month for a local theatre group. I previously posted about the Master Sword, and some rupees; you can find out more about this project in general at those links if you are interested.

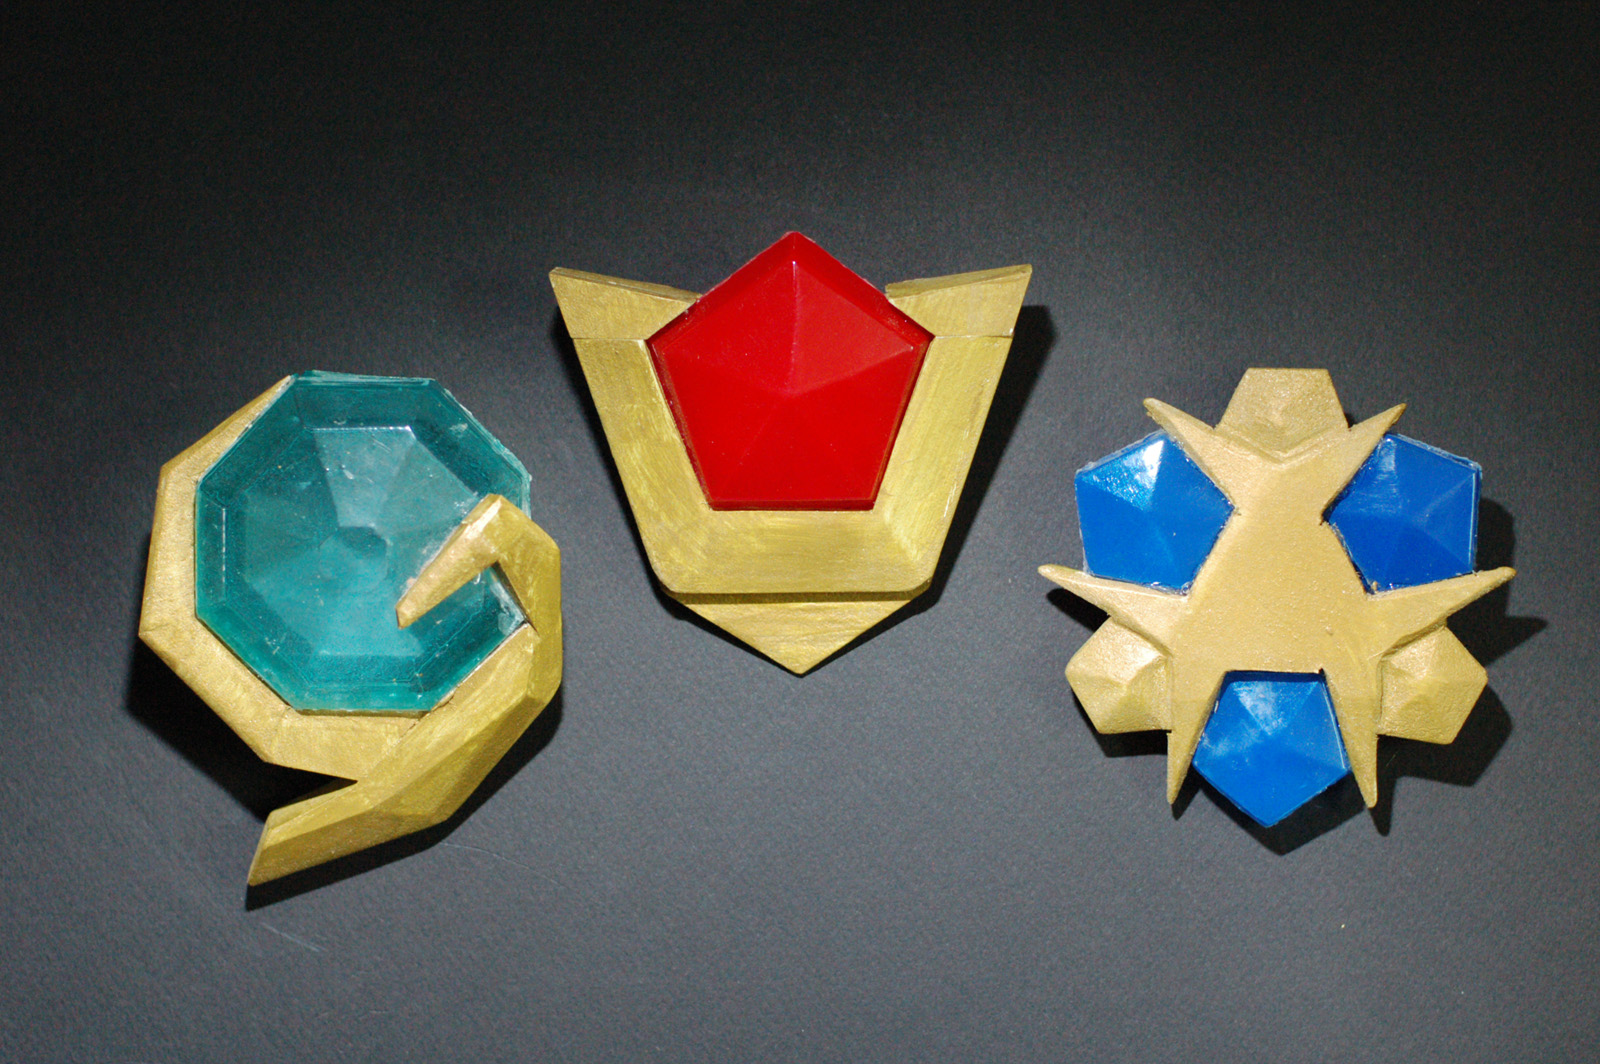
The last prop, which is actually three items, are the spiritual stones. These are various colored gems in gold settings. They have names, too: Kokiri’s Emerald, Goron’s Ruby, Zora’s Sapphire.
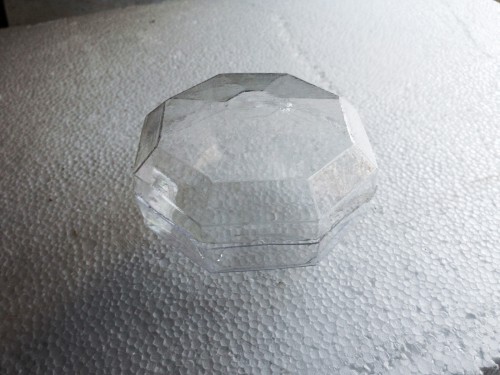
Vacuum formed jewel
Vacuum formed jewel

As with the rupees, I cut the shape of the stone out of a piece of wood, vacuum formed two halves out of acrylic, and glued them together (painting the inside before gluing, of course).
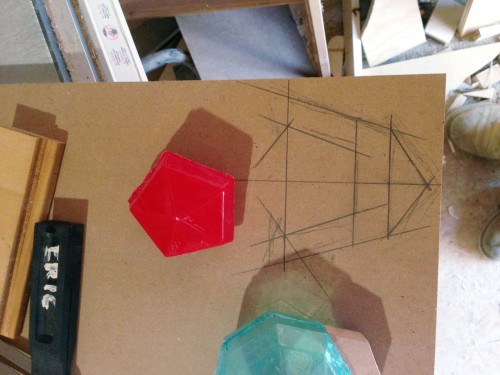
Layout of Goron's Ruby
Layout of Goron’s Ruby

Starting with Goron’s Ruby, I used some reference images from the video game itself to lay out a full scale drawing of the stone’s setting onto some 3/4″ MDF.
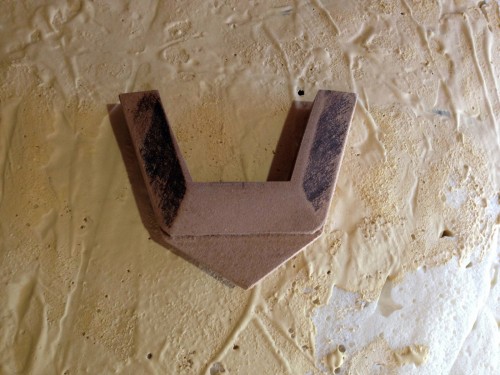
Cut and shaped
Cut and shaped

I made most of the cuts on the table saw (my nifty cross-cutting jig lets me safely cut arbitrary angles on small pieces). The bevels were also cut on the table saw with the blade set at an angle.
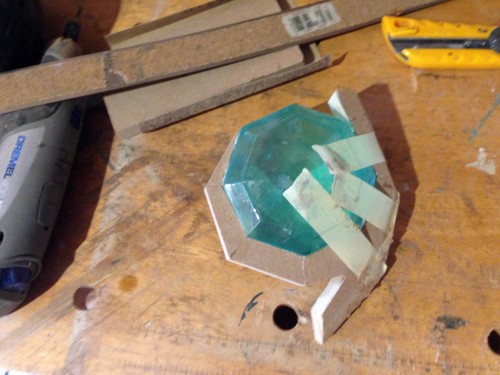
Piecing together the emerald

Since the emerald had a sort of “wrap around” design, I cut the pieces individually and glued them on one at a time to achieve an exact fit. It was a bit tricky getting all the angles right, but it gave the nicest result.
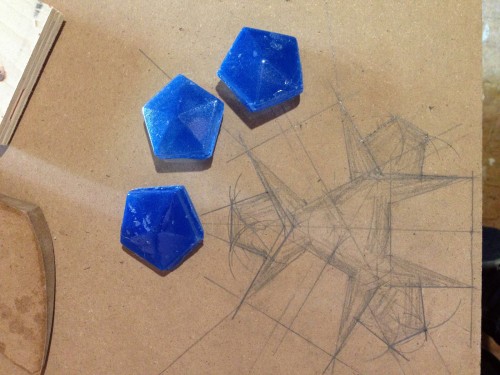
Drawing the sapphire setting

Because the shape of the sapphire is trilaterally symmetrical, I used my compass and bevel gauge to make sure all three parts were drawn the same.
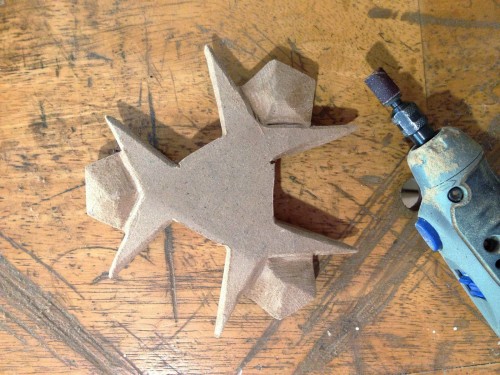
Cutting and shaping
Cutting and shaping

It had to be cut out with the jigsaw and cleaned up by hand with files. Some further shaping was done with the Dremel.
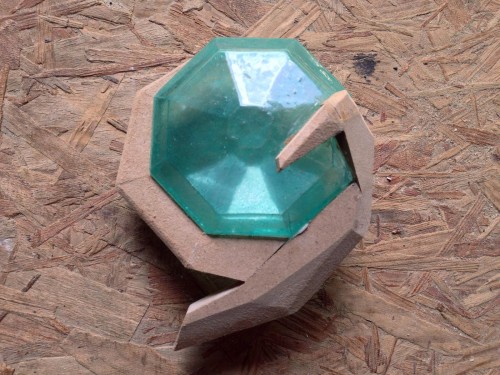
Kokiri's Emerald
Kokiri’s Emerald

Once finished, the pieces just needed to be primed and painted. The emerald was painted with the stone already attached. For the others, I painted the settings first, and then the stones were glued in (so I didn’t have to mask anything).
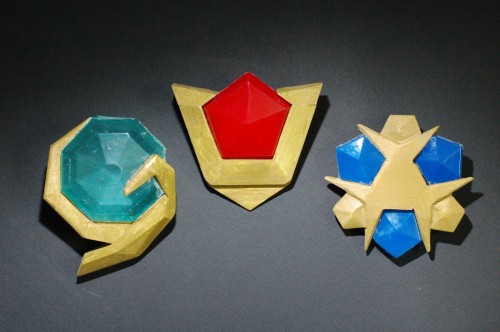
Spiritual Stones
Spiritual Stones

Of course, it always helps to take cool photographs of your props. One day, I’ll get around to posting a quick tutorial on photography.

A Capital Idea

Last week I got a call from Triad Stage, a theatre over in Greensboro, NC, to do some carving for the scene shop. I had done some foam carving in the props shop last autumn, and when another project came up, they thought of me.

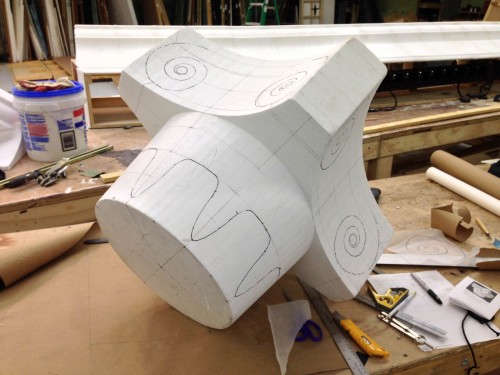
Layout on the blank
Layout on the blank

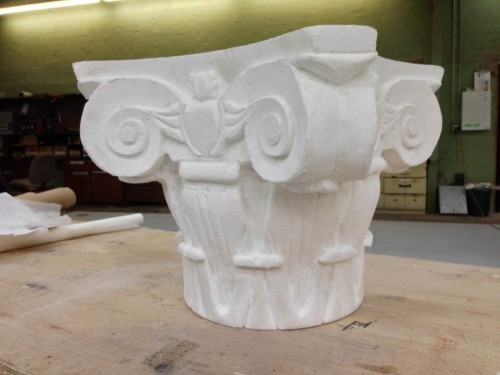
They already had a blank cut to size when I arrived at the shop. This blank was cut by the foam manufacturer, and was made of two pieces glued together (it looked like they used a 2-part polyurethane foam, or even just Gorilla Glue as the adhesive). This helped immensely in getting me started, since the piece was already symmetrical and scaled to the size they wanted. I started by dividing the piece into equal pie shapes and transferring the design from the research onto the foam.

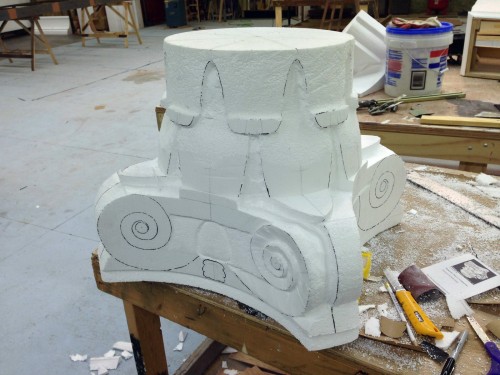
Beginning the carving

The foam they gave me was a 3 lb EPS foam, which was a lot denser than anything I had ever used before. Basically, EPS foam comes in a variety of densities, with 1 lb, 2 lb and 3 lb being the most common. The numbers come from the weight of one cubic foot of foam. So 3lb foam has three times as much polystyrene packed into the same area as 1 lb foam. Of course, EPS is the beaded foam, so it is still trickier to get a smooth surface than it is with either blue or pink foam, but those are not readily available in large blocks like this.

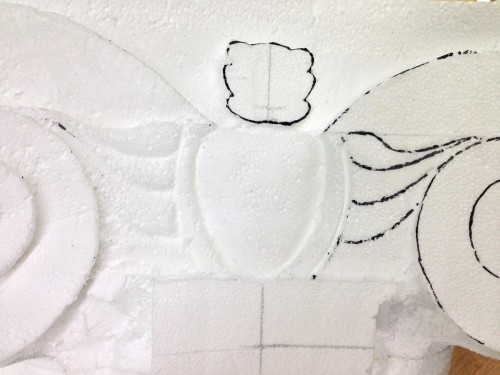
Adding details
Adding details

The designs on this style of classical capital are very symmetrical and repetitive, so I really only had to draw out one half of one side, and then just trace and transfer it to the other seven halves. I carved the whole thing mainly with my snap-blade knife, surform, sandpaper, and a big ol’ half-round bastard rasp. I broke out a router a couple of times to clear out some of the deep pockets; the router also helped me cut to a consistent depth around the whole piece.

Coated
Coated

Since the capital was being placed on a column high above the set and was not going to move or be handled during the show, I opted for a simple coating of joint compound to keep the cost and time down. I basically applied just enough to give it a smooth coating and a nicer surface for paint.

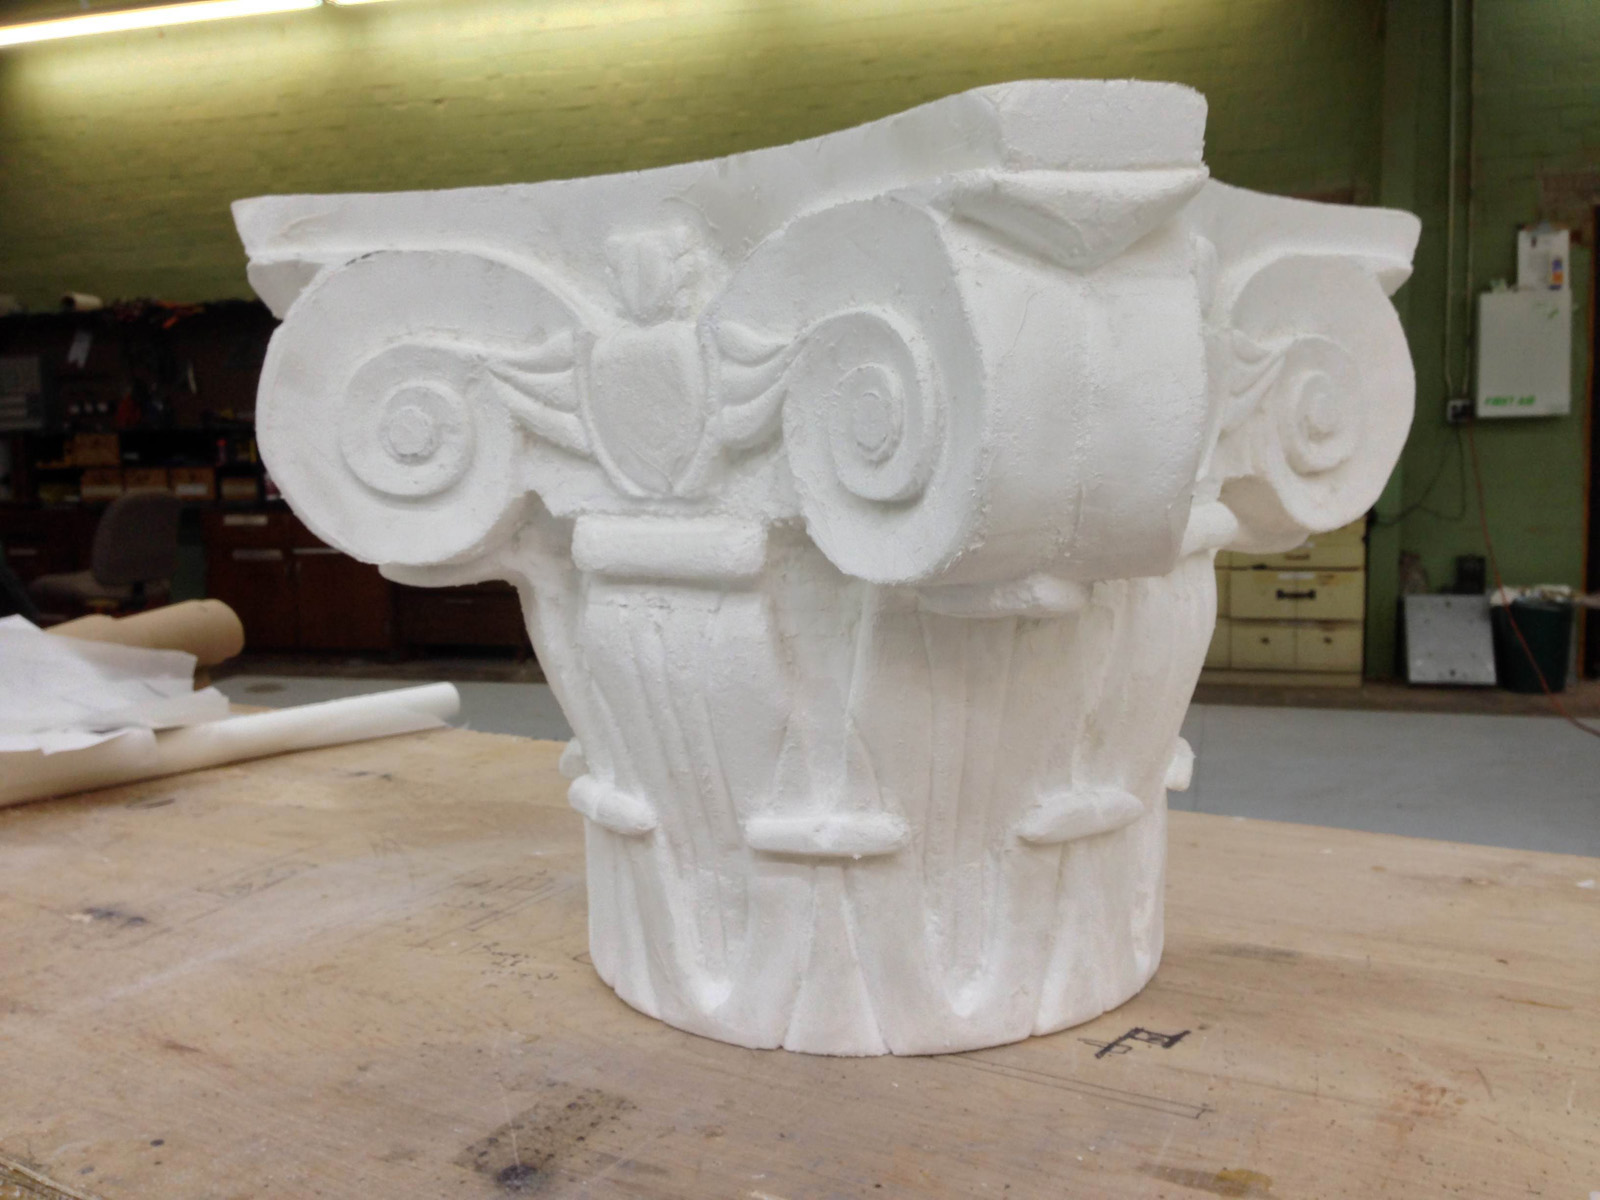
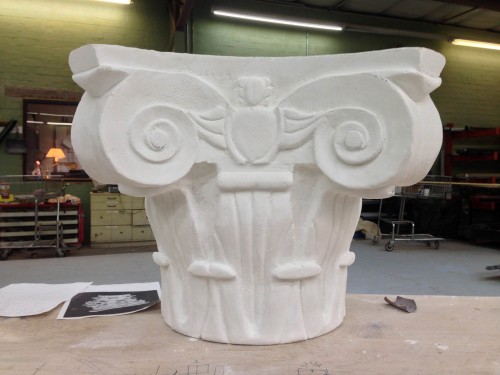
Finished capital
Finished capital

The design on this capital was greatly simplified to allow it to be carved in about half a week. Because it was going to be painted black and be placed high above the set in the shadows, it just needed to hit the high points of the shape so the audience would go “oh, there’s a fancy thing up there.” Or at least, that’s what the audience in my head says after the show.


How to Draw an Ellipse

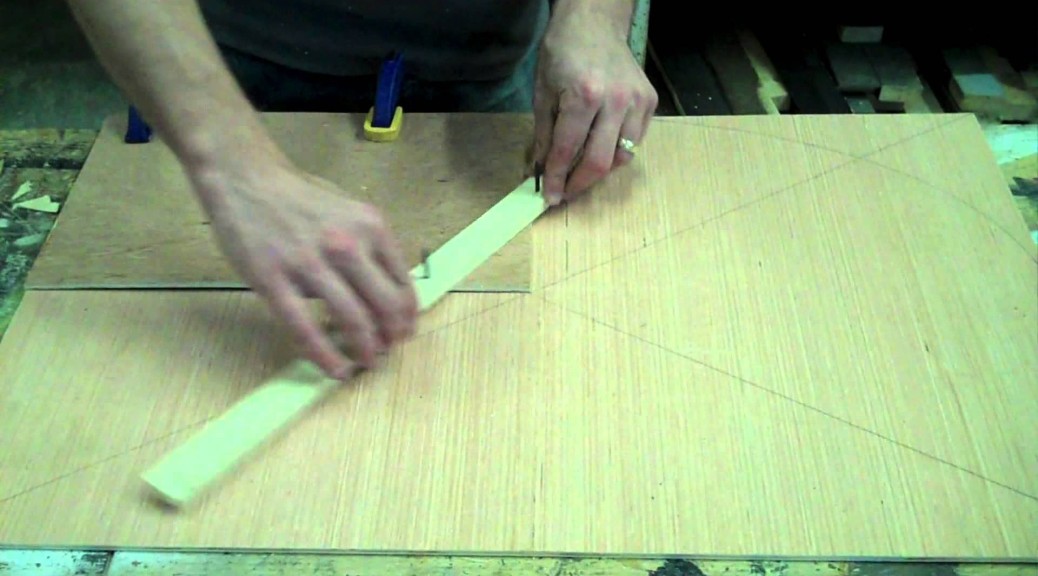
I have three new videos up on my Prop Building Guidebook companion website. Two are on painting techniques (spattering and sponging), while the third shows a quick method for drawing an ellipse. I’ve attached that below. My book comes out next Tuesday, so that is it on the videos for now. But if you want to request a video for a specific technique, or demonstrating a certain tool, let me know, and I’ll see what I can put together.

Stuck in the Middle

The beginning of your process in building a prop can take awhile with no apparent progress. First, you have a lot of research to get the look and design figured out. You may need to make construction drawings, sketches, or even full-scale layouts. Choosing your materials, deciding on techniques and planning the order of tasks can also take some time. Depending on the type of prop you are building you may need to generate cut lists, construct jigs and templates or draw up patterns. Even just gathering or ordering your materials and parts can take up time. In other words, you can spend hours or even days upon starting a project before the prop itself begins to take shape.

In a similar vein, the end of the process can be a slow ordeal. Filling and sanding, coating and painting, or whatever your finishing touches are usually take a lot more time than you anticipate. I’ve found for projects which require a smooth or pristine finish, the sanding and smoothing part can take longer than the construction of the prop itself. Anyone who has painted can also attest that the preparation of the surface and masking out of areas is the longest part of the process; the actual application of paint is but a blip in the overall time frame of the process. Like the beginning of the process, the end can take a significantly longer amount of time than the construction of the prop.

It is usually the middle which takes the fastest. You spend a few days planning the prop out, than in one afternoon, all the pieces go together like magic. Then it takes another few days to get it to a finished state. It is this middle phase where progress on the prop is the most visual, that is, when it seems you are working the fastest. But a quick construction period can only happen with thorough planning, and a well-made prop can only result from thorough finishing.

Making a props portfolio part 2

In my previous post, I discussed what to include in your props portfolio. In this part, I will discuss how to layout, organize, and present your portfolio. I’m going to use my own portfolio as a guide; there are certainly many other ways you can make your portfolio.

Layout

There are a number of ways to layout your pages. You can of course do it by hand, where you make copies of all your photographs and drawings and glue them to paper or a heavier board. Or, if you want a less time-consuming and cheaper method, you can do it on your computer. For simple layouts, you can use any number of software programs, depending on what you are already comfortable using or what you have access to. I use Scribus, an open-source desktop publishing program. I know people who use Powerpoint. You can even use a word processor if that’s what you like working with. You basically need to fit images and text on a page, so your options are limitless.

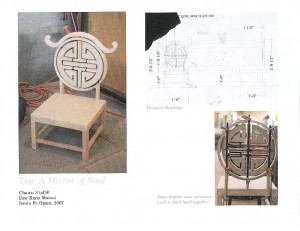
A sample page with a single prop on it

Continue reading Making a props portfolio part 2