Tag Archives: Jay Duckworth

A wooden table

The last show for the calendar year at the Public Theatre is Mike Daisey‘s “The Last Cargo Cult”. We needed to construct a new table to match the design of the world. The design called for a solid, fairly sturdy-looking wooden table, which showed some character and a lot of age.
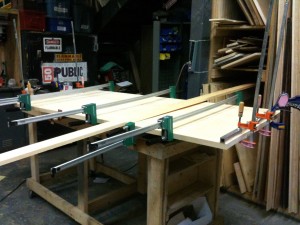
The boards for the table top are clamped together

The table top was made of four planks of equal length. I connected them using a biscuit joiner. I was able to borrow the scene shop’s new Woodcraft bar clamps for this. You alternate whether the clamps go over top or underneath the surface to keep it from bowing. I also clamped a metal bar on either end as an additional way to keep the planks level with each other. You can ignore the random one by four in the photograph; I’m not sure why that was there.
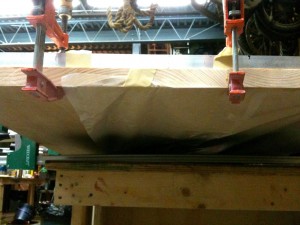
Wax paper to catch excess glue

I used wax paper to keep the glue from squeezing out and adhering the wood to the work table, or worse, dripping onto the clamps. If you wipe the excess glue away, you will smear it into the wood. It may look like it’s gone, but when you go to stain the piece, it will not accept the stain and you will be left with light-colored spots. Wait until the glue dries and then scrape it off. If you are painting the table, or the glue is in a hidden place, then by all means, wipe away while wet.
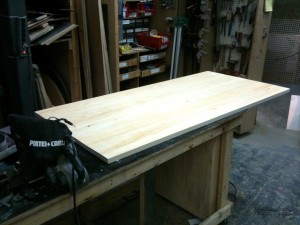
Finished table top
Finished table top

Here is the final table top. I used a belt sander, starting with a 50 grit belt, then skipping straight ahead to 12o grit, and finishing with 320 grit. I then hit it with a random orbital sander at 400 grit. Peter Ksander, the set designer, wanted to bring out the grain and accentuate the pattern. I wiped the surface with a wet rag. This causes the dark grain to raise up from the lighter grain; if you were aiming for a smooth surface, you can then sand the higher grain down, but in this case, I left it alone.
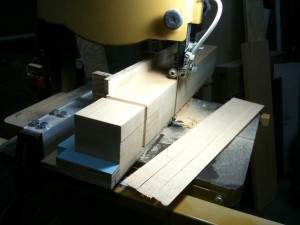
Taper jig on the bandsaw

Karen Cahill, the properties manager at George Street Playhouse, was on hand for a bit to help out. She glued the boards together to make the blocks for the legs. I made a taper jig to quickly replicate a taper onto all four legs. I used the band saw as the table saw could not raise high enough to cut it in one pass.
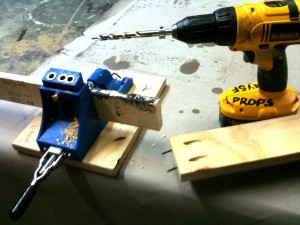
Kreg Pocket Hole Jig

Easily one of my favorite new tools of the year is the Kreg Pocket Hole Jig. You can see in the photograph above how it allows you to drill holes so the screws exit the center of the end grain. For prop carpentry, the speed and strength of the joints it creates have replaced many of the joints I use regularly. For tables, I use them to attach the apron to the legs, followed by the apron to the top. This allows me to keep the top of the table free from screw or nail holes.
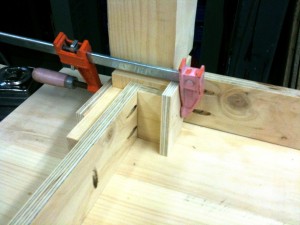
Lining up apron and leg for attachment

You need to clamp the pieces well to keep them from drifting; the pocket hole jig creates a hole at a slight angle, so the screw will want to push the wood back as it drives in. Above, you can see the various pieces of wood we used to not only hold the apron in place while we attached it to the leg, but also to space it consistently on all the legs. Jay Duckworth was on hand for much of this part as well. He also routed the groove you see in the legs below and stained the table at the end of the day.
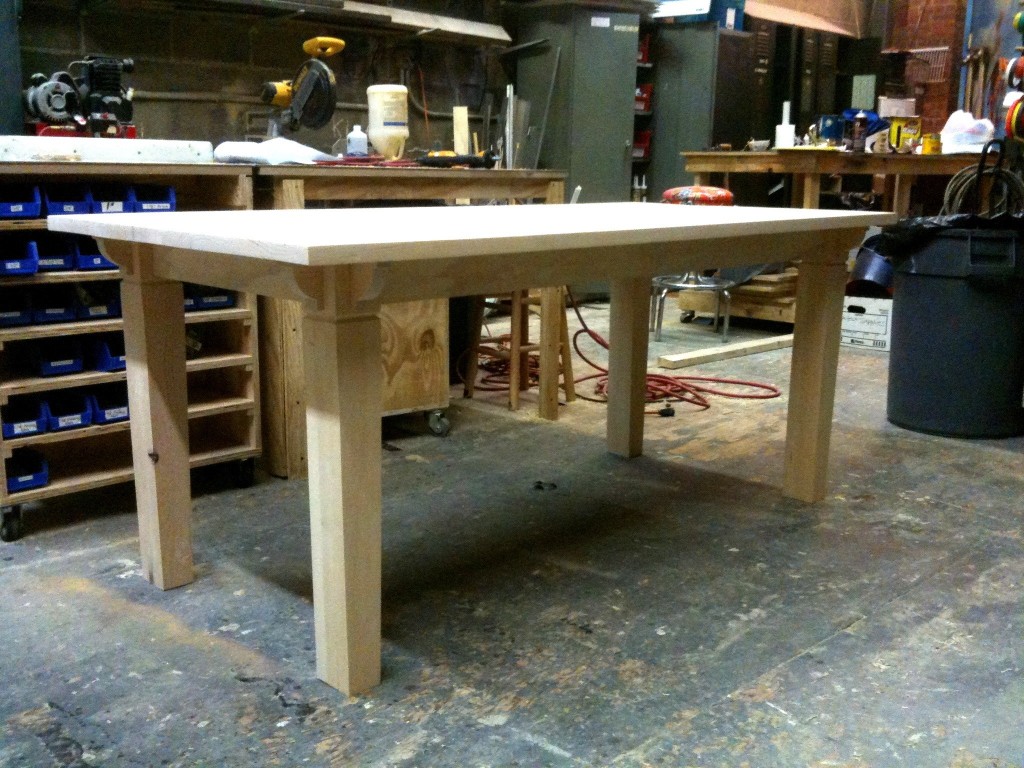
Final table before staining

First Ever NYC Props Summit

First ever Props Summit

Jay Duckworth, our props manager at the Public Theatre, is throwing a props summit next week, September 4th. His idea is to get together all the props people in New York City, whether it’s masters, artisans, or runners, working either freelance or full-time.

It’s a chance for everyone in this great city to meet each other and see who else is out there. In a sense, we’re all in this together, and combining our resources can only be beneficial in the long run.

So if you want to get involved, and don’t have a personal contact with either me or Jay, leave a comment or send me an email. I’ll let you know the when and where in more detail.

A body for Bacchae: Part Two

In part one of “making a body for Bacchae“, we developed a series of samples and prototypes of dead body parts out of spray foam, Foam Coat, and Dragon Skin. Since then, we’ve been able to show the pieces to the whole production team; John Conklin, the scenic designer, and JoAnne Akalaitis, the director, gave us the go-ahead to continue on with the actual body pieces.

We started with a skeleton. We were originally going to get a skeleton from a medical supply store, but I found a corpsing tutorial at “Skull and Bones.com” which shows that you can get a “4th quality” skeleton from certain companies for a lot cheaper. It may be missing some hardware and fasteners, and the overall quality will be less, but all the pieces are there, and for our purposes, it was perfect.

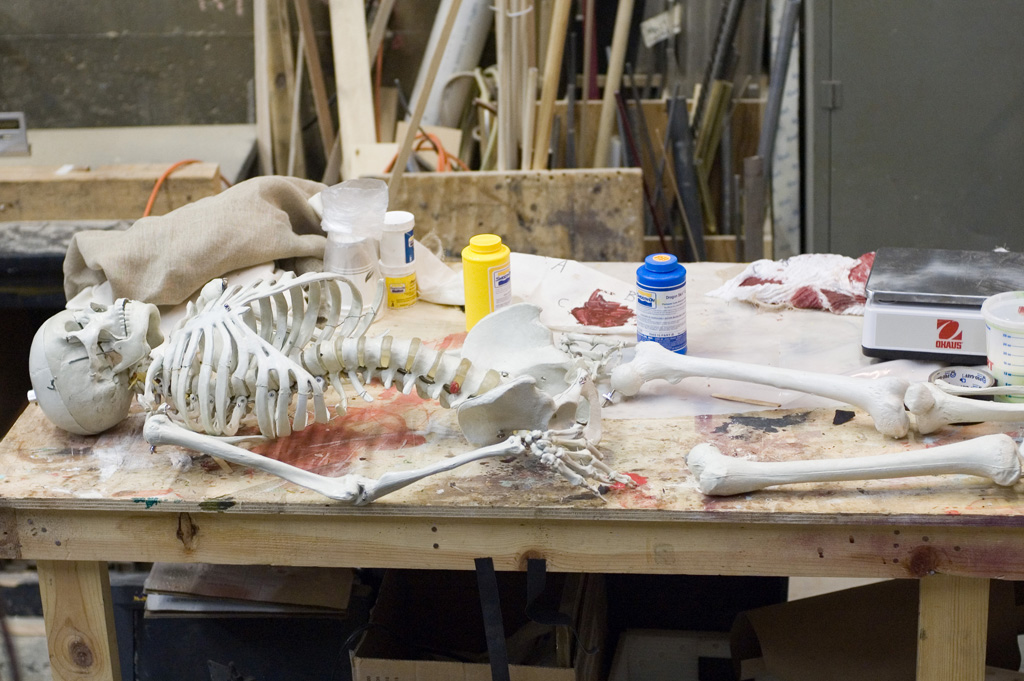
The full skeleton laid out on a table

We broke the skeleton apart into several pieces. In the play, King Pentheus is killed through sparagmos, and we had to make the end result. The legs and skull were three separate pieces. We left one shoulder blade and upper arm on the torso, which left us with one complete arm, and one forearm.

The first steps in adding muscle to the bones

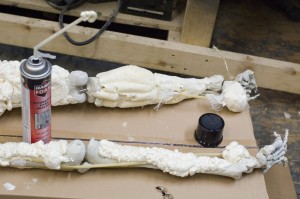
Like the sample pieces, we built the muscle up by spraying expanding foam onto the bones, carving it into muscles, and coating everything with Rosco Foam Coat.

Continue reading A body for Bacchae: Part Two

A body for Bacchae: Part One

For the upcoming production of The Bacchae at Shakespeare in the Park, we have to make a ‘meat suit’. In the play, King Pentheus is dismembered and has pieces of his flesh torn off by the Bacchants (the party-goers). This happens off-stage, but his torn-apart body is wheeled onstage, where his mother, Agavë, attempts to reassemble him.

The director envisioned a corpse covered in meat. We in the props shop needed to find a way to mimic that look. It also needed to hold up under the weather, as the Delacorte is an outdoor theatre.

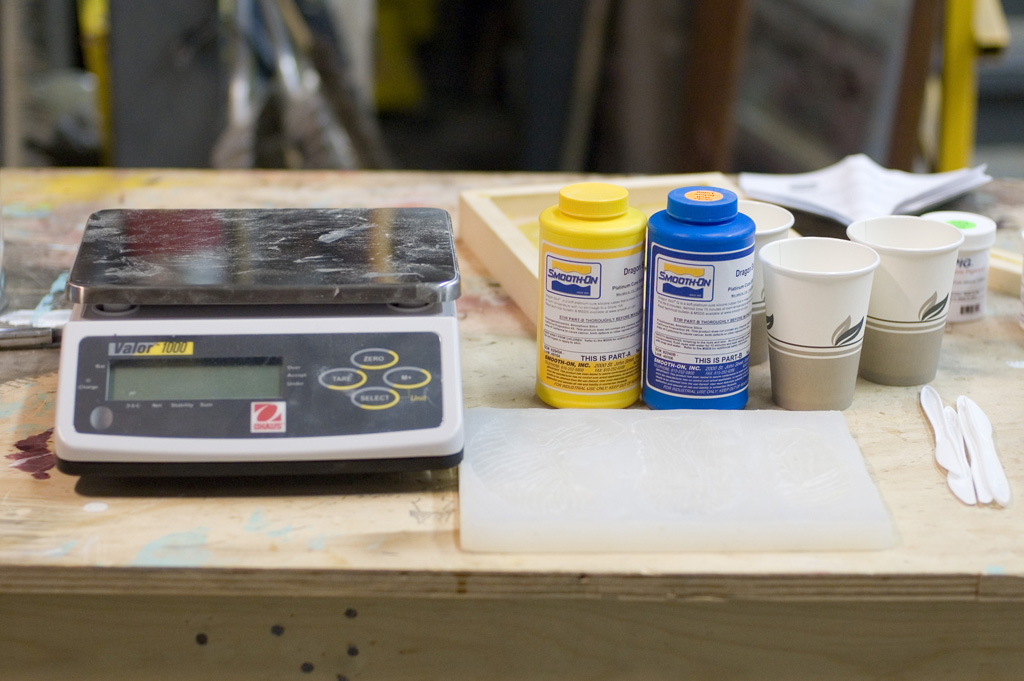
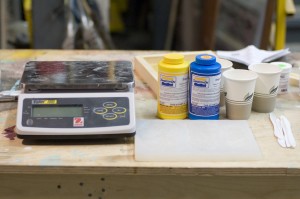
Jay Duckworth, the properties director at the Public Theatre, decided to use Dragon Skin, a silicone rubber product from Smooth-On, Inc. It comes in liquid form in two parts. You mix an equal amount of each part together, and you get a viscous liquid which can be cast or brushed on. After a little over an hour, it becomes a rubbery solid.

Getting ready to use Dragon Skin

We began experimenting with casting these up into meat-shaped pieces. Dragon Skin can be colored with “Silc Pig”, a silcone pigment which comes in a number of colors. I found good results by mixing two batches up simultaneously with different levels of pigmentation. By pouring them into the mold at the same time, we could achieve random differences in color throughout the piece, which gave more realisic results.

Jay pours Dragon Skin into a mold

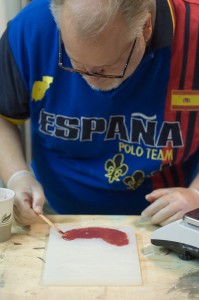
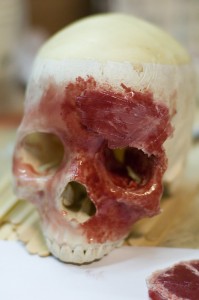
Jay found good results from painting the Dragon Skin directly onto the skeleton pieces.

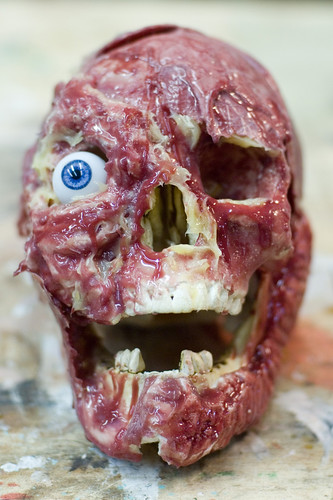
Painting the Dragon Skin directly onto the skull

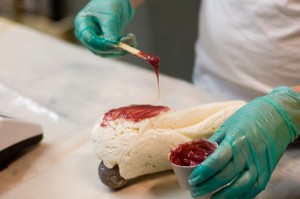
I suggested using spray-foam to build up chunks of muscle on the bones, and then painting the Dragon Skin onto that. Along with Michael Krikorian, we prototyped up a number of bones with a variety of techniques to compare them. We decided that overemphasizing the depth of the ridges and covering the foam with Rosco FoamCoat led to our favorite results.

Layering Dragon Skin on top of foam

“Silc Pig” comes in a number of different colors, so we mixed various batches of Dragon Skin to simulate fat, muscle, skin, and various other bits of chunky ooze on the bones.

There are a number of important things to keep in mind. First, silicone rubber reacts with certain chemicals, which keep it from curing. Most importantly is latex, so if you use latex gloves when working and touch the mixture, it will remain in liquid form. Use vinyl or nitrile gloves. We also found that hot glue will keep the Dragon Skin from curing. Also, use an accurate scale. The measurements need to be precise, and you cannot do it by sight alone.

Most importantly, as always, good research is the key to a realistic product. Everybody knows what muscle looks like until it comes time to actually carve it. Needless to say, doing research for this project was particularly vomit-inducting.

Now that we’ve come up with a repertoire of techniques to use, we can begin work on the actual prop. Keep watching this blog for more photographs of our progress.

The final skull prototype. All photos by Eric Hart

Jay Duckworth

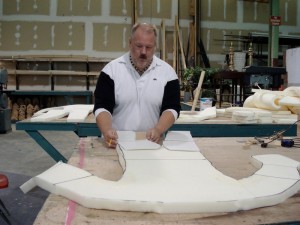
Jay makes a flat foam figure.

I’ve been working in the props shop at the Public Theatre for the past week and a half. Jay Duckworth is the props master there, and a fantastic guy to work for. You can see his work on his website.

Jay runs a podcast on props. You can listen to “Prop Dept” on iTunes. I’ve never really dealt with podcasts before, so I don’t know how you would get it if you don’t have iTunes installed. I have it, so I was able to download the latest five episodes. He presents tips and tricks such as making a barb-wire crown that oozes blood, turning a switchblade comb into a switchblade knife, and making slime.