Tag Archives: How-to

How to make a breakaway telephone

One of the trick props we needed for The Book of Grace was a phone which John Doman smashed during every performance. We decided that the phone receiver would remain real, but the part it hung on would be cast from plaster. It would all hang on a wooden base, and a collection of “phone innards” will be held inside the plaster part, so when it broke, an assortment of metal bells, chip-boards, and other electronic components would be left hanging on the wall.
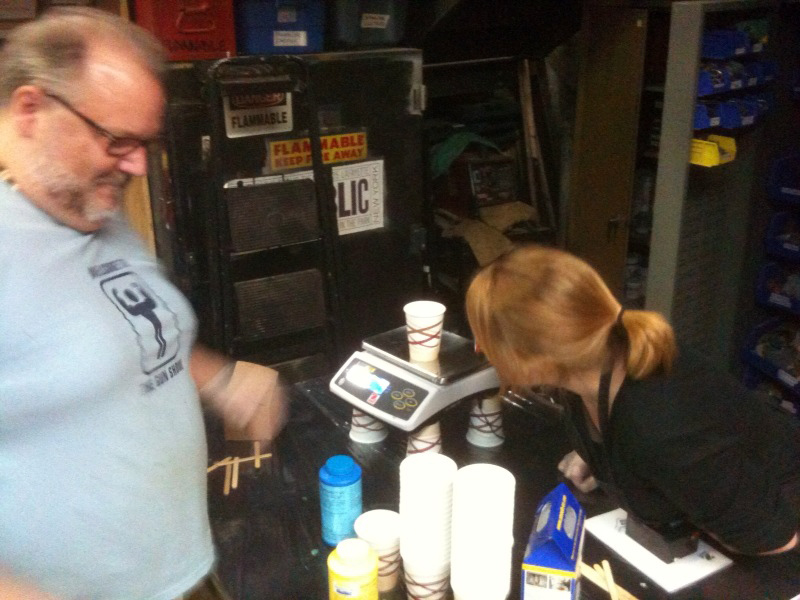
Weigh out the silicone
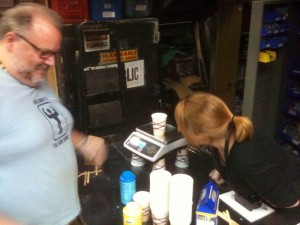
Carefully weigh out the silicone

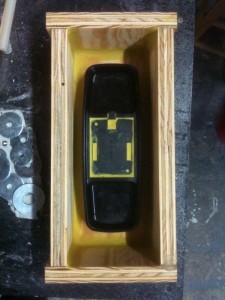
We made a two-part silicone mold of the phone. Making a two-part silicone mold is beyond the scope of today’s post. However, I did get a photograph before the pouring of the first part. At this point, Natalie Taylor Hart took over the project.
Preperation for making a mold of the phone
Preparation for making a mold of the phone

Normally, the next step is to make the second half of the mold from the back of the phone. In this case, the shape of the back was far more complicated than what we needed, and we were worried the plaster cast would be too thin. So we took the first part of the mold and built up the thickness we wanted to achieve out of Klean Klay. The Klean Klay is the yellow substance in the photograph above, and remains flexible like plastiline. It also does not contain sulphur, which reacts with the silicone mold-making compound. The mold still needed some tweaking, so Natalie carved directly on the silicone to perfect it.
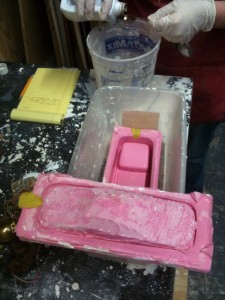
A view of the mold
A view of the mold

We wanted the color of the phone receiver to match the back part, which was the sort of taupe that most appliances from the late twentieth century came in. When the plaster phone gets smashed, the broken edges would show up white. Thus, we needed to dye the plaster while it was still in liquid form. Natalie found that a tablespoon of Rit tan dye in the mix made the best color match.
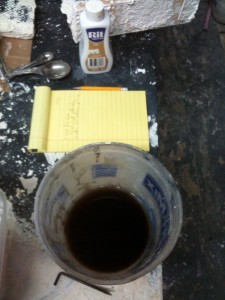
Adding dye to the plaster mix

Natalie sifted the plaster into the water until tiny islands of plaster began to form on the surface. Once she had made a few phones, she had the exact measurements of both plaster and water marked down.
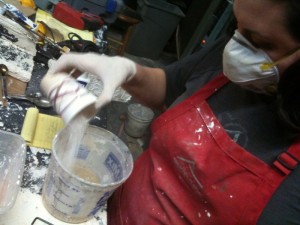
Combining the plaster into the water

Next, she let the plaster sit in the water for about 30 seconds. “Wetting” the plaster allows it to mix more thoroughly.
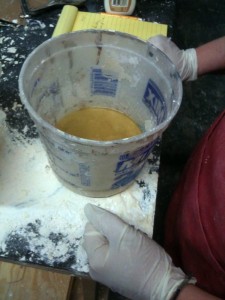
Letting the plaster wet up

With such a small amount, she mixed it by hand. This also gave her a tactile way to ensure all the lumps were worked out of the mix.
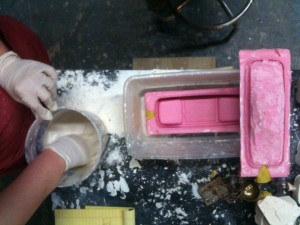
Mixing the plaster
Mixing the plaster

Natalie discovered the best way to pour this particular mold was to slosh plaster over the top half before putting it together. It was important to get plaster in all the cracks and crevices or the strength would be compromised.
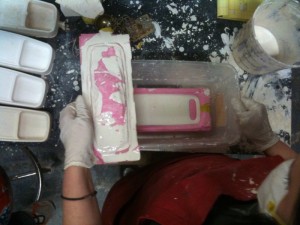
Pouring the plaster into the mold

The phones set up overnight, but they actually took two to three days to fully dry. We could not get any kind of adhesive to keep the plaster parts onto the bases until all the moisture was completely out. We ended up needing around 40-50 phones for the run of the show, but since we could cast more than one a day, we could make them throughout the run rather than all at once.
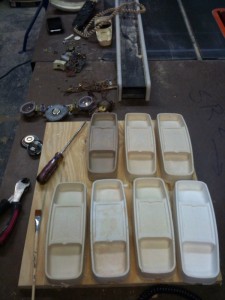
Phones
Phones

Finally, here’s a video showing the end result. This was taken earlier with a different phone model, before they changed it to the slimmer model.

Make a Switchblade

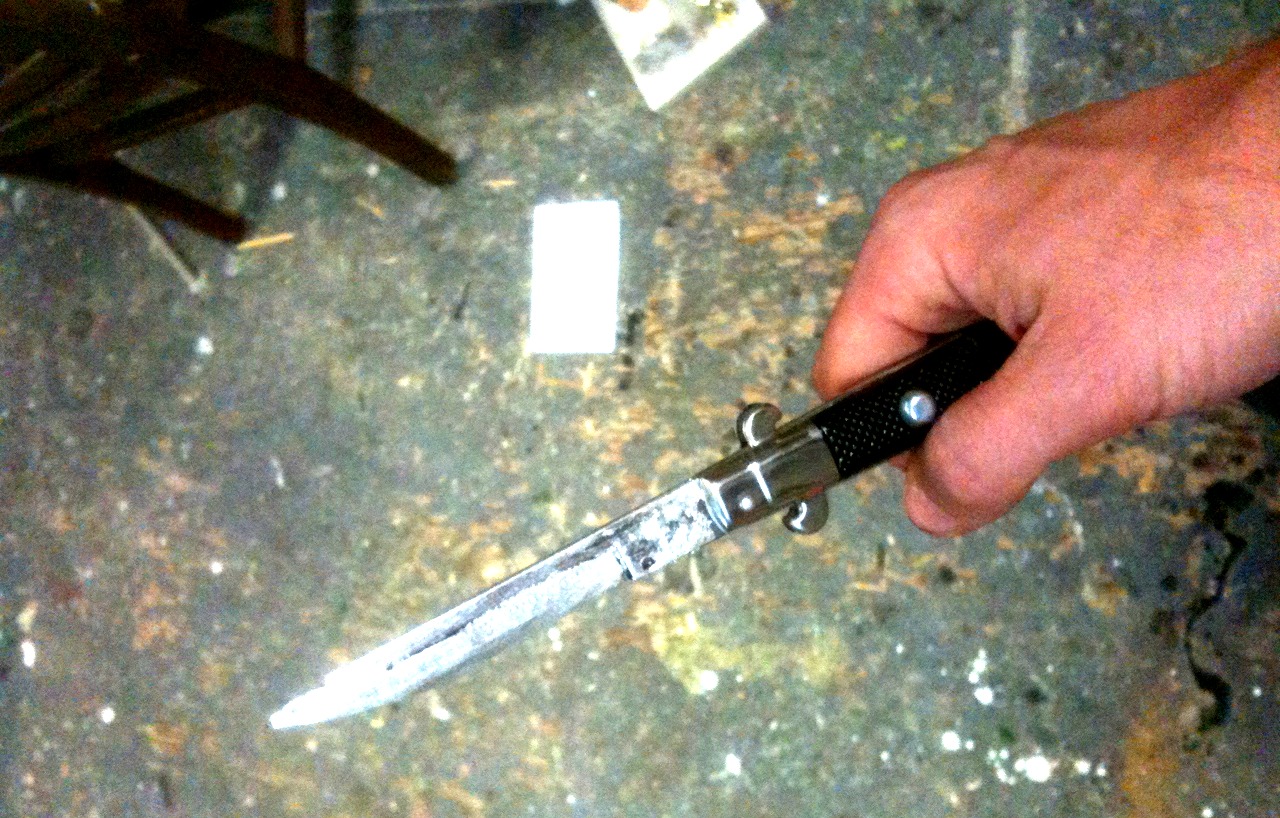
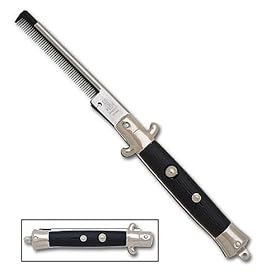
Here’s an old prop chestnut which we’ve used during our current production of Bloody Bloody Andrew Jackson. Let’s say your play requires a switchblade or two. Real switchblade knives are fairly illegal; even if you can find a place that sells them, you often need a special license to purchase it. However, you can buy switchblade combs at many novelty stores.

Switchblade Comb
Switchblade Comb

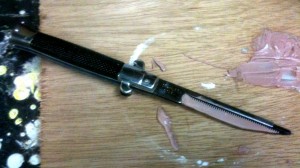
You can fill the gaps in the comb part with Bondo (or whatever your preferred brand of auto body filler is). Sculpt it into the shape of a blade, but be careful not to get much thicker than the comb; if you add too much thickness, the blade will no longer pop out.

Fill the gaps of the comb with Bondo

Finish it off with silver-leaf. Again, silver-leaf will add no thickness to the blade (which some paints might), and it will give it the ability to glint and gleam from the stage. It will also be less likely to rub off during frequent usage.

Switchblade comb, or knife
Switchblade comb, or knife?

How to make a deer butt

In a previous post, we saw a deer butt which Natalie had built several years ago make a reappearance in a current production of A Lie of the Mind. I asked her to share how she constructed it.

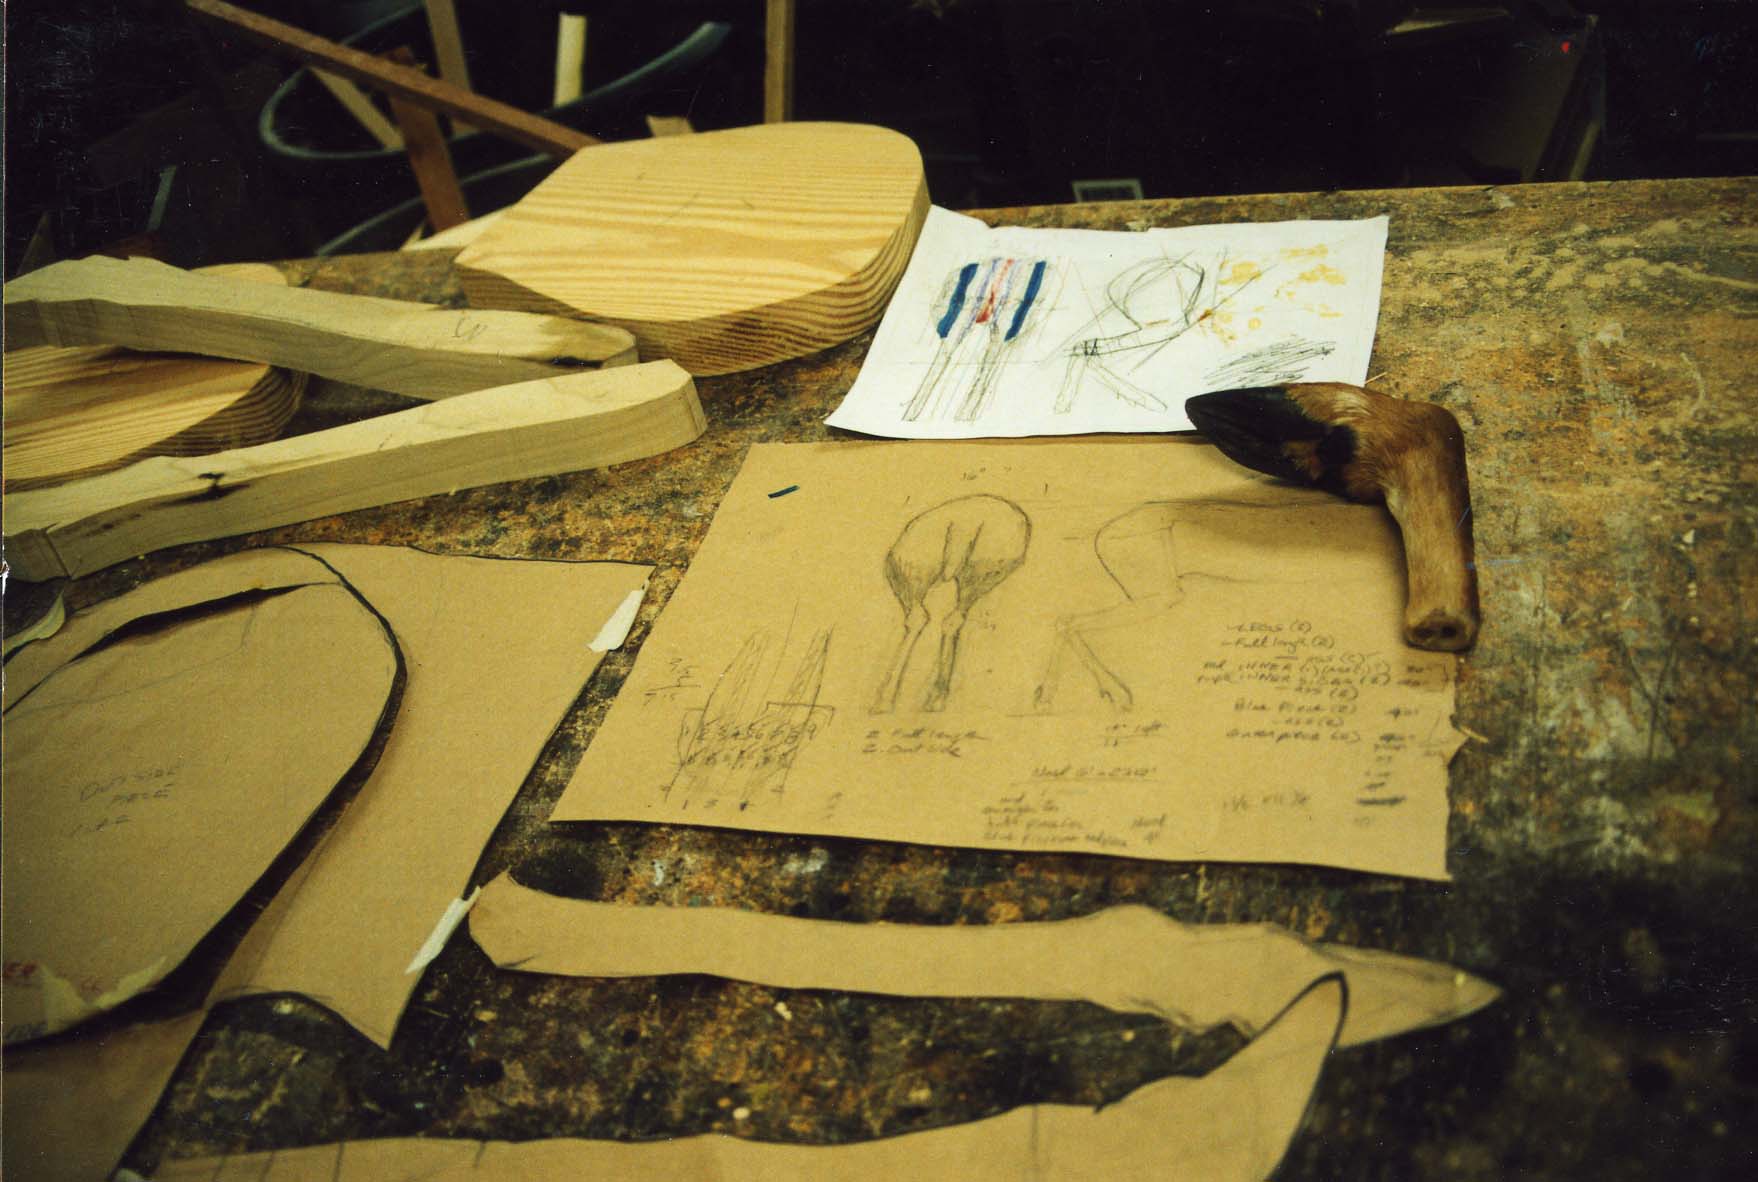
Drawing and deer hoof

She began with research and preparation. Without that, you can easily waste your time building something which is not quite right. She found a taxidermist who agreed to let her come to his shop and show her some techniques. She was able to make a series of detailed drawings to work from; she also scored the back half of a deer hide (as well as the foot pictured above). As you can imagine, with all the deer heads you see mounted in hunting lodges and man caves, there’s bound to be some left over rear parts.

Layup of solid wood pieces

She decided to construct it out of a solid chunk of wood for strength, durability, and realistic weight. With her drawings, she cut the wood into their rough shapes before gluing them up layer by layer.

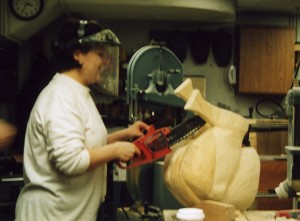
Cutting away at the wood

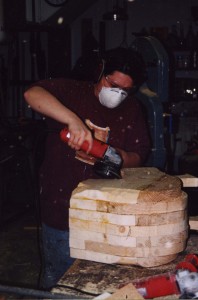
Once the form had dried together, she began rounding down all the edges to blend it into a  seamless piece. She also carved in musculature for added realism; since it would be covered with a hide, she exaggerated the lines so they would still show through the thickness of the material.

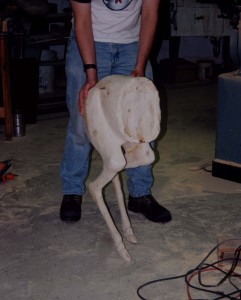
Completed wooden deer form

With the form completed, she tested it for strength. The legs are fairly skinny, so she added a bit of metal rods in the thinnest areas for reinforcement.

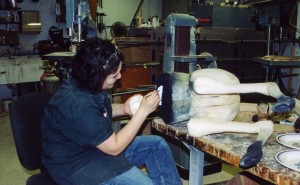
Painting the exposed parts of the deer

Natalie painted the hoofs and mangled parts because they would not be covered by fur. Again, the research and reference materials showed her exactly what it should look like. She had also spoke with the taxidermist about what colors would be showing on the exposed innards.

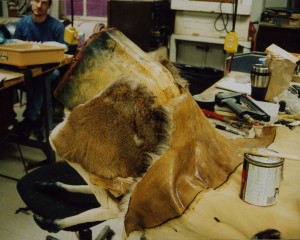
Attaching the deer hide

She began attaching the hide to the form using Barge. The hide came split down the bottom center so it was a flat piece. That meant it had a seam along the bottom and down each leg, which she had to treat carefully to keep it from becoming too prominent or noticeable.

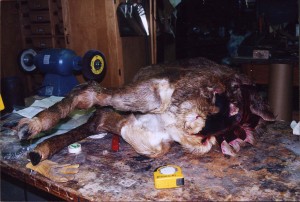
Completed deer butt
Completed deer butt

With enough practice, you too can produce props as deer as this!

Stage Sounds

Stage Sounds

by Harley Vincent

Photographs by George Newnes, Ltd.

(originally published in The Strand Magazine, 1904)

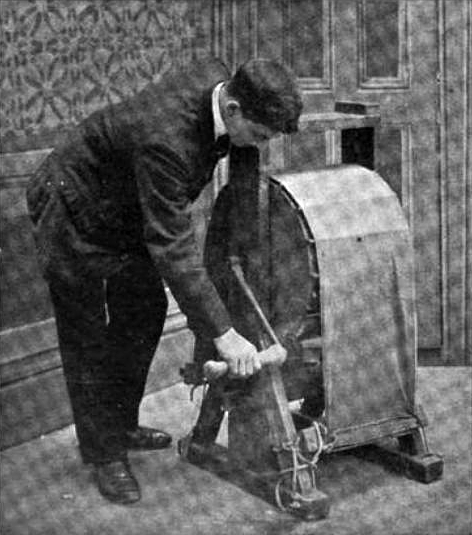
Suppose some reader of The Strand were to ask, “What is a wind-machine?” how many persons in an intelligent audience would be able correctly to answer the conundrum? Yet how often have they, in some thrilling drama at Drury Lane or one of the great London theatres, listened with sympathetic anguish to the heroine’s tearful ejaculation, “Oh, what a night! Hark to the fearful wind as it beats on yon desolate moor!” And what if, after all our straining of ears to hear the wind beating on the desolate moor (the scene, by-the-bye, of the heroine’s desertion by the villain of the play), there were nothing more realistic to reward us than the scene-painter’s gorse and heather and the proscenium lights turned low?

Wind machine
Wind machine - "Hark to the fearful wind!"

Continue reading Stage Sounds