Tag Archives: head

Milky the Cow

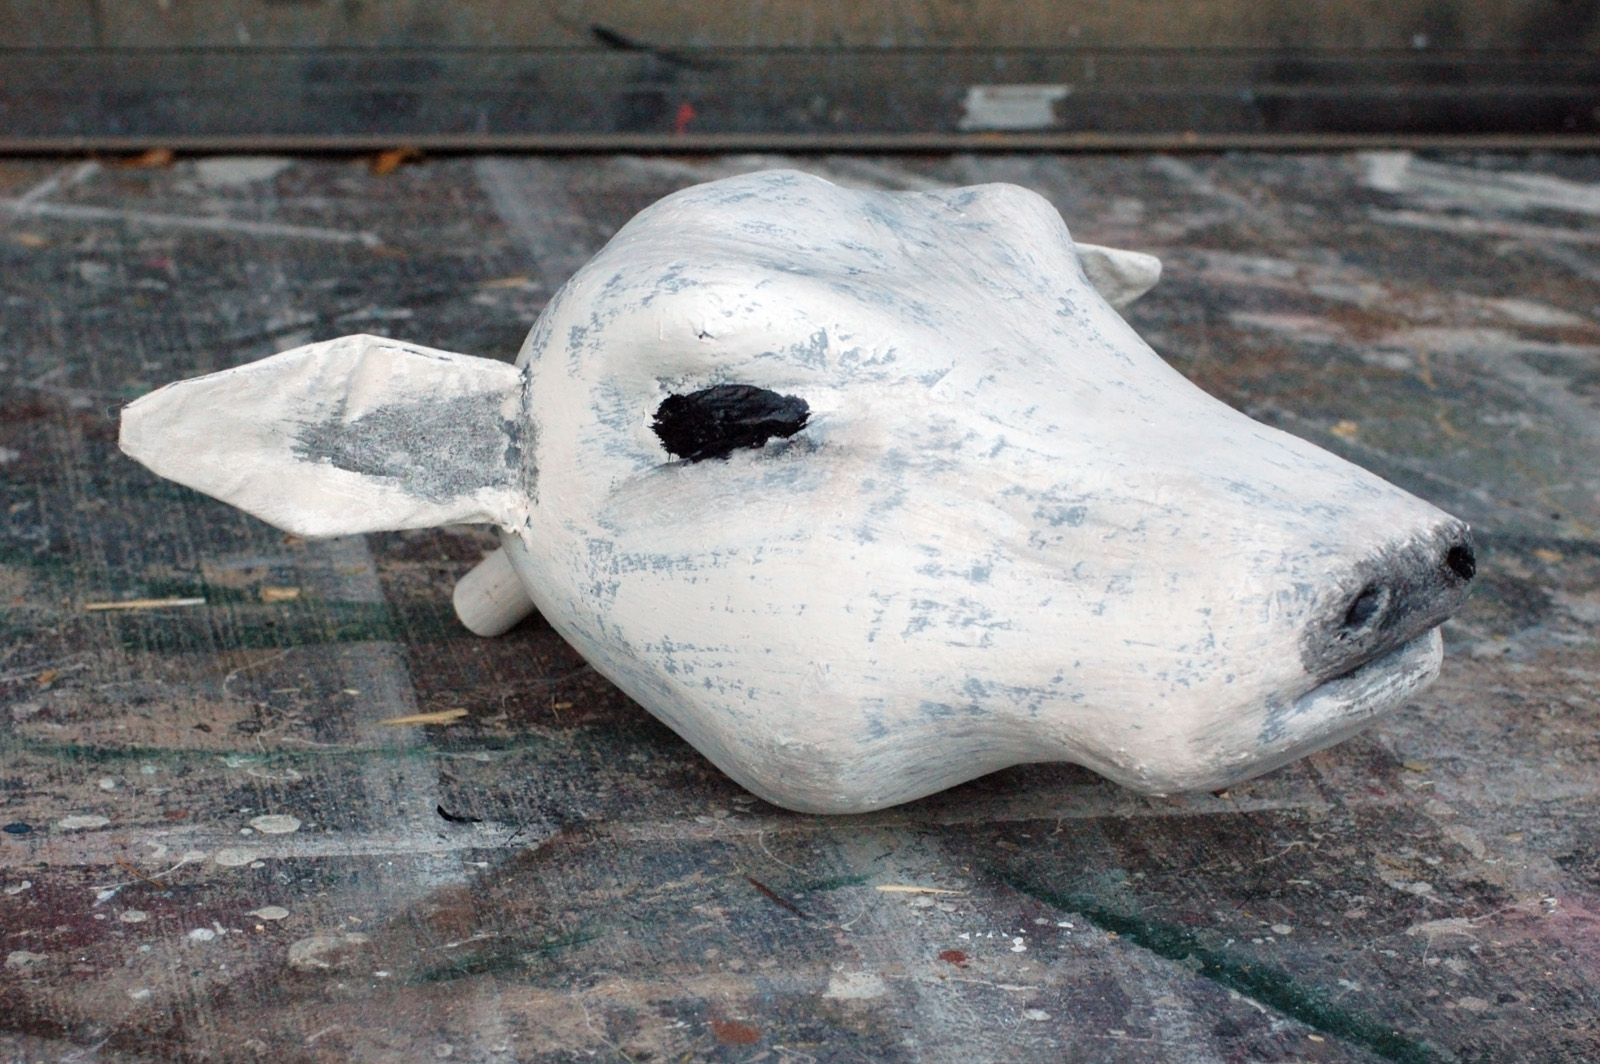
I recently finished some work on a production of Into the Woods at Elon University. The students hired me to build the animals (some may call them puppets). Milky the Cow is one of the main animals, appearing in many of the scenes. I began by sculpting a cow head in white foam.
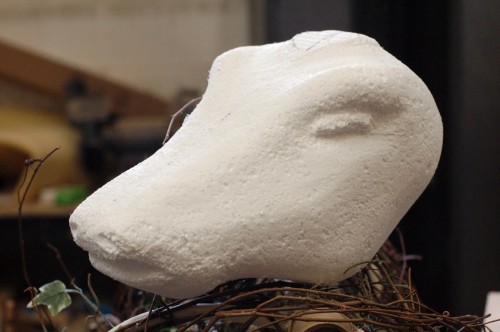
Sculpted foam head
Sculpted foam head

I gave the head a coating of papier-mâché. The design of the show used a lot of found object and natural material arranged to suggest a forest, rather than attempting a realistic portrayal of one. So the construction of the head proceeded in a manner to highlight the fact that it was a handmade object, rather than attempting to completely mimic an actual cow’s head.
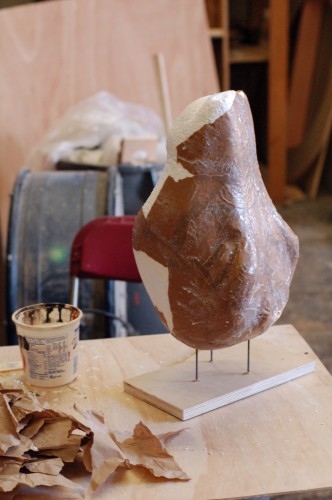
Applying papier-mache

The body was a separate piece; it was just the torso, tail and udder, without any legs. They were basing their design off of the Regent’s Park production (which transferred to the Public Theater this past summer, though I left just before it came).

I started with a structure made of a cardboard tube “spine” and some bent PVC pipe to define the shape. I than began wrapping vines around to create the outer surface. Everything was wired in place, but I also added some twine to make it appear as though it was lashed together.
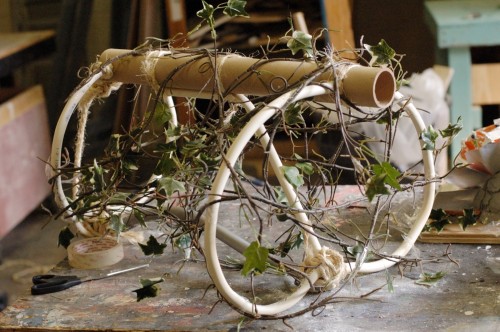
Body structure
Body structure

Next for the head were some ears. I patterned and sewed them out of muslin, with a piece of styrene inside to give it some stiffness. Once the ears were on the head, I heated them with a hot air gun so I could curl and shape them. When cool, the styrene retained that shape.
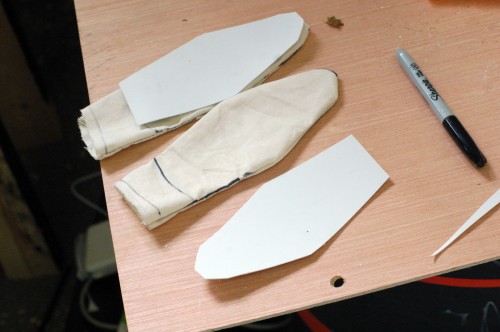
Ears
Ears

The head got a coat of grey primer, followed by a dry brush of off-white over top. I glued a dowel coming out of the back of the head so the handler could hold onto it and manipulate it around.
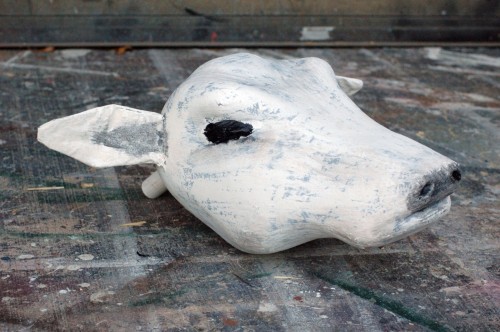
Cow head
Cow head

The udder was a few pieces of red fabric which I patterned, sewed, and stuffed with polyester batting. I lined the inside of the body with some screen material so the actors could throw objects inside as Milky “ate” them, and they would be easy to retrieve after the show. I added some raffia to beef out the body since the vines did not give enough coverage on their own.
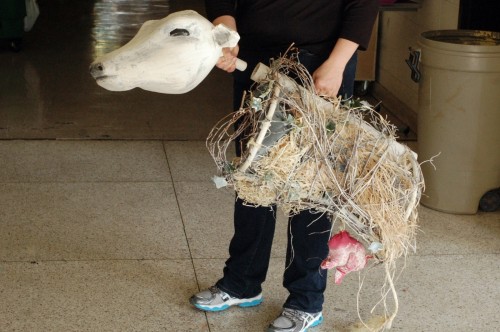
Milky White
Milky White

So there you have it; one Milky the Cow!

Medusa Head

I was contacted to make the head of Medusa for a show. An actor would pull it out of a bag, but it did not have to stand up on its own. The face did not need to match any of the actresses in the cast, so that freed me up in my options. It needed to be inexpensive too, so I used as many store-bought items as I could.

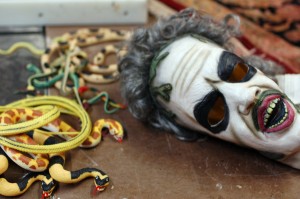
Supplies for the Medusa head

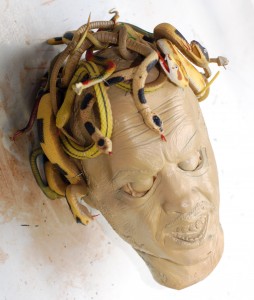
I bought a Beetlejuice mask and some rubber snakes from Halloween Adventure, a year-round costume store in the East Village. His hair turned out to be a wig which pulled right off.

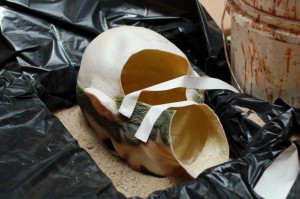
Filling the face with foam

I filled the inside of the mask with a layer of expanding foam insulation. In order to keep the foam from distorting the shape of the face as it expanded, I buried the face in a tray of sand. Expanding foam gives off harmful vapors when curing, so use in a well-ventilated area, preferably in a spray-booth or near some kind of system that can pull the air away from you. Expanding foam does not cure properly when you put it on too thick, so fill the mask one layer at a time. I ended up rotating the mask after each coat and putting only a single layer on each side. The mask remained hollow but the sides were strong enough to hold the shape.

Snakes
Snakes

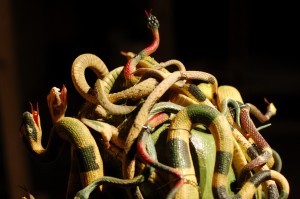
I used wire to hold the snakes on the head. I arranged it so it would be easy to grasp Medusa from the top. I had printed out some pictures of various depictions of Medusa in art through history, and that gave me a good reference on how to arrange the snakes so they would look the most “Medusa-like”.

Basecoated mask
Basecoated mask

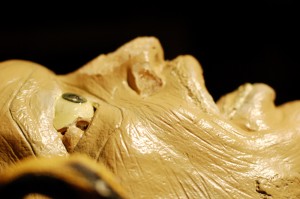
I made eyes out of epoxy putty. Epoxy putty comes in tubes, and you simply break a piece off and mix it around in your hands until it is a uniform color. It has the consistency of a clay like Sculpey, and hardens over time (depending on which kind you get, that can be anywhere from five minutes to an hour). Epoxy can be absorbed through the skin and you can become sensitized to it over time, so where disposable gloves when working with it. I had set the eyes in place before filling the mask with the expanding foam, which held them in place when it dried. I sprayed a coat of paint over the entire mask (I actually did this before putting on the snakes).

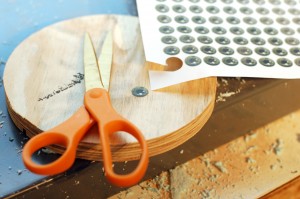
Cutting the eyes out of paper

I found a picture of an iris and pupil and printed it out to the appropriate size. I cut two of them out and used five-minute epoxy to attach them; I coated the entire eyeball with the epoxy to make it glossy, and lay the paper iris on top of that. After the first coat dried, I covered the entire eyeball with another coat of epoxy. This made it appear like the iris and pupil were behind the cornea.

Don't look into her eyes

At this point, I also cut off some of the nose and upper lip and carved it down to look less like Michael Keaton and more like Medusa. Once happy with the new shape, I re-coated the foam with automotive filler (Bondo). This is also toxic and requires a well-ventilated area. The advantage is that it dries very quickly; if you have more time, you can use something far more innocuous, such as Foam Coat.

Face painting
Face painting

The next several steps involved painting the face with acrylics and spray paints.

Filling in the neckhole
Filling in the necknole

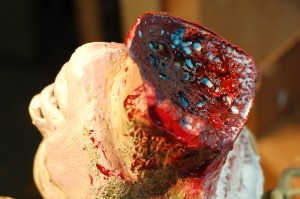
I filled in the bottom of the neck with a chunk of blue foam carved to fit. I spray painted it with red, and then blasted it with a hot air gun to create the above effect. Again, you need a well-ventilated area for this, preferably a spray booth.

Covering the head with blood

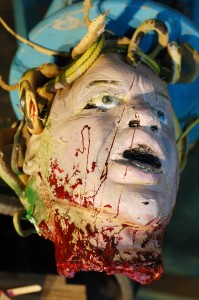
I thought the head needed some splattered blood. I mixed up some more five-minute epoxy, and then stirred in some paint. I had some red paint and some black paint. I did not mix it to a uniform color, but rather swirled it so the parts had differences in both translucency and tint. I filled the rest of the neck hole, smeared a lot around the bottom of the neck, and then splattered and flung some upwards so it would look like her head was sliced off in one swipe.

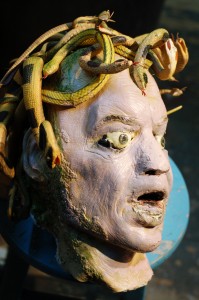
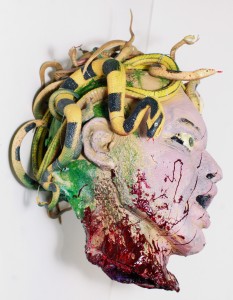
The head of Medusa
The head of Medusa

Now that you know how to make your own head of Medusa, get Kraken!

Changes aHead

The Bacchae opens this Monday in Central Park. For those of you who follow this blog, you’ve seen some of the cool work we’ve been doing in the prop shop for this show. Let me say, it wasn’t easy.

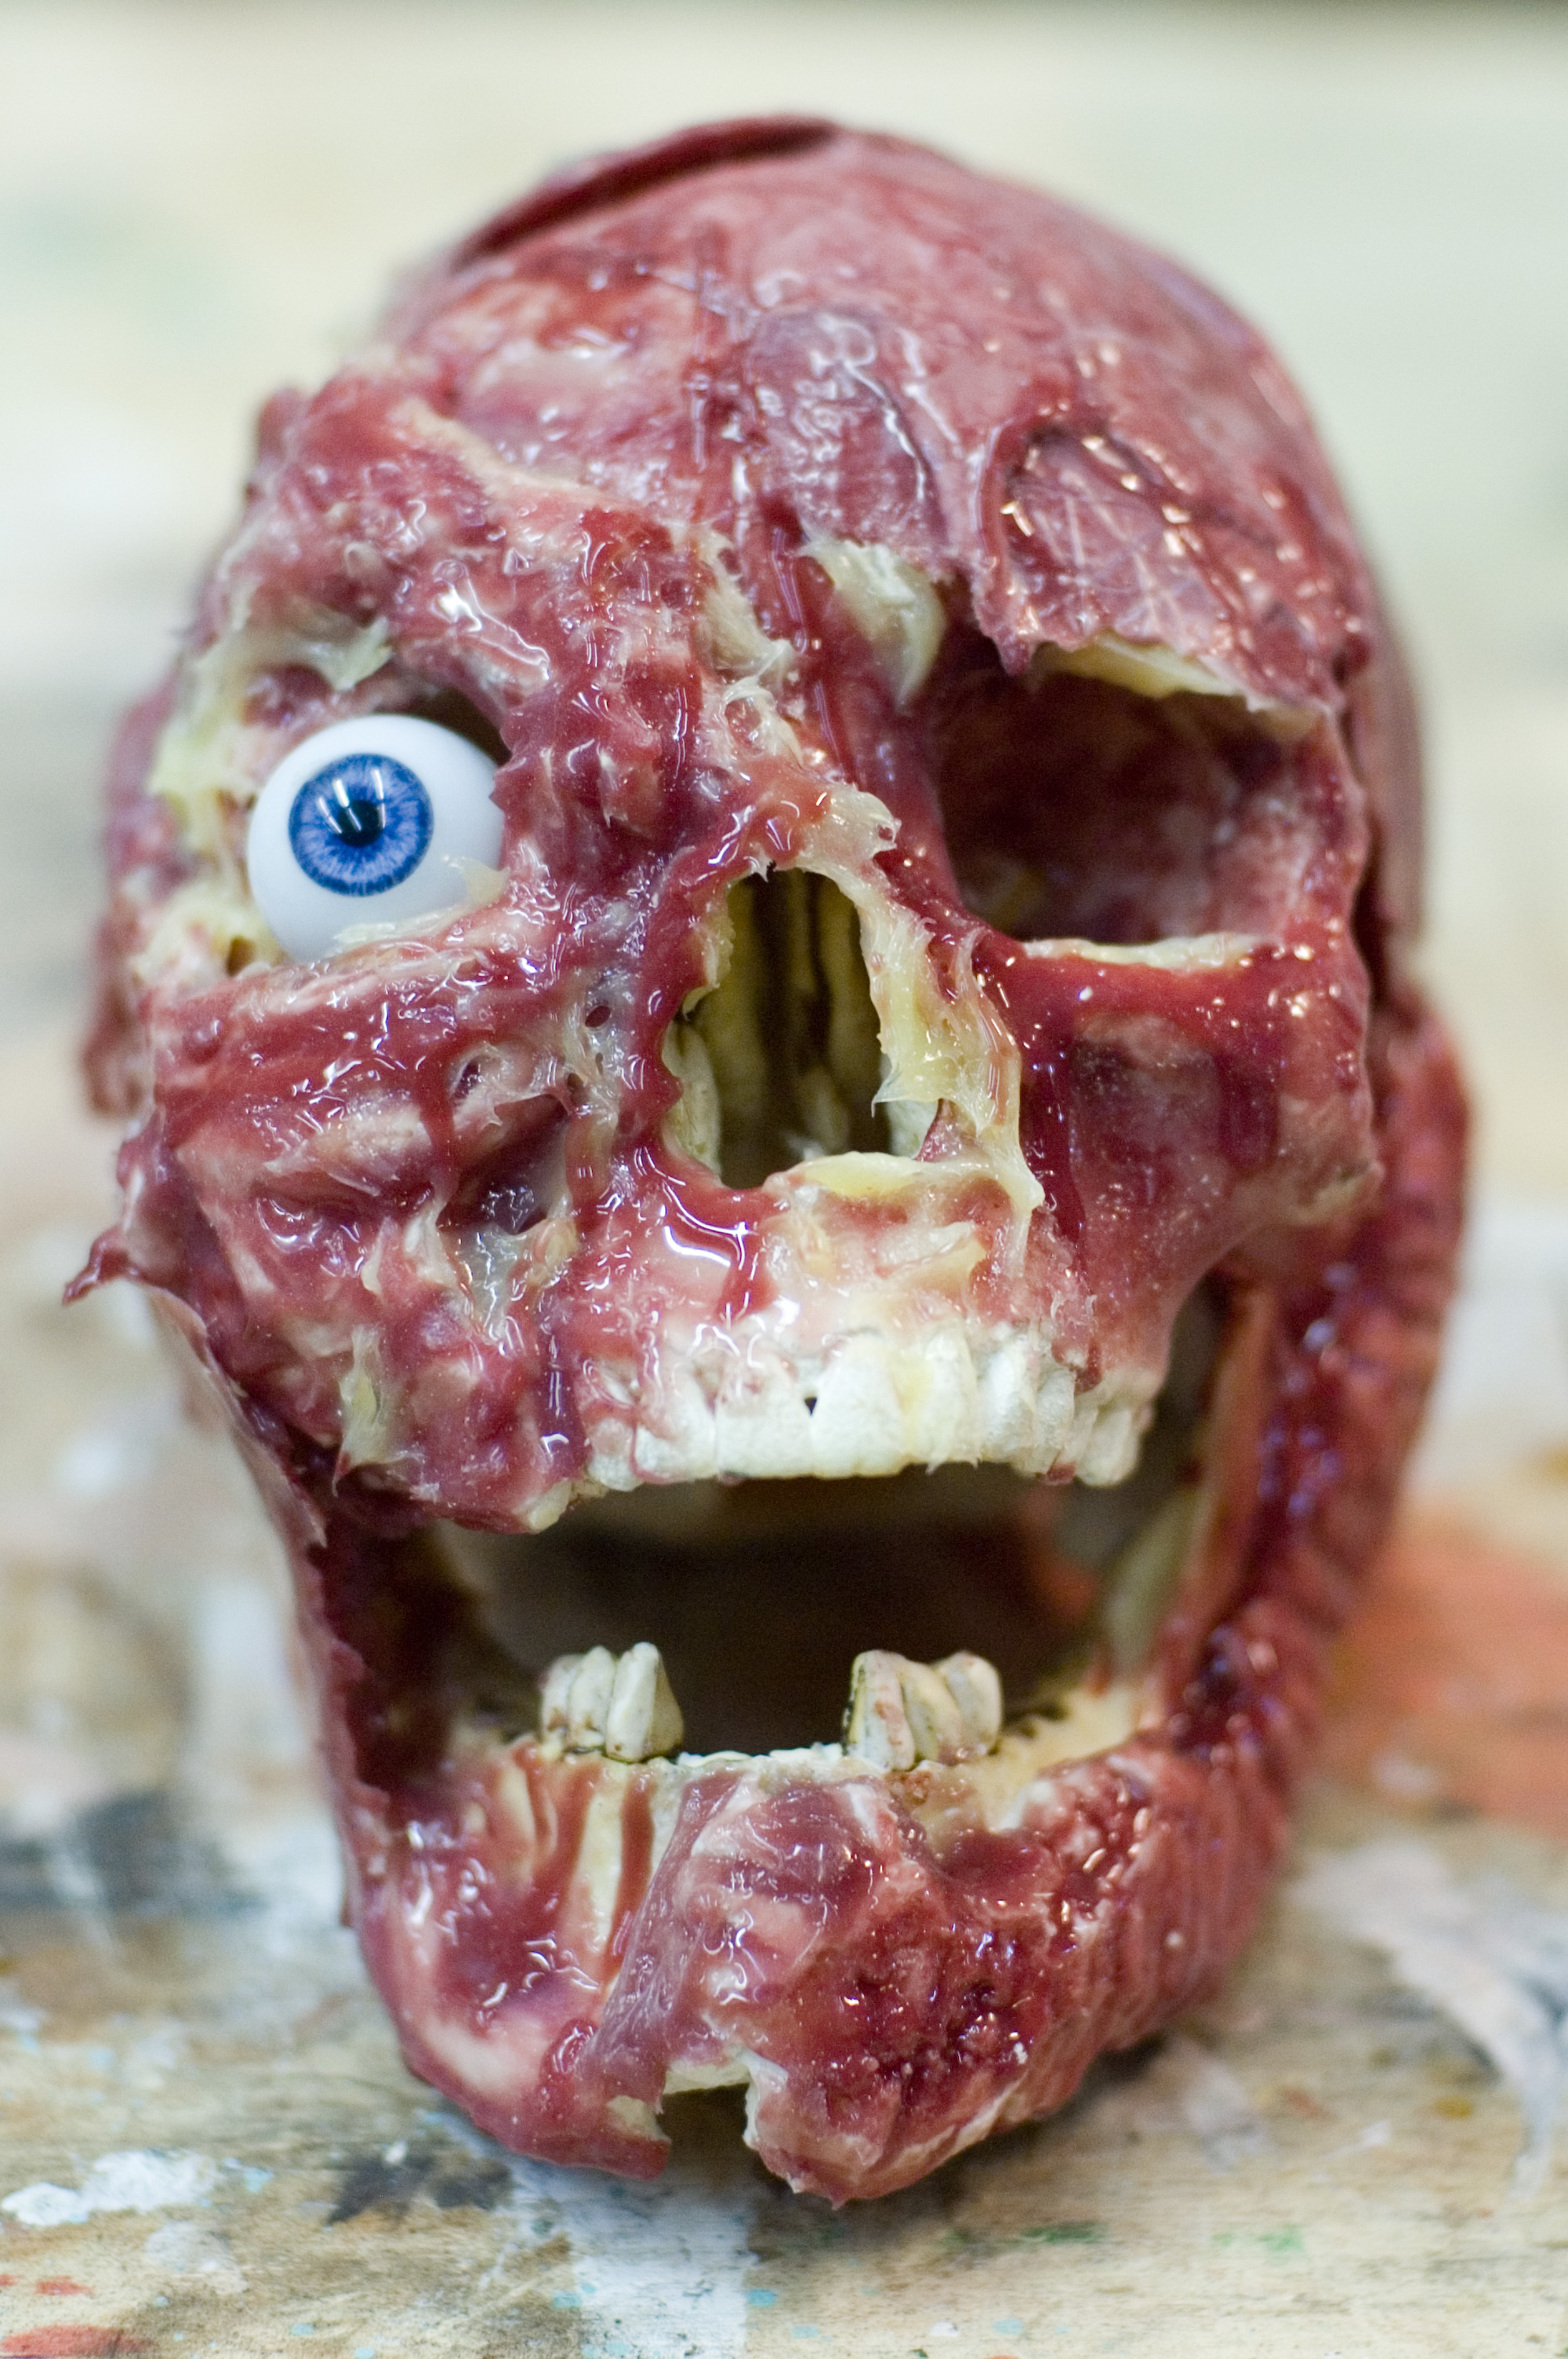
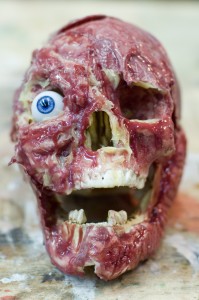
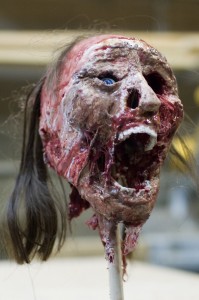
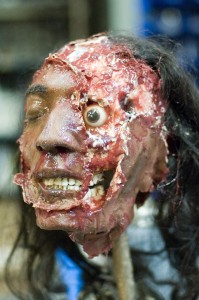
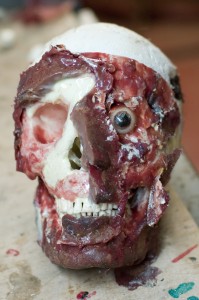
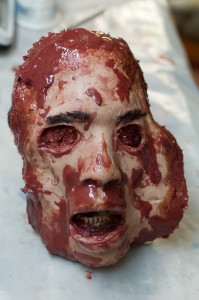
I’ve arranged a small series of the various states and stages the head of Pentheus went through.

The first skull prototype
The head of King Pentheus
Head with cast of Anthony Mackie's face
After the face was torn off
Final head
Final head

Changed are inevitable when making props. It always seems to be the nicest or most interesting prop you’ve been working on; after spending days or even weeks perfecting what will become the highlight of your portfolio, the prop gets cut, or worse, attacked with hot glue and gaff tape.

It’s natural, and preferable, to be proud of what you build. However, we must also remember that the production is the ultimate goal of our work. If a prop needs to be sacrificed for the show, let it happen. You can never be so attached to a prop that you place it ahead of the needs of the production.