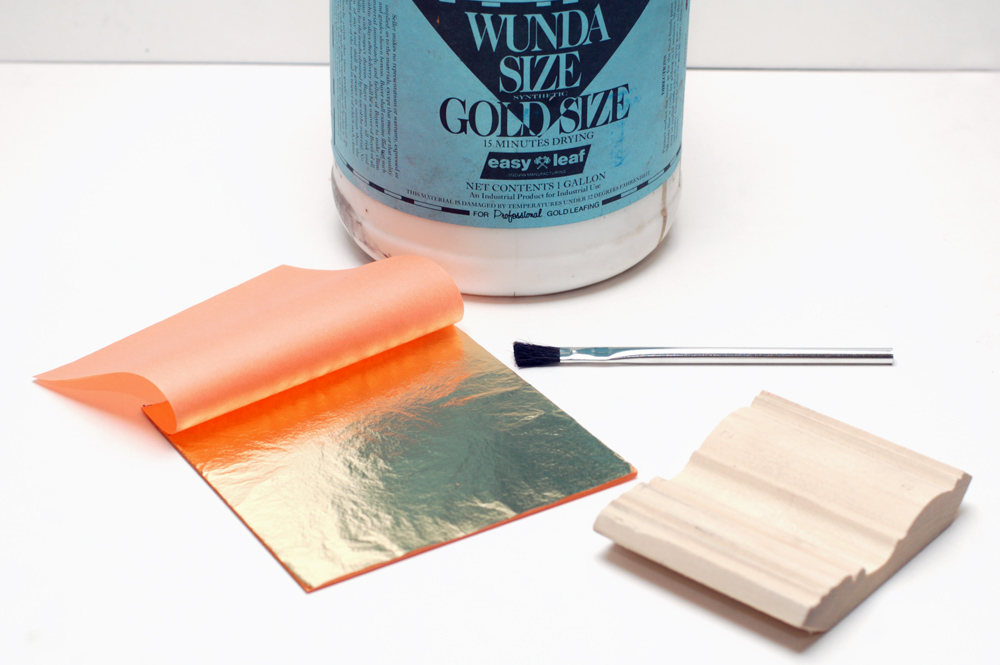
Gold leafing is one of the easiest and most common ways to give a prop a gilt look, or even to make it appear like a solid piece of gold. Real gold leaf is actual gold hammered into a sheet as thin as a piece of tissue. For theatrical purposes, we nearly always use metal leaf which replicates the look of gold. There exist more complicated and elegant ways to gild an object, but the quick and easy way I’m going to show you involves applying the leaf directly to an object which has been coated in gold size.
The materials you will need are the gold leaf, gold size, a brush for applying the size, another brush that will remain dry, and your object. The most common sizing I’ve seen in theatres is Wunda Size, which is one of the few water-based sizes, meaning easier clean-up and less fumes when wet. (You can read an interesting treatise on gold size if you’re interested in learning more.)
You need to prepare the surface you are leafing. The leaf does not hide or fill imperfections; If you wait until after you’ve put the leaf on to sand the surface, you will simply sand the gold leaf off.
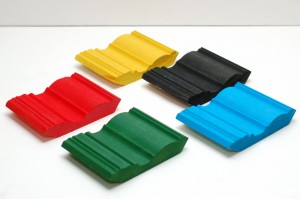
The color underneath the gold leaf is called the “bole” color. Traditionally, terra-cotta clay or red paint is painted underneath to give a warm feel to the gold. A yellow or golden bole gives an even, neutral look, and helps cover up any cracks or uncovered spots. These are the two most common boles you will find for theatrical purposes. A black bole gives a very cold look, and is good for imitating Art Deco pieces. Other boles you can experiment with are various greens or even blues.
Once your bole is applied and dried, you brush on your sizing. You want to make sure you work it into every crack and crevice. You must wait for it to dry completely before you begin with the gold leaf. This can take anywhere from ten to twenty minutes depending on how much you put on, as well as the temperature and humidity. Technically it’s not “drying”, it’s becoming tacky. Size can remain tacky for hours, even days, before it dries, which is one of the properties that makes it desirable for gold leafing.
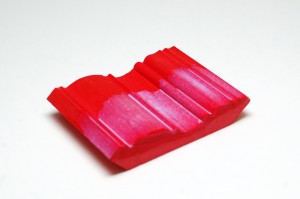
Now that the sizing is no longer wet, you can carefully take a sheet of gold leaf. Start smoothing it onto the surface with your fingers, and finish up with a clean and dry paintbrush to work it completely onto the surface. As you get overlapping and overhanging pieces, you can remove them by brushing really hard with the brush. At this point, it’s almost as if you’re burnishing the gold with your paintbrush; you want to rub it until there are no more gold flakes sloughing off of the piece.
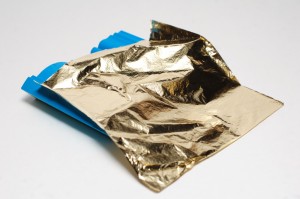
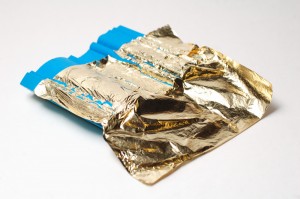
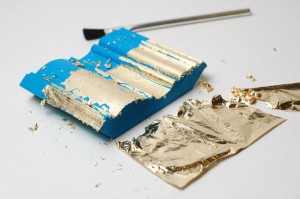
I realize it may look like I misplaced the leaf, but I left the end bare to illustrate the differences in the boles as seen in the following photograph.
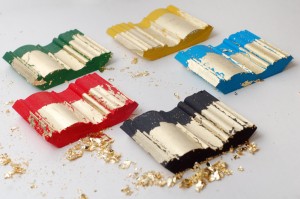
It is difficult  in a static photograph to make out the differences which the various boles give you. What makes gold leaf interesting is how the various surfaces catch and reflect light, and how that changes as either the object or the observer moves. The bole color you decide to use is dependent on the colors and tones of the set and costume, as well as the type of stage lighting used. Don’t lose too much sleep over it; the majority of items gold-leafed for theatre are either red or yellow depending on how much warmth or age you want to give the object.
You will notice gaps and cracks in your gold leaf where pieces failed to stick. You can take smaller flakes and apply them to these spots, again using your bristle brush to rub the leaf onto the surface. If you find particularly stubborn areas where the gold leaf won’t stick, it means you need more size. Go back and touch up the uncovered areas with a second coat. Once it has dried again in ten to twenty minutes, you may return for round two of applying the gold leaf.

