Tag Archives: foam

Giant Champagne Bottles

With this summer’s season at the Santa Fe Opera at an end, I can begin to show off some of the props I’ve built there. First up is a giant champagne bottle.

We needed four champagne bottles of a very specific size; they were going to be the barrels of cannons that I would also build. Nobody manufactures champagne bottles that large, so we had to make them. Since we would vacuum-form them from plastic, I began by making a solid foam bottle.
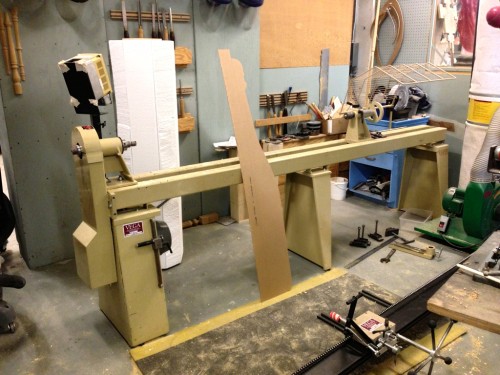
Blank and pattern
Blank and pattern

I drew out half the shape at full-scale on a piece of plexiglass. We have a duplicator on our lathe, which allows us to rough out the shape by directly following a pattern like this. I also got the block of foam ready. This piece was so wide, it barely fit on the lathe; I had to take most of the attachments off and round off the foam by hand before there was enough room to put the attachments back on.
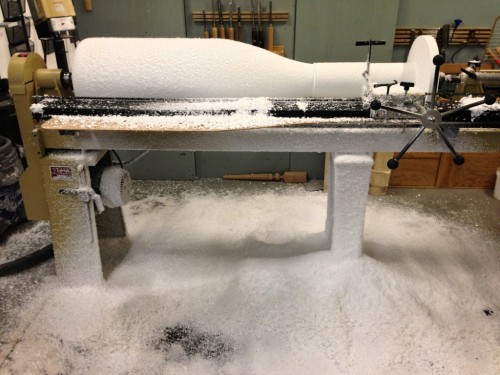
Turning foam
Turning foam

As you can imagine, turning a block of foam this large creates quite a bit of debris. I am still finding bits of foam in my clothes to this day.
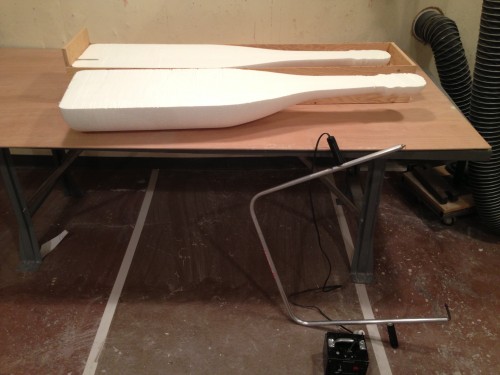
Splitting the foam in half

To vacuum form this piece, I only needed half of the bottle. I built a box so I could hold the bottle straight. The top of the box reached the exact middle point of the bottle, so when I ran a hot wire along it, it sliced the foam bottle directly in half.
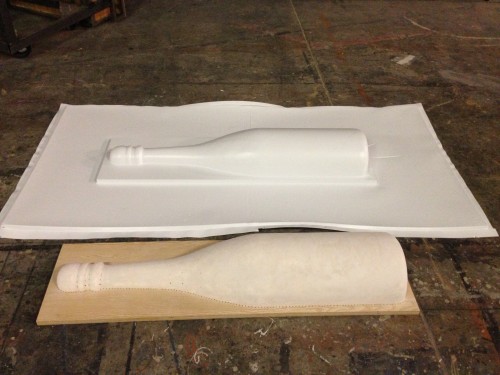
Vacuum formed half
Vacuum formed half

I mounted the foam onto a board and drilled holes all around the circumference, as well as holes in the concave portions to ensure the plastic would be sucked all the way down. I also coated the foam with Aqua Resin and sanded it smooth. I posted a video a few weeks ago showing the vacuum forming machine in action; check it out if you want to see how I made the piece in the photo above.
Painting the halves
Painting the halves

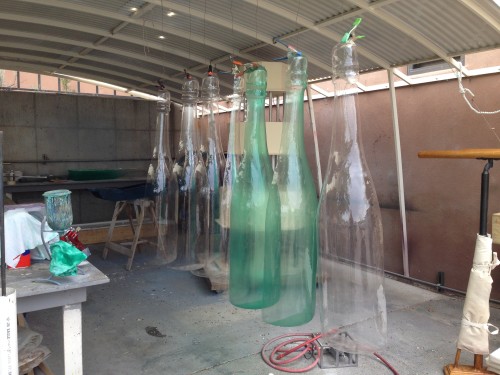
With a successful pull on the vacuum former, this project was turned over to the crafting department, and my work on it ended. They began manufacturing clear plastic halves like you see above, and spraying them down with green dye to match the color of a real champagne bottle.
Finished bottles
Finished bottles

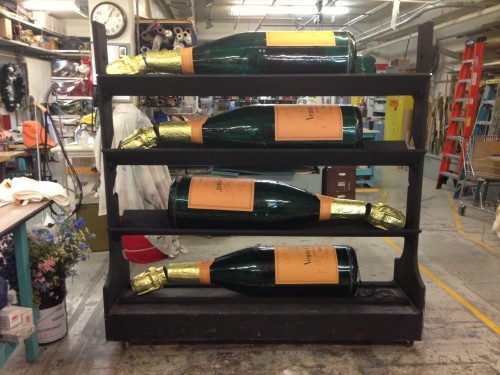
They glued the halves together and added some labels and gold foil to complete the look. The final bottles were over four feet tall.


Homemade Coatings

I found a couple of recipes for a coating in some old props forums (circa 2002). They refer to the coating as “homemade Sculpt-or-Coat”, though it is very similar to recipes for scenic dope and monster mud. I have not tried any of these recipes, but I am posting them here for my own future reference and for yours.

This coating is useful for coating foam, to “paper mache” burlap, cheesecloth or muslin to wood and steel, or for use as a general texture. For texturing, you can mix in sawdust, sand, vermiculite, etc., for various results.

For a 5 gallon recipe:

  • Fill 2/3 of a 5 gallon bucket with a 50/50 mix of acrylic caulk and joint compound.
  • Add 1/2 to 3/4 gallon white latex paint.
  • Add 1/2 gal. Rhoplex.
  • Mix well with a drill and paddle mixer.
  • Add about 1/3 gal. of white glue. Mix thoroughly.

You can tint it using latex or acrylic paint, or universal colorant. You can thin it with more white paint or Rhoplex. You have about 20-30 minutes of working time, and it dries fully in 12-24 hours. It should not go on thicker than 1/4″ or it will be prone to cracking. You can alter the recipe to suit your needs; adding more joint compound gives a harder and more rigid finish, while more acrylic caulk gives a more flexible finish.

Rhoplex is an acrylic binder made by Dow Chemical Company. It can be tricky to find, particularly in bulk. There are many other acrylic binders you can find at hardware and paint stores, though I am not sure whether these will also work. Other posters in the thread say they use PVA in lieu of Rhoplex (the PVA paint binder, not PVA glue or PVA mold release).

In another thread, Wulf points out that Rhoplex is pricey and hard to find, and that it may be easier and cheaper just to buy Sculpt-or-Coat for small batches. His own recipe involves PVA white glue, powdered clay and latex paint. Simply combine equal parts, stir very thoroughly and allow it to stand for about a day for the clay to absorb.

Halberds

For one of the operas we are doing this summer, we needed some “sconces” made up of armor and weapons: shields with swords crossed behind them and that sort of thing. The designer wanted some pole weapons on one; we had a halberd in stock he really liked. Since we only had one, I had to replicate a bunch more to match it. Since these halberds were only going to be decorative, I could crank them out quickly with scrap materials.

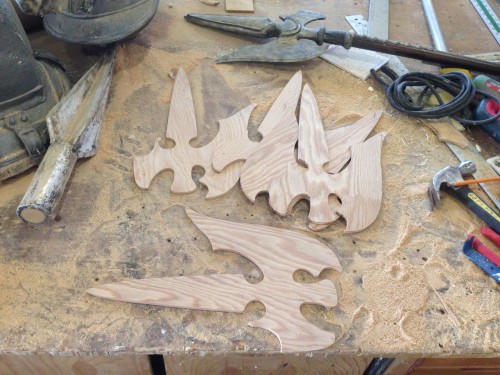
Plywood shapes
Plywood shapes

In the photo above, I traced and cut out the main shape of the halberd blade from quarter-inch plywood. You can see the original blade at the very top of the photograph.

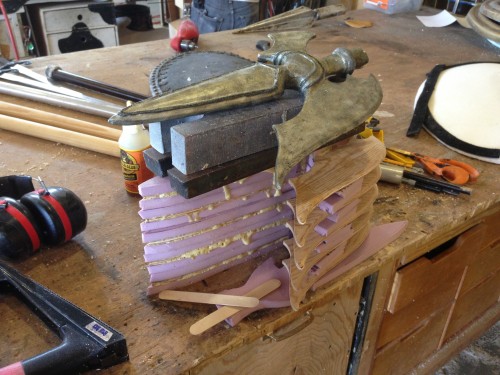
Attaching the foam
Attaching the foam

I attached a piece of 1-inch pink foam to each side of the plywood. I rough cut the foam to the shape, but left it oversized so I could trim it to the exact shape after the glue dried. I used Gorilla Glue to adhere it.

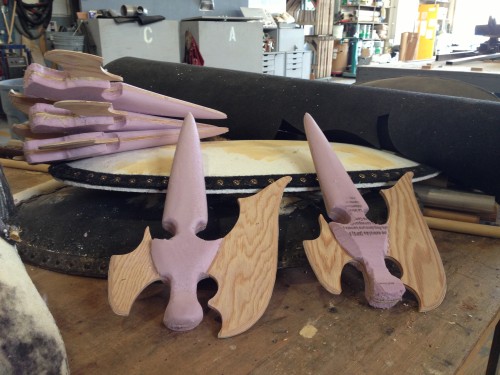
Sanded and shaped
Sanded and shaped

After the glue dried, I trimmed the foam to the shape of the plywood. I used a knife to make the bevels, followed by sandpaper to refine the curves.

Adding raised detail

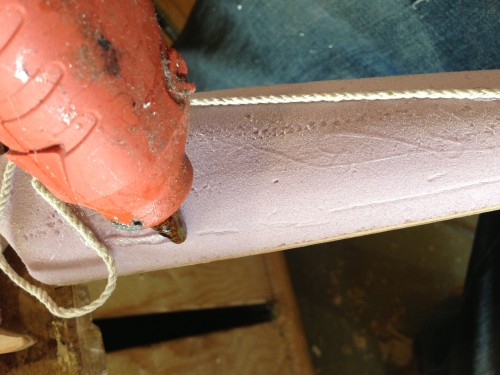
Next I did a very “proppy prop” thing; I used hot glue to adhere some cord to create raised detail. These halberd blades are only meant to be decorative, and are way upstage; also, this is how the original one was made, and I needed them all to match.

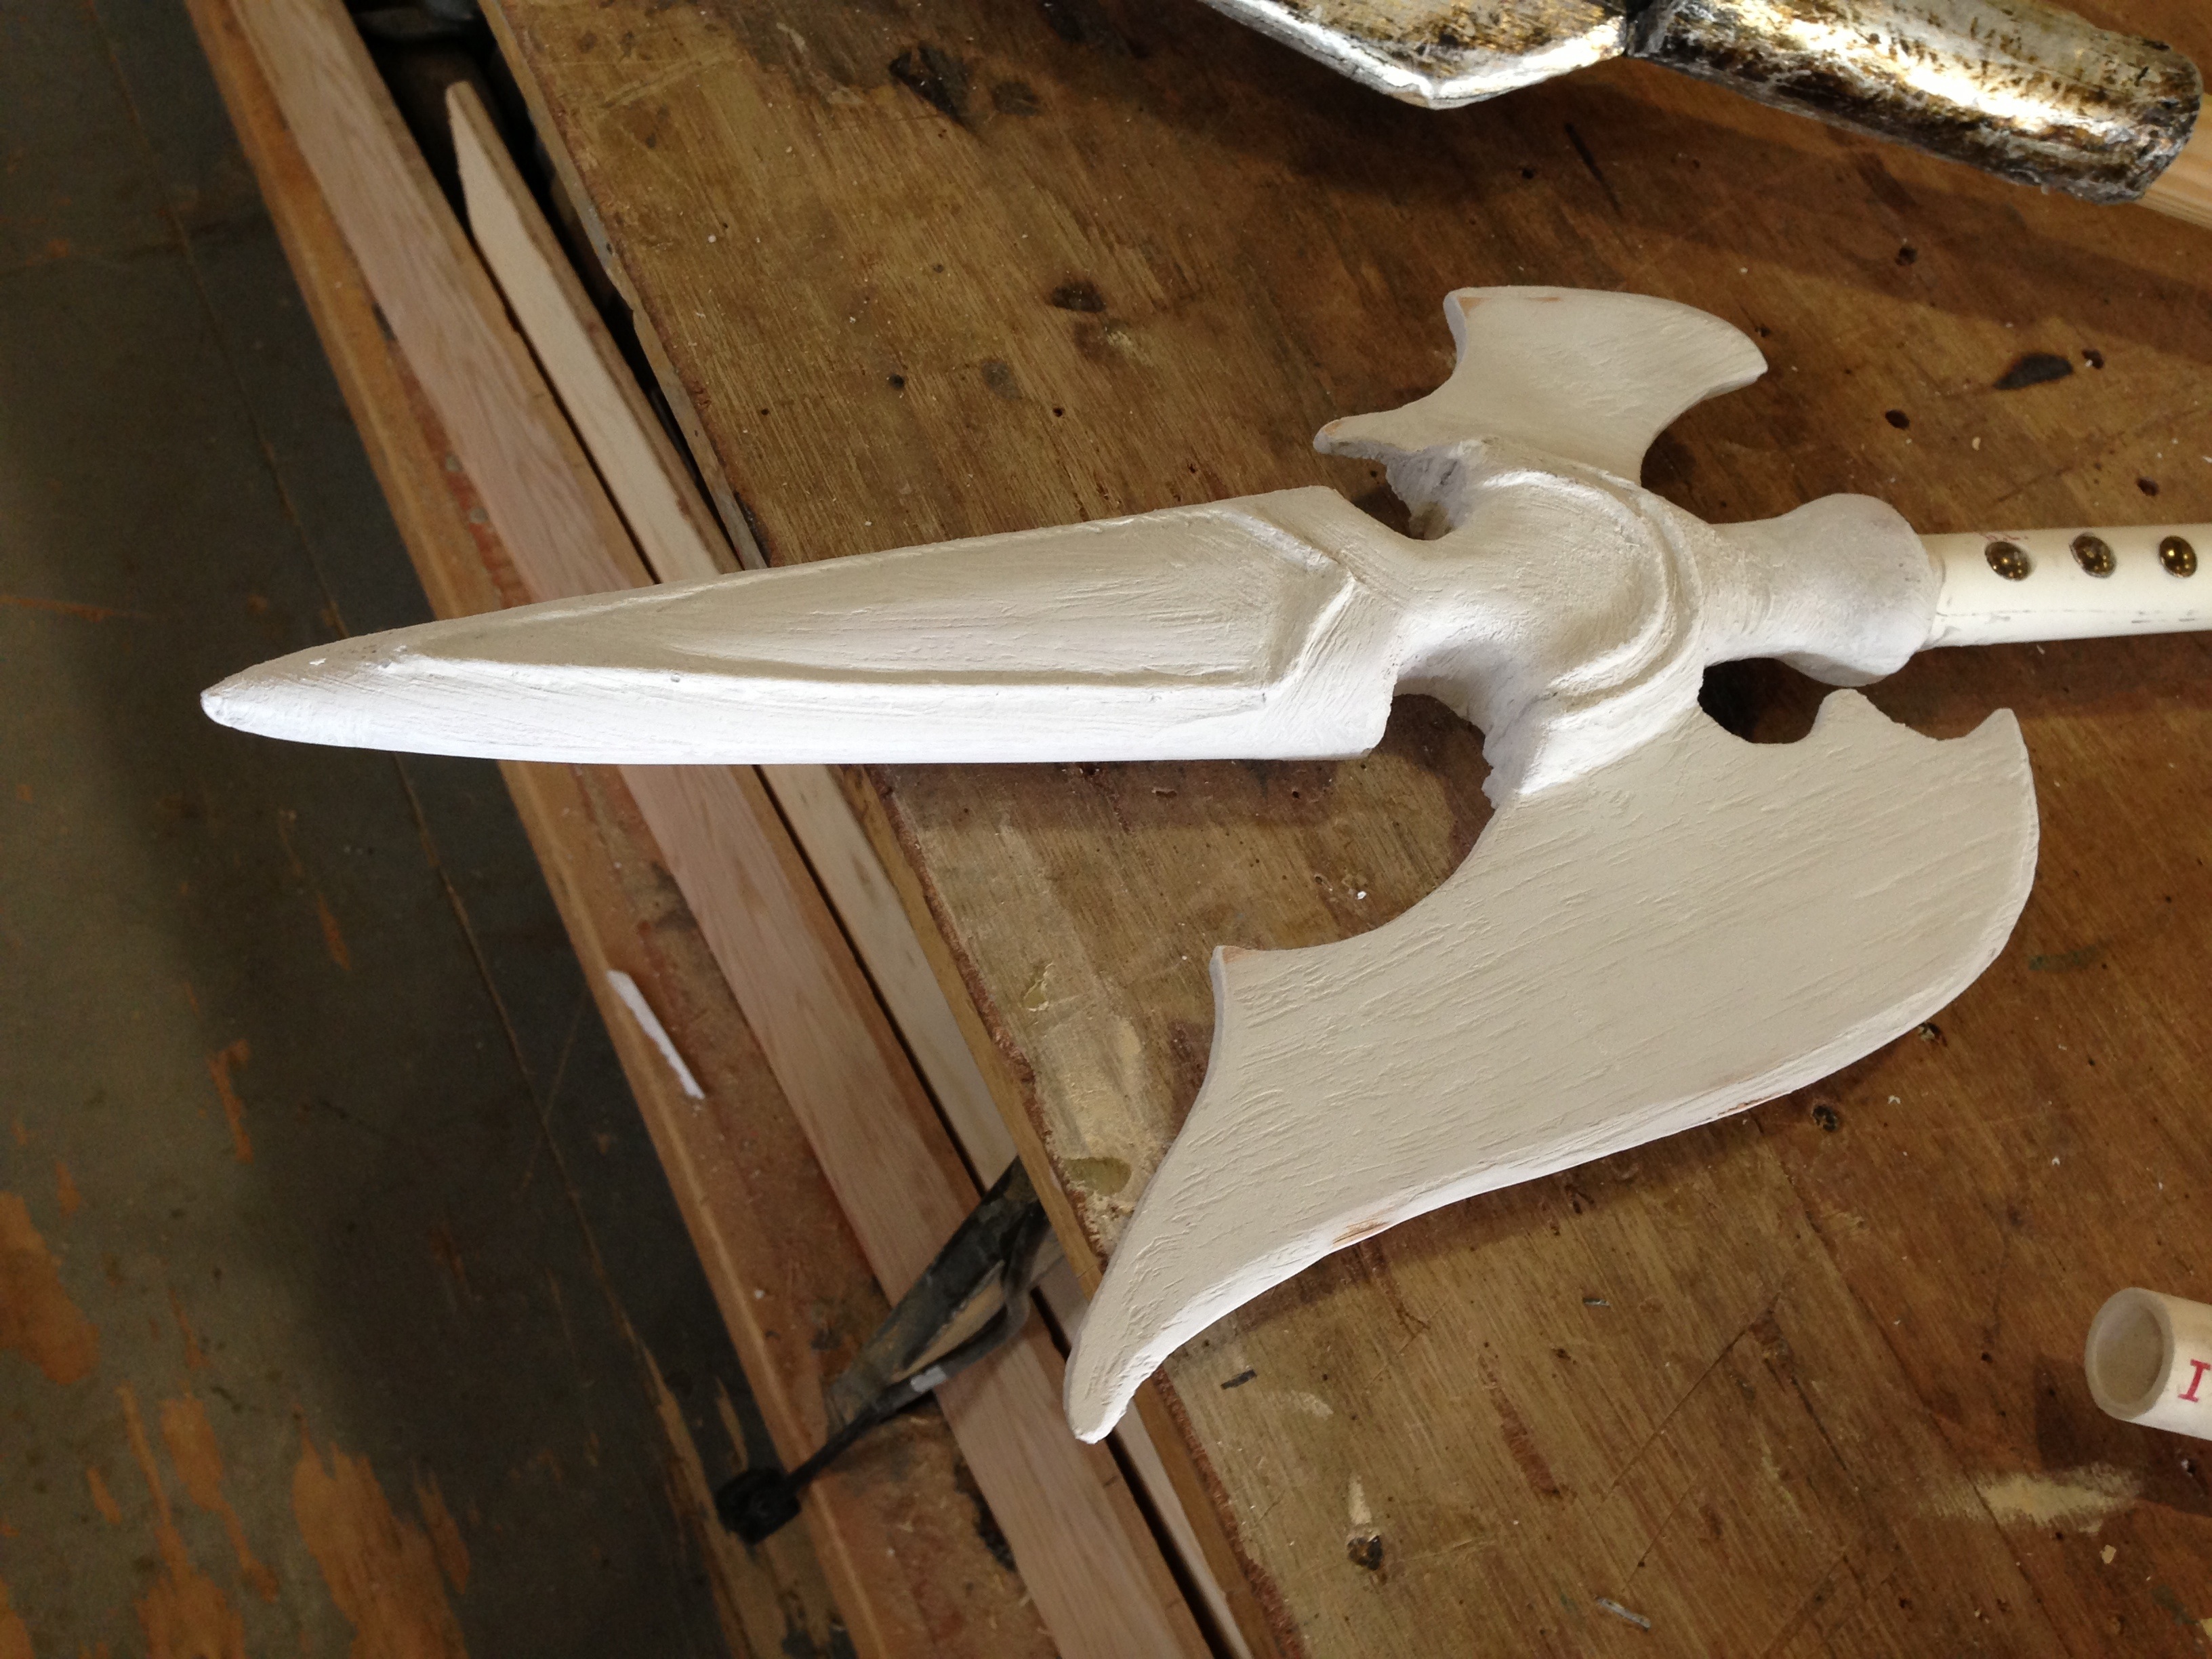
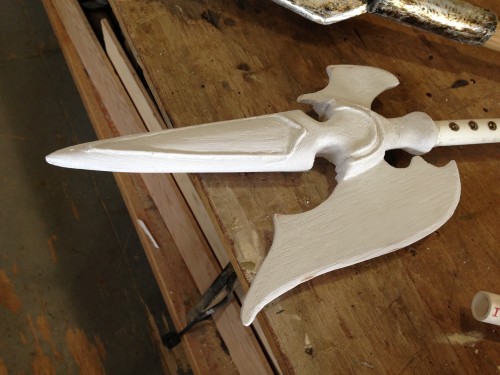
Finished unpainted piece

The whole piece was then coated in FoamCoat, and sent off to the painters.


Stan Winston School Videos

The Stan Winston School offers classes out in California for a number of crafts. Stan Winston Studios is, of course, famous for many of its movie creatures and animatronics, such as the Terminators, the dinosaurs in Jurassic Park, the aliens from Alien, and many more. The classes they offer fit their specialties, such as sculpting, creature design, large-scale puppetry, painting and so on.

For those who can’t afford to head out to California and attend monster-making school, they have hours and hours of videos on their website. They offer a number of options for viewing the videos; everything from subscribing for a year of unlimited video watching ($300) to buying a DVD of a single lesson ($40). Previews of all the lessons are available for free viewing so you can check them all out. Below is a pretty fun one of foam fabrication, where Ted Haines constructs a Tyrannosaurus out of upholstery foam.

It seems like a great option to augment your skills since these kinds of classes usually aren’t offered at the local Learning Annex.

A Capital Idea

Last week I got a call from Triad Stage, a theatre over in Greensboro, NC, to do some carving for the scene shop. I had done some foam carving in the props shop last autumn, and when another project came up, they thought of me.

Layout on the blank
Layout on the blank

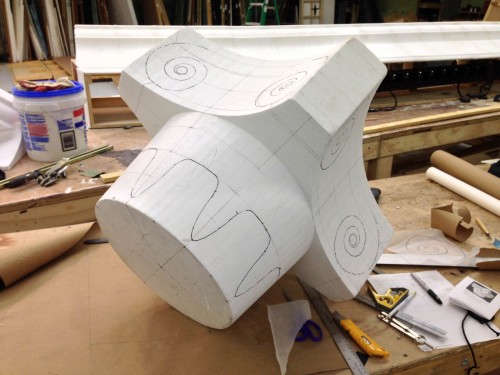
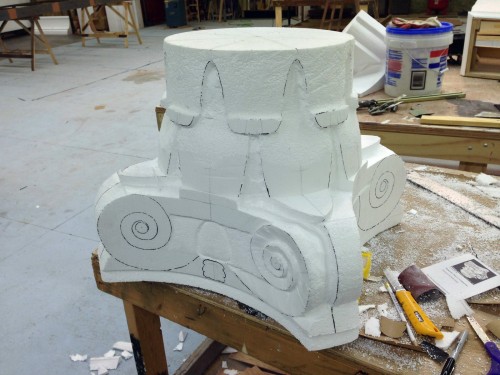
They already had a blank cut to size when I arrived at the shop. This blank was cut by the foam manufacturer, and was made of two pieces glued together (it looked like they used a 2-part polyurethane foam, or even just Gorilla Glue as the adhesive). This helped immensely in getting me started, since the piece was already symmetrical and scaled to the size they wanted. I started by dividing the piece into equal pie shapes and transferring the design from the research onto the foam.

Beginning the carving

The foam they gave me was a 3 lb EPS foam, which was a lot denser than anything I had ever used before. Basically, EPS foam comes in a variety of densities, with 1 lb, 2 lb and 3 lb being the most common. The numbers come from the weight of one cubic foot of foam. So 3lb foam has three times as much polystyrene packed into the same area as 1 lb foam. Of course, EPS is the beaded foam, so it is still trickier to get a smooth surface than it is with either blue or pink foam, but those are not readily available in large blocks like this.

Adding details
Adding details

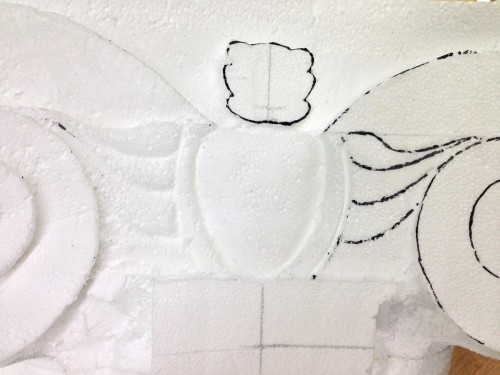
The designs on this style of classical capital are very symmetrical and repetitive, so I really only had to draw out one half of one side, and then just trace and transfer it to the other seven halves. I carved the whole thing mainly with my snap-blade knife, surform, sandpaper, and a big ol’ half-round bastard rasp. I broke out a router a couple of times to clear out some of the deep pockets; the router also helped me cut to a consistent depth around the whole piece.

Coated
Coated

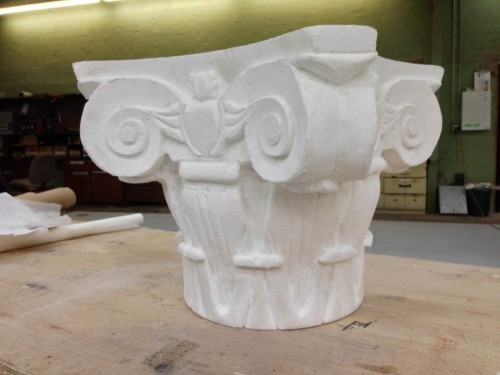
Since the capital was being placed on a column high above the set and was not going to move or be handled during the show, I opted for a simple coating of joint compound to keep the cost and time down. I basically applied just enough to give it a smooth coating and a nicer surface for paint.

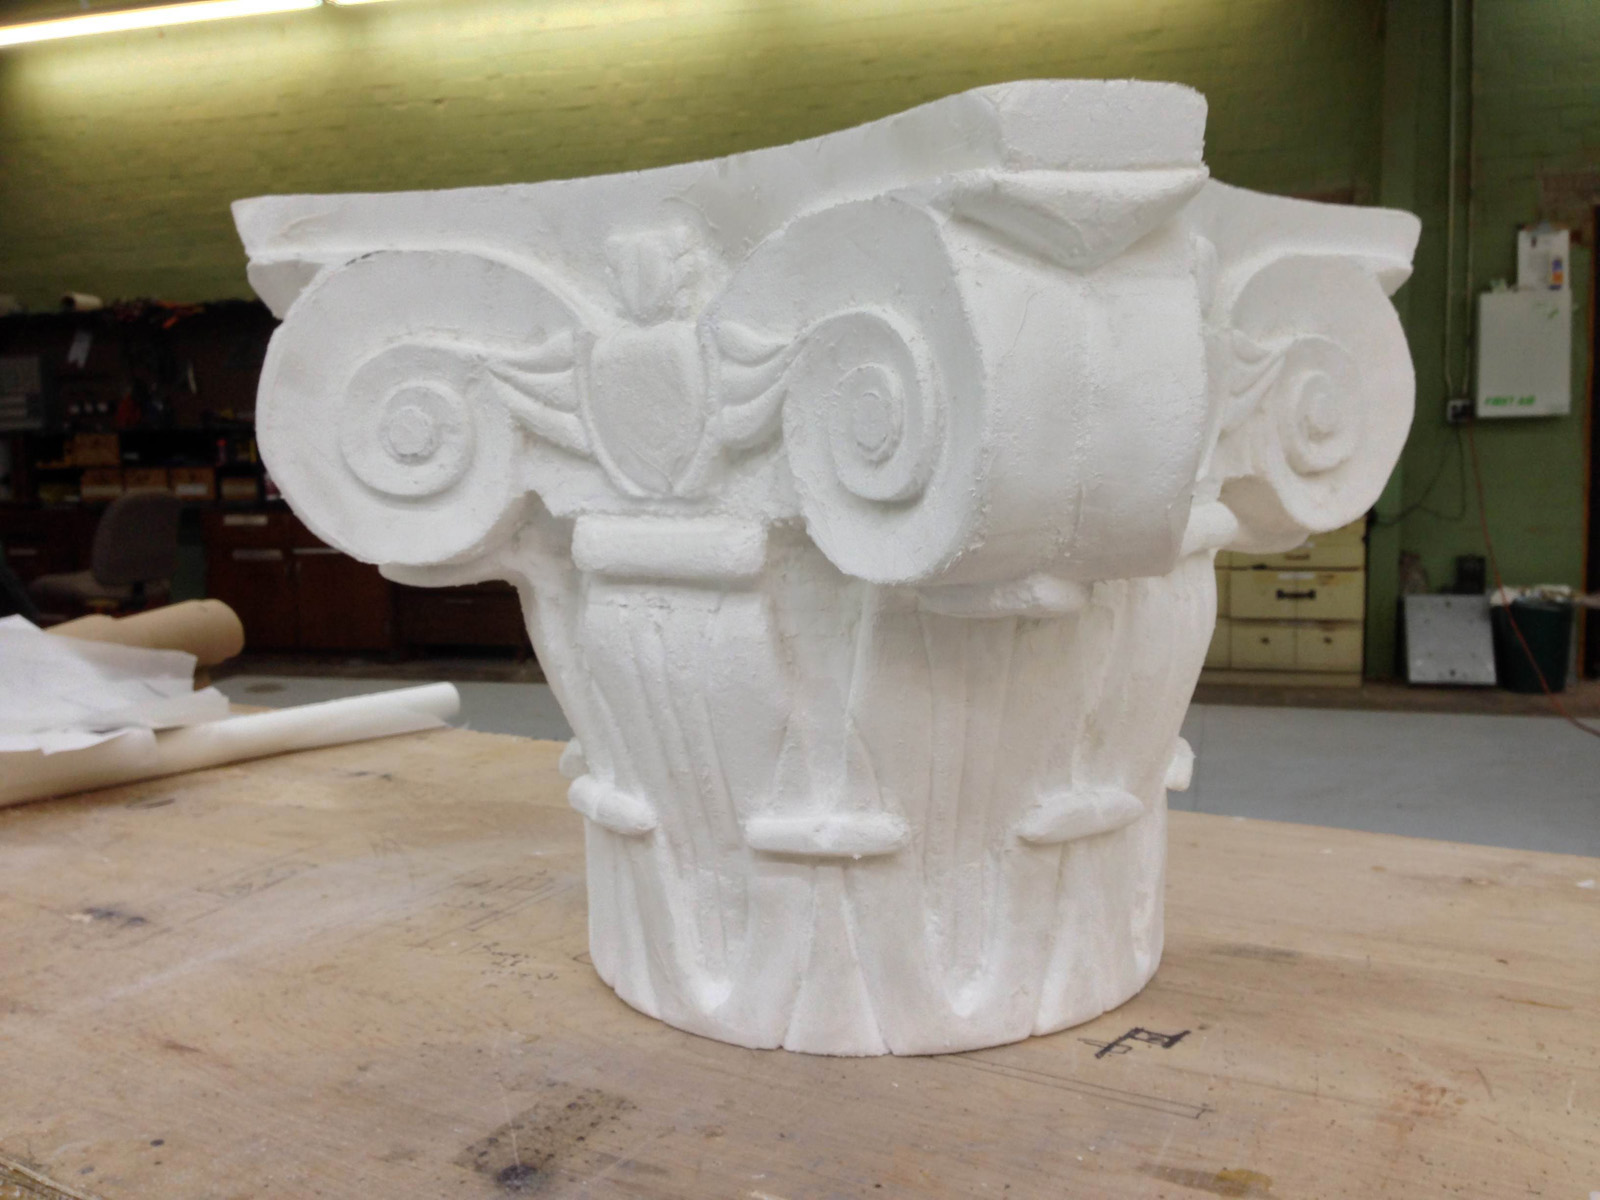
Finished capital
Finished capital

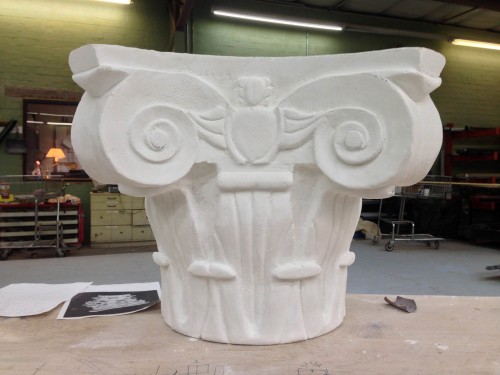
The design on this capital was greatly simplified to allow it to be carved in about half a week. Because it was going to be painted black and be placed high above the set in the shadows, it just needed to hit the high points of the shape so the audience would go “oh, there’s a fancy thing up there.” Or at least, that’s what the audience in my head says after the show.