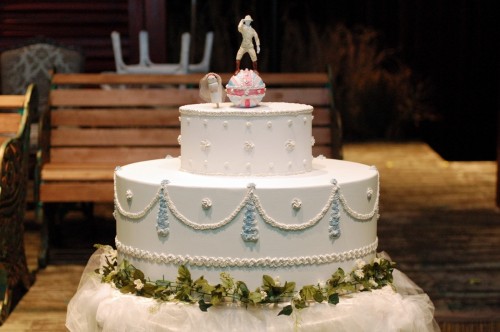
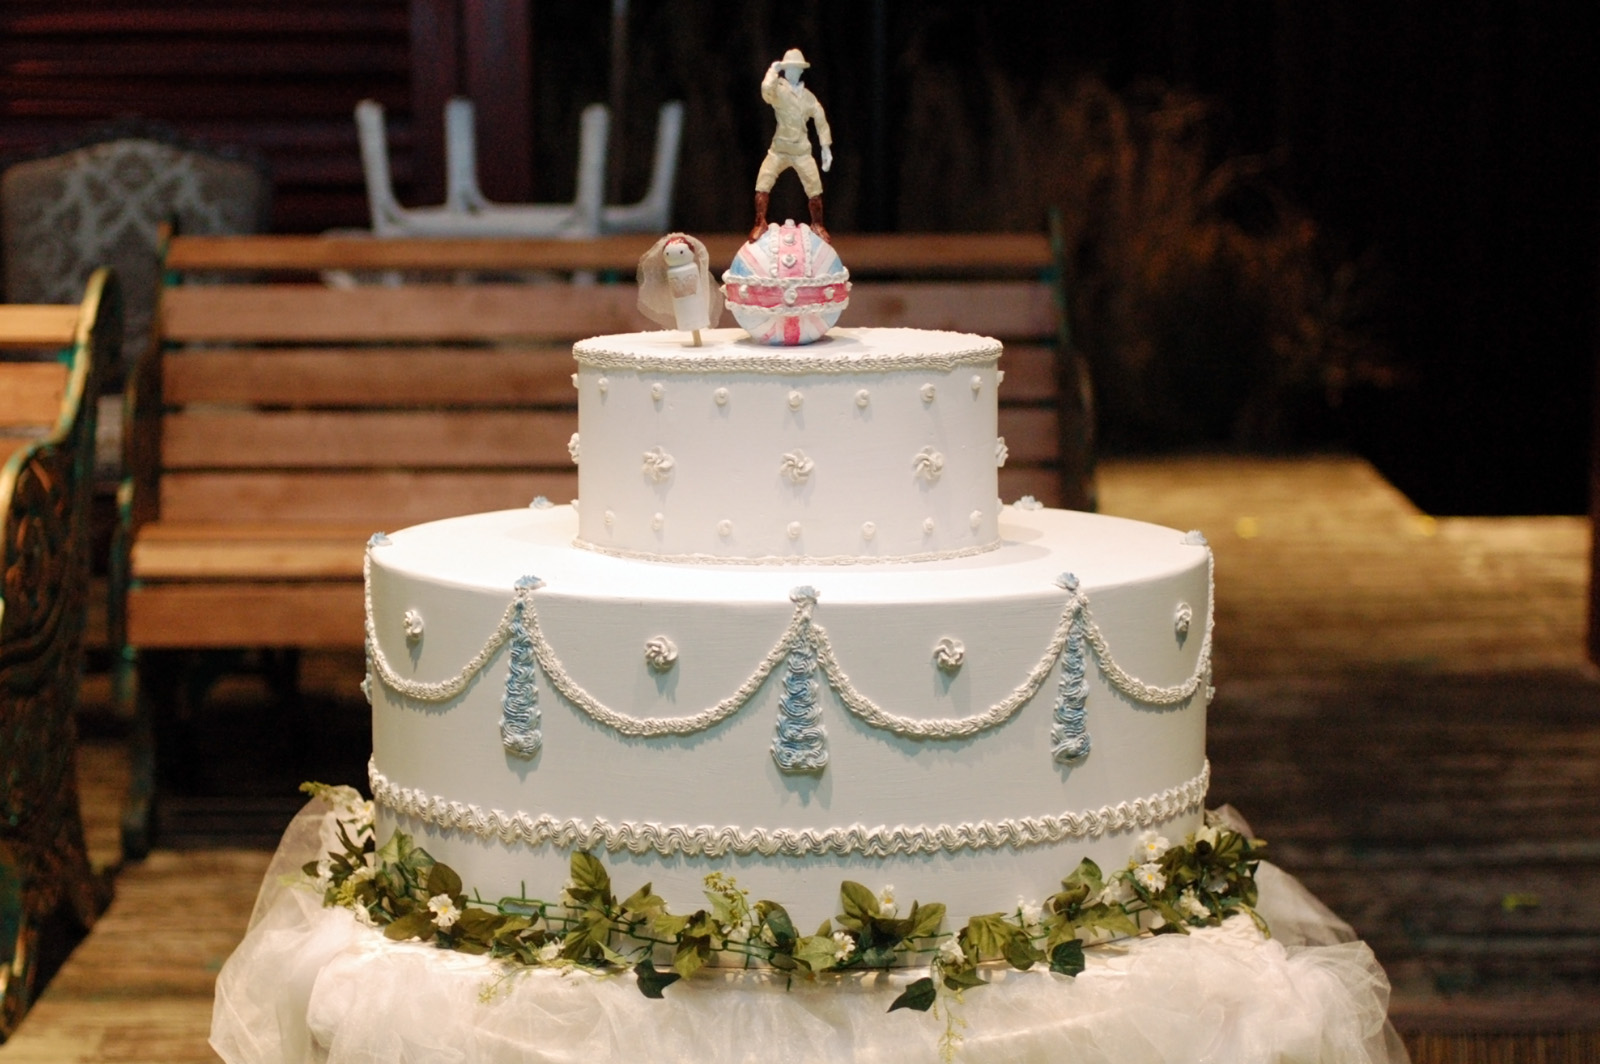
We just closed and struck Cloud 9 here at Elon University. I was the prop master on the show and built a lot of the pieces. One of the fun (and funny) props I constructed was a grand Victorian-era wedding cake. It was meant to be a bit over-the-top, with a grand appearance at the end of Act One when the hastily-arranged wedding occurs. Part of the visual humor came from the cake toppers; the scenic designer (Natalie Taylor Hart) wanted the groom to be a detailed representation of a man striding atop of a Royal Orb, while the bride would be a much smaller and crudely-made figurine stuck in the cake as an afterthought (the play, for those unfamiliar, deals with gender politics in various degrees).

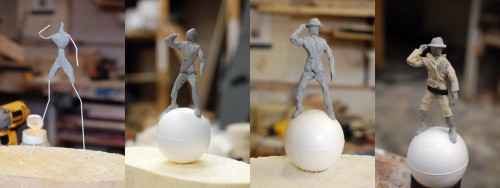
To make a sculpted figurine of the groom, I started off with bending a wire armature into the pose I wanted. This also let me establish the proportions of the limbs. It wasn’t anything fancy; I cut up a wire hanger and held it in place with plumber’s putty. Plumber’s putty is a type of epoxy putty which is soft and shape-able when you first mix it together, and becomes rock hard after a few minutes. I liked it on this project because I could build up the sculpture bit by bit, allowing the parts to become hard as I worked on other things. I could return to the sculpture later and add more bits without worrying about smooshing the parts I already made. It also did not need to be fired or coated to finish it. The putty I used was left over from another show, so I did not have to spend any more money on a show with a tight budget.
In the last frame of the picture above, you can see I added some clothes. The putty is not very good for getting fine details; you can machine and carve it after it has hardened, but I wanted a quicker way to get some semi-realistic clothing texture on top. I took muslin and soaked it in glue and water, than manipulated it over top until it “draped” like a shirt and pants. After the glue dried, it retained its shape.

The rest of the cake was pretty straightforward. The bottom base is a strip of wiggle wood wrapped around plywood formers, while the top is a solid chunk of white bead foam coated in joint compound. I used painter’s caulk for the icing details. Normally you want to use acrylic caulk rather than silicone caulk, because silicone caulk does not take paint. However, I found some newer stuff which is a mix of acrylic and silicone; the acrylic makes it paint-able, while the silicone keeps it a bit flexible and lets it dry a lot faster. I bought a few decorative cake icing tips, and just attached them to the end of the caulk tube so it would come out all fancy.

