The following article by Ron De Marco is a summary of the interviews of props professionals conducted by his students which ran last month.
The Prop Master Interviews: A Reflection
By Ron De Marco
Ron De Marco
I’ve been teaching four stagecraft level prop courses at Emerson College every year for the past ten years. One of the topics my students and I discuss on the first day of class is the various challenges that people who create props all over the country deal with in their daily jobs. The internet is abundant with newspaper lifestyle articles on solutions that prop people have developed while working on productions, and these articles usually address the sometimes wild and sensational tasks that they are currently tackling. For years, I’ve brought many of these articles in with me to class on day one and we’ve oohed and aahed about the clever approaches and solutions to seemingly impossible challenges: an actress needing to “vomit” on cue in God of Carnage, digging up and smashing bones in a graveyard for The Beauty Queen of Leenane, and all manner of special effects designed to be reset quickly for the next show. Continue reading The Prop Master Interviews: A Reflection→
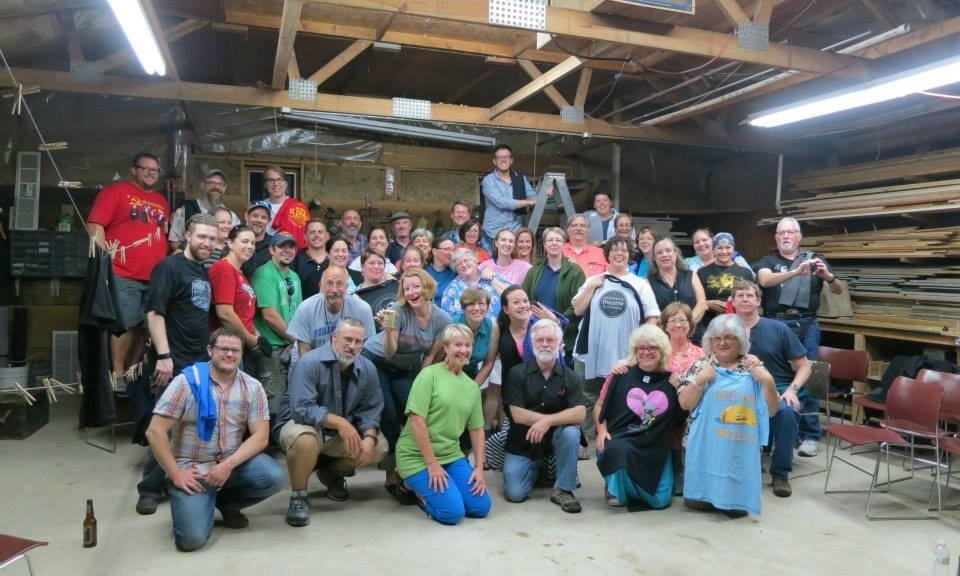
I hope everyone enjoyed the nineteen interviews I’ve posted over the last month. Thanks to Ron DeMarco’s class at Emerson for taking the time to do that, and allowing me to post all of them. If you haven’t read them yet, they are a great cross-section of how prop masters get where they are, and are filled with wonderful advice on how to build your own career.
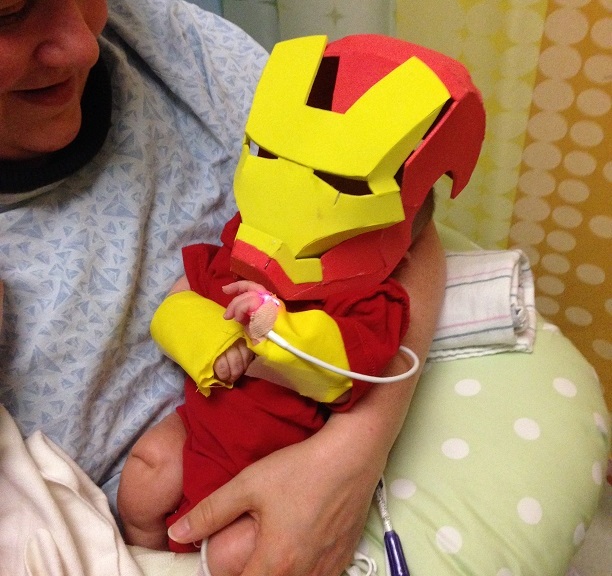
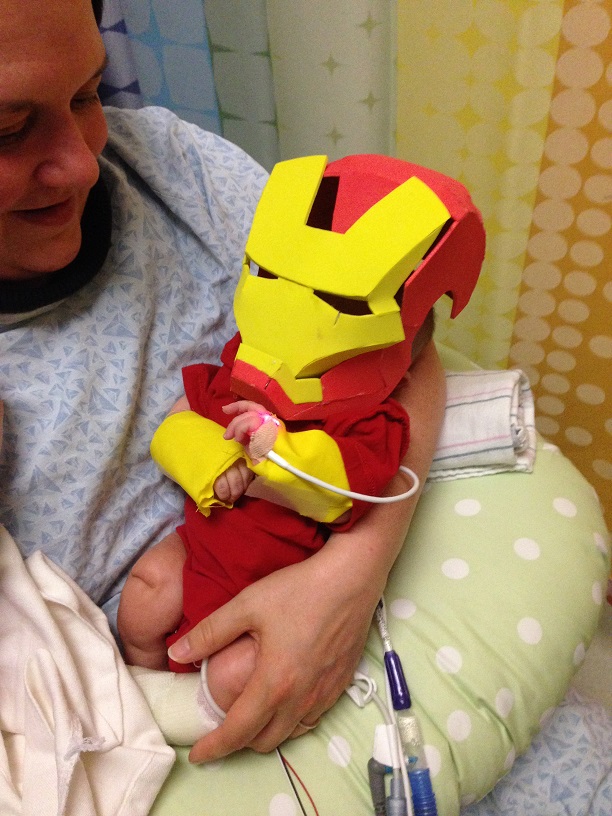
Even though I was running these interviews for awhile, you may have still seen my name out there in the internet. I made a little video showing an Iron Man mask I constructed for my baby this past Halloween.
It went a little viral. I ended up on TV a few times, interviewed by Right This Minute, my local Fox news channel, and WFMY. I was also interviewed over the phone by Huffington Post, the Today Show, and HLN. And then I watched the story get picked up on Buzzfeed, E! Online, US Weekly, CNet, as well as trending on Facebook and appearing on the Yahoo! Front Page, and appearing on news sites all over the world in all different languages.
Thankfully, all that has died back down again. The mask was a pretty simple build. As the video states, I found the pattern online and scaled it down. I assembled it in paper first to check the fit and make some modifications ( I left the back and sides off so it would just sit on top of his head rather than act as a full mask). The actual piece was built out of EVA foam, aka “fun” or “craft” foam. It is the same material I built some of the puppets out of for Snow Queen, which we are currently remounting at Triad Stage.
Collier is still in the hospital, but getting better. He wishes all of you a Happy Thanksgiving!
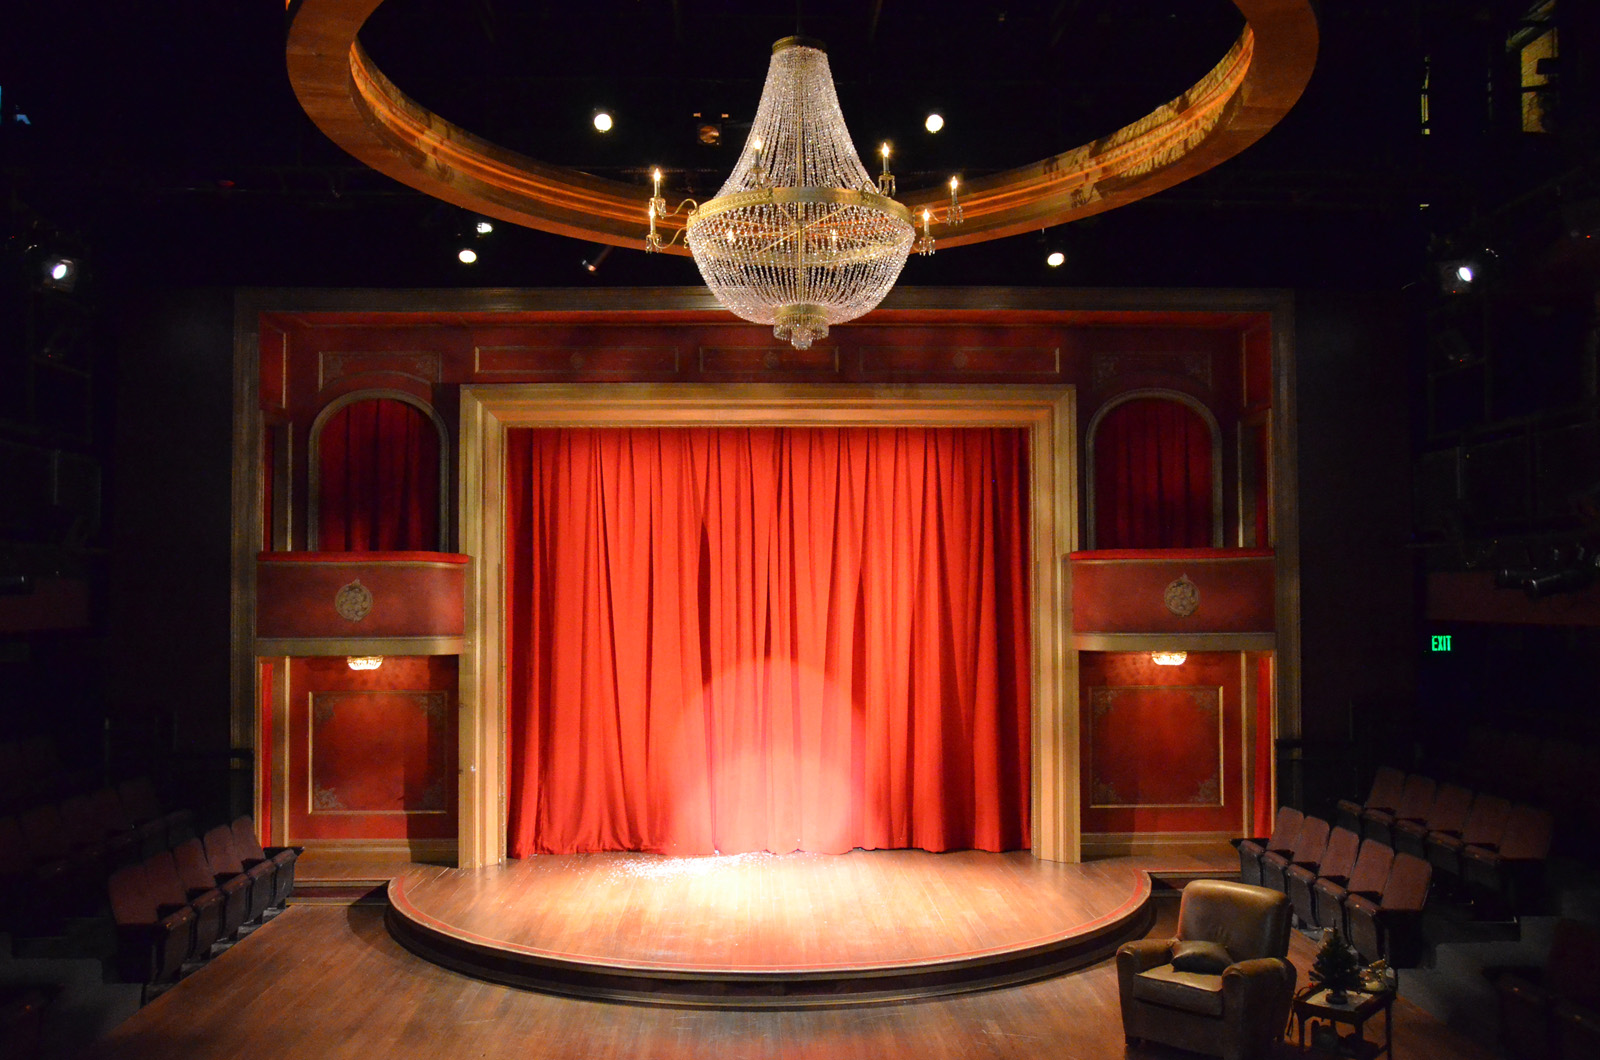
The set for 39 Steps at Triad Stage was reminiscent of an old vaudeville theatre. One of the focal points was a massive chandelier overhead. I knew we could never be able to afford to buy a five-foot diameter chandelier, and even if I could find one to rent or borrow, transporting it would be difficult. So I figured we would just spend the time making one.
39 Steps chandelier
The design of the chandelier made construction simple; it was just three rings with beads of crystals draped between them. I found rolls of garland with acrylic beads, which spared me from having to string them all individually. I took a lot of the individual crystals from another chandelier I had in stock. The arms came from an existing chandelier as well.
I put together a video showing the progression of the build. Though straightforward, it was a very time-consuming prop. Towards the end, I got help from Lisa Bledsoe and DeDe Farrell with attaching all the crystals and getting it wired.
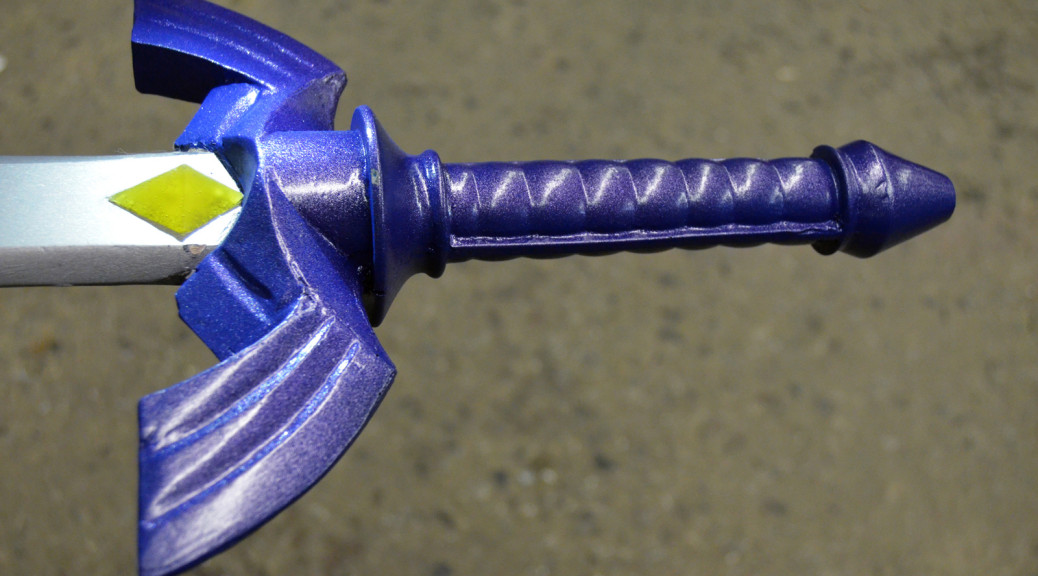
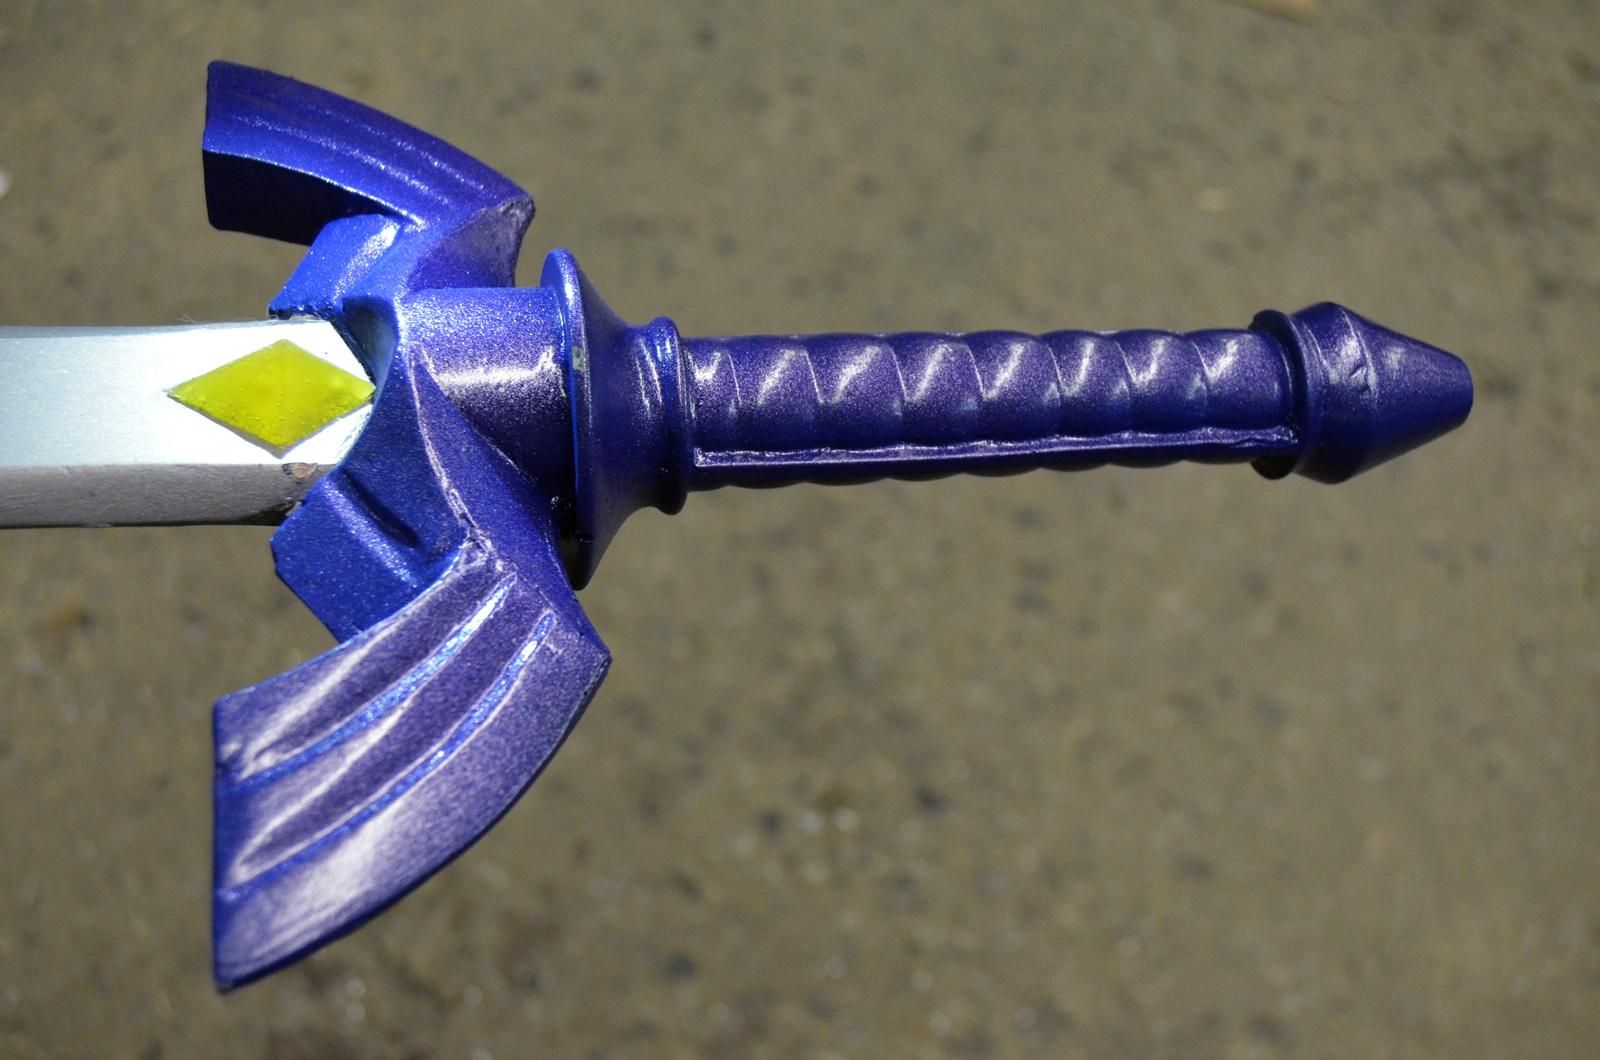
About a year and a half ago, I worked with The League of Extraordinary Thespians to make a Master Sword for their Legend of Zelda musical. It was a fun project, but I had very little time or money to do it; I thought it was a bit blocky, and the paint treatment was very rudimentary. Since I gave all the original swords away, I decided I would make a new one with some improvements for myself.
I filmed nearly every step of the process and edited it into a six-minute video.
I made the blade out of wood again; on the original swords, I used plywood, which does not really make a convincing faux metal. This time I went with a solid piece of oak. After priming and sanding it, I used some Krylon Stainless Steel spray paint, which, after rubbing it with some steel wool, makes a very convincing metallic finish.
Legend of Zelda Master Sword
I decided I would make the hilt as a separate piece, then mold it and cast it directly onto the blade. I wanted a strong connection between hilt and sword that would not break when you played with it. Another reason was that the hilt was a very time-consuming piece, and I wanted the option of making more swords in the future.
Legend of Zelda Master Sword
Casting the hilt directly onto the blade was a very challenging and hairy process for me. Despite how awesome I seem, I do not have much experience with molding and casting. The process was far from perfect, but the end result was pretty satisfactory (though you can see some wibbly defects in the picture below).
Legend of Zelda Master Sword
I also tried sculpting the quillons out of clay, which is not something I typically do. I used an air-drying clay that was way too soft; if I were to try this again, I would look for a much harder clay. In fact, I would probably be tempted to carve most of it from a solid chunk of wood.
I finished off the hilt with a purple shimmering metallic spray paint. All in all, I was happy with how this sword turned out, and I learned a lot from the process.
Our last show of the season at Triad Stage is All’s Well That Ends Well, a Shakespeare piece I had worked on before (you may recognize the cannon I built for the previous production at Shakespeare in the Park). There were no cannons this time around, but we did need a crown for the King of France. Since Shakespeare isn’t our typical shtick, we did not have any crowns in stock. I had to make one.
Brass bar
The base of the crown was a piece of one-inch wide brass bar that was 3/16″ thick. I ordered a long piece of it from McMaster Carr in case I messed up and had to make another one.
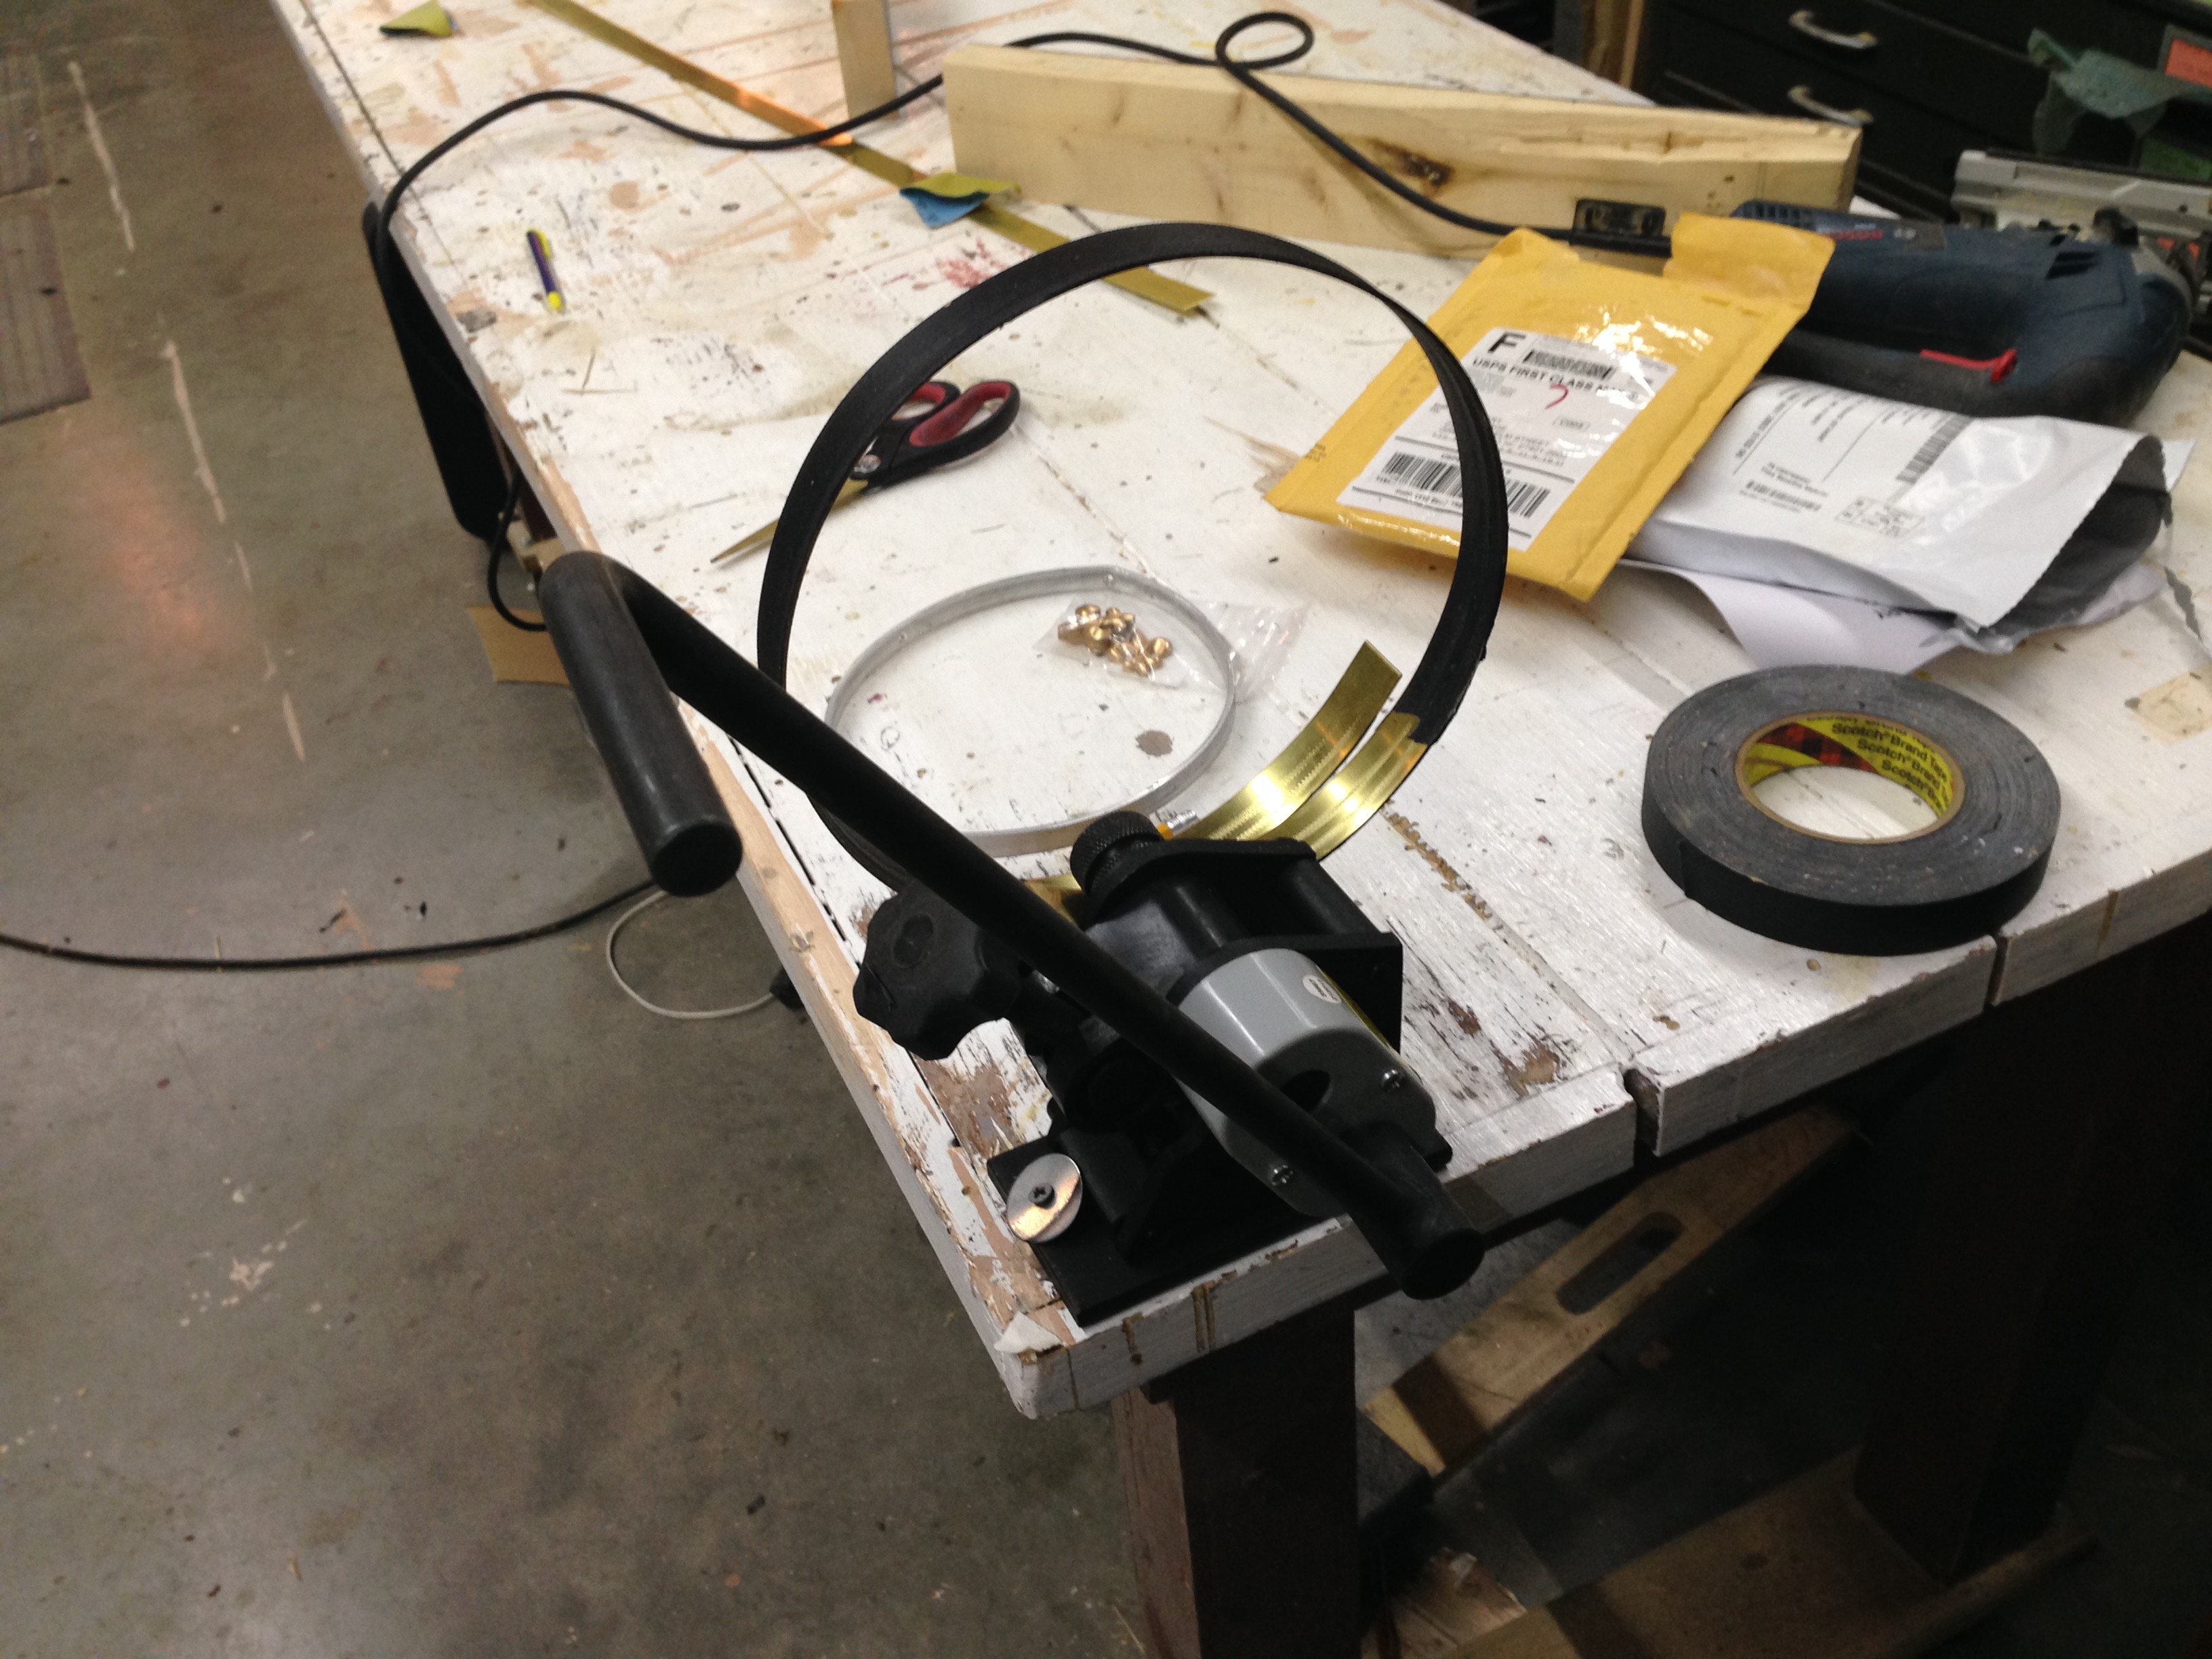
Ring bender
I ran it through a cheap little ring bender from Harbor Freight. It’s small, but it can handle metal up to an inch wide, so I was golden. I covered the brass bar in tape because the wheels on the bender marred up the soft metal. The bender made a nice circle, but since the crown was actually an oval, I had to do some shaping by hand to get it just right.
Solder paste
I had some stamped brass fleurs-de-lis which I needed to solder on. I discovered “solder paste”, which is a mixture of flux and powdered solder in a liquid form. You just squirt it into the joints you want to be soldered and then run a torch over it until it melts.
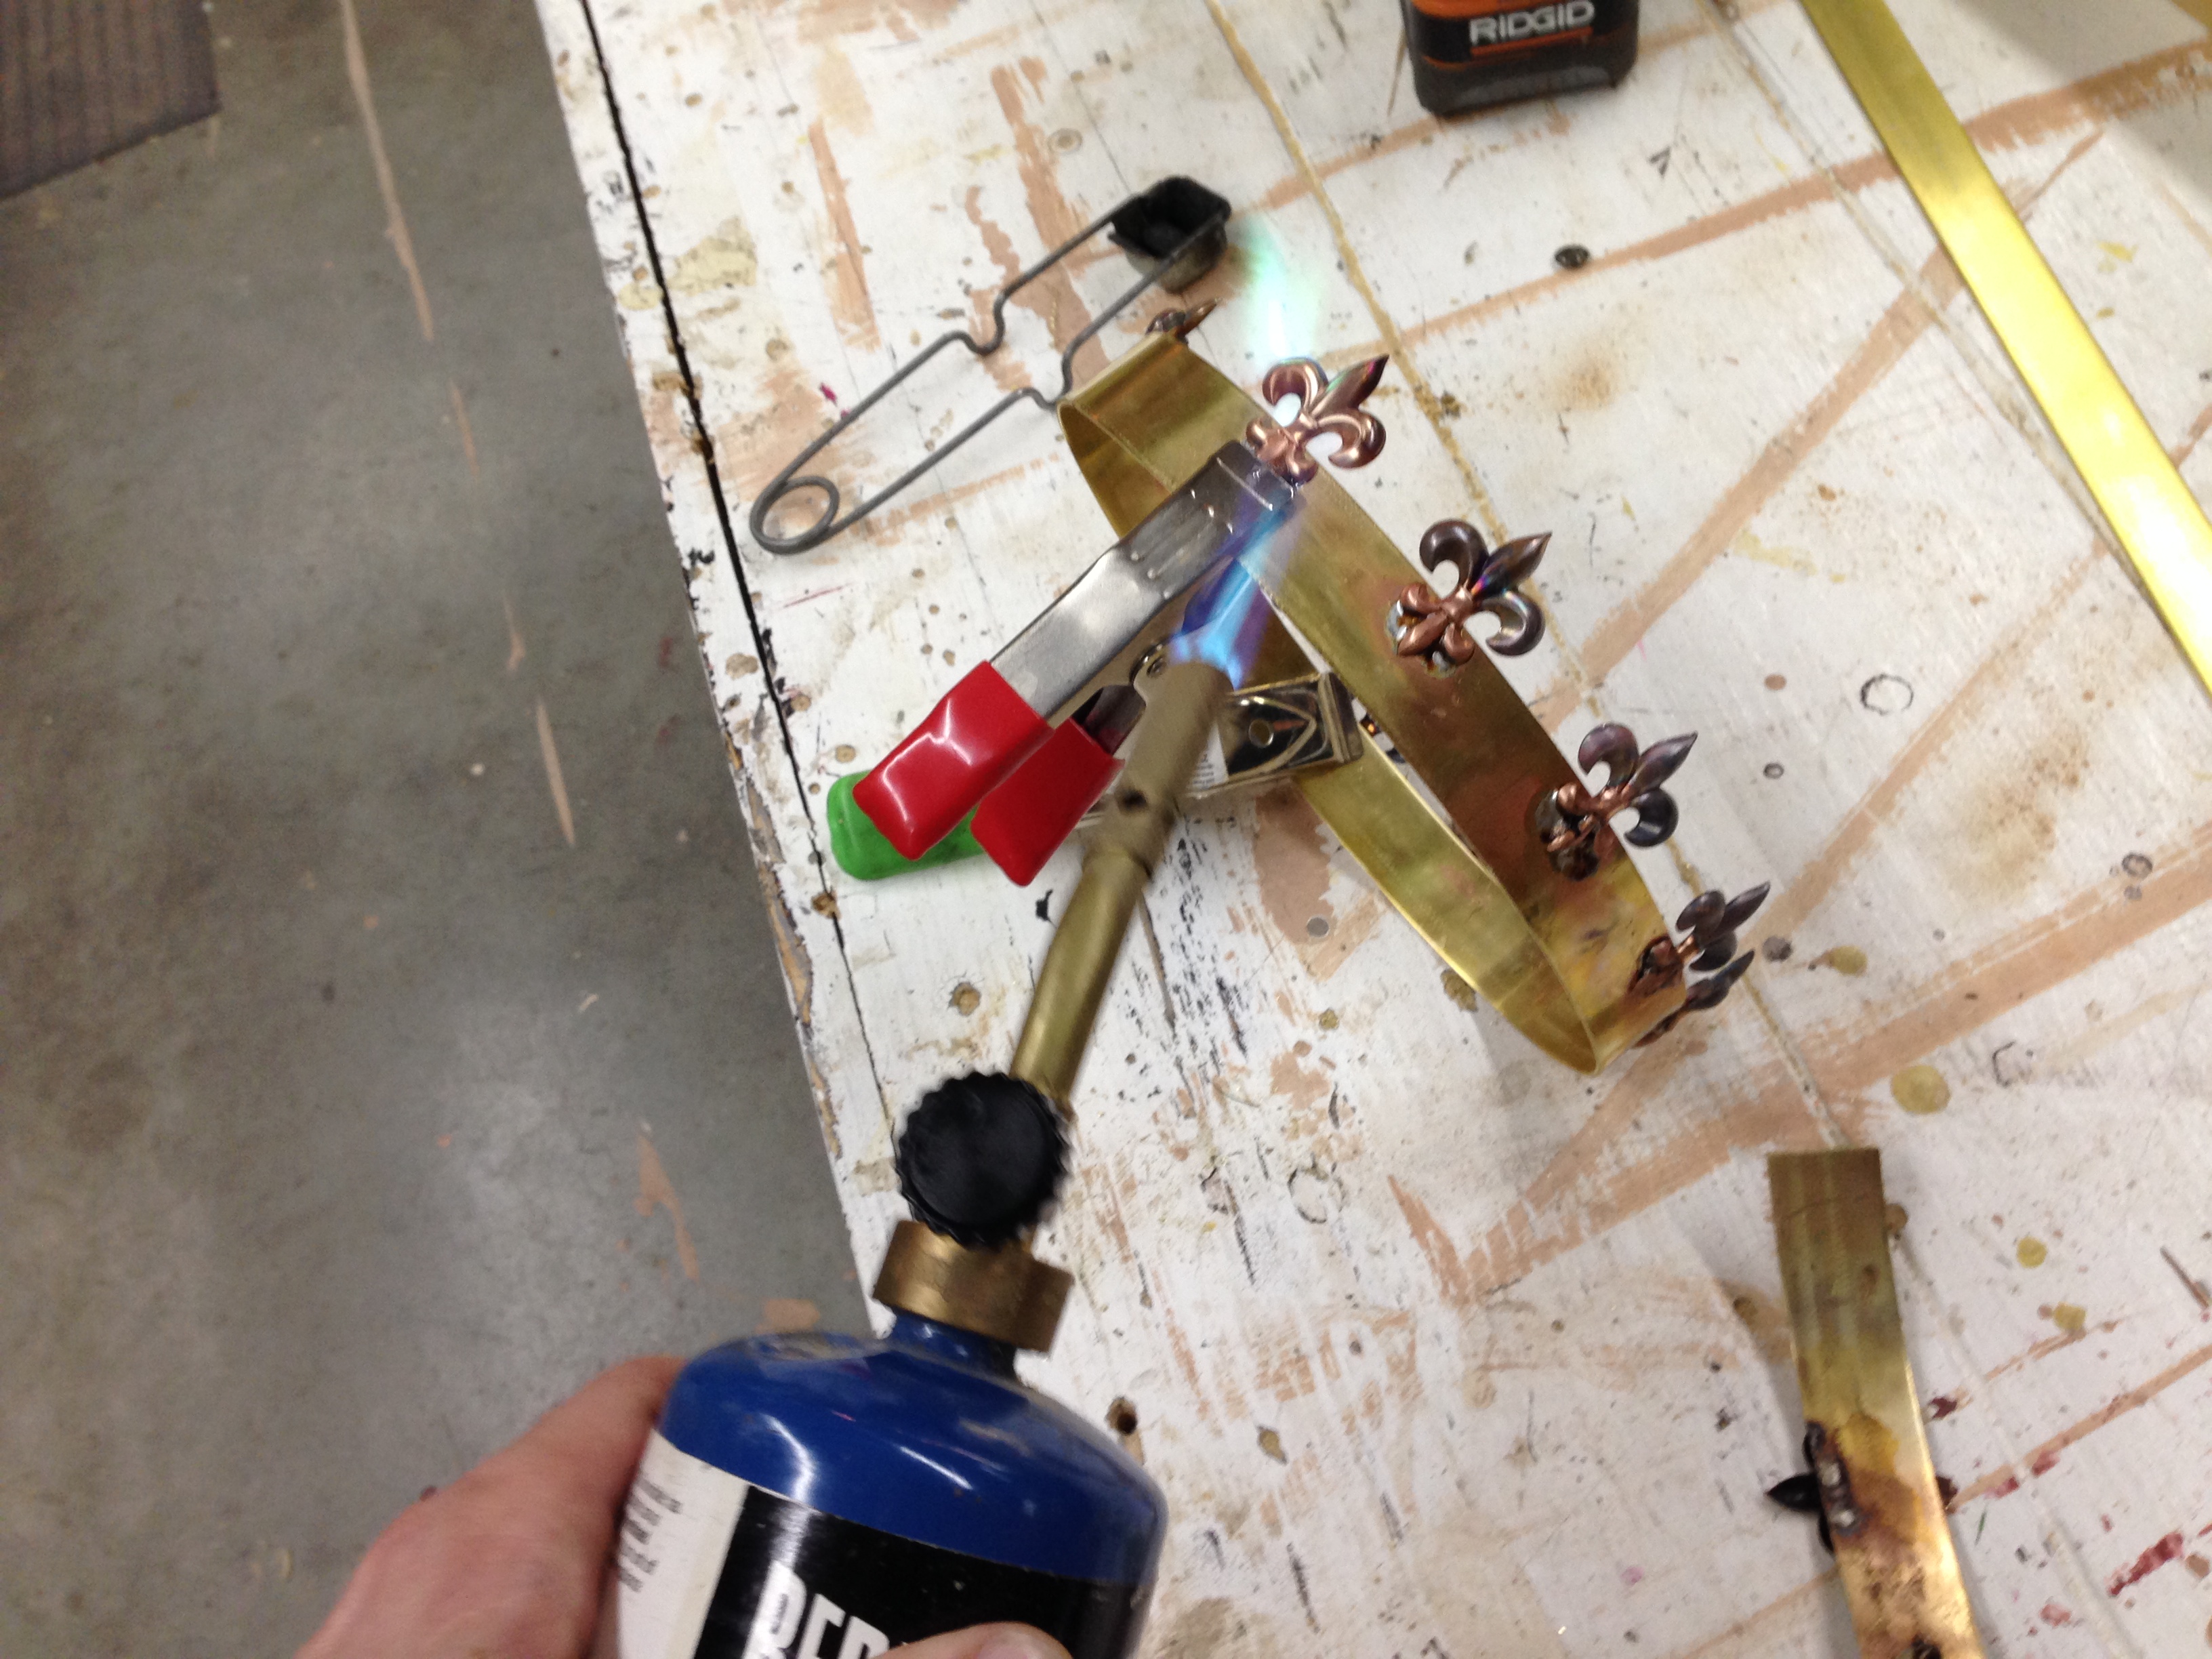
Soldering with a propane torch
Since the solder paste has a very low melting temperature, I could use a regular propane torch from any hardware store. Brass has a very low melting temperature, and since the fleurs-de-lis were very thin, I was worried that any kind of brazing or silver soldering would melt them before it melted the solder. The solder paste was a great solution.
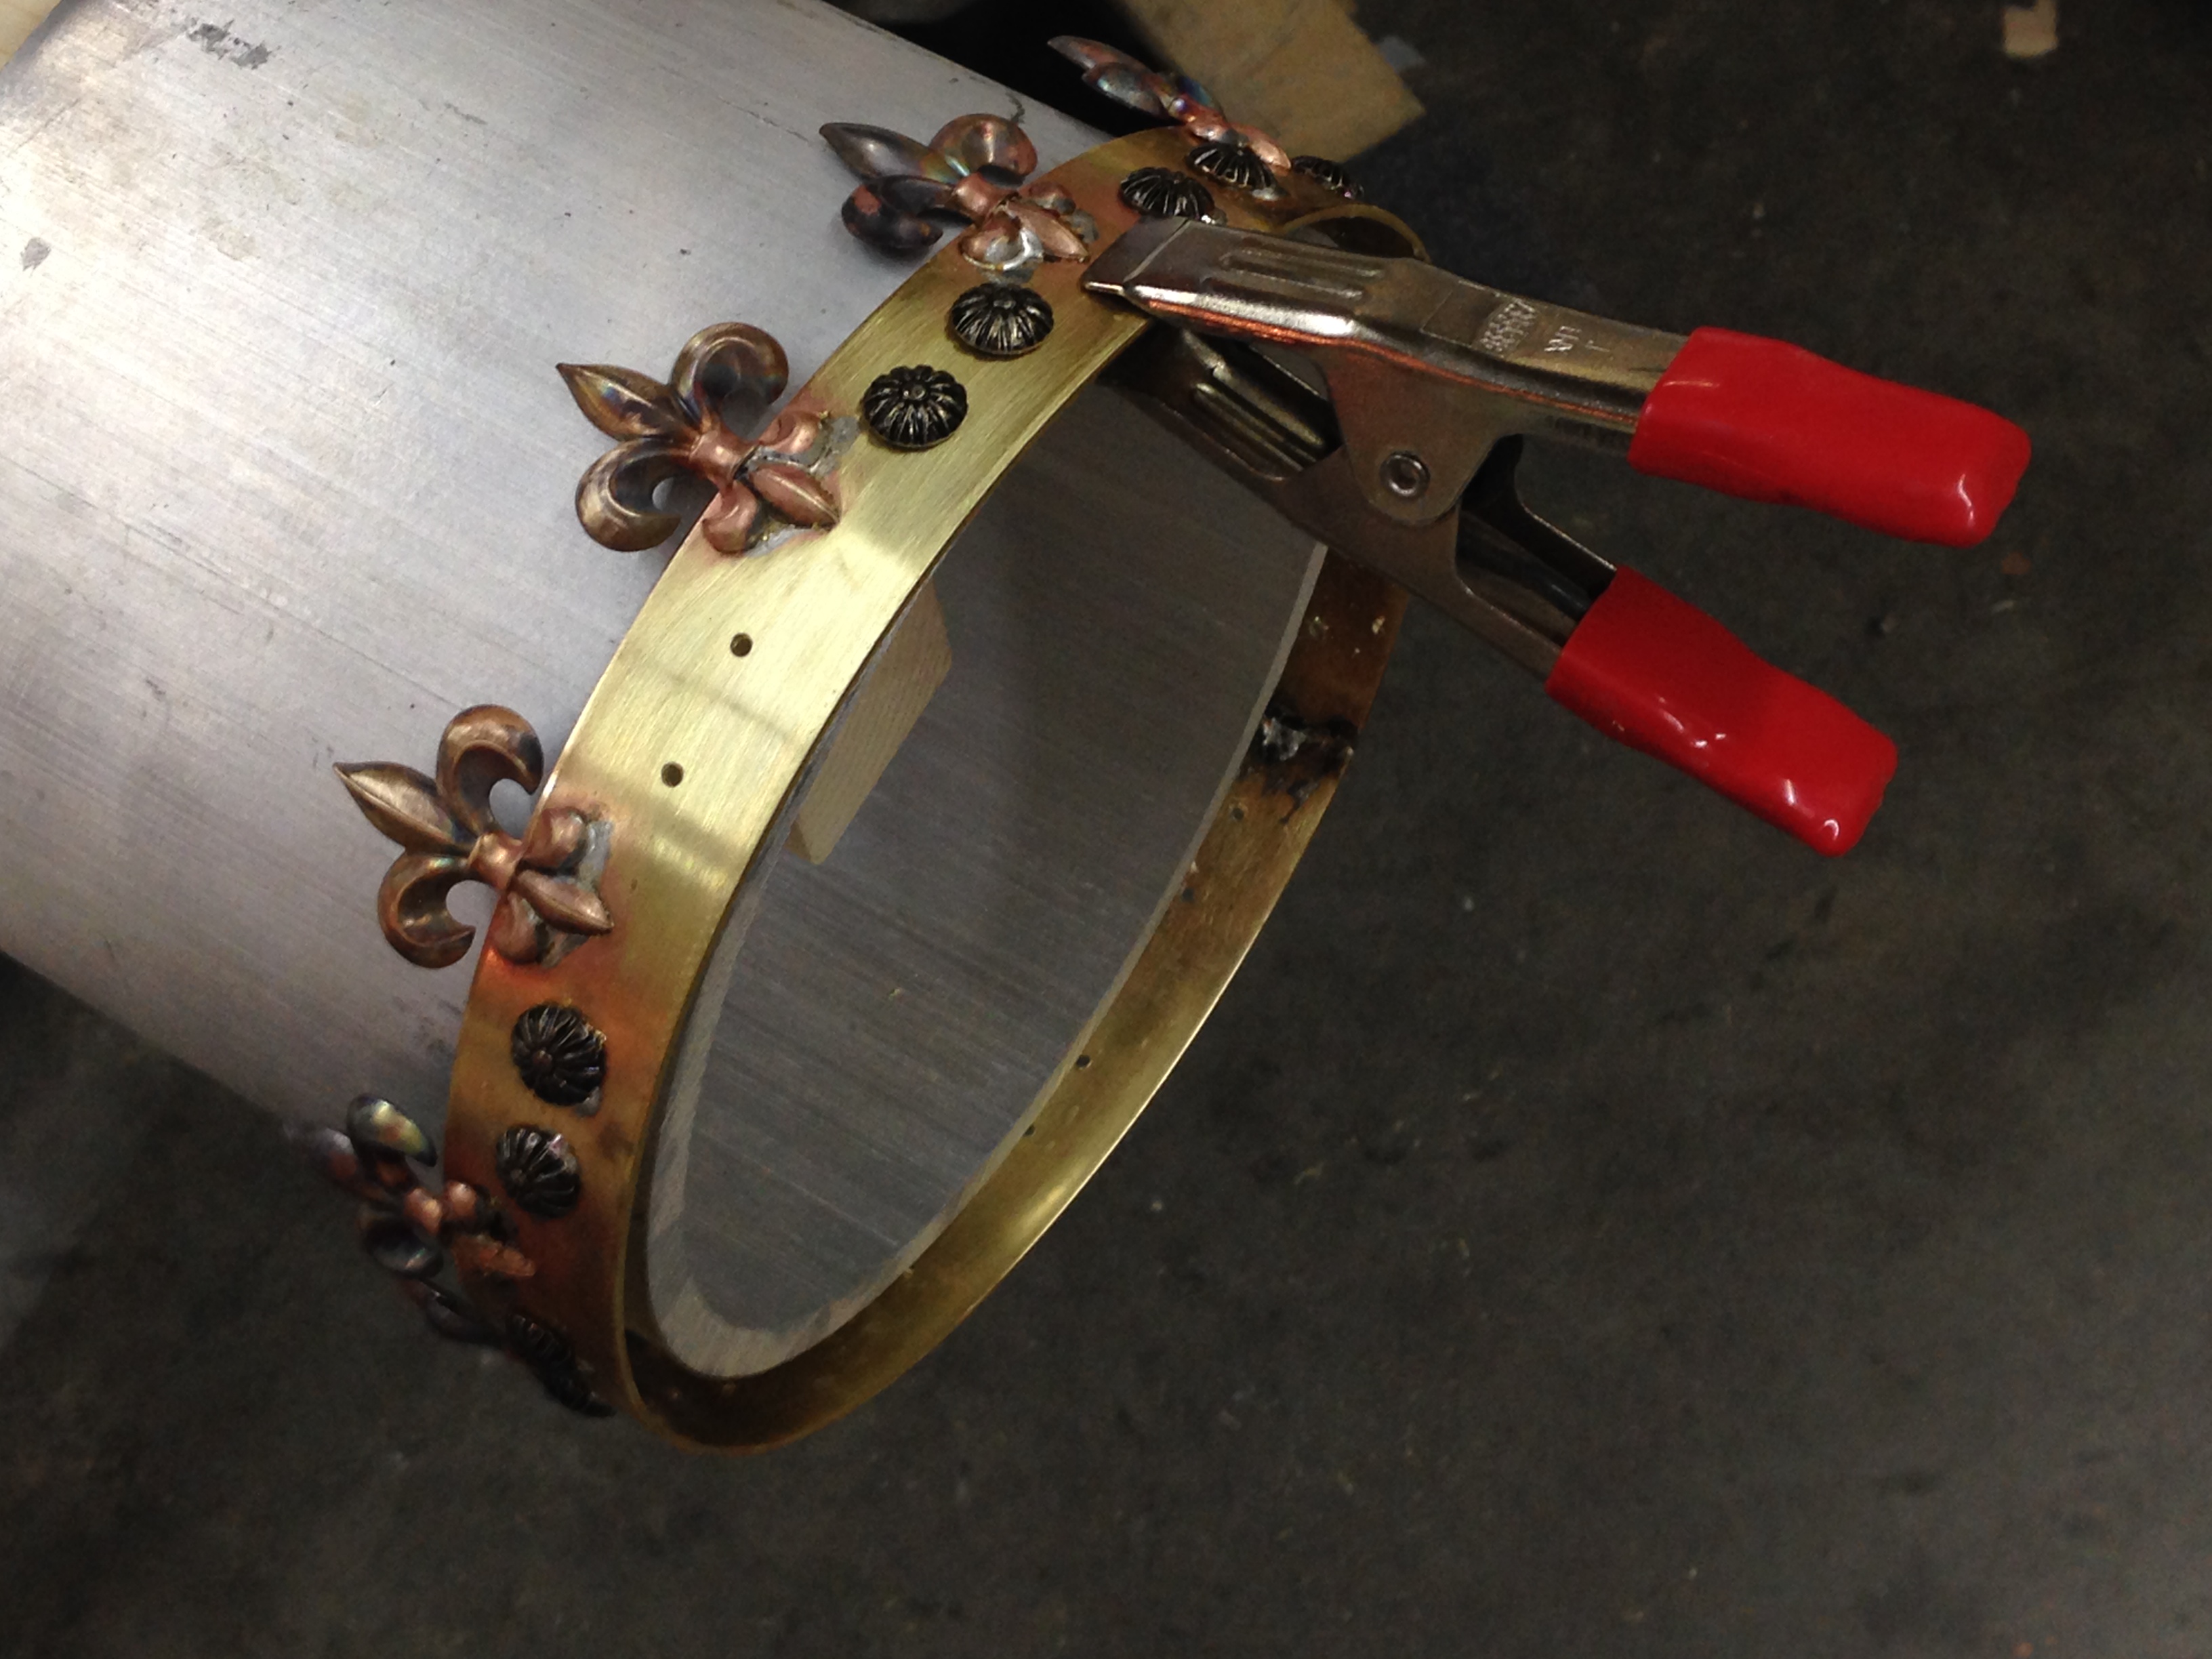
Upholstery tacks
Next I added some decorative upholstery tacks to the crown. I drilled some holes for the tack part to stick through. At first, I thought I could solder them on from the back, kind of like plug welding. That wasn’t working, so I just soldered them from the front. I was using this giant piece of aluminum tube as a heat sink so that the torch would not de-solder the pieces I had already soldered.
Moleskin Lining
I was able to remove all of the charring and discoloration with some #000 steel wool. I lined the inside of the crown with moleskin, a very thin but soft padding. You can find self-adhesive pads of it in any drugstore near the foot pads and shoe inserts.
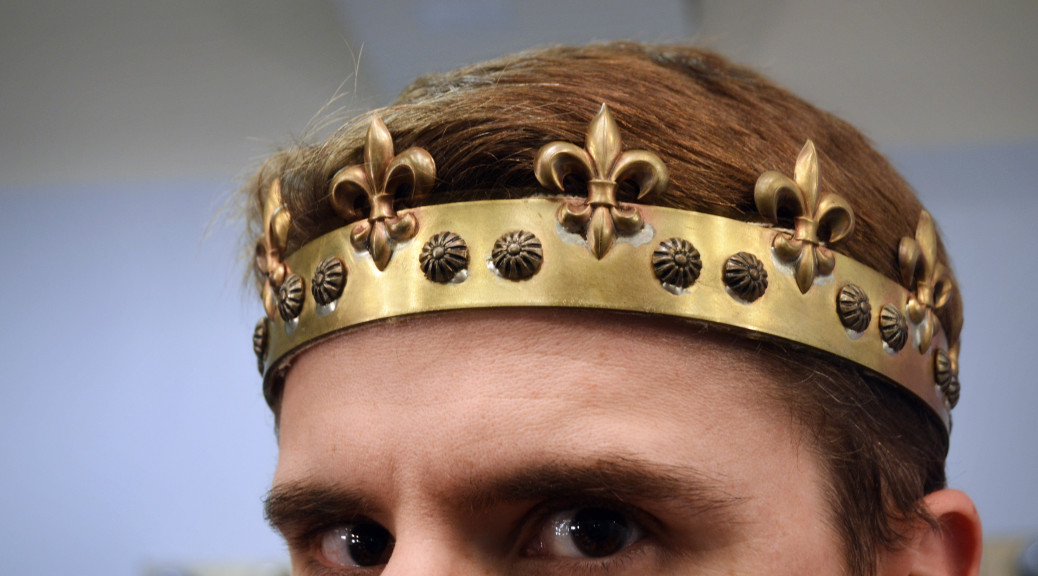
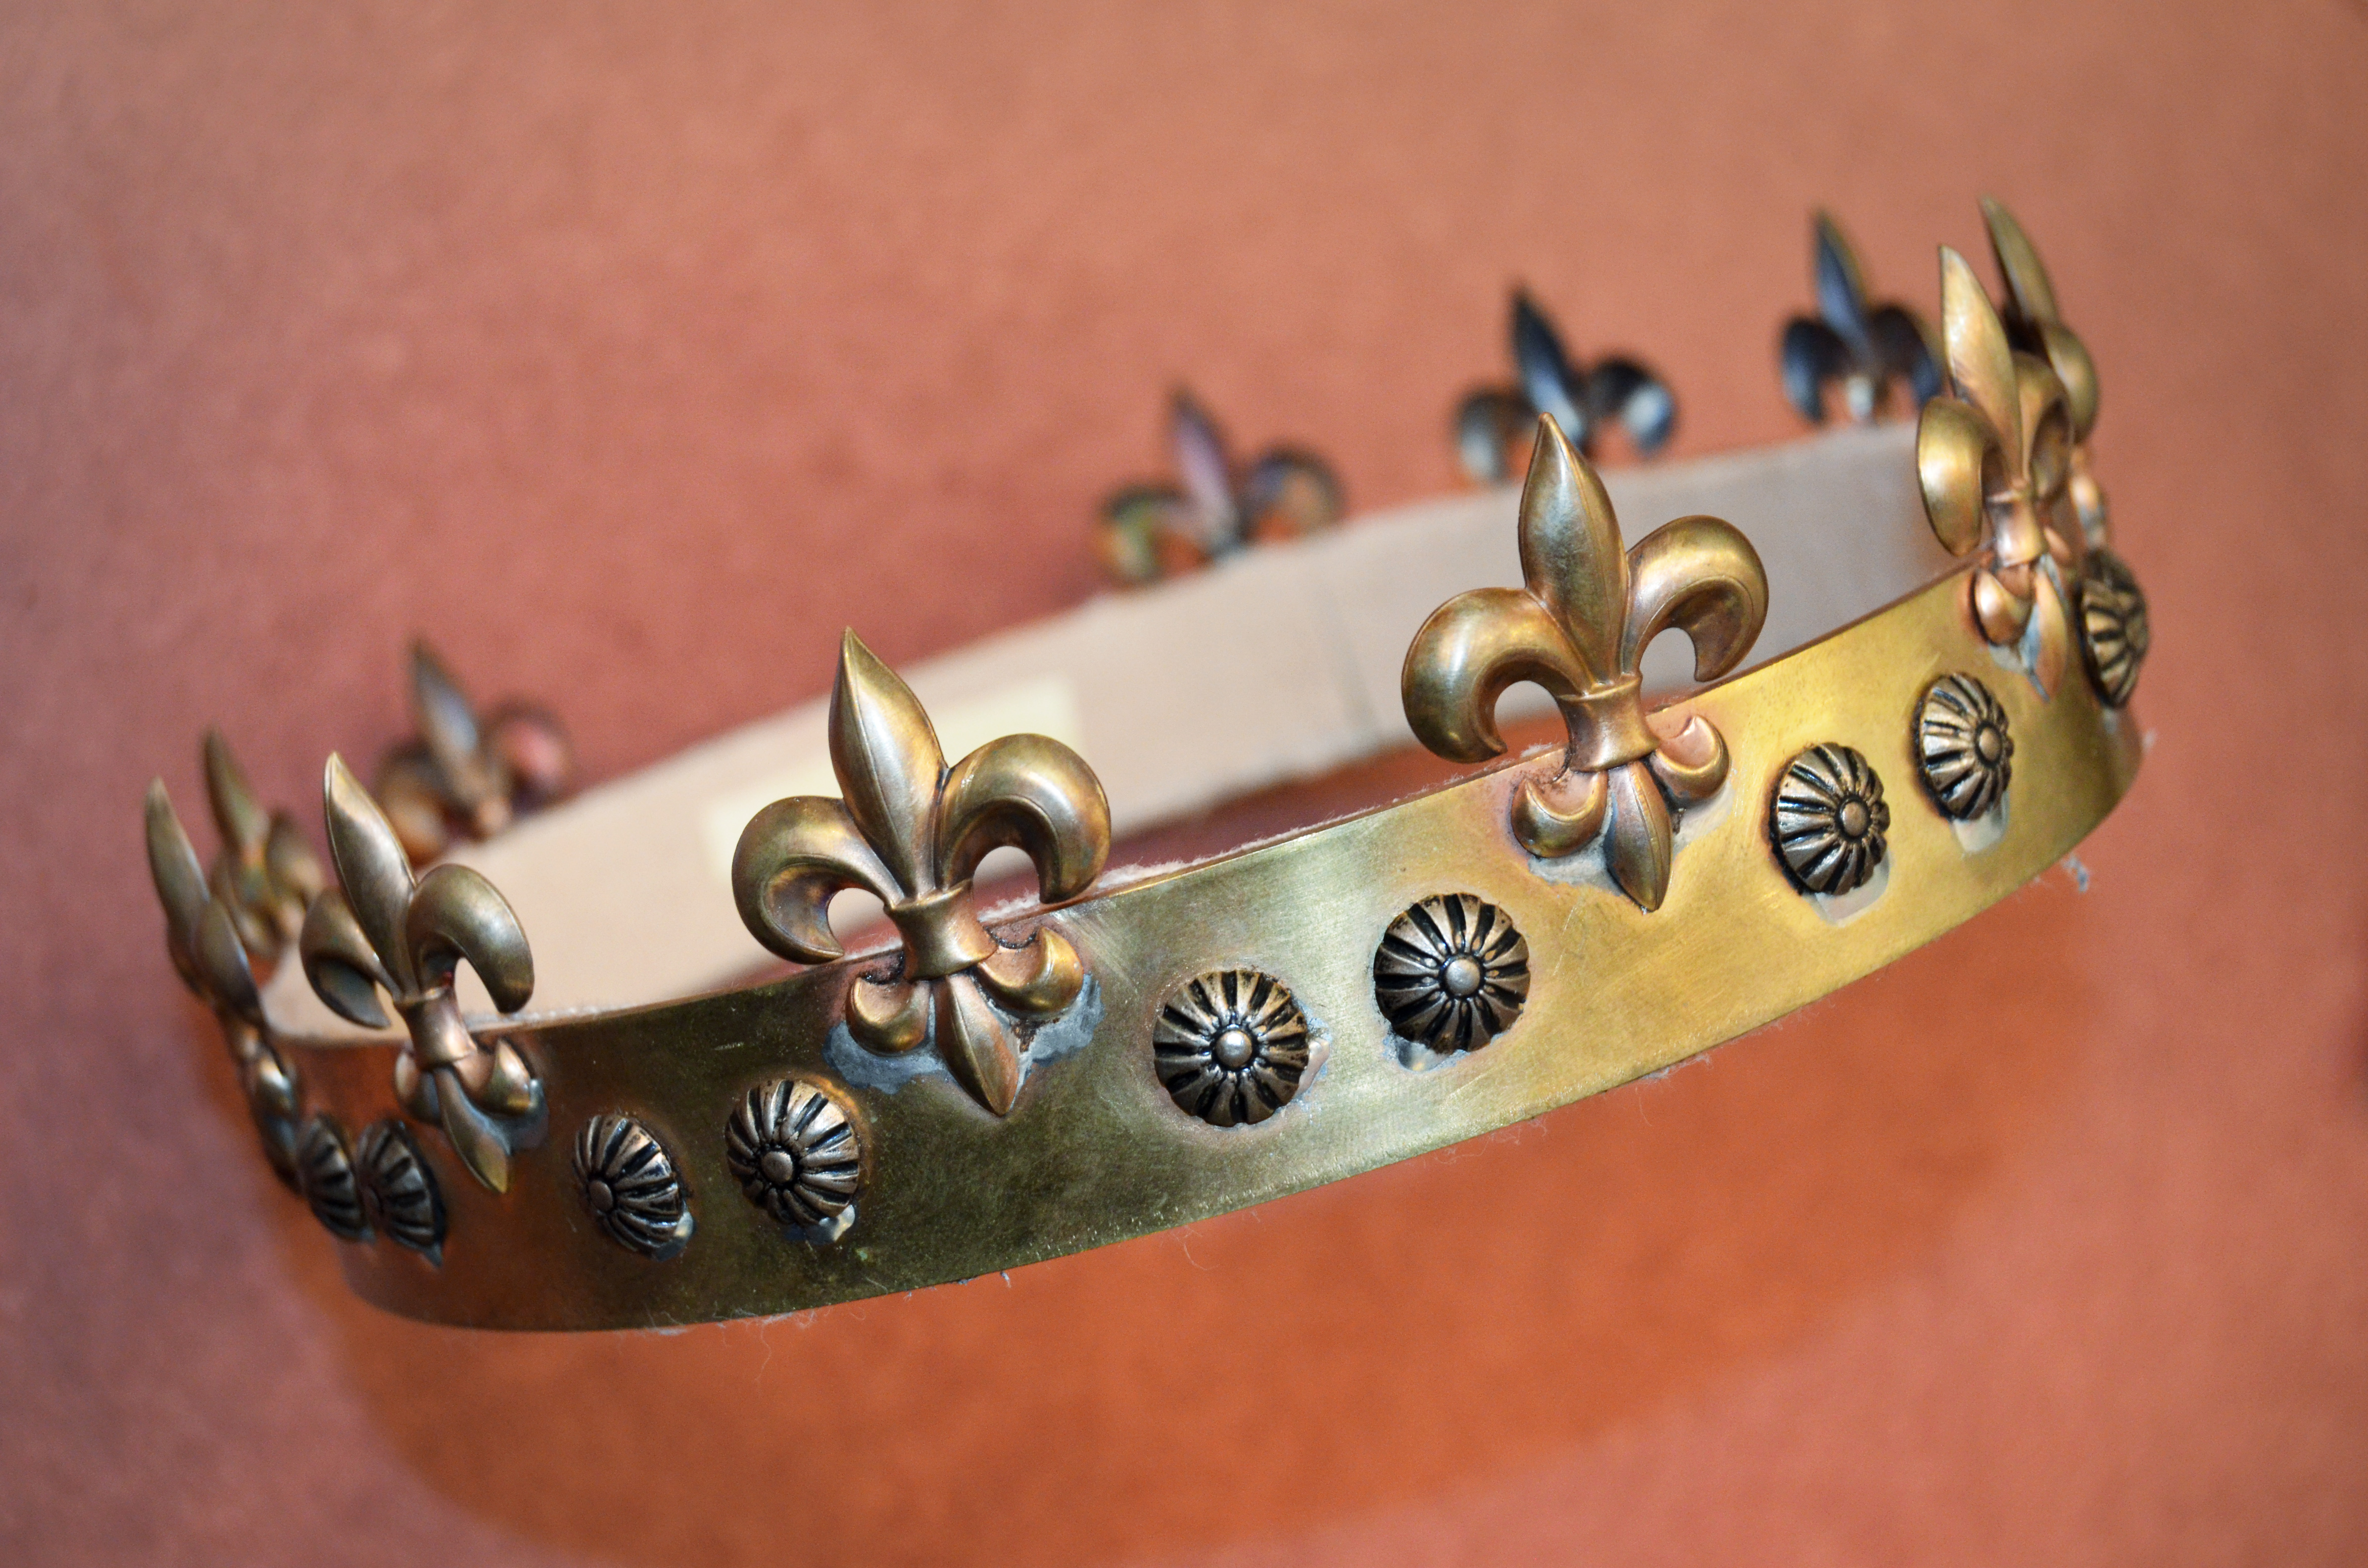
King’s crown
I think you can get the solder paste in a copper or brass color; I was going to cover up all the silver bits of solder with some brass craft paint, but they didn’t show up once the crown was on stage. I think I look pretty good as a king.
Making and finding props for theatre, film, and hobbies