Tag Archives: featured

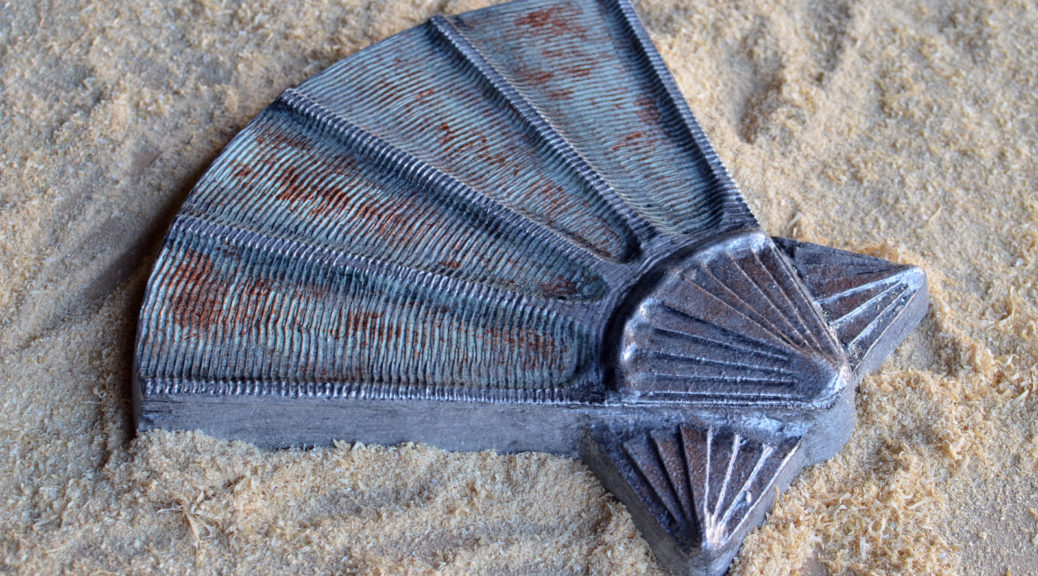
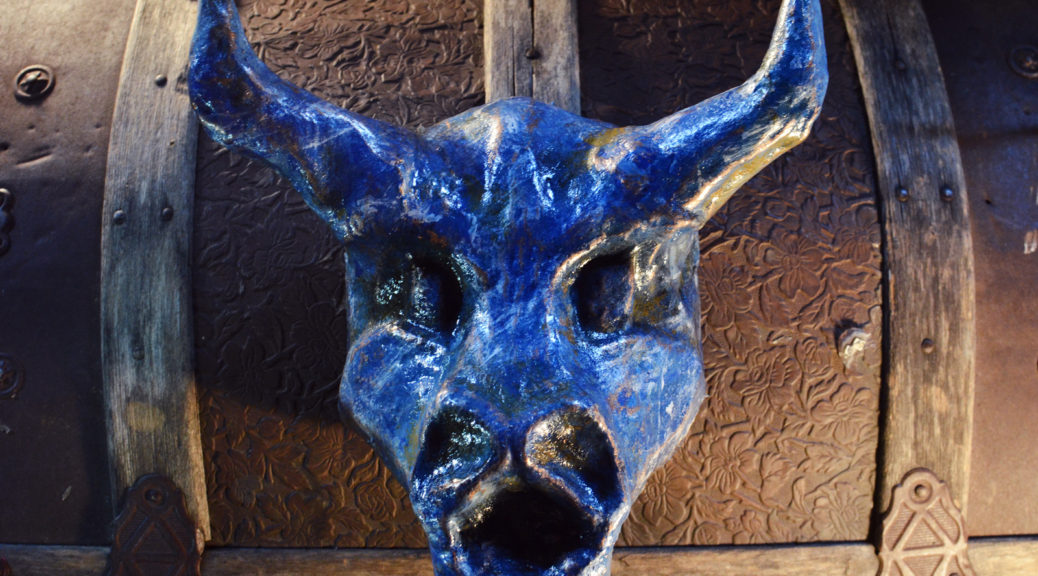
Talisman from Faery Tale Adventure

I have a second project from The Faery Tale Adventure which I recently finished. Like the Magic Seashell from a few weeks back, this was a project I used to get photographs and videos for various techniques covered in the second edition of The Prop Building Guidebook, which will be out in early 2017.
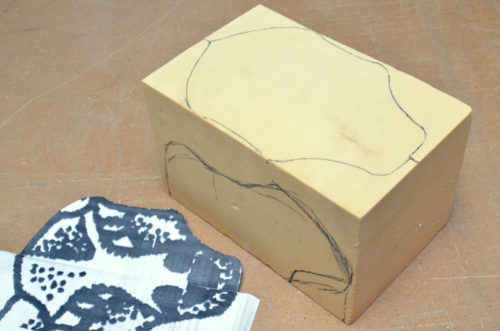
Polyurethane block
Polyurethane block

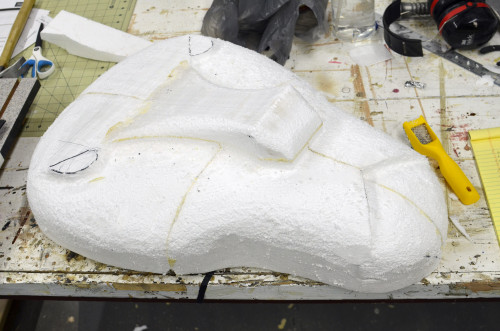
This was my first time carving into polyurethane foam, and the difference from polystyrene foam was remarkable. It does not have any of the sponginess of polystyrene. It cuts like butter but you can get really sharp, defined details.

Unfortunately, the dust may be reactive with your skin, so you need to wear gloves, sleeves, and a mask while working with it. The inertness of polystyrene dust has it beat there. But for a small piece like this, it was pretty fun.
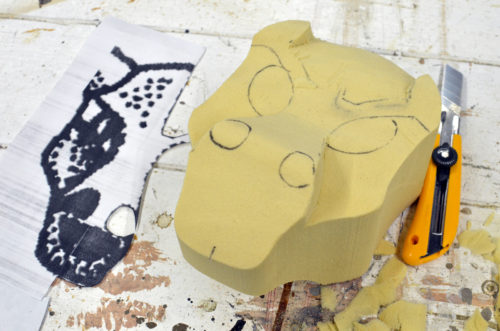
Starting to carve
Starting to carve

The video game graphics were not helpful; the actual Talisman is only seven by nine pixels big. But the manual has some artwork which I enlarged and used as a guide.

I have some more photos and information about carving polyurethane which will be in the second edition of my book.
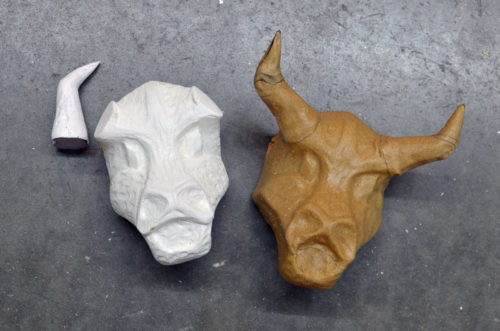
Form and Worbla
Form and Worbla

I tried out Worbla for the first time on this project. I have a video on Worbla coming out within the next few months, and the second edition will have a lot more information on it as well.

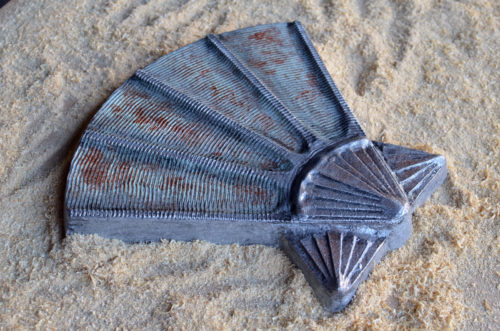
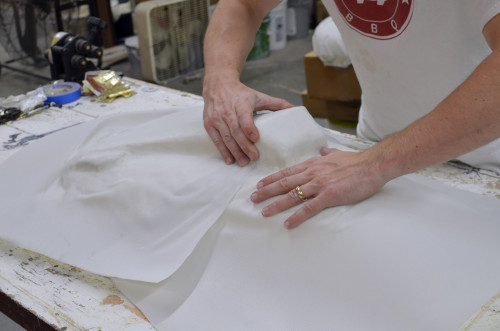
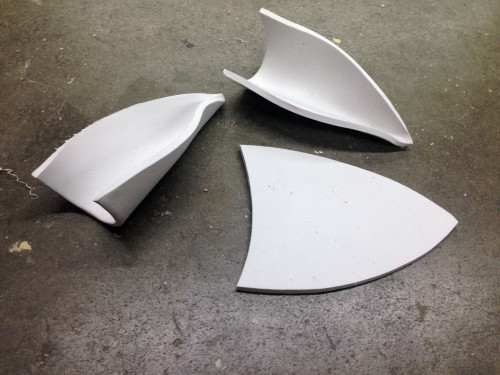
You can see in the photo above I coated the polyurethane with Flexcoat to give it more of a shell. I made the horns separate and attached them afterwards.

I’ve worked with Wonderflex before, so I noticed some differences between the two materials. First, Worbla smells like maple syrup when it’s heated. Really. Wonderflex seems to have much more of a transition between hard and soft. Worbla will become pliable very quickly with heat, then re-solidify quickly when cooled; Wonderflex becomes gradually more pliable as it is heated. That may be because the Worbla is thinner, or maybe because its formula is a bit different; I don’t know.
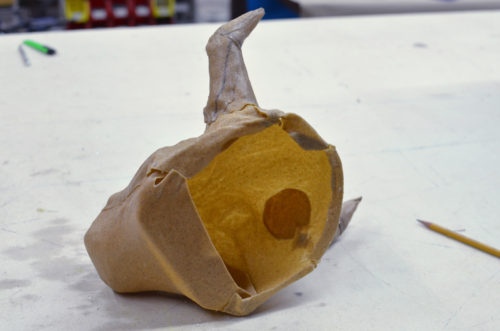
Back of Worbla
Back of Worbla

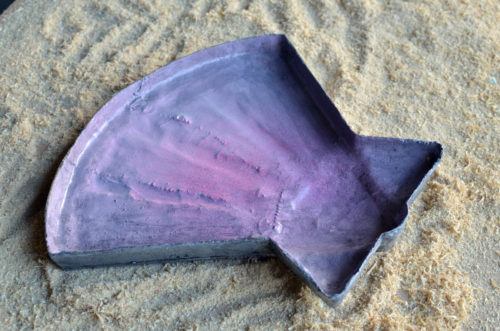
Like other thermoplastics, the benefit of Worbla is that you make a hollow shell of a prop rather than a solid chunk. My original plan was to fill the void with lights so the Talisman could glow, but I ended up putting so much paint on the outside that it became opaque.
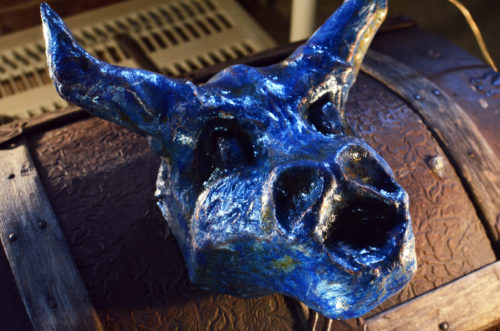
Isometric view of Talisman

For my first attempt at paint, I tried hydro-dipping. That did not work. So I covered that over with a traditional marbleing technique, which will also be in the book and in a future video.
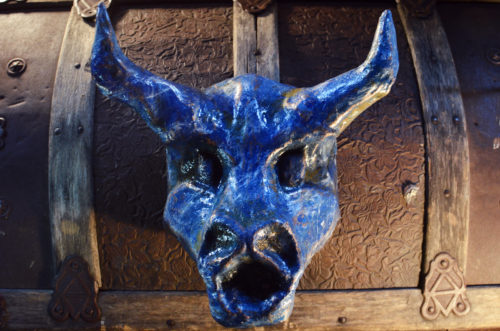
Talisman from Faery Tale Adventure

I finished it off with a black wash for ageing and some copper metallic acrylic for highlighting, followed by a spray gloss clearcoat.

And now I have a Talisman that can keep my humble props shop safe from evil spirits and undead creatures.

Magic Seashell

When I was a kid, I played a video game called Faery Tale Adventure that was filled with all sorts of magical items. I started making replica props of these items; I needed projects to show off various techniques for the second edition of The Prop Building Guidebook, and I wanted some props I could trot around to Maker Faires. The first one I have finished is a magic seashell, used in the game to summon a friendly turtle.

Seashell Model
Seashell Model

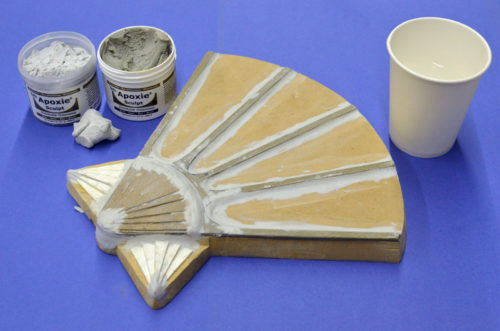
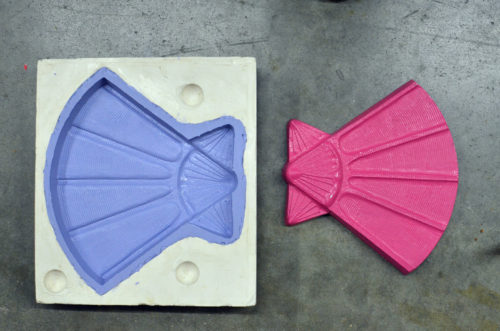
The model was cut out of MDF and layered with pieces of cardstock. I used some Apoxie Sculpt to further refine the shape. I coated it to give it a bit of texture, then spray painted it gloss pink to seal it all together and make it shiny.

Clay covered model
Clay covered model

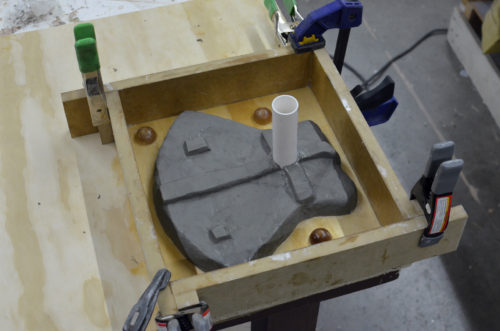
Next I made a matrix mold of the shell. I’ll describe it briefly here, but I have a lot more information in my upcoming book. I also shot a video which I promise will be up later this summer. Basically, you cover the model in a half-inch of clay, build a box around it, and fill it with plaster.

After the plaster is poured

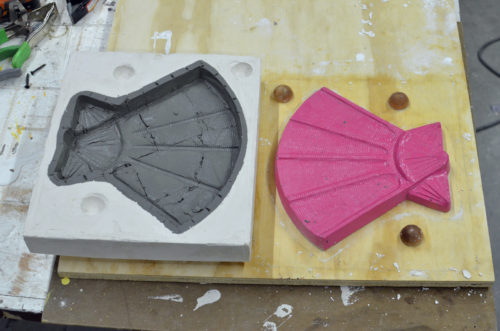
When the plaster is set, you remove the clay and put the plaster mother mold back. This leaves you with a half-inch air gap between the plaster and the model; fill this with silicon rubber.

After the rubber is poured

The silicone rubber mold ends up supported by the plaster, and I used the smallest amount of silicone rubber possible. Matrix molding takes a lot more prep work, but it leaves you with very clean-looking results, and saves you money on materials.

Laying in fiberglass cloth

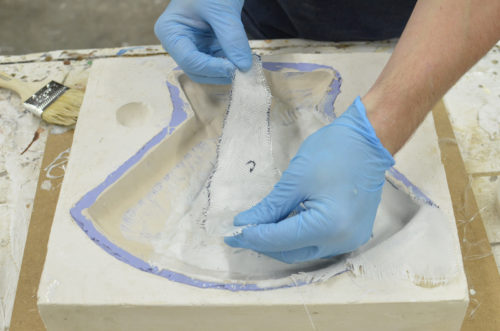
To make the finished piece, I used fiberglass with Aqua Resin. Again, this was for the book; I will have a video of the entire process later this summer. I had never actually fiberglassed a piece from a mold before, so I learned a lot; the final seashell  was actually the fourth one I attempted, and the first I completed without anything going wrong.

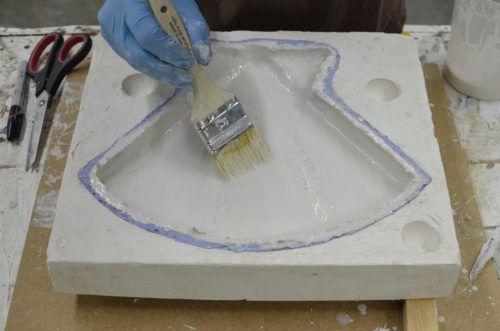
Coating with Aqua Resin

Using Aqua Resin with fiberglass is similar to using polyester resin, but a whole lot less toxic. The end result is a bit more like plaster rather than plastic, but it is still fairly strong and lightweight. I have a few more alternatives to polyester resin that I’ve been wanting to try so I can compare the results.

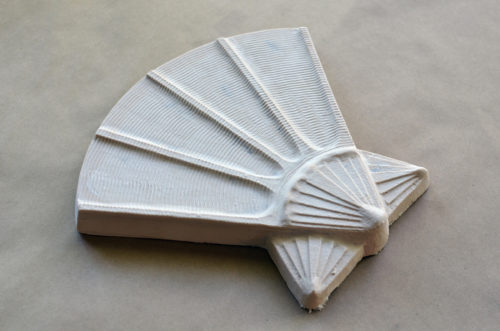
Finished piece before paint

This was not really that great of a piece to demonstrate the advantages of using fiberglass. It is very flat; you can easily create it using sheet goods, such as lauan, and still have it remain strong but lightweight. Fiberglass becomes more useful when you need an undulating skin, like a mask, that needs to be hollow but retain a consistent thickness throughout. But these are things I think about long after I have begun a project, when it is too late to start a new one from scratch. I say this for those of you who will look at this prop and ask, “Why did he bother with fiberglass? Why not just cut it out of thin plywood?”

Seashell
Seashell

With the piece finished, I painted it with a number of metallic paints, as well as a dark wash for the cracks and crevices, and some Rub’n Buff for highlights along the edges.

Back of seashell
Back of seashell

It’s magic! Good enough to sell on the seashore.

New Cover for The Prop Building Guidebook

We are still about a year away from the release, but I just turned in my last chapters for the second edition of The Prop Building Guidebook: For Theatre, Film, and TV. I am very excited about this book. The first edition filled a void in the props world, and continues to be a great success. Now that it has been out for a few years, I can take everything I learned from it and incorporate that into a new edition.

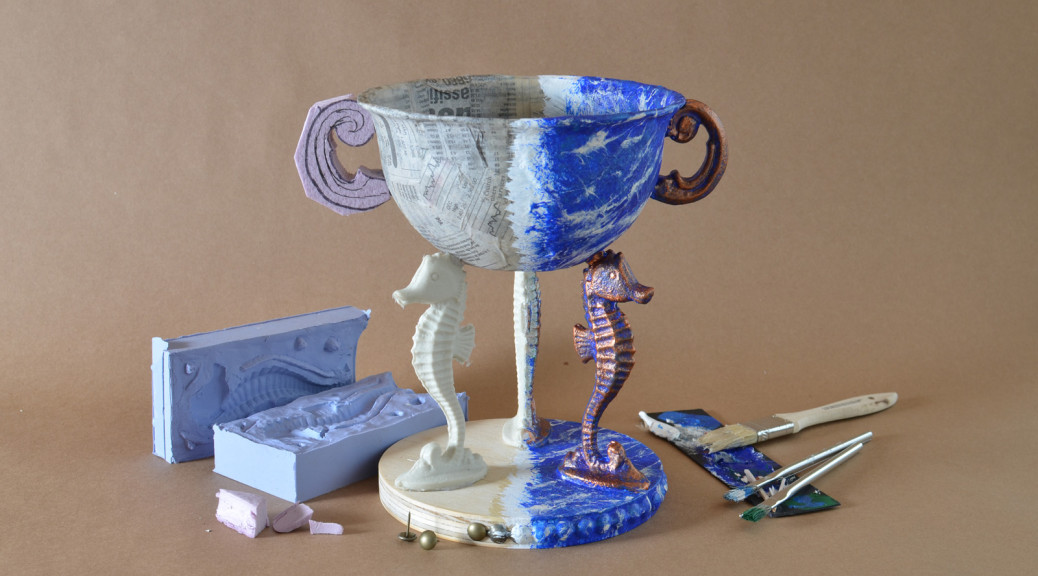
But let’s skip all that for now; I really want to talk about the cover. I always wanted to do a custom setup showing a prop being built, but did not have time during the first edition.

Coming up with a cover idea for prop building is tricky. Most finished props just look like a regular object. If you have a picture of a chair, people will think it’s a book about chairs. A picture of a treasure chest will make it look like a book about treasures. I needed a process shot. I did not want a collage or series of images for the cover, so I realized I would need to build some weird hybrid prop where half of it was finished, and the other half was still raw materials.

I wanted to incorporate the “most proppy” kinds of materials and techniques into the cover. I knew I wanted foam carving, molding and casting, paper mache, and a cool paint job. I would have loved to get some metal and thermoplastics in too, but I only had a weekend to plan, build, and photograph this. I did manage to get some plywood and found-object decorating in though.

Figuring out the prop itself took some thinking. It would have to be something that could conceivably come from a show; something you would not just buy or adapt from existing items. With the different materials I wanted to show off, I realized it would need to be quite fanciful. It would be the proppiest prop that ever propped.

I also needed it to fill the square cover. I could not make anything long, like a staff or wand. I did not want to stick a gun or other weapons on the cover either. I dug back into my opera roots and decided some kind of chalice or vase would be best; a bowl with carved handles, held by three sculpted figures.

First I had to find the sculpted figure that I would mold and cast. I had nothing in stock and I did not have the time to sculpt something. I headed out to the stores and looked high and low. I needed something that would be easy to mold and cast, but that looked cool enough to warrant molding and casting. I finally found a little seahorse figurine. My prop would now have an underwater theme.

Seahorse mold
Seahorse mold

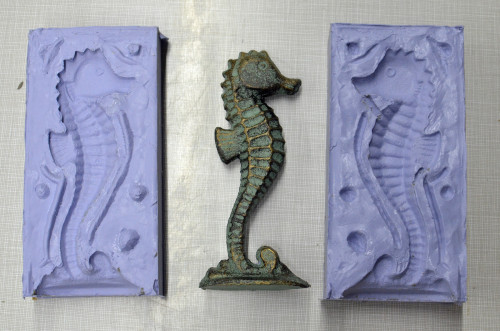
I made a two-part mold using Smooth-On Oomoo 30. I realized using $20 in materials to make three copies of a $3 figure was silly, but hey, he’s going to be a star.

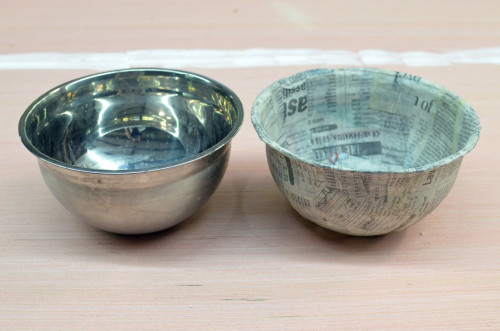
With the seahorse in place, I searched for a bowl that would look good on top. A stainless steel mixing bowl in stock fit the bill perfectly; it was also a good shape to use as a form for the paper mache. I cheated a bit here; I did not have time to actually paper mache a bowl and wait for it to dry. I molded a piece of Wonderflex over the bowl first, then added a single layer of paper mache to the inside and outside of that. So now my prop was actually a prop version of a prop.

Bowl
Bowl

With these in place, all that remained were the handles and the base. I carved a piece of foam into a handle, and cut another one out so it looked like it was about to be carved. I cut a circle of plywood and nailed some upholstery tacks along the edge for decoration.

I painted half of the prop with a faux marble treatment and a drybrushed brass. All that was left now was to pop it onto some butcher paper in my “photo studio” and artfully arrange the various materials, tools, and molds around the prop.

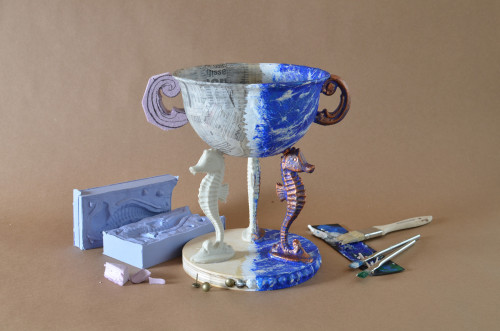
Cover photo for The Prop Building Guidebook

Ta da! I feel like I have an image that better captures what the book is about. And now I have a weird half-finished seahorse trophy I can carry around with me.

Lion Puppet Heads

Triad Stage’s holiday show this past year was Beautiful Star: An Appalachian Nativity. It was one of their most popular shows from before I started working there, so they decided to bring it back. It had a whole new design though, including some all new puppets. The lion puppets are the first ones I’ll show you.

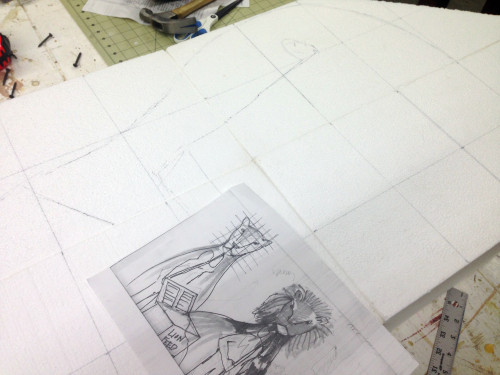
Drawing the Lion
Drawing the Lion

Robin Vest, the scenic designer, made the drawings for the lion puppets in the photo above. They were for the Noah’s Ark scene, so we needed two. She wanted them to look like folksy papier-mâché puppet heads with floaty silk bodies. I decided to carve a head out of foam to use as a form for Wonderflex.

Using the hot wire
Using the hot wire

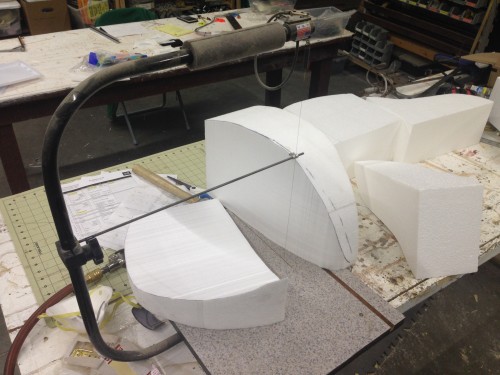
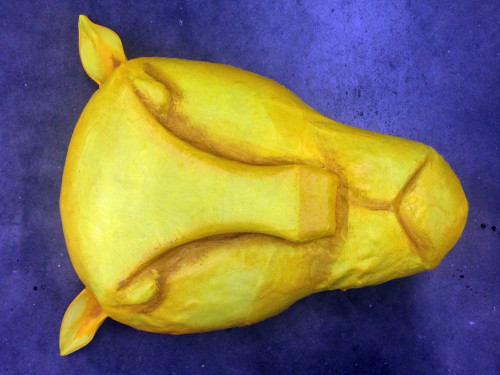
I used my favorite kind of foam: free. It was polystyrene foam and the pieces were fairly big, so I broke out our hot wire cutter to cut the initial shapes. I pieced it together from a few pieces since it was so big; it also made it easier to maintain symmetry.

Carved form
Carved form

The pieces were joined with Gorilla Glue, which works great on foam. The rest of the carving was pretty standard stuff; lots of Olfa snap blades and carving with the surformer. When it was finished, I had a form that I could use to make as many lion heads as I wanted.

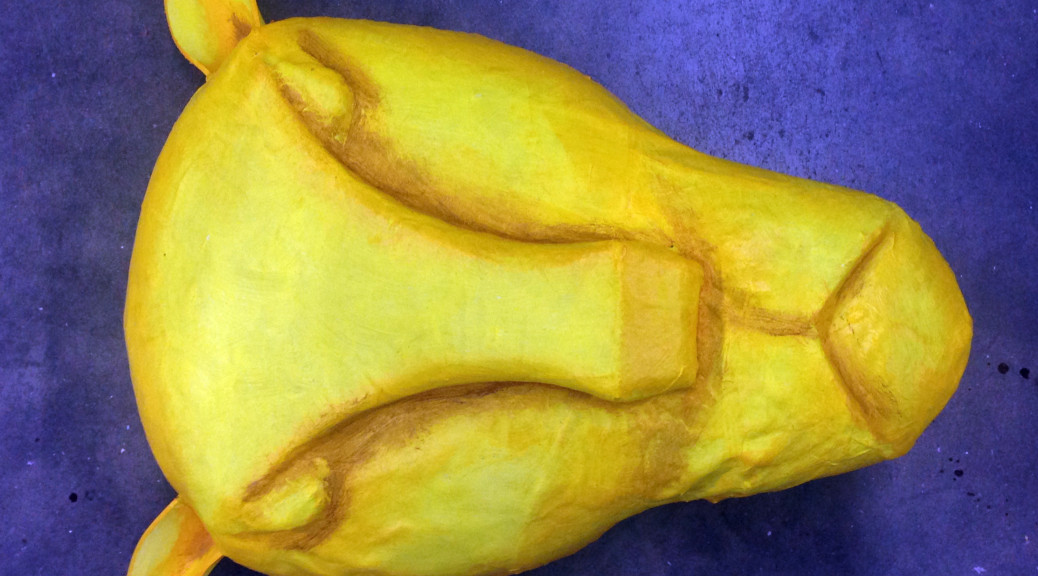
Shaping the Wonderflex

Next up was the Wonderflex. If you’ve never used it, it’s a low-melting thermoplastic sheet with an embedded fabric mesh. You can heat it up with a hot air gun and it becomes flexible, but it is still cool enough to shape with your bare hands. I used it because I could quickly form a mask-like shell around the form that would retain its shape but remain light-weight. It also cools down and is ready to paint in just a few minutes, unlike papier-mâché, which can take a few days to dry.

Shaping the ears
Shaping the ears

I made the ears out of more Foamies. I still don’t know whether this is XLPE or EVA foam, but it doesn’t matter, it’s great stuff. It can be shaped with heat, too. I curved them over a PVC pipe, heated them up, and they maintained that little curl when they cooled down.

Painting the lion
Painting the lion

I ended up doing a single layer of papier-mâché on top of the Wonderflex to give it the right texture and to cover up some of the seams. I used butcher paper dipped in Rosco Flexbond so it would remain somewhat flexible when dry. That way, no matter how many times it got pulled in and out of its crate during the show, it would always bounce back to its proper shape.

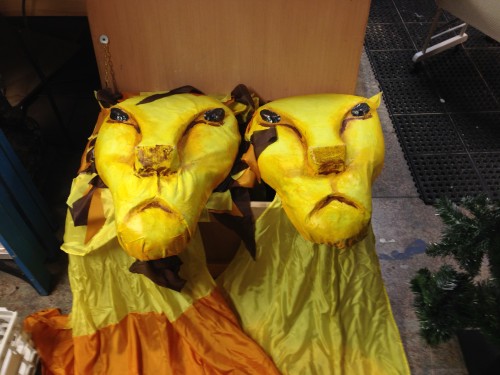
Finished Lions. Photograph by Lisa Bledsoe.

My assistant, Lisa Bledsoe, cut and sewed the long silk bodies and made a fun mane for the male lion out of small pieces of silk. The show is coming back next holiday season if you wanted to see them in action!

Mace from Deathtrap

Anyone who has done Deathtrap knows that the “wall of weapons” could be a challenge. I was able to source most of what we needed, but the mace was a bit tricky. I had a flail, but when we got to tech, we decided it really needed to be a mace. It is never used, but the characters reference it a few times, and they would know the difference between a flail and a mace. I was pretty much out of money, so I decided to build one with whatever I had laying around while they worked on lighting and sound cues.

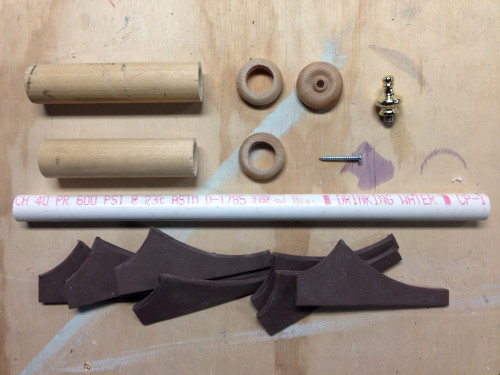
Mace parts
Mace parts

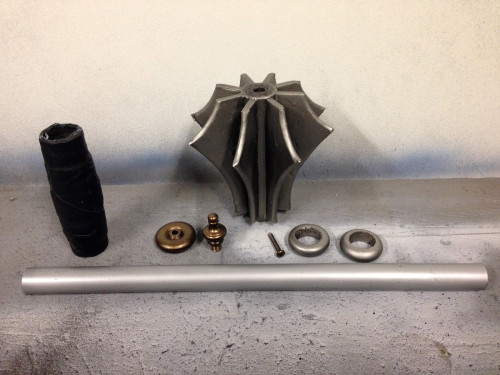
I printed out some research of a flanged mace that had a cool look but was not too intricate. The shaft was a length of PVC pipe. I attached a bit of wooden dowel on either end; one for the handle and one for the head. I cut the flanges out of craft foam. I drilled out the center of a few wooden toy wheels to make the various ridges, and a lamp finial finished off the top.

Painted pieces
Painted pieces

I attached the flanges to the head with some hot glue and sealed it all with some fiberglass resin. I only used one coat, which did not really stiffen the foam, but since it was just a wall-hanger, I figured it was enough. Everything got sprayed with various metallic spray paints before I attached it all together.

For the handle, I wrapped tape around it to give it more of a bulging cigar shape. I wrapped the final layer of tape in a spiral to make it look like a leather-wrapped handle.

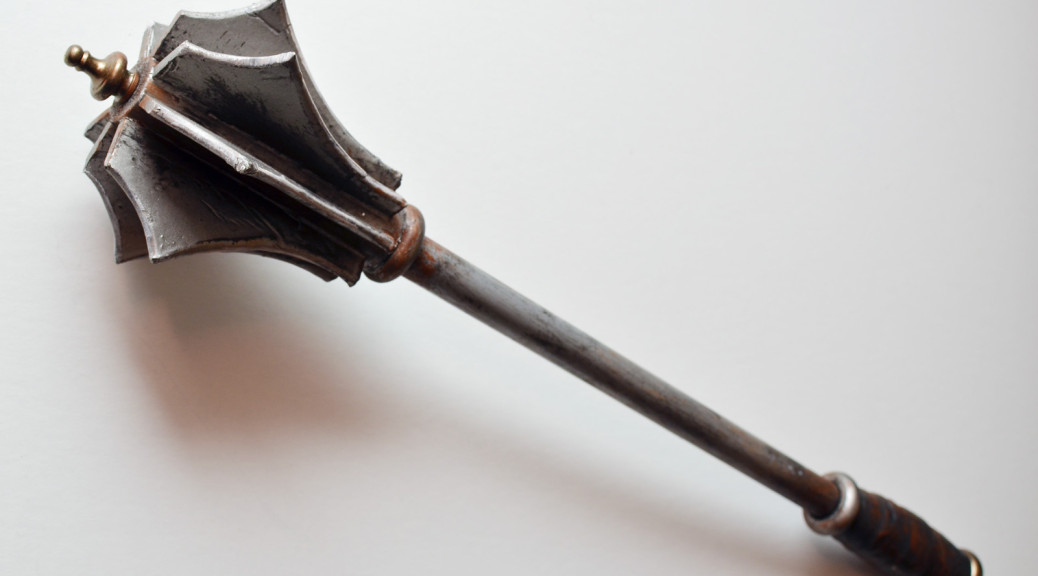
Mace
Mace

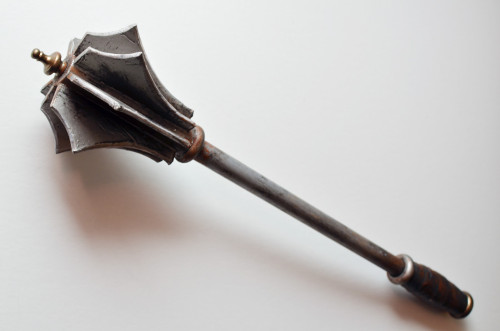
I finished the whole thing off with some weathering and aging using acrylic paints. The end result looked pretty a-mace-ing.