Tag Archives: featured

Ancient Cherokee Box

Our final production of the season at Triad Stage was a new piece called And So We Walked. Written and performed by DeLanna Studi, it recounts her journey to walk the Trail of Tears with her father and rediscover her Cherokee roots. The show itself is traveling around the country for the next few weeks before another full production at Portland Center Stage next spring.

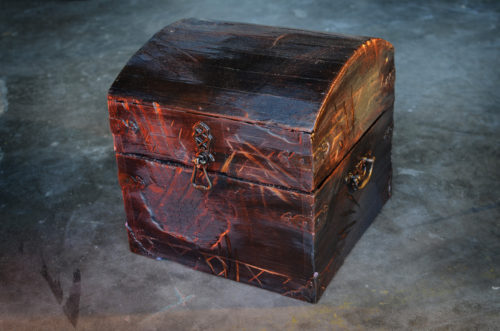
The show takes place in both the real world and a theatrical dream world, and one of the props I built was an ancient burned box which held secrets. We determined the size and shape in various devising sessions and rehearsals, so I simply made another box out of nice materials to match a rehearsal version I had already made.
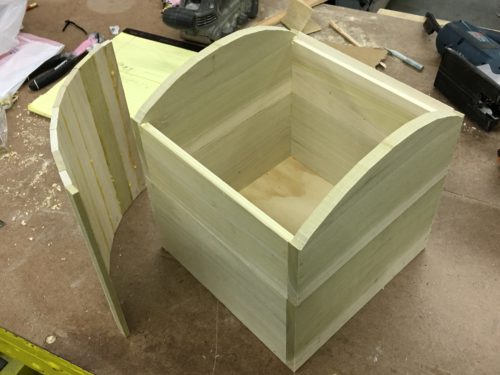
Constructing the box

The carcass was constructed from half-inch poplar I bought at Home Depot (my planer was broke), with a piece of plywood for the bottom. The top wanted to be vaulted, so I ripped a number of slats from quarter-inch poplar, beveled the edges, and glued them together to make the vault shape.
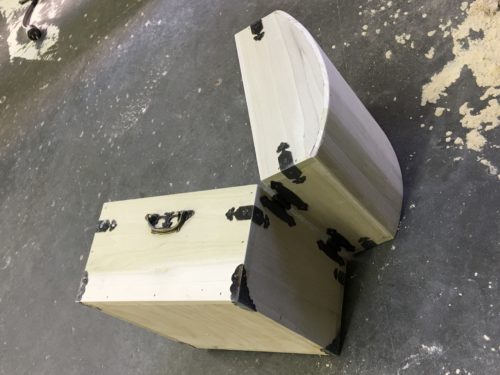
Attaching the hardware

Once the top was all glued together, I ran a belt sander over it to transform the faceted surface into a smooth curve.

The hardware was a mix of stuff from the hobby store and pieces I had in stock from other boxes I had built. A lot of this decorative brass box hardware comes straight from China, so you have to wait a few weeks or even months to get it shipped. Whenever I order some, I get several options and extras so that I slowly build up a stock to use on projects that have too tight of a deadline to wait for the shipping.
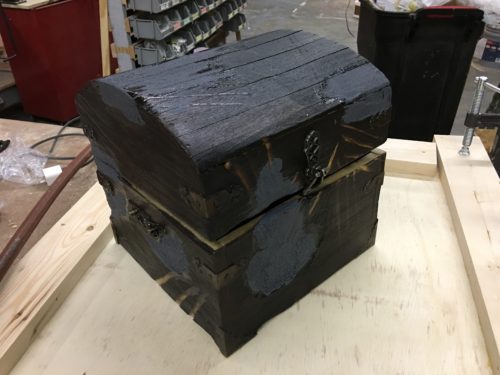
Burning the outside
Burning the outside

The box is described as “burnt”, so my next step was to burn it. I used a basic propane torch you can get at the hardware store. I charred the whole outside of the box, and allowed the flames to go to town on a few areas to really break up the surface.

Once it was cool, I removed all the charcoal with a wire brush. I sealed it with shellac to keep any charcoal remnants from staining the actress’ hands or white costume.

In the areas which burned away the most, I applied some grey crackle paint to simulate the charcoal I had just brushed away. The box is also described as having deep scratches, as if some mythical being had been trying to claw it open, so I added those with a grinder and Dremel.
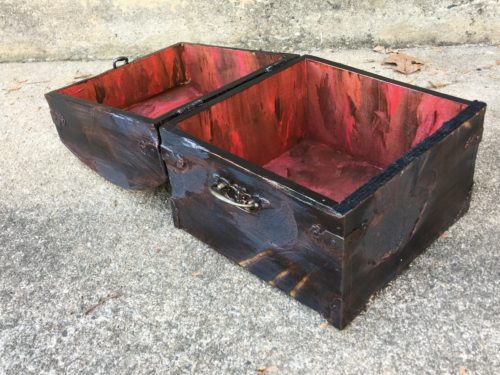
Painting the inside
Painting the inside

The inside received a wet blend of various acrylics to give it a deep red aged appearance that suggested blood. I dry brushed a few other colors, including some metallics, over the outside to help accentuate the imperfections and texture.
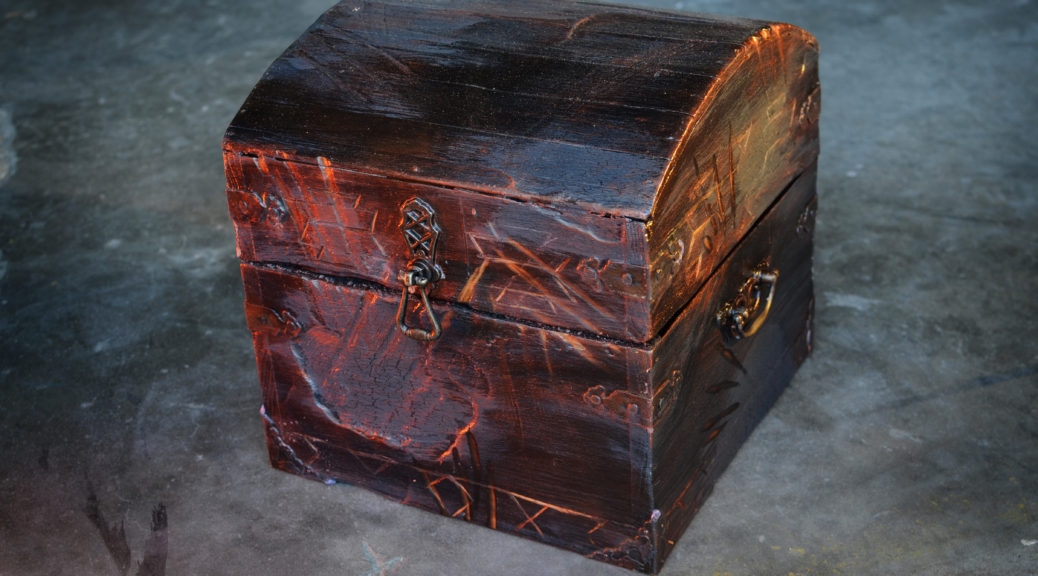
Ancient carved box
Ancient carved box

During tech, the director really liked the way the scratches looked on the box and wanted some more. She asked for some Cherokee patterns to be engraved around the edges as if some primitive creature had carved them in by hand. Once I added those, the box was complete.

The Prop Effects Guidebook: Coming Soon

Last night I sent off the final manuscript for my next book, The Prop Effects Guidebook. It is all about making your props move, burn, sing, bleed, and break. When you combine it with The Prop Building Guidebook, you will have a pretty complete education as far as constructing props goes.

The book does not come out until March 2018, and we still have a lot of work to do in terms of copy-editing, layout, and proofing. But I wanted to share a few of the photographs I have taken specifically for the book just to give you a taste of what is coming.

Fire
Fire

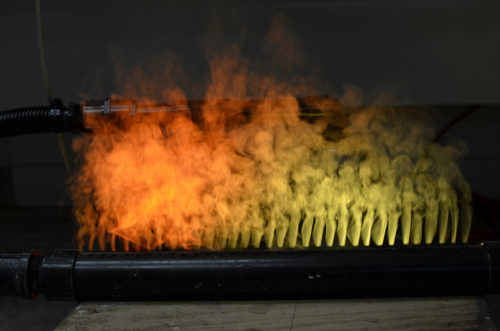
I talk about a variety of fake fire effects you can use when your theater does not permit real flame.

Arduino
Arduino

I give an introduction to electrical components and wiring your own props, and provide a brief introduction to the world of Arduino and other microcontrollers.

Blood
Blood

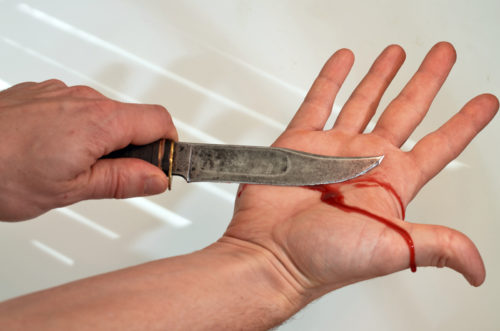
What would a prop book be without talking about blood?

EL wire
EL wire

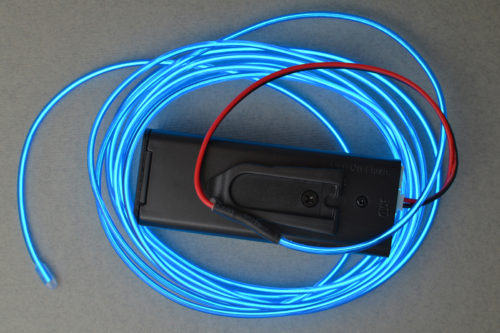
Lighting is probably one of the most common tricks a prop needs to do, so there is a thorough introduction to all sorts of tiny lights. I do not think any prop book has covered LEDs before, and I also touch on fancier lights like EL wire.

Dry ice
Dry ice

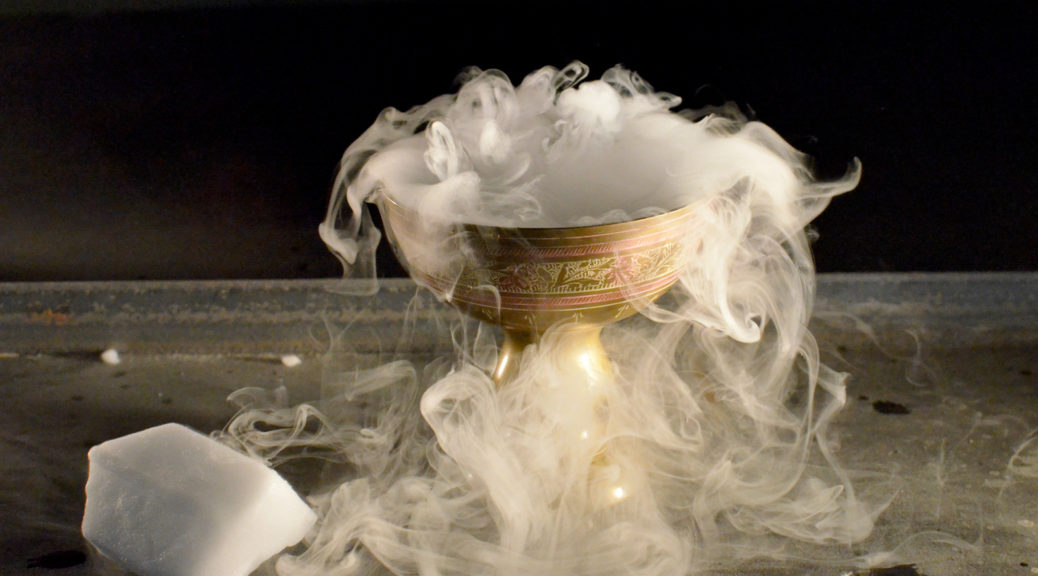
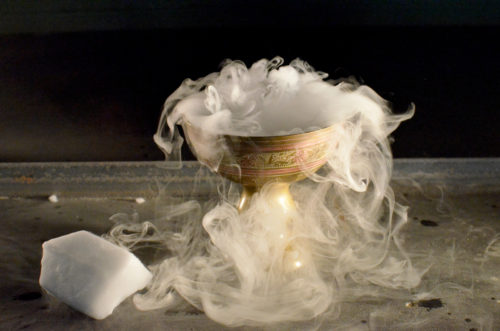
No matter how fancy theatrical foggers get, dry ice still gives me such a visceral thrill. It’s so simple and elemental, but so magical. This book touches on all the traditional tricks too, because you do not always need a high-tech solution, and you do not always have the budget for the latest gadgets.

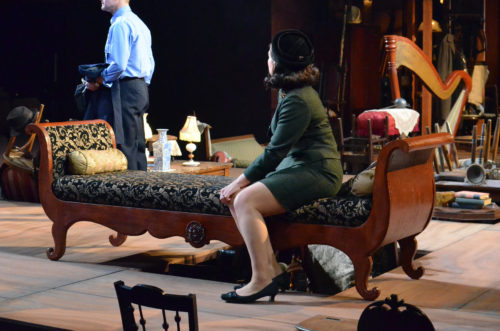
Sofa from The Price

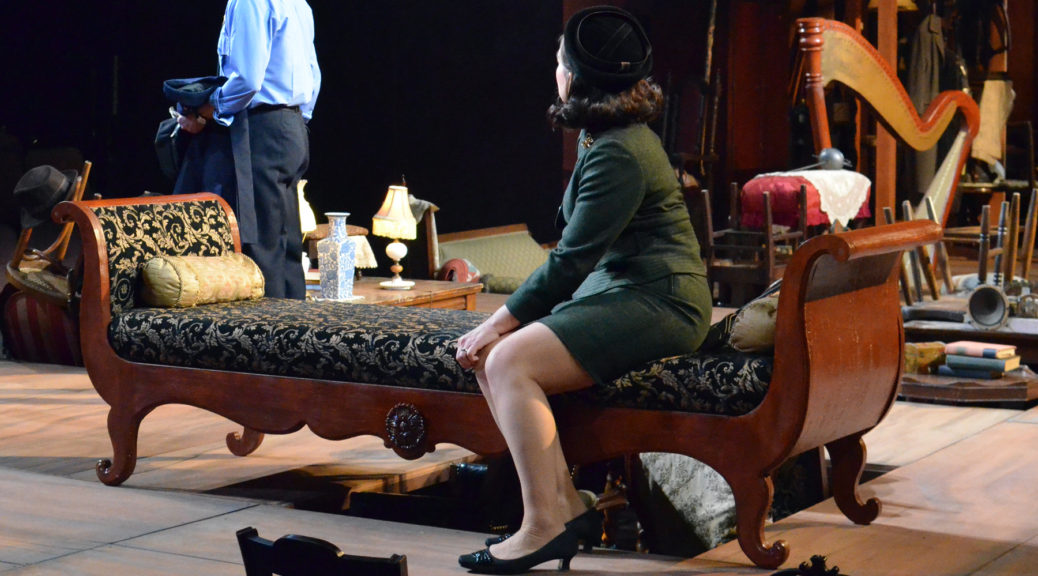
We recently closed Arthur Miller’s The Price at Triad Stage (preceding the Broadway version by a few weeks). With a week before tech, a concern arose that the “Biedermeier-style” sofa blocked too many sightlines. We needed a backless version, and since nothing like that exists in our stock, I had to build one.

Tracing the profile
Tracing the profile

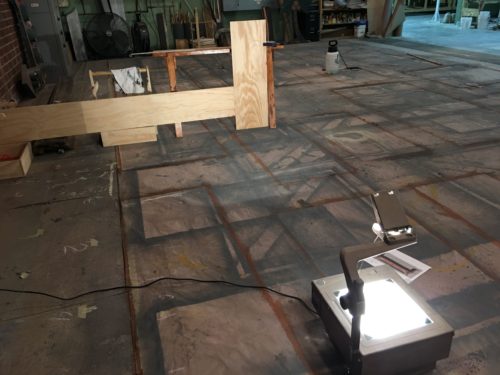
The designer, Fred Kinney, found a research image he liked. The photograph was taken straight on from the front, so I was able to trace it directly onto some plywood with an overhead projector.

Cut outs
Cut outs

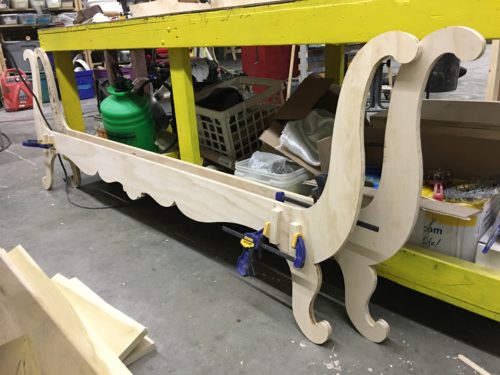
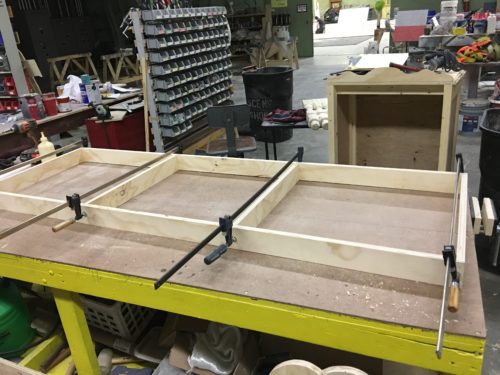
I made each front and back piece out of three pieces of plywood and doweled them together. I have some temporary blocks attached in the photograph above to help clamp them. They will also be held together in the back by the cushion frame.

Building the base
Building the base

The base for the cushion was just a simple platform frame.

Cushion
Cushion

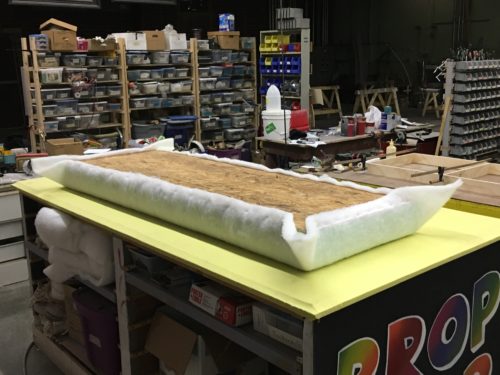
The cushion for the couch was a separate piece made of high density foam on top of a sheet of oriented strand board (OSB). The whole thing can be removed from the couch at any time. The plywood from the home improvement stores is so prone to warping; I’ve switched to OSB for my upholstered pieces because it is one of the flattest sheet goods you can buy there. It is really cheap too, though it does add a bit of weight and you have to build a good frame underneath it.

Armrest
Armrest

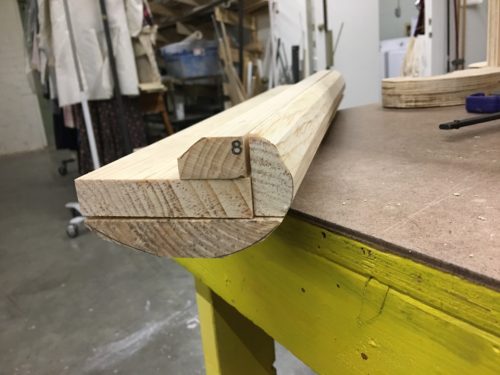
The armrests needed to be long pieces of solid wood shaped into a rolling curve. I traced the curve onto several smaller pieces of lumber, and cut away most of the waste with several passes through the table saw. After gluing the pieces together, I smoothed all the angles into curves using a belt sander.

Unpainted piece
Unpainted piece

I routed the edges of the front and back to give them a decorative profile. The armrests were screwed in, but I also ran a large through-dowel to help support them since actors were going to be resting there. I also doubled up the plywood on the legs and arms to make them appear thicker and to give more structure.

Backless couch from The Price

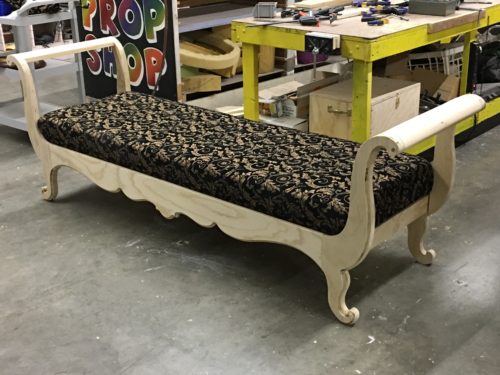
The inside panels of the arms were covered in fabric, while the outside panels were capped with a piece of wiggle wood. The whole thing was painted and covered in amber shellac. I found two rosettes in stock and added them to the center for that final decorative touch.

Magic Music Box

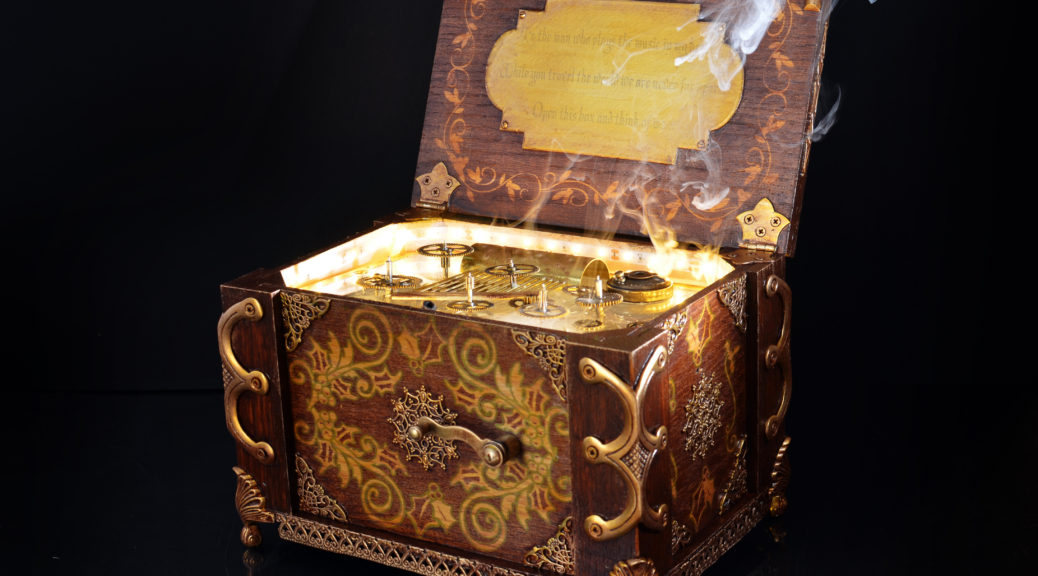
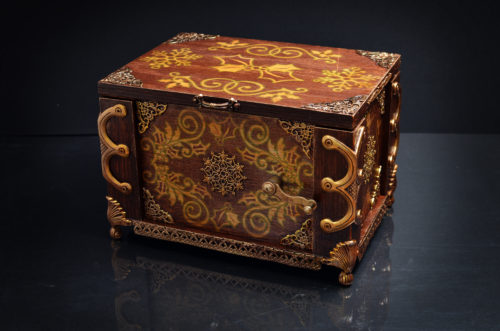
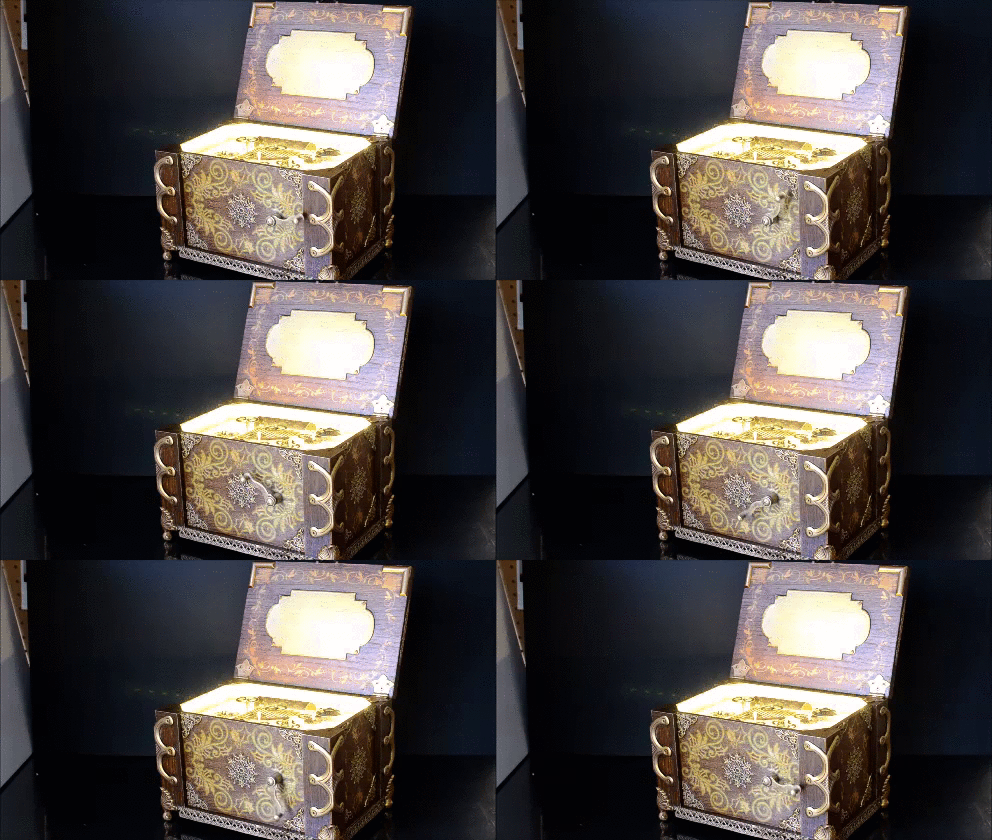
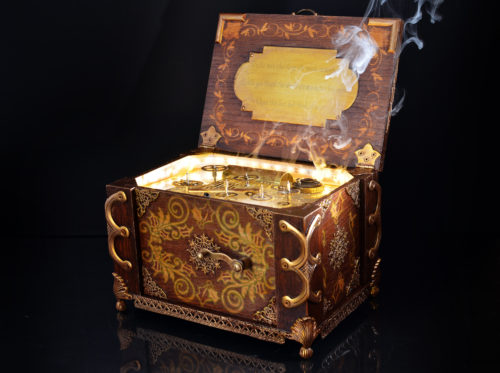
A few months ago I was contacted by Hershey Park about building a magical music box. They were doing a Christmas show and wanted an exquisite antique music box owned by Santa. It had wood inlay designs and brass details. The actors would dance with it, but they wanted it to be able to light up, emit fog, and have the winding handle turn on its own.

Exterior of box
Exterior of box

This was a tight turnaround; 34 days from initial contact to having the prop in their hands. Nearly half of that was just hashing out the design and working on the contract.

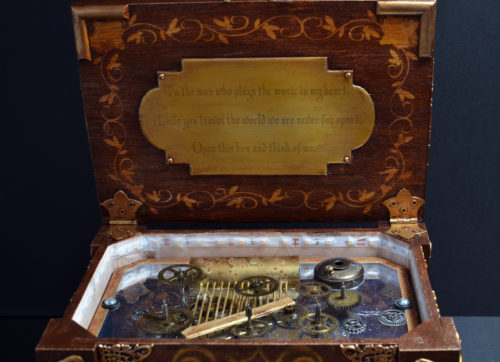
Interior of box
Interior of box

The inside of the lid had an inscription and some inlay work. The inside of the box itself had a music box mechanism and a variety of floating gears.

Spinning handle
Spinning handle

The handle could be turned by the actor, and it also spun magically. The inside of the box lit up as well.

Fog effect
Fog effect

Oh yeah, a puff of magic smoke also came out of the box. The lights, fog, and spinning handle could all be activated independently of each other, triggered by a wireless dimmer hidden inside.

I was really proud of how this turned out. These are the kinds of projects I love doing.

Irma Vep Chandelier

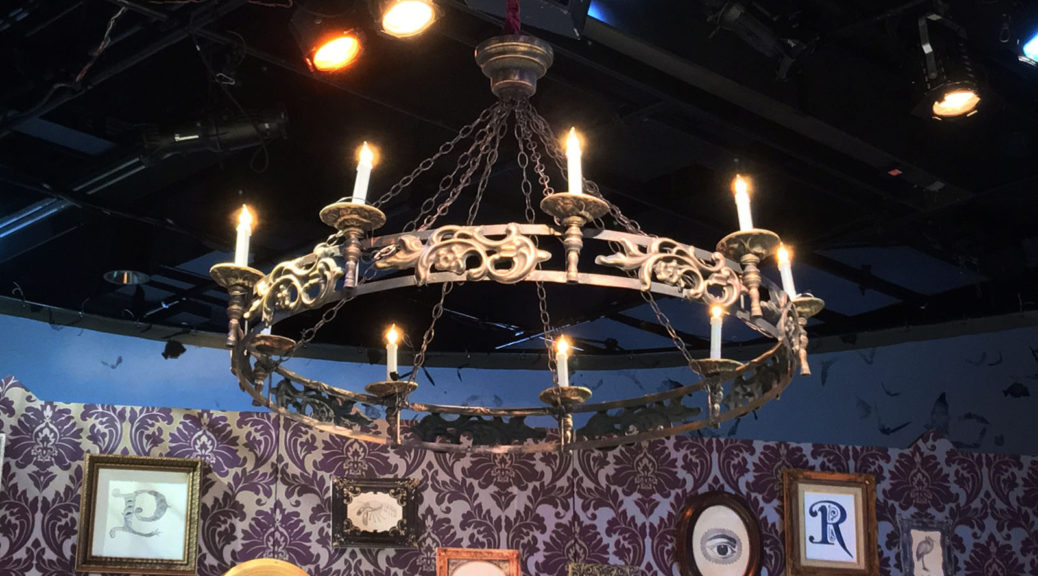
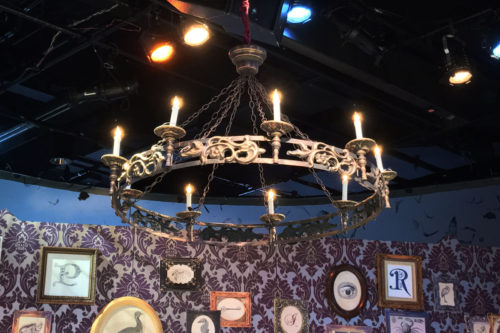
Triad Stage’s production of Irma Vep opened last Saturday. Anyone who has ever propped that show knows it has a ton of tricks and unique pieces. On top of all that, our production also had a massive Gothic ring chandelier. Our scenic designer, Robin Vest, drew a four-foot diameter chandelier with nine candles. I knew I would never be able to afford such a piece (even if I could find it), so it was off to the shop to construct it from scratch.

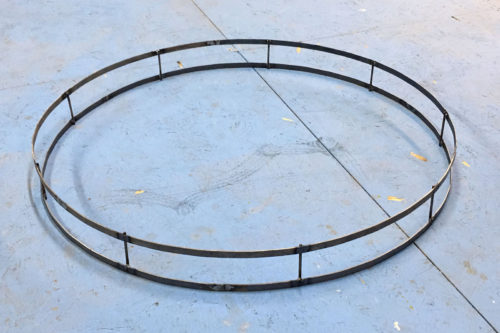
Steel frame
Steel frame

First up was the ring itself. I bent two bars of steel using my ring bender, and welded them into a single wheel connected by short rods of steel.

Vacuum forming bucks

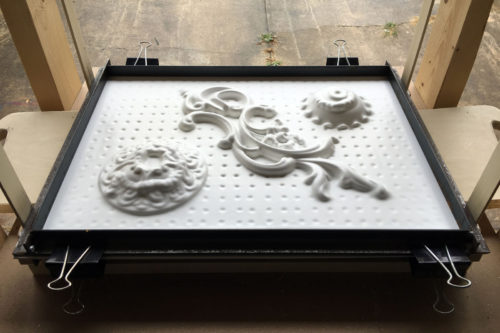
I needed some bobeches for under the candles and some scrollwork around the ring. I decided to fire up my new vacuum former for the first time and make all those pieces out of plastic. I already had some bobeches and a carved floral scroll-y piece that I was able to use as forms.

Formed plastic
Formed plastic

Each sheet of plastic fit one bobeche, one scroll piece, and one smaller bobeche for some sconces I was also altering. I pulled nine sheets, and then cut out all the pieces.

Wiring the lights
Wiring the lights

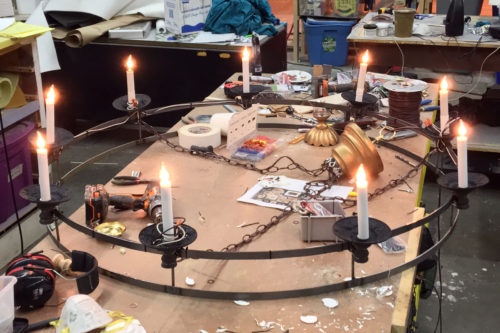
The candlestick holders were wooden pieces I picked up at the craft store. I attached them to the ring and then wired the whole thing together. The candelabra sockets had small tails of wire, so I wired three together, than ran some lamp cord up the chain to the center hanging piece. With nine candles, this meant I had three pieces of lamp cord running up the chains, and those three were wired together inside the center piece to another longer piece of lamp cord that the electricians could attach a plug to. The bulbs were 7 1/2 watts each, so the whole fixture was only 67.5 watts, which made lamp cord totally fine for this.

Painted pieces
Painted pieces

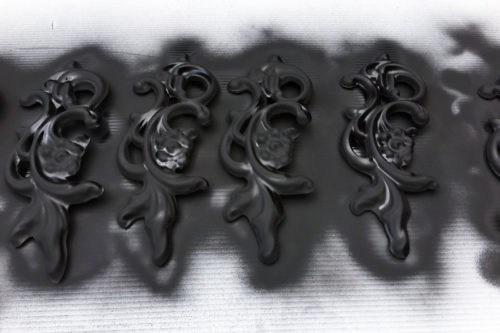
I spray painted all the plastic pieces before attaching them. Once everything was assembled, I drybrushed some bronze acrylic paint over the whole thing, and then it got some gold paint highlights.

Irma Vep chandelier
Irma Vep chandelier

It’s the spookiest, scariest chandelier ever!