First, I wanted to mention that I have redone and updated my online portfolio; it was in desperate need of an overhaul, especially now that I am freelancing again. I went with a free site at CarbonMade.com, because the thought of designing and coding yet another portfolio site was making me tired just thinking about it. I’ve seen some other prop makers who use that site to show their work, and so far, it seems to be working well. Let me know what you think!
Now then, let’s take a look at a bench I made back in 2006 at the Santa Fe Opera. I basically had to build the whole thing from scratch in less than a week, so it’s a bit rough.
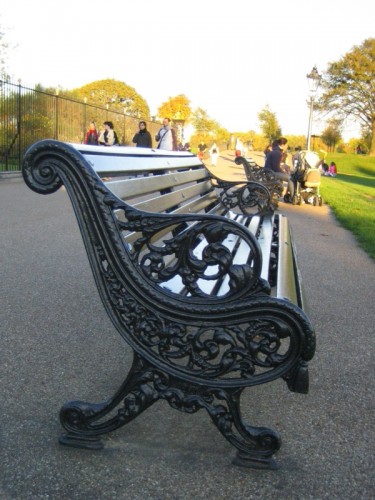
They wanted a cast iron park bench. The only real requirements were the size, so I had to find my own research image. I showed the above photograph to Randy Lutz, the prop master, and he agreed it was a good bench to duplicate.
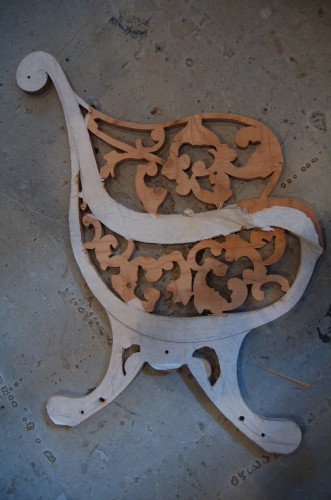
I drew a full-scale layout of the side on a piece of paper and spray-glued it to a sheet of plywood. You’ll notice the decorative parts do not match the photograph exactly. What I decided to do was pull some decorative resin castings and carved wood pieces from stock—the opera has quite a good collection of these. I then arranged them to match the research as closely as possible. I traced them and cut away the extra plywood. You’ll see in a bit when I start gluing them on, it’ll all make sense.
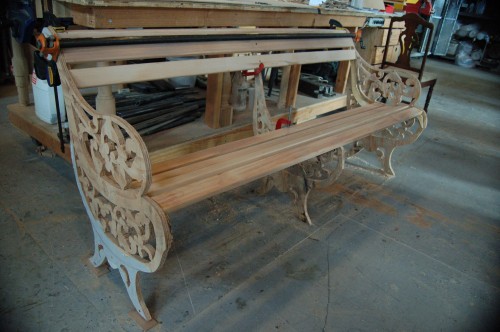
I cut out and added some support runners on the insides of the two ends and began to attach the slats which would make up the back and the seat. It needed some extra support, so I ran a rod along the bottom; you can see it in the next photograph.
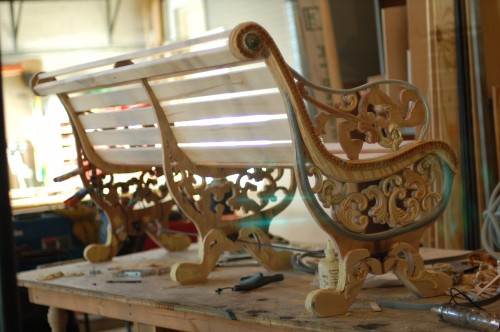
Now I began attaching the decorative resin bits. I also used some Ethafoam rod cut in half to make some curved half-round molding. I found a strip of upholstery fringe which added more texture.
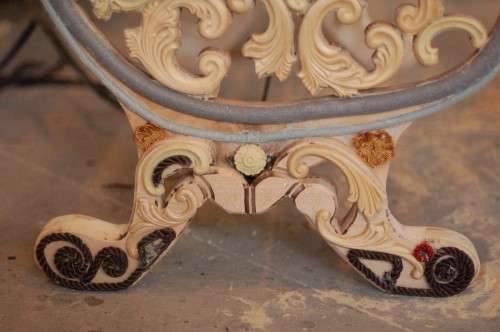
Here’s a closeup showing some of the resin bits and Ethafoam, as well as some rosettes and even bits of yarn. If you look really close, you can even make out a bit of hot glue design work; though it’s practically invisible here, once the paint goes on, it will add just that extra little bit of texture that will make the whole thing seem like a single piece of cast iron from the audience.
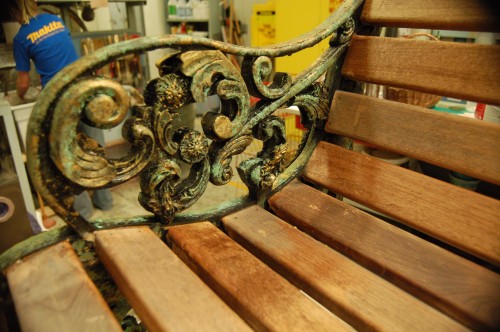
The paint job is what really helped marry all the different materials together and bring the whole thing to life. The painter of this bench worked as one of the other props carpenters for the beginning of the summer, so none of us knew how good he was at scenic art until he did this bench.
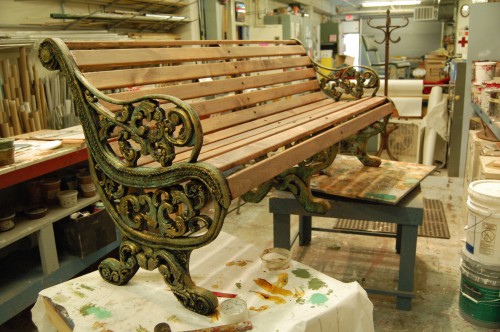
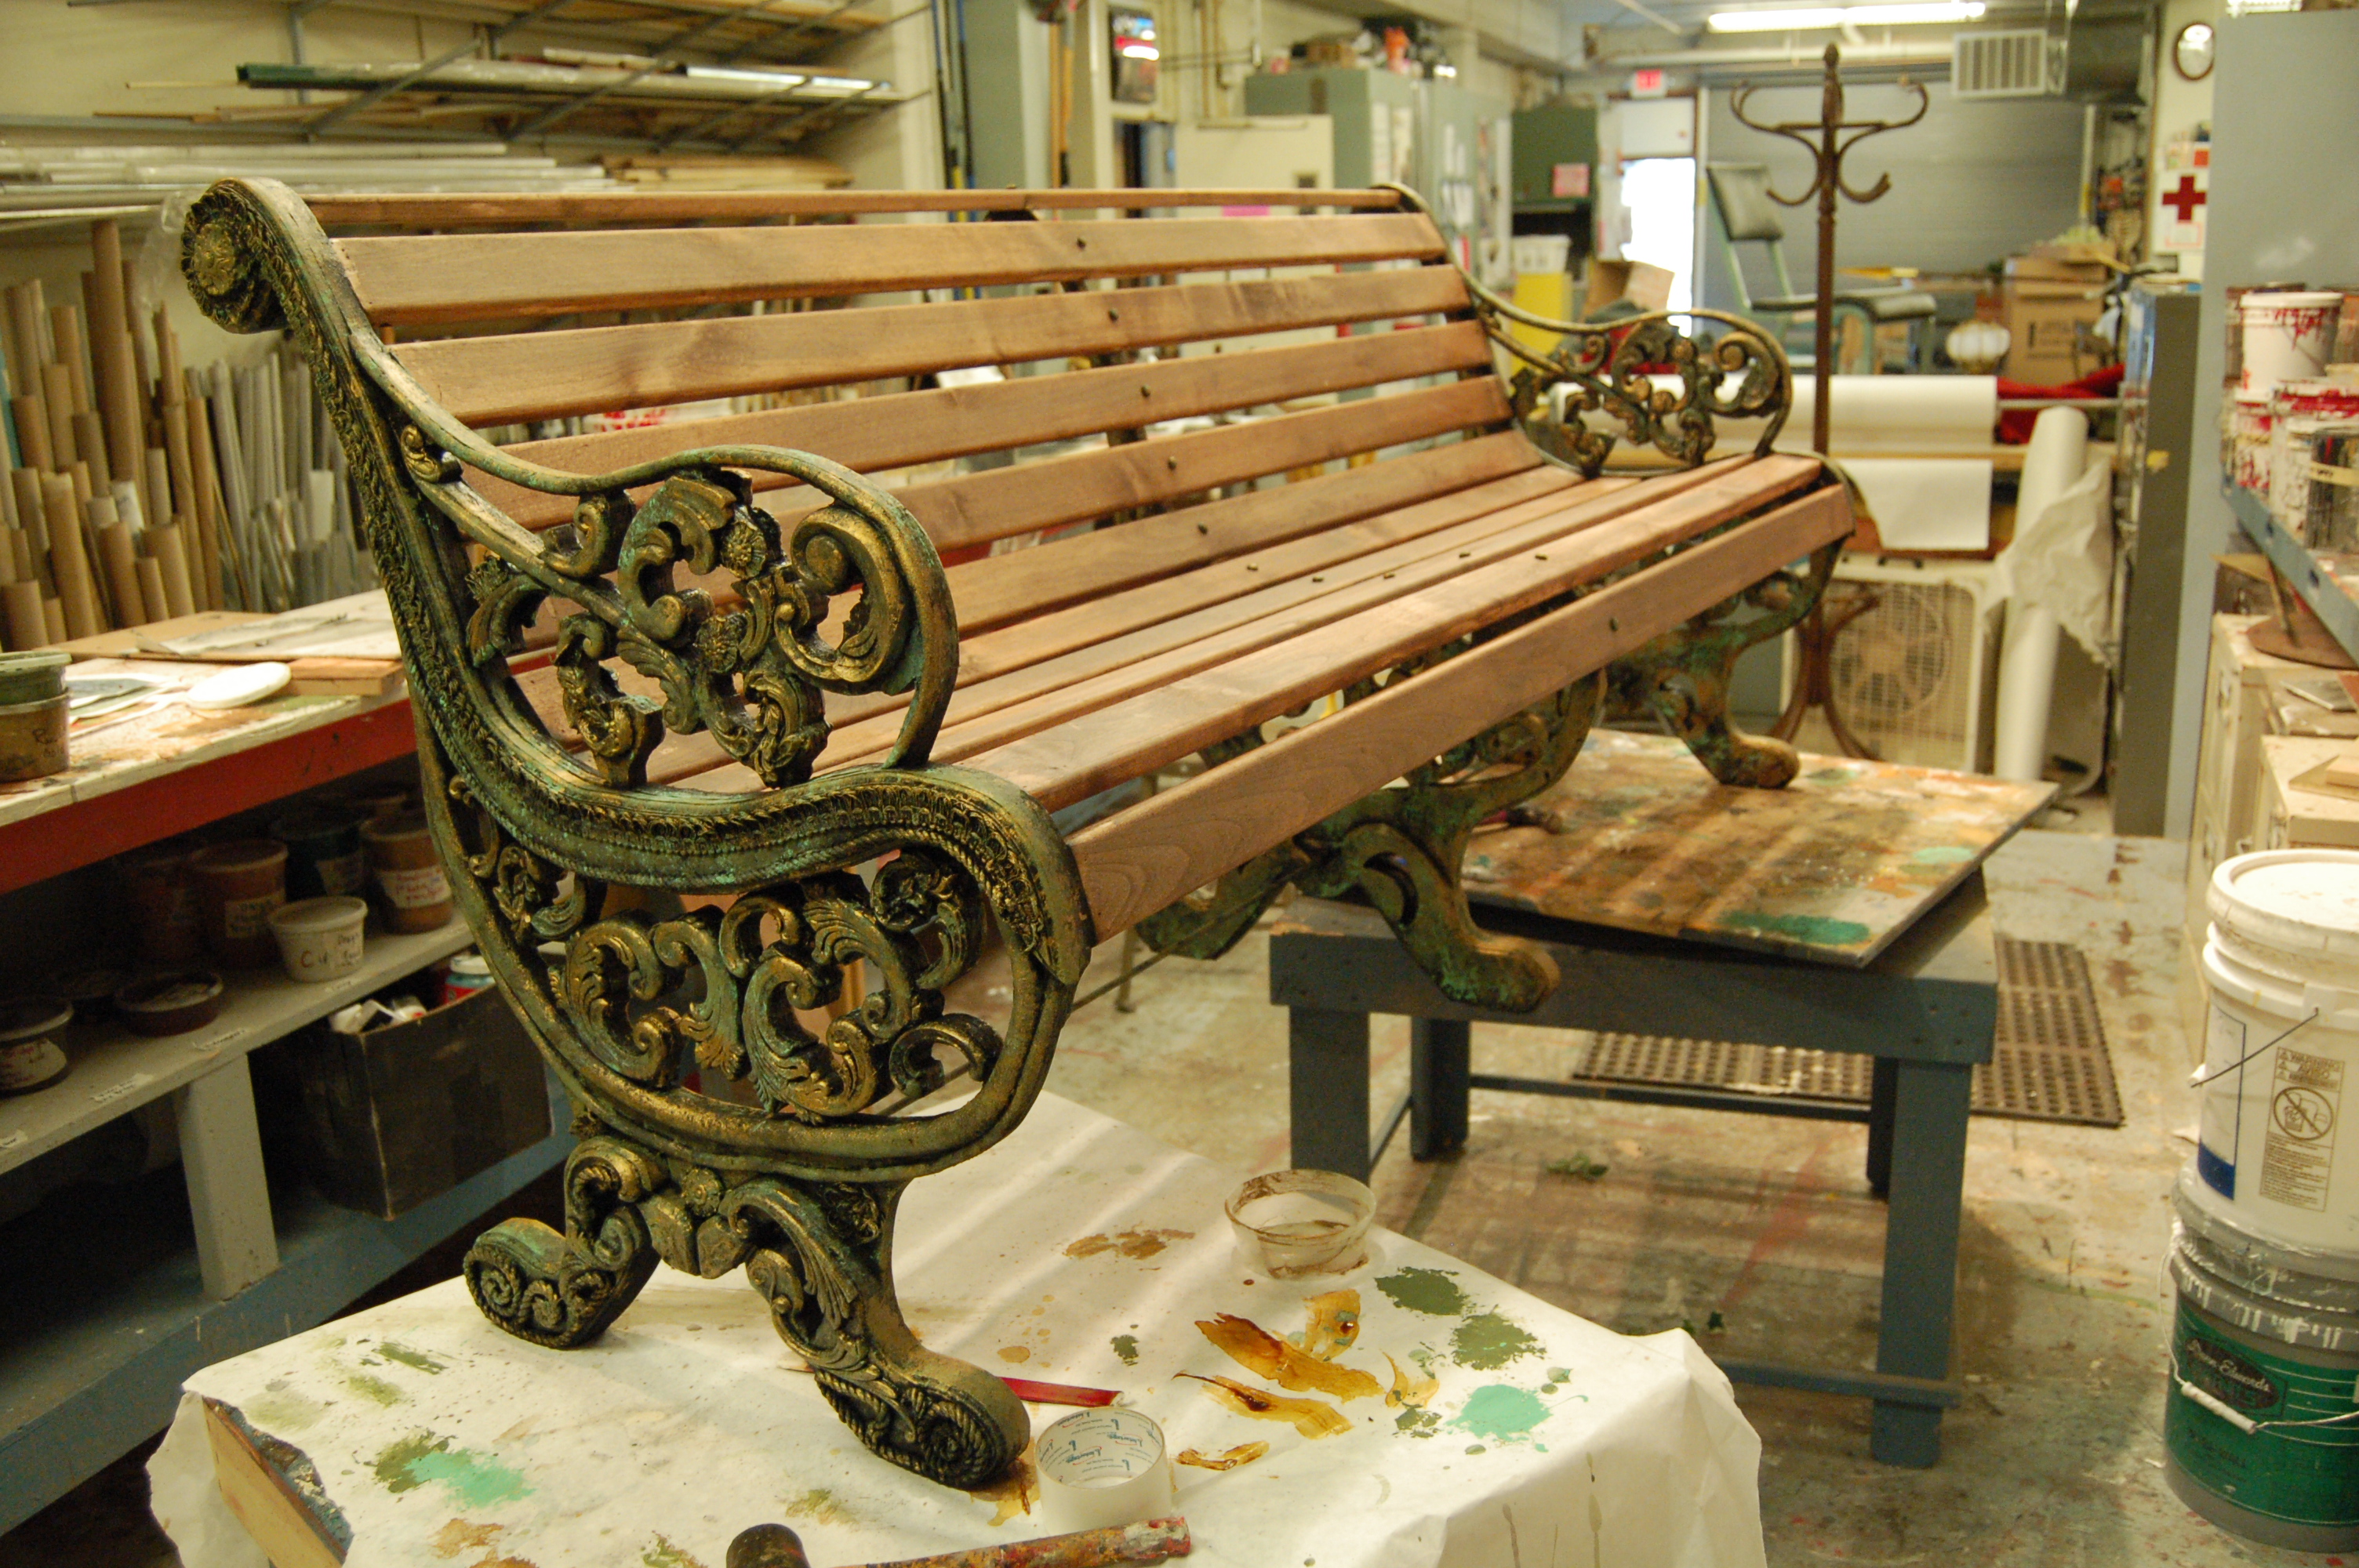
So here it is, ready to go on stage. I even added some round bolt heads running down the middle so it looked like the slats were bolted to the legs. Overall, it was a fun piece for the short time frame I had to build it in.



wow i am amazed at how many thing you need to know how to do to build props. its like 20 jobs in one
was that fabric that you used for the detailing on the side?
im only 15 but this is what i want to to for a living, any tip on how to lean to do so many things?
Take shop classes if your high school offers them. See if there are any local artists or craftsmen in your area who teach classes or will let you shadow them. Prop making encompasses a lot of skills, like sculpting, carpentry, metal-work, sewing, upholstery, etc., and no prop maker is good at all of them, especially in the beginning, so figure out what kinds of props you want to build, and focus on learning those skills first. You may also find classes at local art or material supply stores, or if there is a company that makes art supplies in your area, they often have classes (sometimes for free) teaching how to use their products.
Practice building your own props at home. Start with cheap and safe materials which are easy to use, like cardboard, clay, papier-mache, balsa wood, fabric, etc. You can find tutorials all over the internet. I would suggest my own book on prop-making, but that won’t be published for another year.
It is vital to take photographs of all the props you build (I wrote a bit about that here). You can’t really get work without them, especially for your first few jobs where you have only built props at home and don’t have any job experience. Every job you do gives you more photographs to put in your portfolio, which will lead to bigger and more exciting jobs.