Welcome to the thrilling conclusion of this fake dead lamb I’ve built. If you haven’t already, please read part one and part two so you can catch up and see what has happened before.
When last we left our lamb, I had given it a “meat pocket” to experiment filling with fake meat that the actors could eat on stage. The prop master (Matt Hodges) and the chef figured out what they wanted, so I had the go-ahead to carve out the rest of the pockets. The main one was going to be the ribcage: Matt had some fake rib bones that would be covered with meat. The actors would rib nearly the entire rib cage out and break it apart one by one.
As I mentioned in the last post, the silicone rubber peels right away from the foam body.
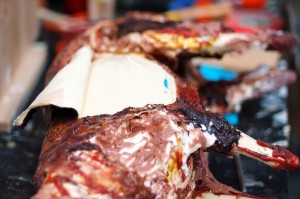
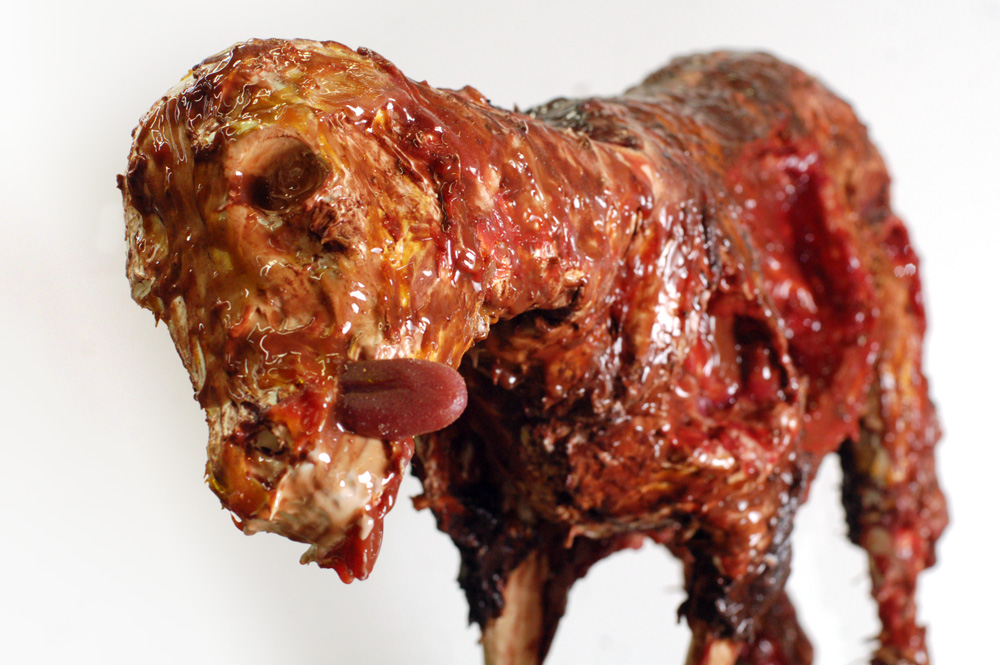
I carved away a lot of the foam, even making a hole through the body. The idea was to make the lamb appear like it would at the end of a meal; the fake meat would fill it in. I also wanted to put some contrast in the color, as the outside would have crispy, seasoned skin while the inside would be just fat and muscle.
The lamb needed a tongue. I decided I would carve one, mold it, and cast it directly out of Dragon Skin.
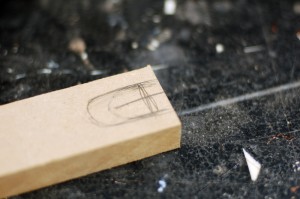
I cut it out of a scrap piece of MDF and carved it down as quickly as I could. I tried to add some taste buds and texture too by hitting it with pointy things. I took a piece of Kleen Klay, shoved the tongue inside and pulled it out. The Kleen Klay liked that. A lot of oil-based clays contain sulfur, which keeps silicone rubber from curing, which is not conducive to casting pieces in it. Kleen Klay is one of the types that is sulfur-free.
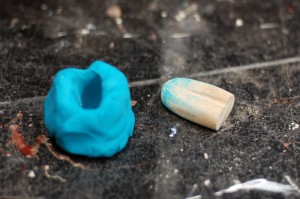
I don’t think you’ll find this method in Thurston James’ book on molding and casting, but it served my purposes fine; namely, I had poured a batch of silicone rubber within twenty minutes of starting the whole process.
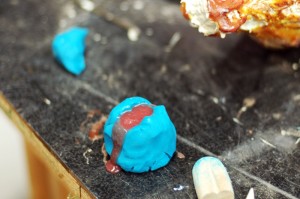
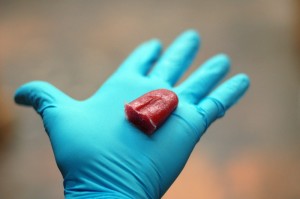
After a little over 75 minutes, I broke the clay mold open and removed the tongue. None of the clay stuck to it, but I could tell it was still a bit tacky on the outside. Not to worry; the instruction booklet says that might happen occasionally. The solution is to let it sit out and cure in the air for a few minutes. If it remains tacky after a long enough time, you have to remove that layer; in this case, I was lucky and the rubber cured fully on its own. And I got some tongue!
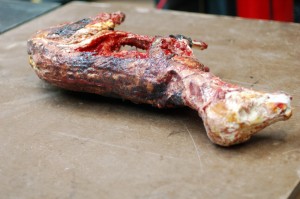
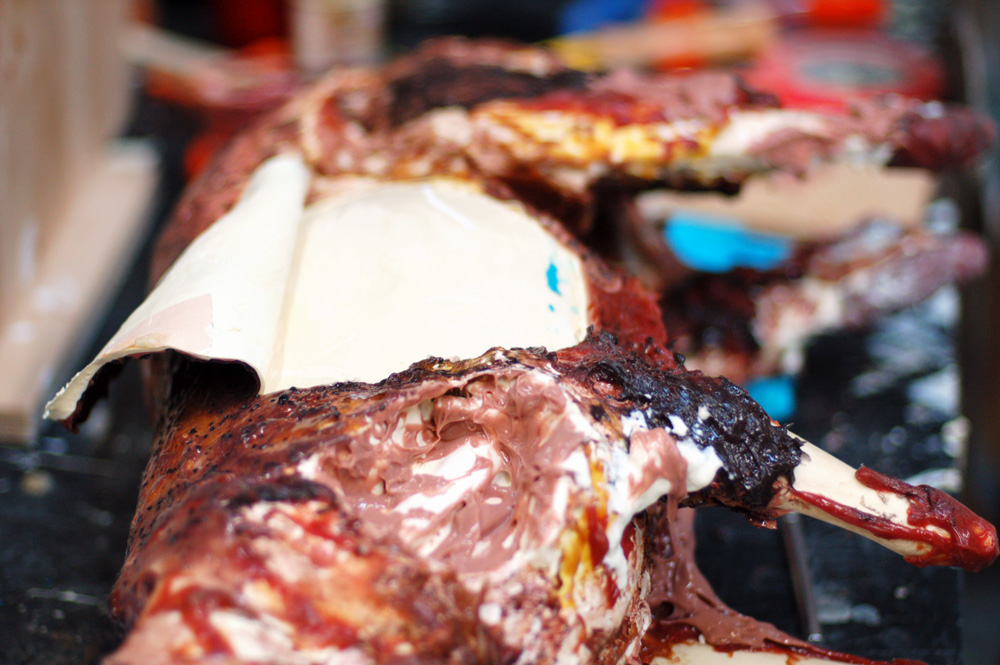
That’s pretty much the end of the process. I added more thin coats to color and tint the lamb until it matched the research. There was one more meat pocket in the back leg; I carved it to look like it was eaten to the bone.
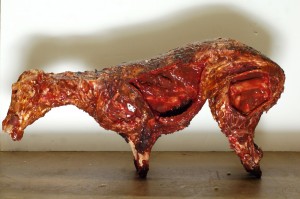
You can see it more clearly in the closeup below.
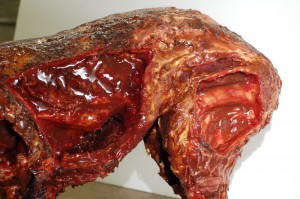
So there you have it: an easy-to-clean fake dead lamb with the ability to fill it with fake food for actors to eat on stage. As I mentioned earlier, now I know how to improve on my process for the next time I need to make a fake dead lamb.



wow! this sheep looks…. delicious!