I was recently contacted about making a dead cooked lamb for The Little Foxes at New York Theatre Workshop. This was an interesting prop. The creative team made a film in which they slaughtered a lamb, cleaned and prepared it, and then roasted it on a spit. They played this video during the performance, and then the actors carried out a tray with what was supposed to be the same lamb. They then tear into it with their bare hands and eat parts of it. Obviously, they couldn’t use the same lamb as in the video, as it would only last one performance. Another curve ball was that some of the actors were vegetarian.
Thus, the idea was to construct a fake lamb which matched the appearance of the lamb in the video. This lamb would have “pockets” which could hold some kind of fake meat. Matt Hodges, the prop master, brought in a vegan chef to deal with the execution of a faux meat product. The whole thing would also need to be easy to clean, otherwise there would be serious hygiene and safety problems after a few performances.
I first mentioned Dragon Skin over a year ago on this blog, and used it extensively to build the body for our production of The Bacchae. You can reread part one and part two and see the various heads we had to make. If you are more interested in what it is or how to work with it, check those articles out. I decided on Dragon Skin for two reasons: first, I knew I could achieve the right look with it. Second, nothing really sticks to silicone rubber except silicone rubber, so it could be hosed down with water or washed in the sink with soap without worrying about it falling apart or dissolving. Finally, it is pretty fast to work with, and since I ended up with little over a week to turn this guy around, I couldn’t afford to work with something that took all day to dry.
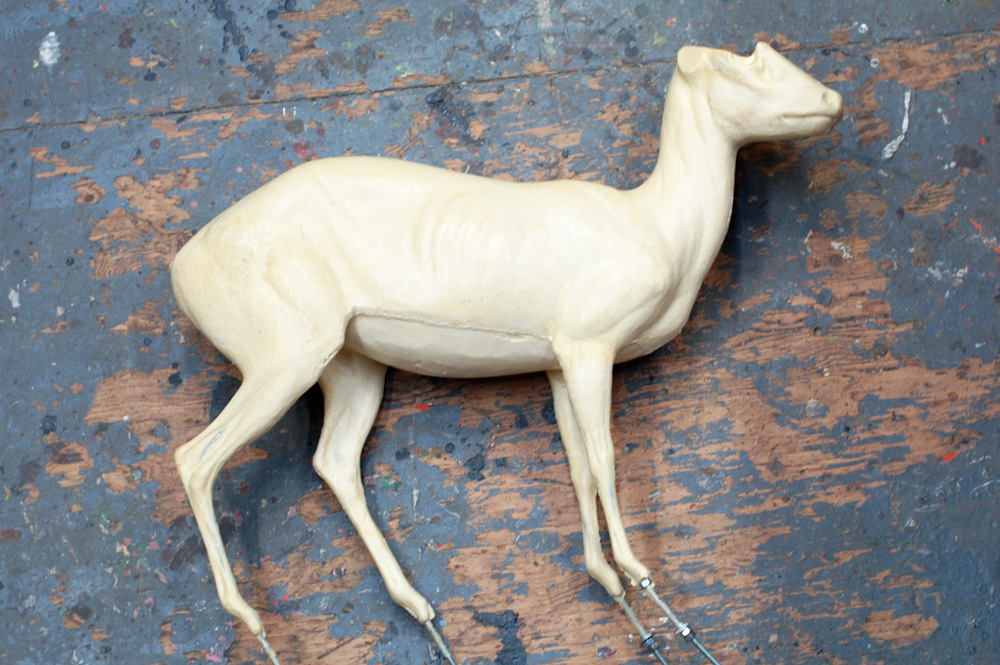
To save time, we started with a taxidermy form. Matt Hodges had measurements and photographs of the kind of lamb they would use, and found a small deer form from Van Dykes which was the closest facsimile. Also, I hope I don’t need to mention that I had a lot of reference photographs to work from, which is integral to this kind of project.
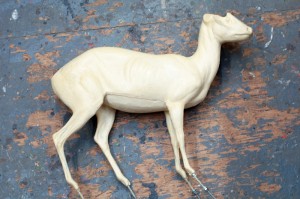
The first step was cutting it apart and reassembling it. First, it was not in the correct pose. Second, it would look ridiculous to have a stiff lamb on stage, especially with the actors tearing at it. It needed some movement, so I had to make the joints loose.
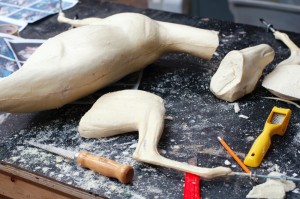
The neck was where the most movement was possible. I got rid of the entire foam piece, and replaced it with several pieces of thick rope. I also added some slices of PVC pipe to bulk it up and act as vertebrae.
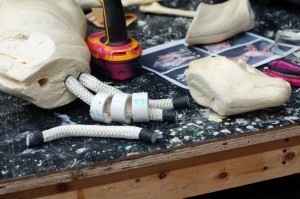
I wired the whole thing together when I was happy with it. I spent some time tweaking the lengths of the different rope pieces and the placement of the vertebrae until it had the kind of movement that looked realistic to me.
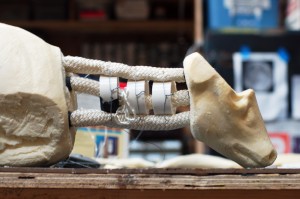
I decided I would wrap the whole neck with muslin dipped in Rosco FlexBond.  When you mix Dragon Skin, it’s fairly viscous and runny; you can add thickener to it to make it thick enough to brush on and stay on vertical surfaces. Either way, you need a surface for it to stick to. I suppose the “correct” way to construct a prop like this is to make a mold of the body, and suspend the armature inside, then cast the whole thing with Dragon Skin. It’s how they construct animatronic creatures. That way would be far to time and money intensive, though. In retrospect, I could have slipped pantyhose over the neck to achieve the same thing. Ah well, I’ll keep that in mind for the next dead lamb I make.
The legs were also reattached with strips of muslin dipped in FlexBond. I realized the FlexBond took far too long to dry, so when it came time to attach the front legs, I just used Gaffers tape. Really, I only needed to hold them in place until the whole piece could be coated in Dragon Skin.
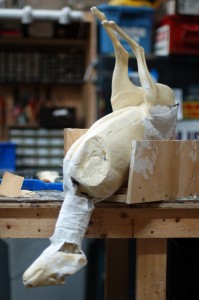
At this point I decided I would cover the whole lamb in sort of a “base coat” of Dragon Skin, and then brush on the various colors and lumps of flesh. As I mentioned above, silicone rubber only sticks to more silicone rubber, so you can peel it away from the foam which the lamb is made out of. The only way to keep that from happening is to cover the whole thing so it’s one continuous “shell”. I figured I would pour the first coat on rather than brushing it, so it could flow into every crack and crevice. I put up a “dam” with aluminum foil to keep it from running down the sides.
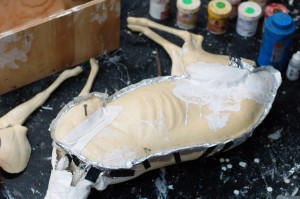
I made the base coat a very opaque off-white to match the foam. This would help give it a uniform color as well. In retrospect, I may reconsider these first few steps. It took a lot of Dragon Skin to cover up all the white Dragon Skin from the first coat. On the other hand, it’s always better to work from light to dark when building something up with many translucent layers. Again, maybe I can try something different when I build my next fake cooked lamb.
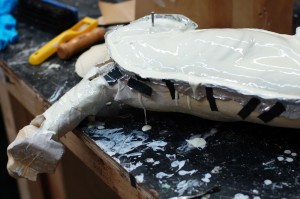
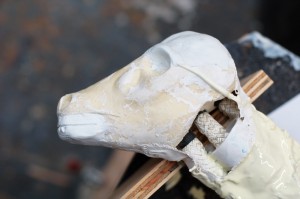
You may have noticed in the first picture that the animal’s head isn’t quite right; it has a section cut out with a wood plate hidden inside. It’s where you are supposed to mount the antlers of the deer you are trying to recreate. I needed to fill that area in. I decided to try a product called Magic-Sculpt. I’ve always liked doing quick modeling with epoxy putty. It’s easy to work with, it adheres to many things, and when it sets, it’s rock hard. Magic-Sculpt is essentially epoxy putty formulated specifically for modeling. It doesn’t shrink or crack, and with a little bit of water, you can smooth it to a slick surface while you’re manipulating it. You can also buy large quantities of it for far cheaper than you can buy the same quantities of epoxy putty from the hardware store. Their website says you can work with it sans gloves; that is absurd. Epoxies are skin sensitizers, and with enough exposure, you can develop severe allergies. Wear nitrile gloves when working with it.
I shaped a chunk of it to fill out the top of the skull. I also added some in the mouth to sculpt out some teeth.
For now, let’s let this little guy dry before moving on. Continue on to the second part of this build.

