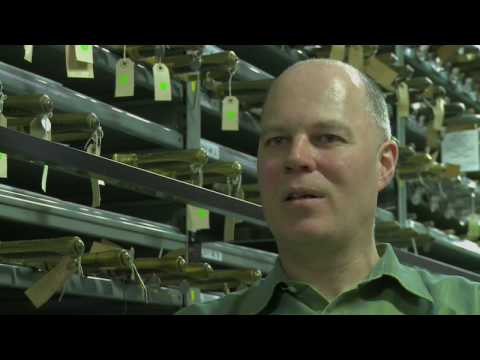
Peter Lyon is a swordsmith for Weta Workshop in New Zealand. He has made swords for both The Lord of the Rings and The Chronicles of Narnia. Check out this video where he visits the Royal Armouries in Britain to check out the real swords that his fantasy creations are based off of.
Category Archives: Resources
Online and offline resources to help you in all aspects of propping a show.
Homemade Coatings
I found a couple of recipes for a coating in some old props forums (circa 2002). They refer to the coating as “homemade Sculpt-or-Coat”, though it is very similar to recipes for scenic dope and monster mud. I have not tried any of these recipes, but I am posting them here for my own future reference and for yours.
This coating is useful for coating foam, to “paper mache” burlap, cheesecloth or muslin to wood and steel, or for use as a general texture. For texturing, you can mix in sawdust, sand, vermiculite, etc., for various results.
For a 5 gallon recipe:
- Fill 2/3 of a 5 gallon bucket with a 50/50 mix of acrylic caulk and joint compound.
- Add 1/2 to 3/4 gallon white latex paint.
- Add 1/2 gal. Rhoplex.
- Mix well with a drill and paddle mixer.
- Add about 1/3 gal. of white glue. Mix thoroughly.
You can tint it using latex or acrylic paint, or universal colorant. You can thin it with more white paint or Rhoplex. You have about 20-30 minutes of working time, and it dries fully in 12-24 hours. It should not go on thicker than 1/4″ or it will be prone to cracking. You can alter the recipe to suit your needs; adding more joint compound gives a harder and more rigid finish, while more acrylic caulk gives a more flexible finish.
Rhoplex is an acrylic binder made by Dow Chemical Company. It can be tricky to find, particularly in bulk. There are many other acrylic binders you can find at hardware and paint stores, though I am not sure whether these will also work. Other posters in the thread say they use PVA in lieu of Rhoplex (the PVA paint binder, not PVA glue or PVA mold release).
In another thread, Wulf points out that Rhoplex is pricey and hard to find, and that it may be easier and cheaper just to buy Sculpt-or-Coat for small batches. His own recipe involves PVA white glue, powdered clay and latex paint. Simply combine equal parts, stir very thoroughly and allow it to stand for about a day for the clay to absorb.
Stan Winston School Videos
The Stan Winston School offers classes out in California for a number of crafts. Stan Winston Studios is, of course, famous for many of its movie creatures and animatronics, such as the Terminators, the dinosaurs in Jurassic Park, the aliens from Alien, and many more. The classes they offer fit their specialties, such as sculpting, creature design, large-scale puppetry, painting and so on.
For those who can’t afford to head out to California and attend monster-making school, they have hours and hours of videos on their website. They offer a number of options for viewing the videos; everything from subscribing for a year of unlimited video watching ($300) to buying a DVD of a single lesson ($40). Previews of all the lessons are available for free viewing so you can check them all out. Below is a pretty fun one of foam fabrication, where Ted Haines constructs a Tyrannosaurus out of upholstery foam.
It seems like a great option to augment your skills since these kinds of classes usually aren’t offered at the local Learning Annex.
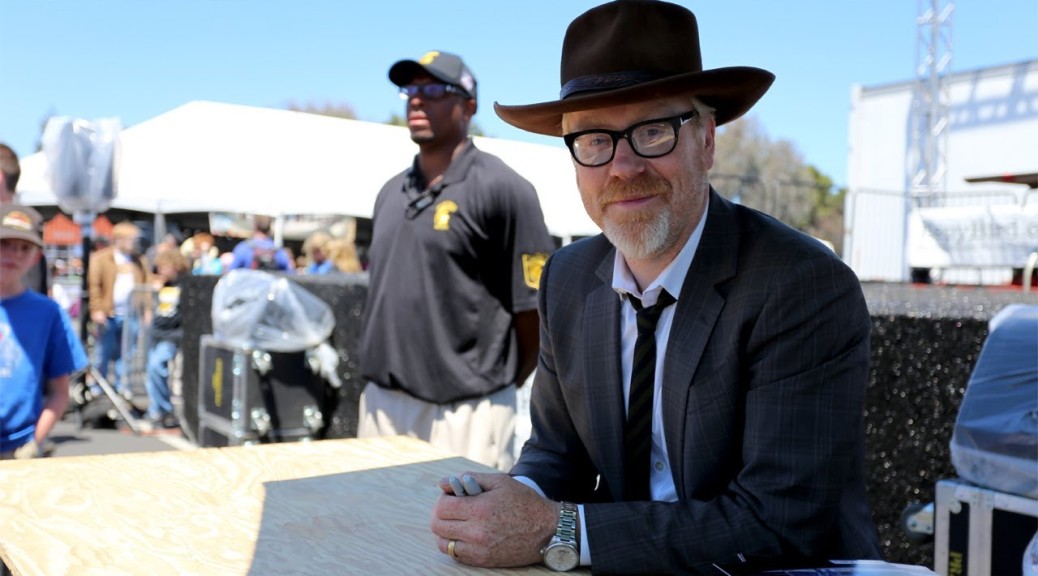
Adam Savage, Maker Faire 2013
Every year at the San Mateo Maker Faire, Adam Savage, from MythBusters, delivers a speech to a massive crowd. This year, his speech was called “Work Hard and Work Smart”. It is almost like a commencement speech, so I thought it would be great for all the graduating students who will be entering the professional world in a few weeks or even days. He gives a lot of practical advice as well, and all of his examples are from the world of special effects and props, so his workplace stories will sound familiar to all of my readers.
The speech itself is about 12 and half minutes long. He takes questions at the end which lead to further interestingness, so if you want to see that, you can view the much longer video here.
Read my book online now!
Okay, you can’t read my whole book online. But I do have two whole chapters you can check out on The Prop Building Guidebook’s companion website.
What are these chapters, you may ask? Well, as you can imagine, prop making covers a vast amount of information, and choosing what to put in and what to leave out was one of my biggest challenges. We could have made the book longer, but that would have pushed the price up, which we didn’t want to do. We could have made the pictures smaller, but that would not be good either. In the end, we decided to take the last two chapters and put them up on the website for free. This way, the book can remain affordable, the pictures can remain a decent size, and you get a sneak peek at some of the book. These chapters have been edited and proofed just like everything else in the book, they just appear online rather than in print.
The two chapters are called “Formal Training” and “Maintaining a Portfolio”. The first digs through the tricky question of what kind of training or schooling you may wish to pursue to become a better prop maker. Vocational classes, colleges and universities, graduate schools and more are talked about here. I also look at the various types of jobs and work one can get. I present information useful whether you wish to be a prop maker for film, television, theatre or any of the related industries, and whether you wish to pursue a full-time job or work as a freelancer on different gigs. It can be a tricky field to navigate, so I try to present as much information as I’ve gleaned along the way.
The second chapter gives an introduction on creating and maintaining a portfolio of all the work you do. I discuss both online sites and paper portfolios; though paper portfolios have become far less prevalent these days, I’ve still used them in the last couple of years, both in applying for work and in hiring people. This chapter also discusses photography and how to take better pictures of your work. A bad picture of a good prop can make it look like a bad prop.
So check out the bonus chapters of The Prop Building Guidebook when you can. And don’t forget to pre-order your copy if you haven’t already!


