Category Archives: How-to

Guides to building props or using certain techniques and materials

Making an LED Lighter

Our upcoming production of Capeman wanted a lighter for one of the characters to light a joint. Rather than apply for a live flame permit and fireproof all the costumes, we thought we try to fit an LED into a lighter first. This is my first attempt, so it’s fairly simple, but I learned a lot doing it.
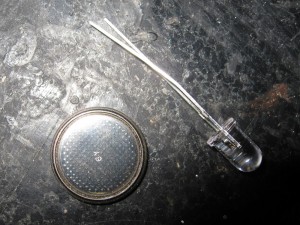
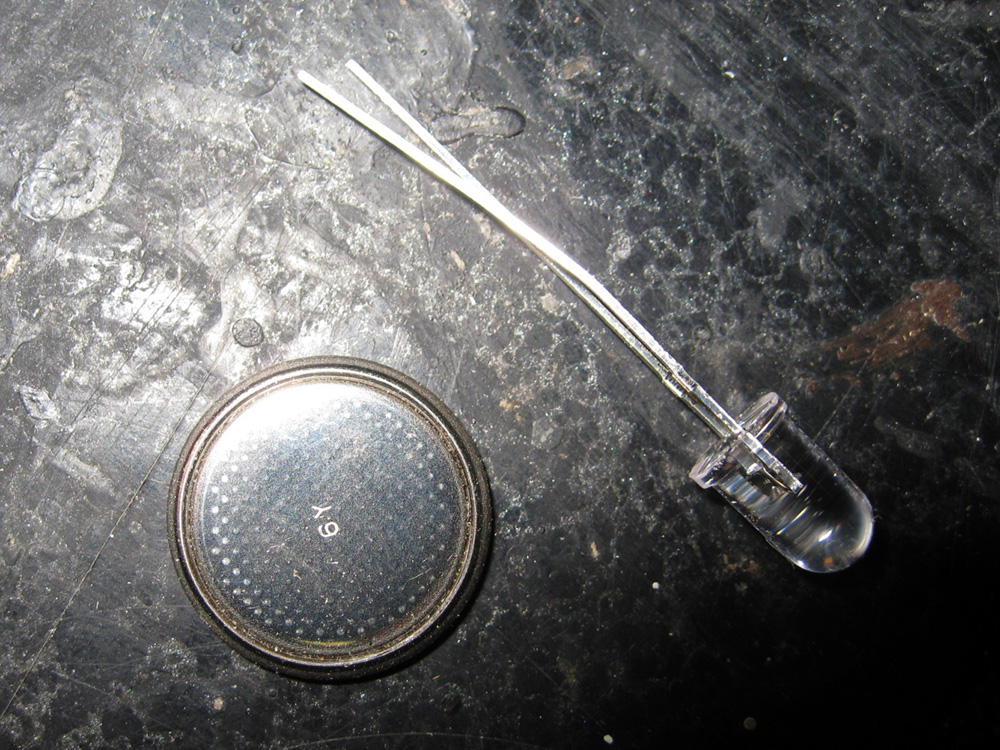
LED and battery
LED and battery

Wiring a single LED is pretty easy; the LEDs we had in the shop required 3 volts of power, so connecting a 3-volt watch battery to it is all it takes to make it light up. You’ll notice one of the wires coming off the LED is longer than the other; on most LEDs, this is the positive side; your LED won’t light up unless you hook the positive wire to the positive side of the battery and vice versa. I used an orange LED to make a color that looked like awesome flames.
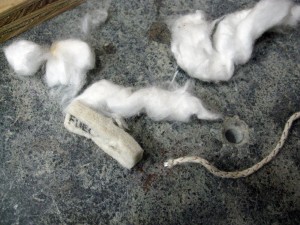
Lighter Innards
Lighter Innards

I used a Zippo-style lighter. First I gutted the inside and took out all the wadding, wick and flint. If you’re familiar with the Zippo-style lighter, you know you can pull the inside part out of the case. I cut the side away on the inner part so I could access the inside easier; when finished, I could put it back into the outer case and conceal the battery and all the wires.
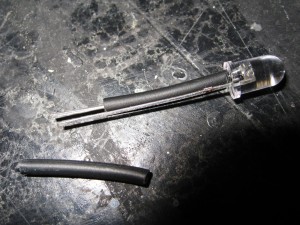
Insulating the LED
Insulating the LED

As I worked on this, I realized one problem; the lighter case was made entirely of metal, and if any of the bare wires made contact, it would keep the light from working. I cut some insulated wire, removed the metal wire from inside, and slid the rubber sleeves onto the wires of the LED. From then on, everything was working properly.
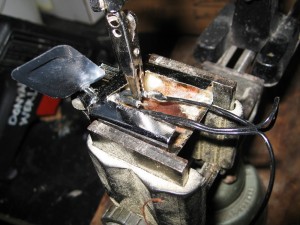
Attaching the wires
Attaching the wires

I wired up a switch I found in our box of electronic parts. It was like a pad that would turn the LED on when you squeezed it, and turned it off when you let go.
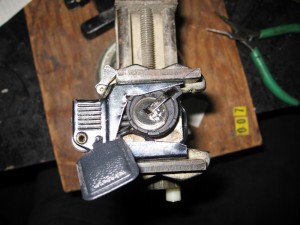
Inside the fully-assembled lighter

You’ll notice the switch is on the outside; if held correctly, you can conceal this from the audience. Also, the switch is not connected to the lighter wheel. When lighting it, the actor would need to mime the action of triggering the lighter and time it with pushing the button. As I said in the beginning, this was my first attempt, and it taught me a lot about what I can improve in a future attempt. As is though, it solves the problem in an adequate way. Perfect is good, but done is better.
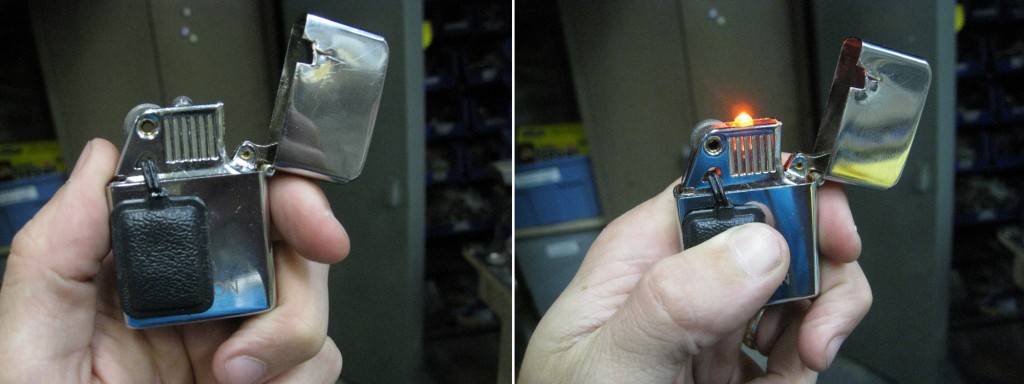
LED lighter
LED lighter

How to Gold Leaf

Gold leafing is one of the easiest and most common ways to give a prop a gilt look, or even to make it appear like a solid piece of gold. Real gold leaf is actual gold hammered into a sheet as thin as a piece of tissue. For theatrical purposes, we nearly always use metal leaf which replicates the look of gold. There exist more complicated and elegant ways to gild an object, but the quick and easy way I’m going to show you involves applying the leaf directly to an object which has been coated in gold size.

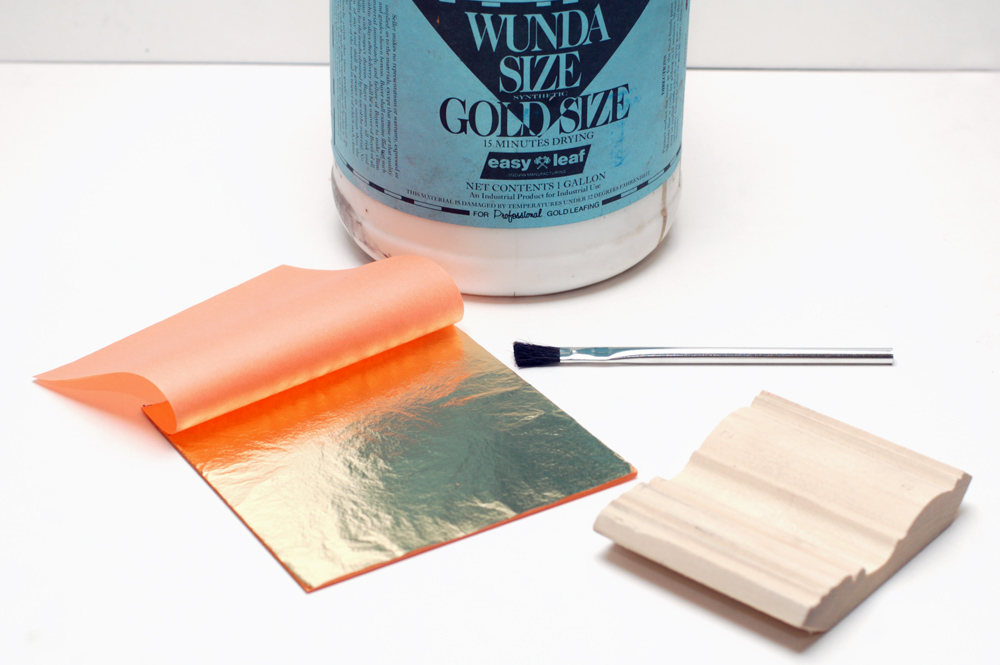
The materials you will need are the gold leaf, gold size, a brush for applying the size, another brush that will remain dry, and your object. The most common sizing I’ve seen in theatres is Wunda Size, which is one of the few water-based sizes, meaning easier clean-up and less fumes when wet. (You can read an interesting treatise on gold size if you’re interested in learning more.)

Supplies for gold leafing

You need to prepare the surface you are leafing. The leaf does not hide or fill imperfections; If you wait until after you’ve put the leaf on to sand the surface, you will simply sand the gold leaf off.

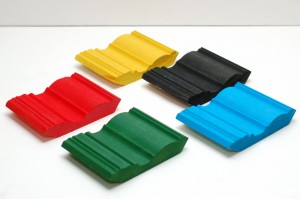
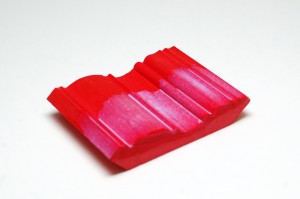
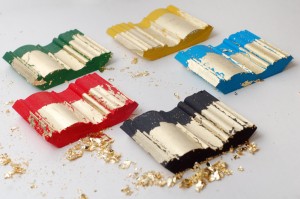
The color underneath the gold leaf is called the “bole” color. Traditionally, terra-cotta clay or red paint is painted underneath to give a warm feel to the gold. A yellow or golden bole gives an even, neutral look, and helps cover up any cracks or uncovered spots. These are the two most common boles you will find for theatrical purposes. A black bole gives a very cold look, and is good for imitating Art Deco pieces. Other boles you can experiment with are various greens or even blues.

Pieces with different boles painted on

Once your bole is applied and dried, you brush on your sizing. You want to make sure you work it into every crack and crevice. You must wait for it to dry completely before you begin with the gold leaf. This can take anywhere from ten to twenty minutes depending on how much you put on, as well as the temperature and humidity. Technically it’s not “drying”, it’s becoming tacky. Size can remain tacky for hours, even days, before it dries, which is one of the properties that makes it desirable for gold leafing.

Applying the sizing
Applying the sizing

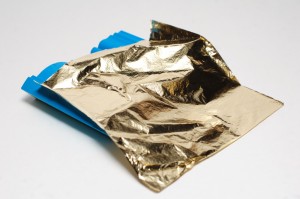
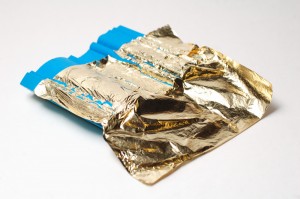
Now that the sizing is no longer wet, you can carefully take a sheet of gold leaf. Start smoothing it onto the surface with your fingers, and finish up with a clean and dry paintbrush to work it completely onto the surface. As you get overlapping and overhanging pieces, you can remove them by brushing really hard with the brush. At this point, it’s almost as if you’re burnishing the gold with your paintbrush; you want to rub it until there are no more gold flakes sloughing off of the piece.

Laying the leaf on
Laying the leaf on...
Working it in
... working it in...
Brushing it smooth
... and brushing it smooth.

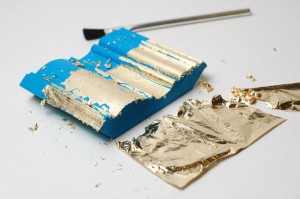
I realize it may look like I misplaced the leaf, but I left the end bare to illustrate the differences in the boles as seen in the following photograph.

Examples of gold leafing on top of various boles

It is difficult  in a static photograph to make out the differences which the various boles give you. What makes gold leaf interesting is how the various surfaces catch and reflect light, and how that changes as either the object or the observer moves. The bole color you decide to use is dependent on the colors and tones of the set and costume, as well as the type of stage lighting used. Don’t lose too much sleep over it; the majority of items gold-leafed for theatre are either red or yellow depending on how much warmth or age you want to give the object.

You will notice gaps and cracks in your gold leaf where pieces failed to stick. You can take smaller flakes and apply them to these spots, again using your bristle brush to rub the leaf onto the surface. If you find particularly stubborn areas where the gold leaf won’t stick, it means you need more size. Go back and touch up the uncovered areas with a second coat. Once it has dried again in ten to twenty minutes, you may return for round two of applying the gold leaf.

Blood Sponge Bag

I touched briefly on the idea of blood sponges in a short video from last summer; we were preparing to use them for The Bacchae, but the scene was re-blocked in a way that negated their necessity. A “blood sponge bag” is an extension of that idea. This effect allows you to produce blood on cue with an easily-hidden apparatus.

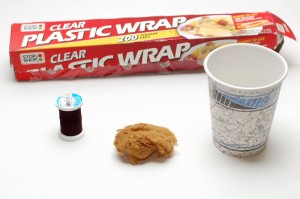
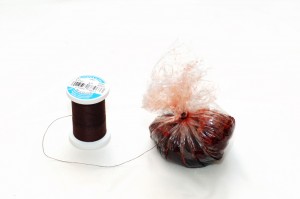
Supplies I used
Supplies I used

You need some cling wrap (aka “clear plastic wrap” or “Saran wrap”), thread, blood, and a sponge. Don’t be fooled by the preceding photograph; even though I’m using a fancy natural sponge, cutting a chunk off a regular kitchen sponge will serve you just as well.

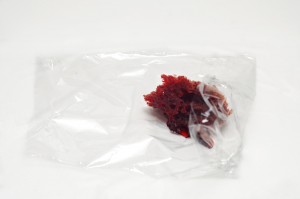
Wrap the sponge in saran wrap

Soak the sponge in your blood and wrap it up in the saran wrap. You can fill the saran wrap with extra blood so the sponge is swimming in it if you want.

Wrap the sponge in saran wrap

In lieu of cling wrap, you can also use plastic sandwich bags; your end goal is to create an impermeable membrane which is easily burst by squeezing. Balloons and Ziploc may prove too tough, and paper or fabric will allow the blood to seep through and spoil the surprise.

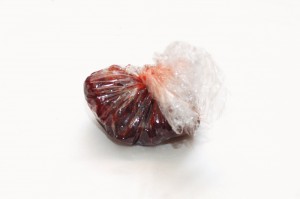
Tie the end up with thread

Tie it all up by wrapping thread around the end. You don’t even need to tie any special knots; just wrapping it a couple dozen times should hold it. You can wrap tightly to put the bag under pressure; this will make it easier to burst.

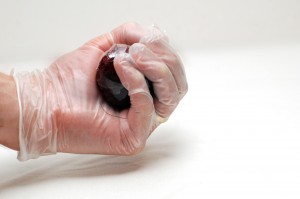
Concealing the prepared blood bag

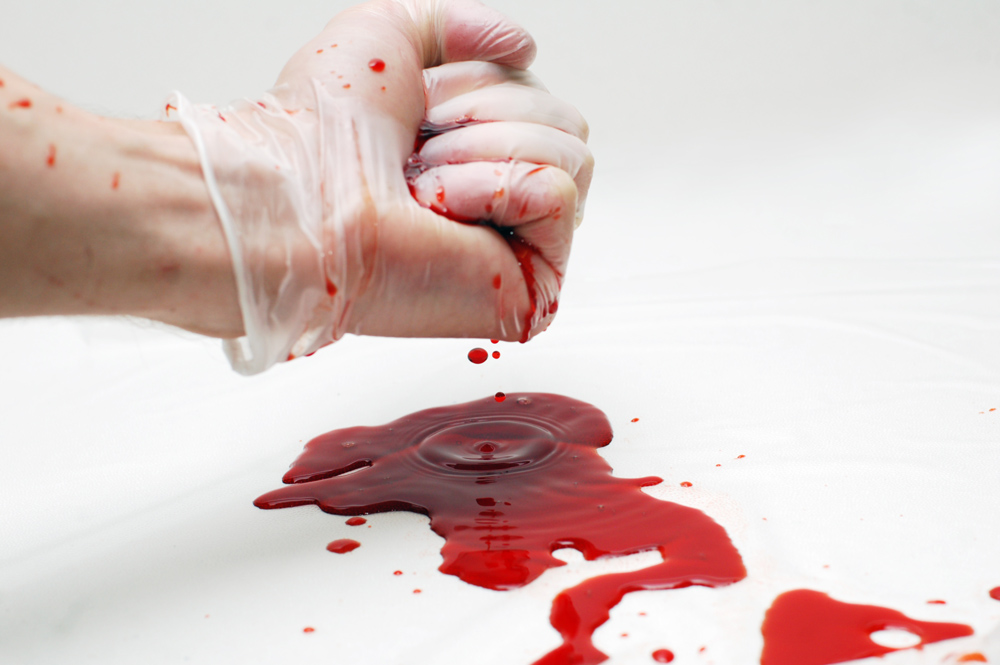
You can now conceal the completed blood bag on your person until the blood is needed. Just give it a squeeze and out it comes. There is, of course, the possibly noticeable sound of the bag bursting; usually this can be covered through the fight choreography. Because the blood is being held by a sponge, you can speed up or slow down the rate of blood flow by altering the pressure with which you squeeze it.

Squeeze to burst
Squeeze to burst

Pre-war special effects

In the 1940s, special-effects in the film industry were usually done by a division of the property department. A lot of the more common tricks were standardized. When an actor smashed a chair or other piece of furniture over another actor’s head, they made the chair out of balsa wood. In theatre, when we need a chair to break, we need it to break consistently night after night, so we usually don’t make an entire balsa wood chair. Instead, we take a chair which is already in pieces and reconnect the broken joints with thin dowels or a hidden piece of soft wood.

Film departments at the time made breakaway glass from confectioner’s sugar, which required specialized equipment. They were just beginning to develop specialized resins which could achieve the same effect. Of course, here we are seventy years later, and the resin we use for making breakaway glass is still fairly expensive and highly toxic to work with.

Blood was made with chocolate syrup and glycerine. Obviously the formula has changed with the popularization of color film. Even so, chocolate syrup is still used to add thickness and darkness to some blood formulas, and glycerine can be added for a bit of sheen.

Another gruesome effect seen a lot at this time was rigging a hollow spear on a wire. The wire was hooked to a piece of wood hidden under the victim’s shirt so when the spear was thrown, it slid along the wire and hit the wood. They even had a trick up their sleeve for disembowelment. A rubber knife was drawn across an artificial abdomen which was fitted with a zipper attached to an invisible string. When the string was drawn, the zipper was pulled, and out came the guts and black stuff.

Medusa Head

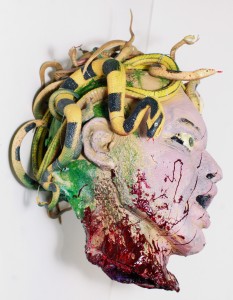
I was contacted to make the head of Medusa for a show. An actor would pull it out of a bag, but it did not have to stand up on its own. The face did not need to match any of the actresses in the cast, so that freed me up in my options. It needed to be inexpensive too, so I used as many store-bought items as I could.

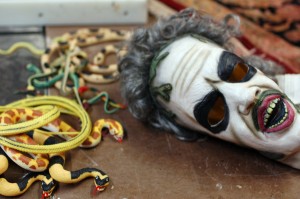
Supplies for the Medusa head

I bought a Beetlejuice mask and some rubber snakes from Halloween Adventure, a year-round costume store in the East Village. His hair turned out to be a wig which pulled right off.

Filling the face with foam

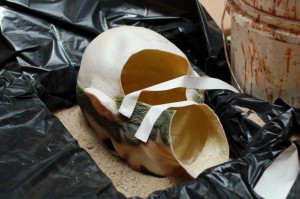
I filled the inside of the mask with a layer of expanding foam insulation. In order to keep the foam from distorting the shape of the face as it expanded, I buried the face in a tray of sand. Expanding foam gives off harmful vapors when curing, so use in a well-ventilated area, preferably in a spray-booth or near some kind of system that can pull the air away from you. Expanding foam does not cure properly when you put it on too thick, so fill the mask one layer at a time. I ended up rotating the mask after each coat and putting only a single layer on each side. The mask remained hollow but the sides were strong enough to hold the shape.

Snakes
Snakes

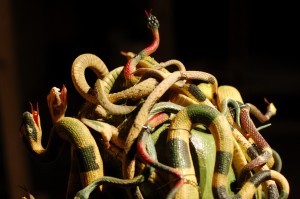
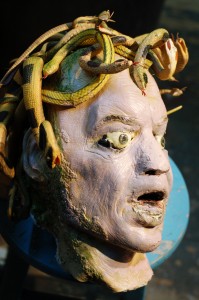
I used wire to hold the snakes on the head. I arranged it so it would be easy to grasp Medusa from the top. I had printed out some pictures of various depictions of Medusa in art through history, and that gave me a good reference on how to arrange the snakes so they would look the most “Medusa-like”.

Basecoated mask
Basecoated mask

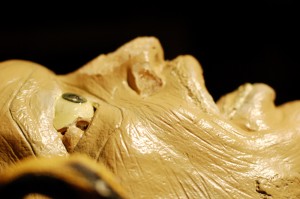
I made eyes out of epoxy putty. Epoxy putty comes in tubes, and you simply break a piece off and mix it around in your hands until it is a uniform color. It has the consistency of a clay like Sculpey, and hardens over time (depending on which kind you get, that can be anywhere from five minutes to an hour). Epoxy can be absorbed through the skin and you can become sensitized to it over time, so where disposable gloves when working with it. I had set the eyes in place before filling the mask with the expanding foam, which held them in place when it dried. I sprayed a coat of paint over the entire mask (I actually did this before putting on the snakes).

Cutting the eyes out of paper

I found a picture of an iris and pupil and printed it out to the appropriate size. I cut two of them out and used five-minute epoxy to attach them; I coated the entire eyeball with the epoxy to make it glossy, and lay the paper iris on top of that. After the first coat dried, I covered the entire eyeball with another coat of epoxy. This made it appear like the iris and pupil were behind the cornea.

Don't look into her eyes

At this point, I also cut off some of the nose and upper lip and carved it down to look less like Michael Keaton and more like Medusa. Once happy with the new shape, I re-coated the foam with automotive filler (Bondo). This is also toxic and requires a well-ventilated area. The advantage is that it dries very quickly; if you have more time, you can use something far more innocuous, such as Foam Coat.

Face painting
Face painting

The next several steps involved painting the face with acrylics and spray paints.

Filling in the neckhole
Filling in the necknole

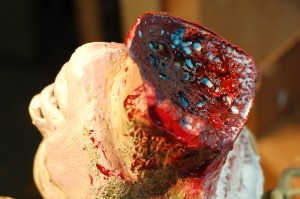
I filled in the bottom of the neck with a chunk of blue foam carved to fit. I spray painted it with red, and then blasted it with a hot air gun to create the above effect. Again, you need a well-ventilated area for this, preferably a spray booth.

Covering the head with blood

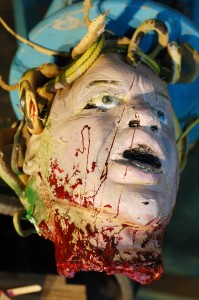
I thought the head needed some splattered blood. I mixed up some more five-minute epoxy, and then stirred in some paint. I had some red paint and some black paint. I did not mix it to a uniform color, but rather swirled it so the parts had differences in both translucency and tint. I filled the rest of the neck hole, smeared a lot around the bottom of the neck, and then splattered and flung some upwards so it would look like her head was sliced off in one swipe.

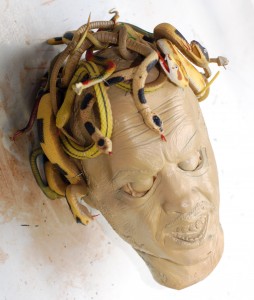
The head of Medusa
The head of Medusa

Now that you know how to make your own head of Medusa, get Kraken!