Category Archives: How-to

Guides to building props or using certain techniques and materials

Spiritual Stones from Legend of Zelda

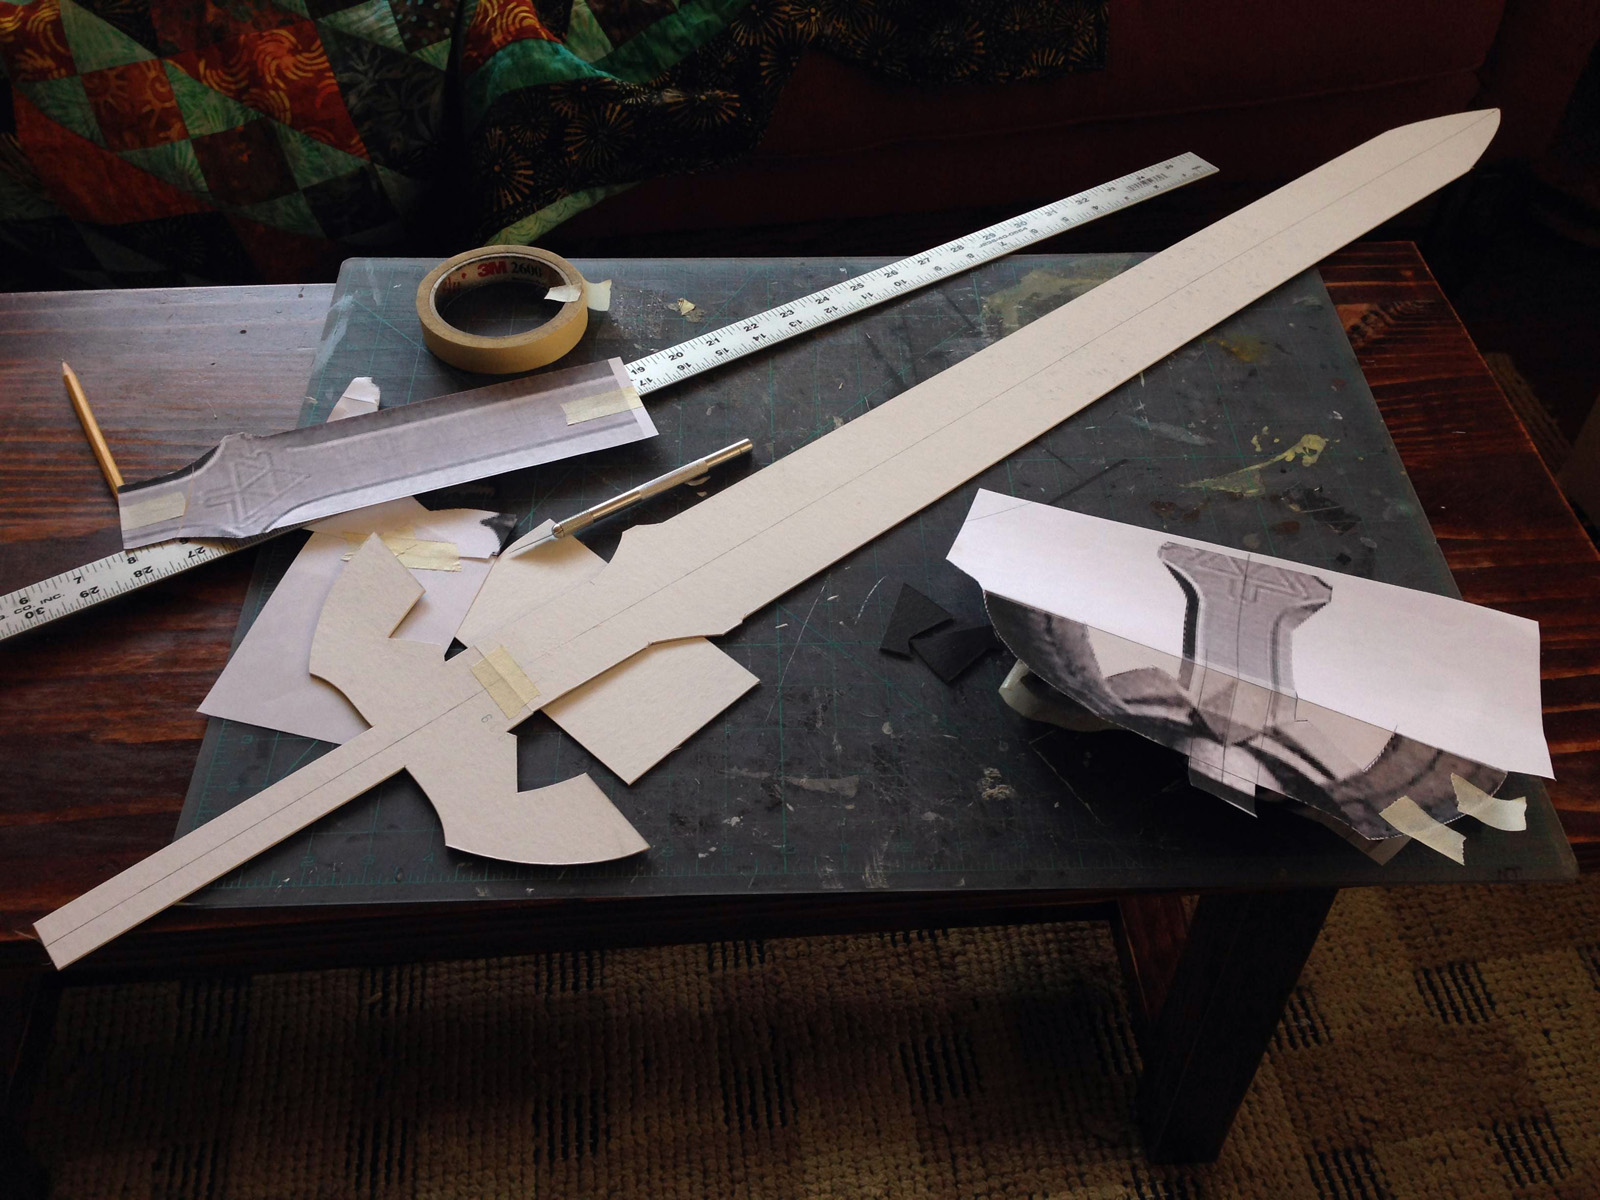
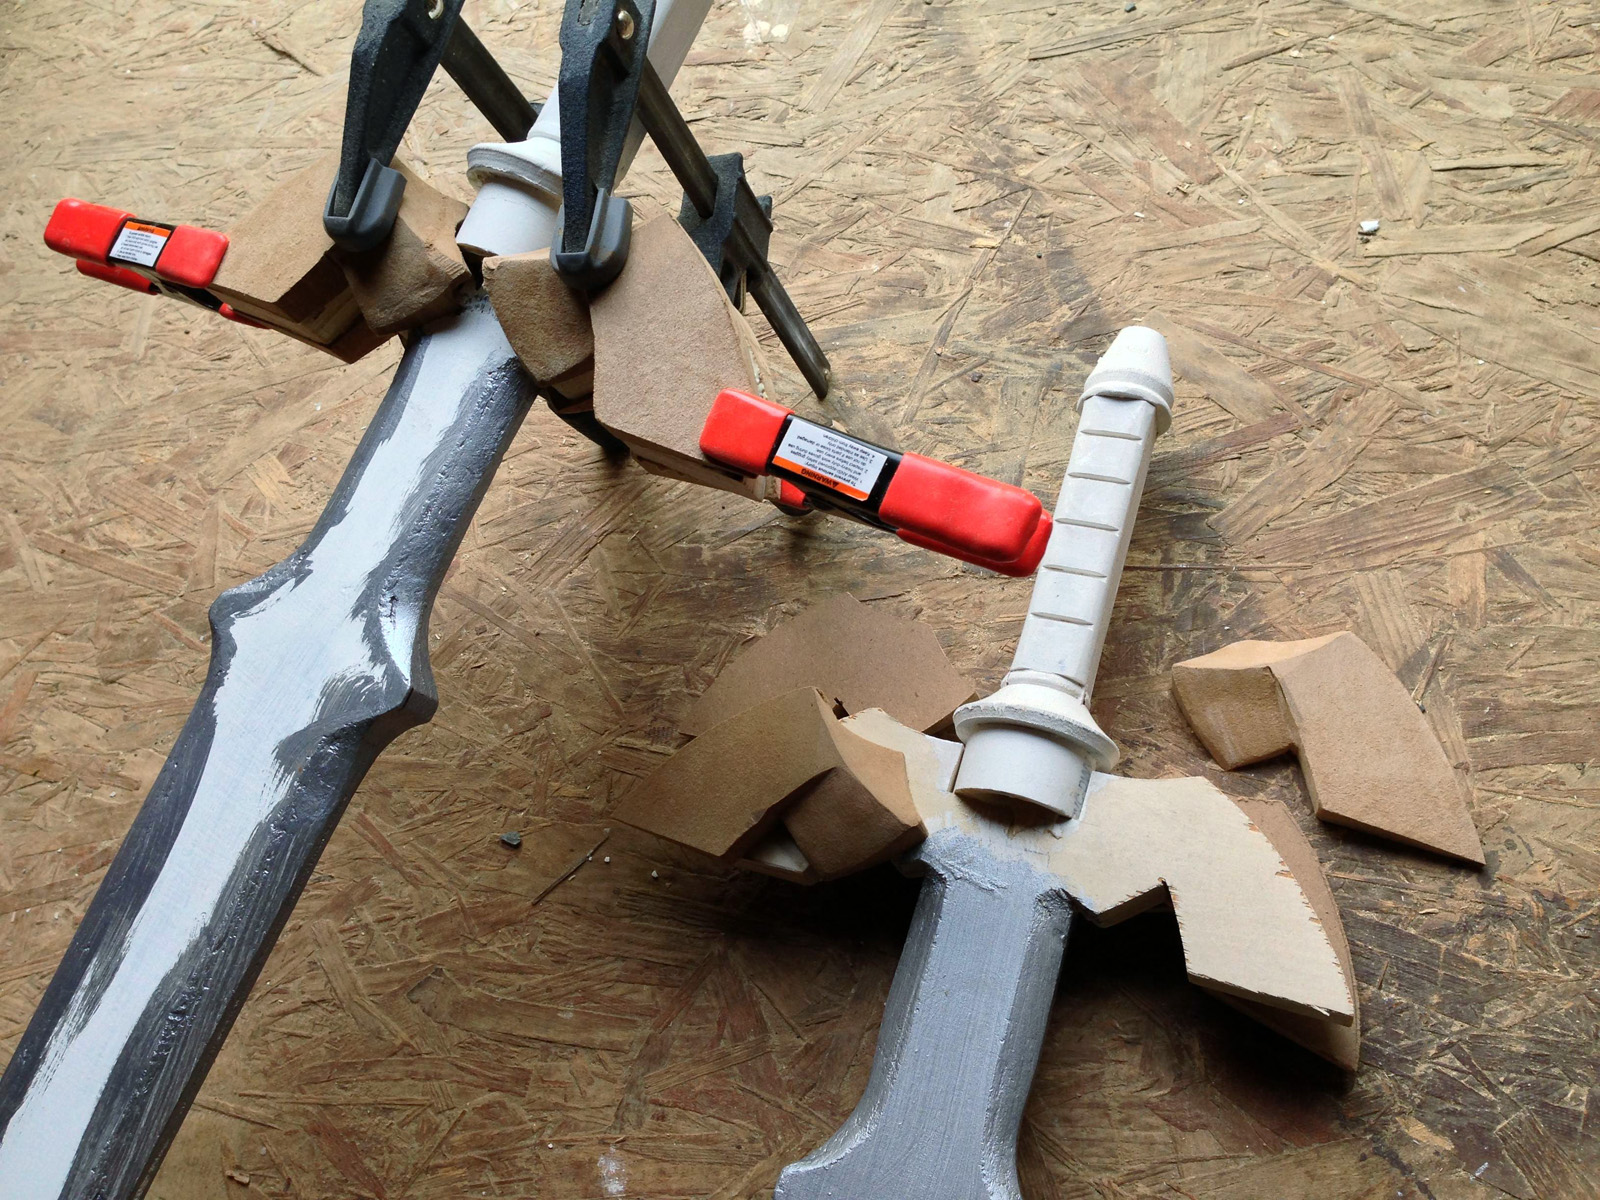
Here are the last of my Legend of Zelda props I made last month for a local theatre group. I previously posted about the Master Sword, and some rupees; you can find out more about this project in general at those links if you are interested.

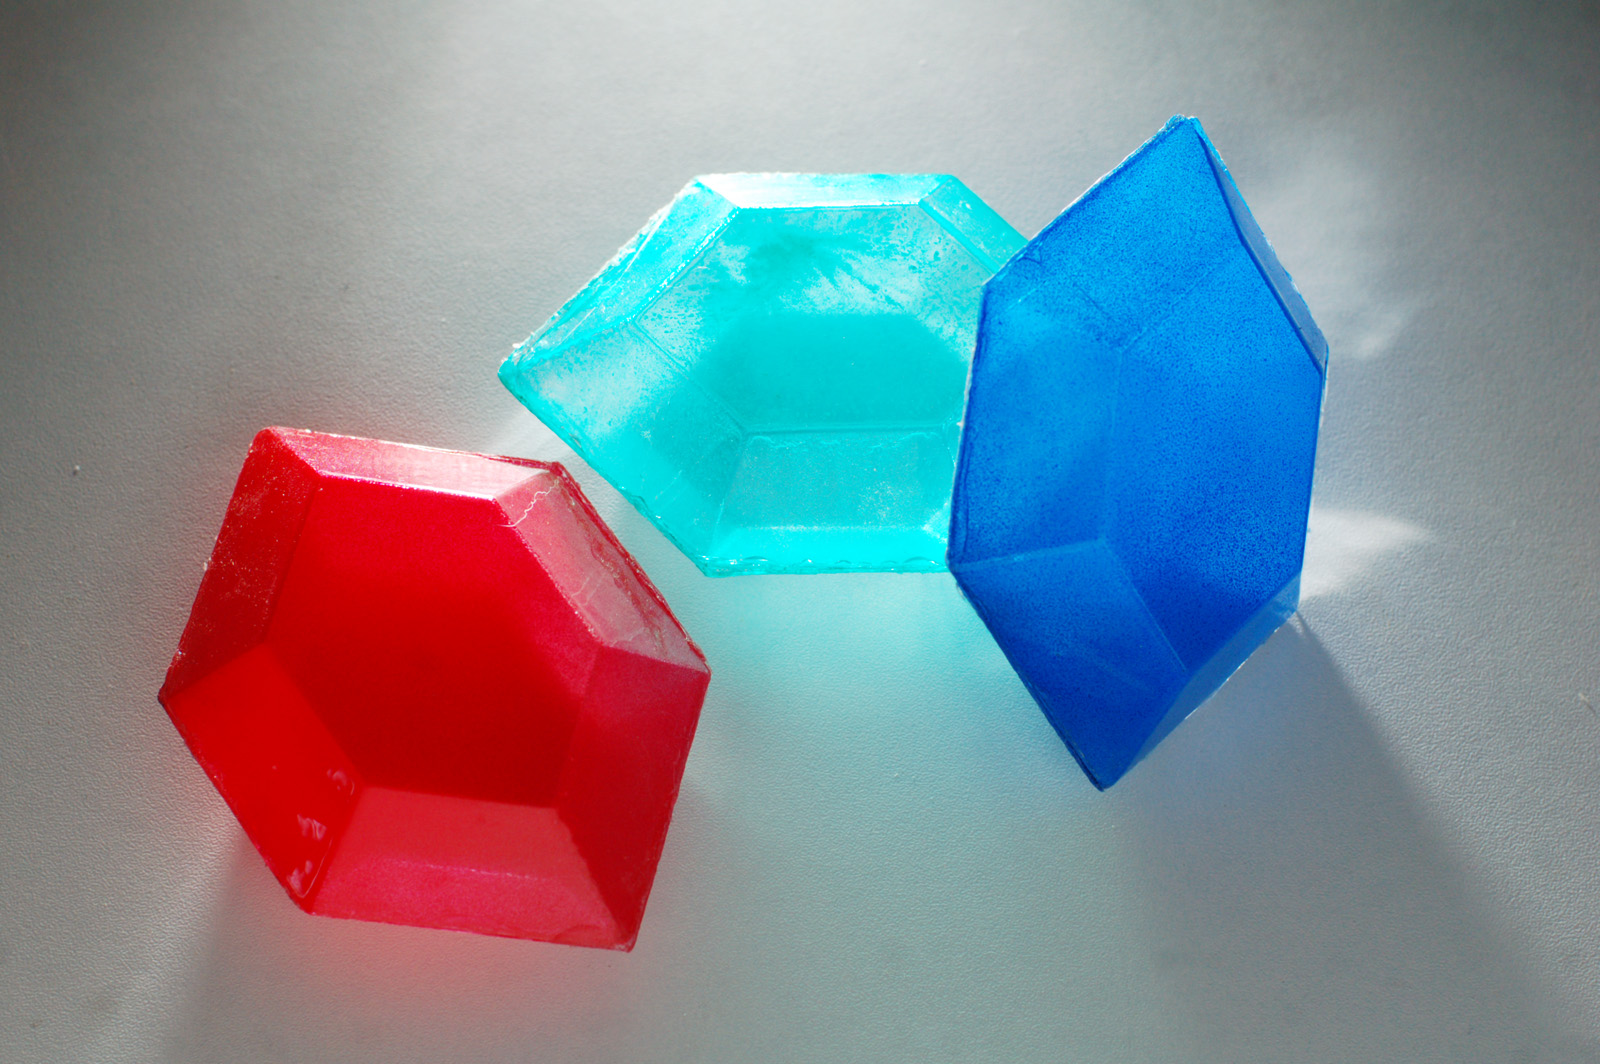
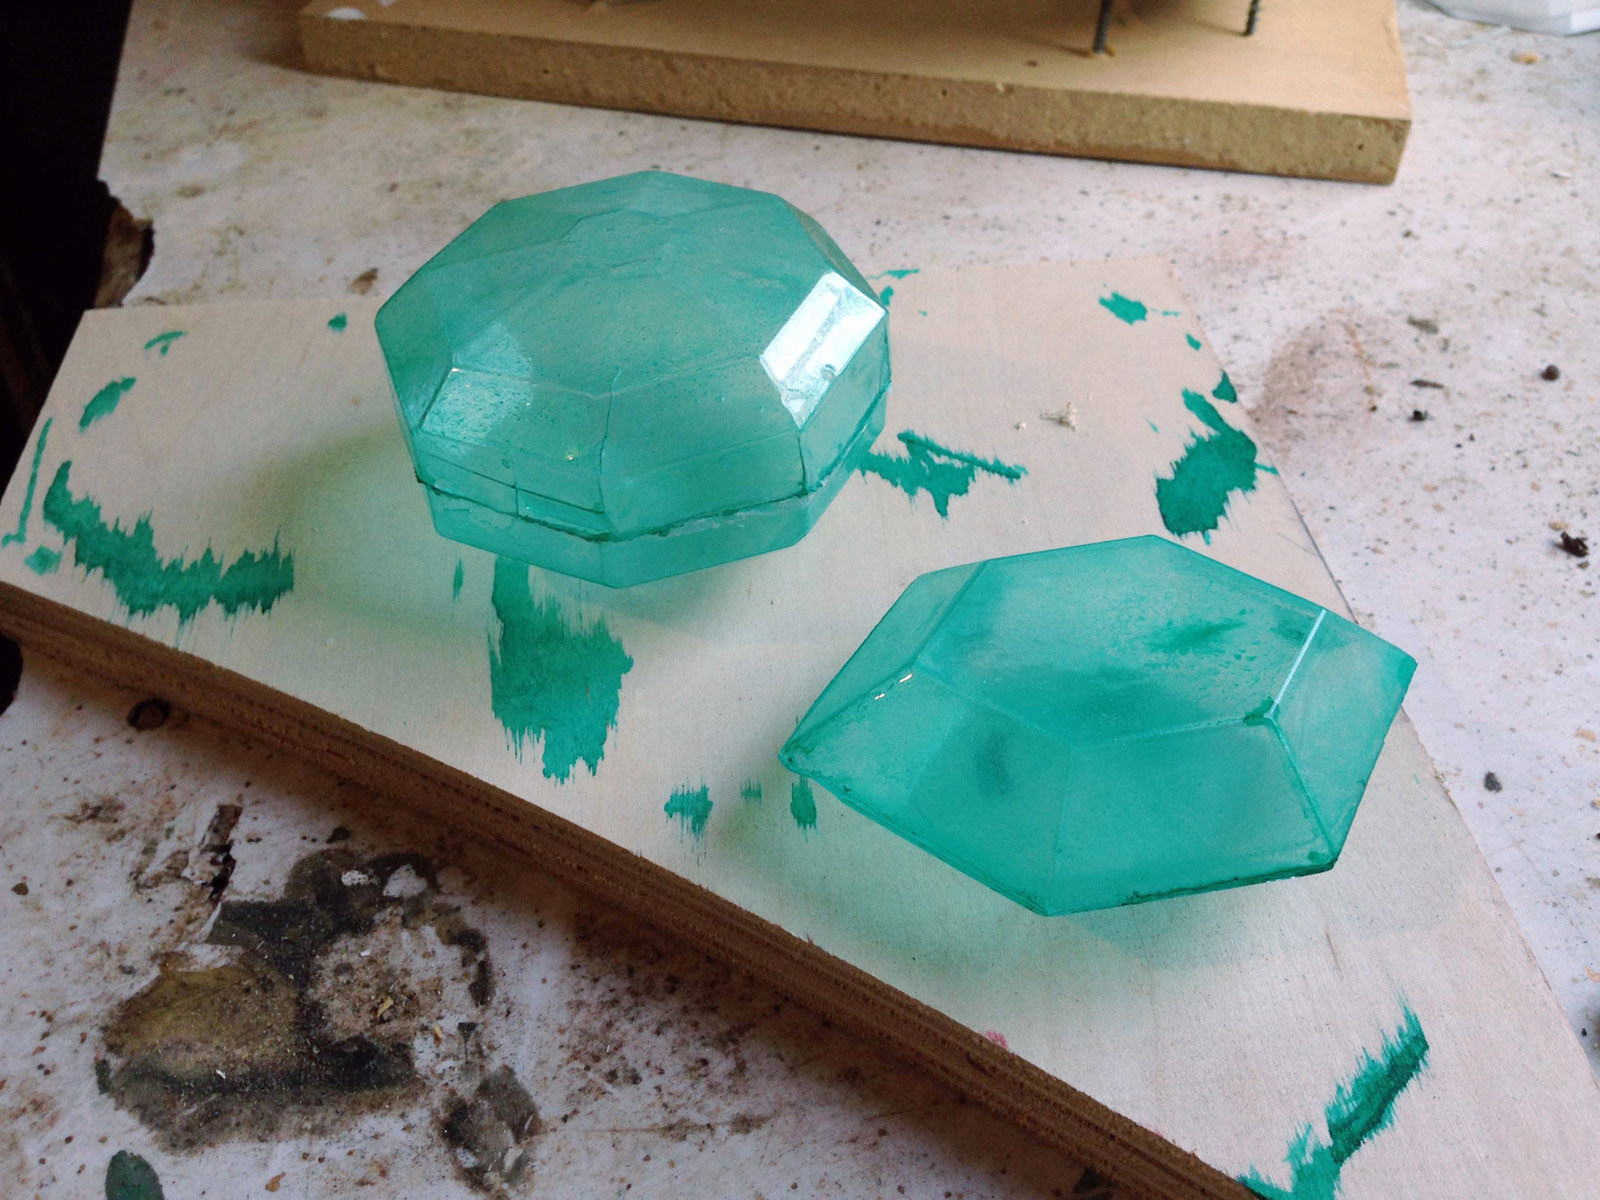
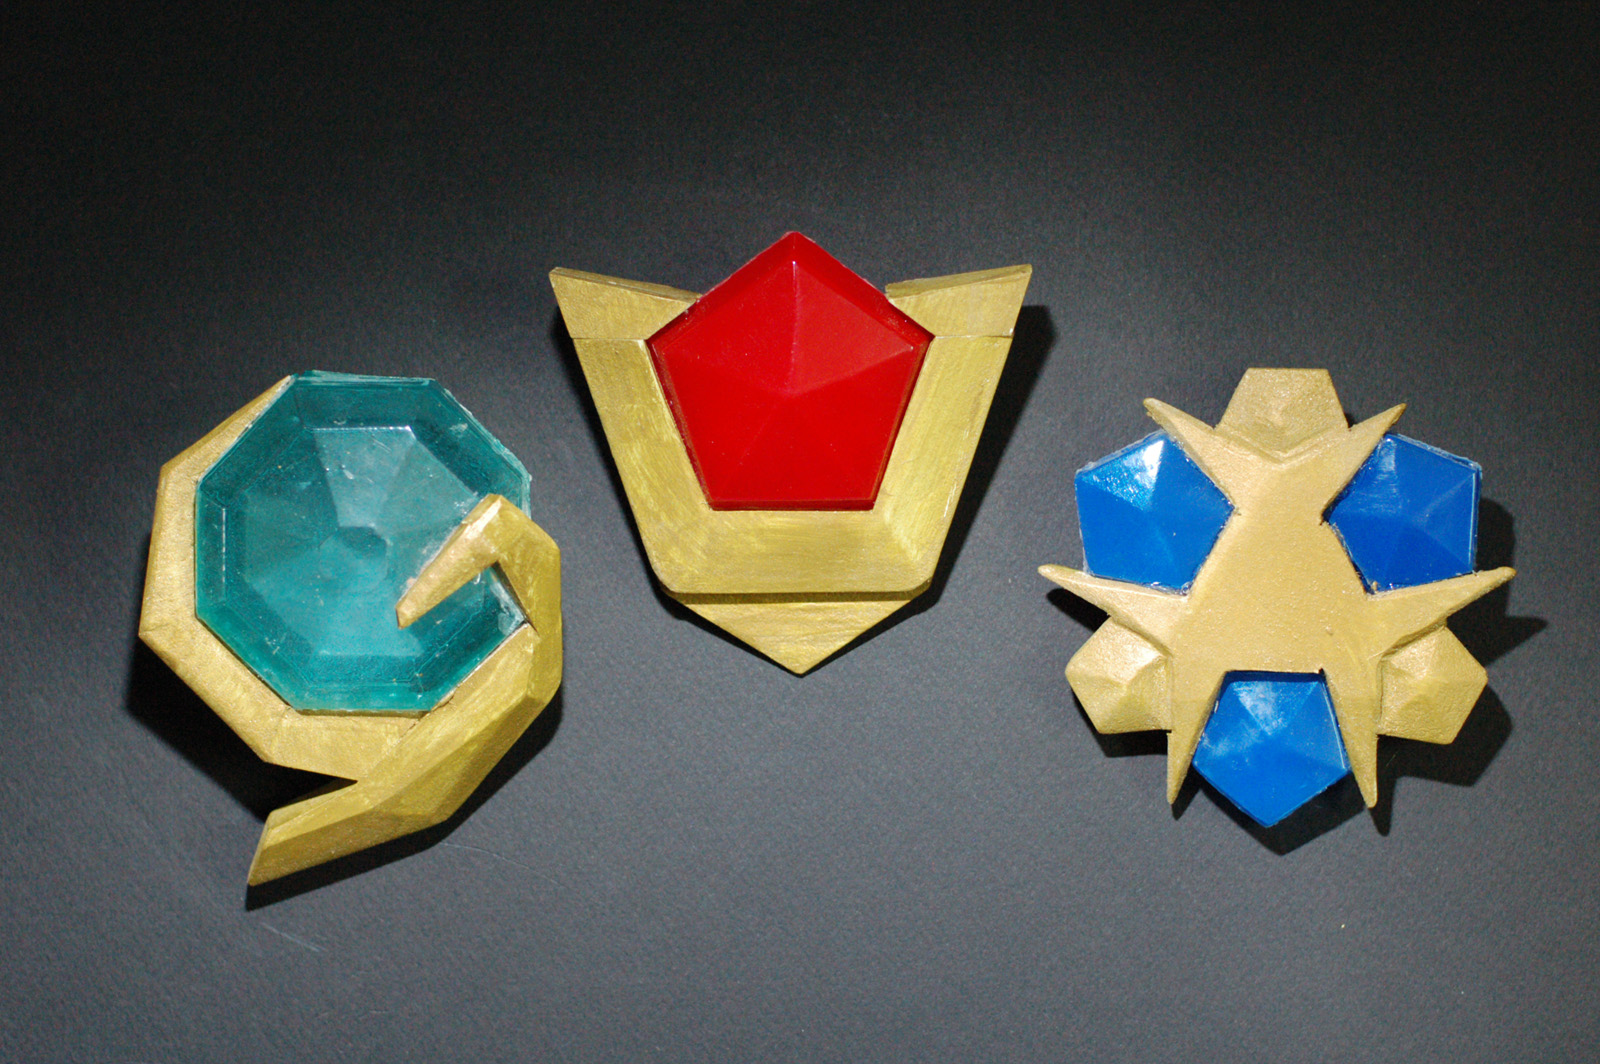
The last prop, which is actually three items, are the spiritual stones. These are various colored gems in gold settings. They have names, too: Kokiri’s Emerald, Goron’s Ruby, Zora’s Sapphire.

Vacuum formed jewel
Vacuum formed jewel

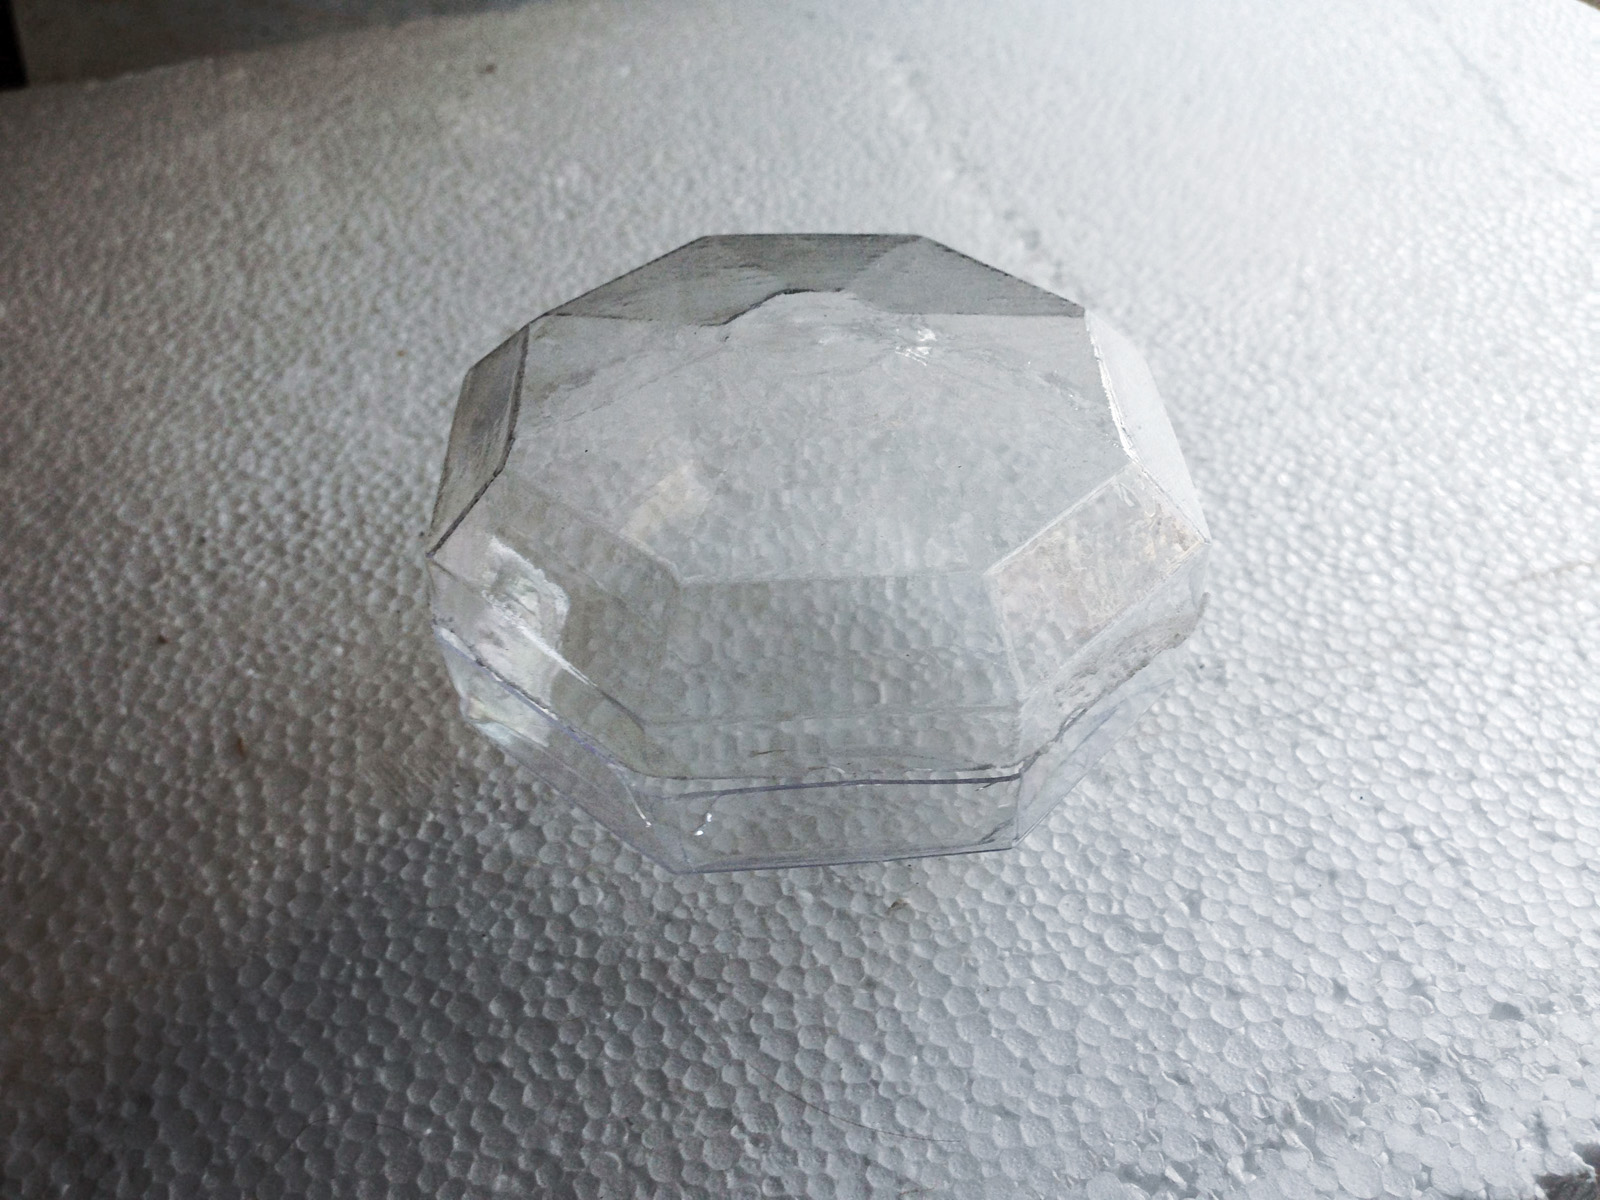
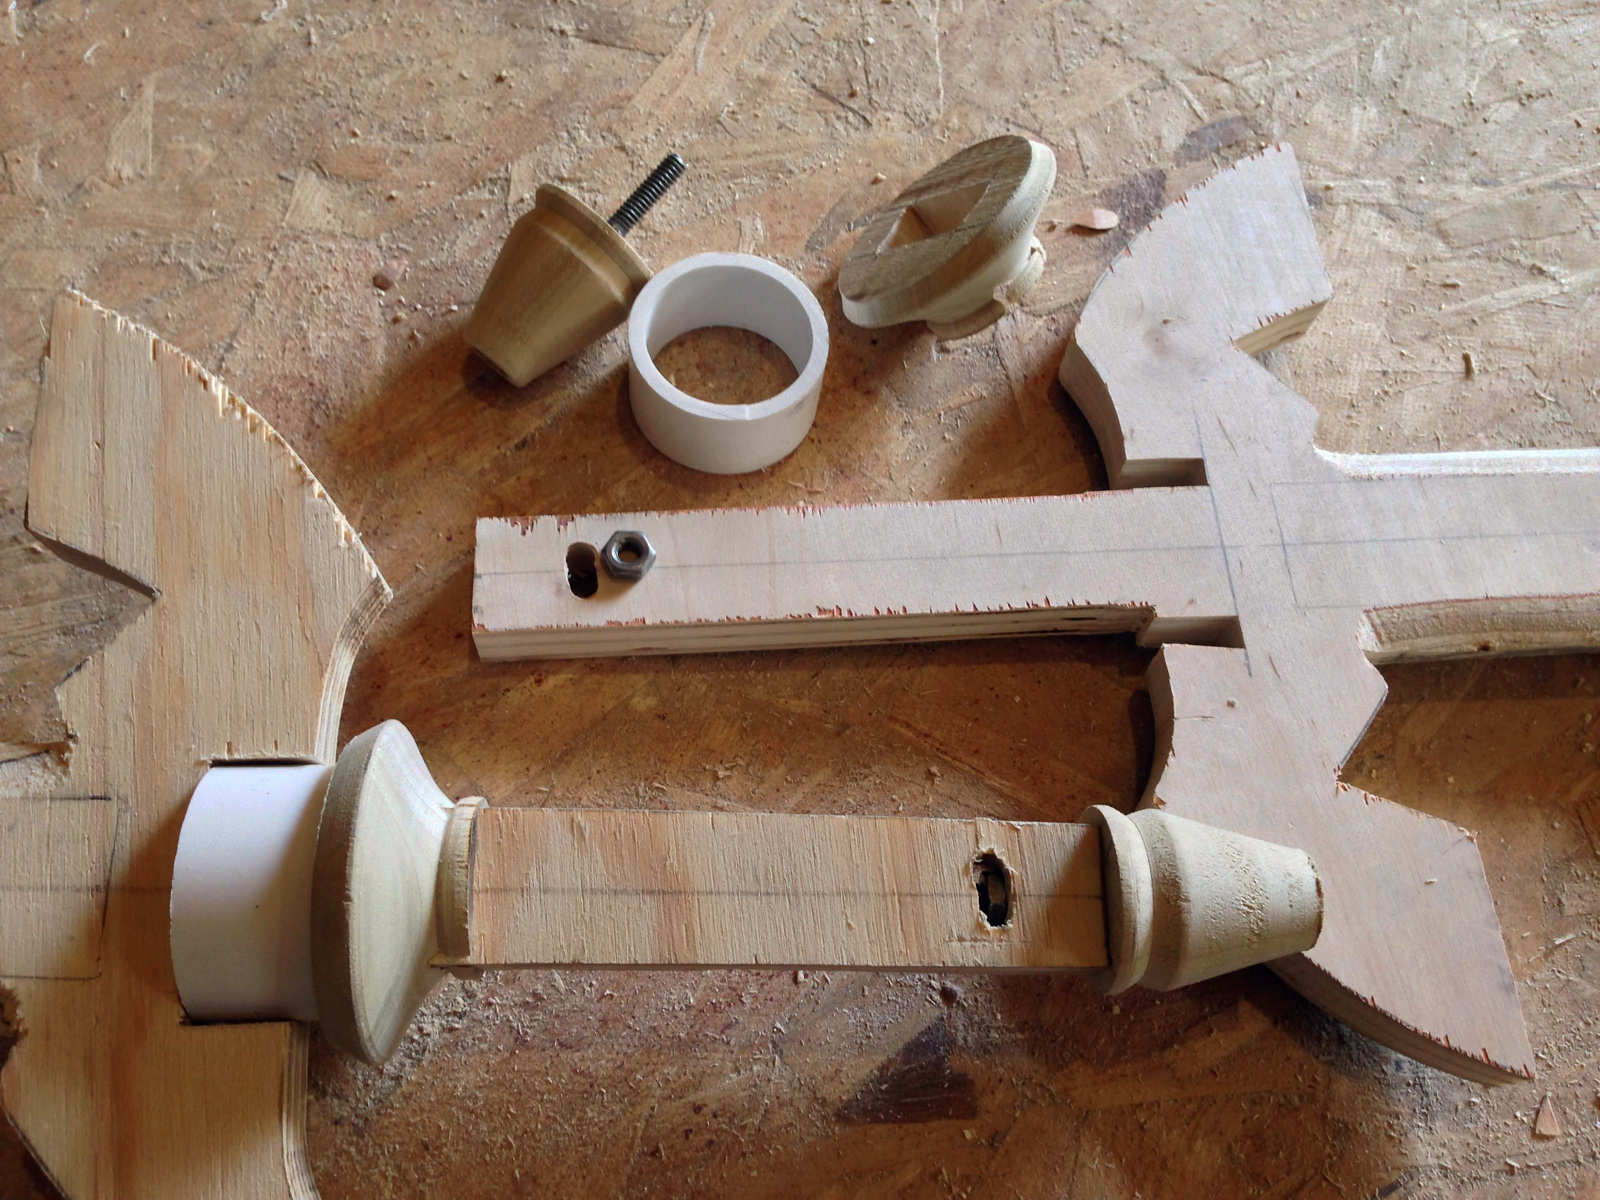
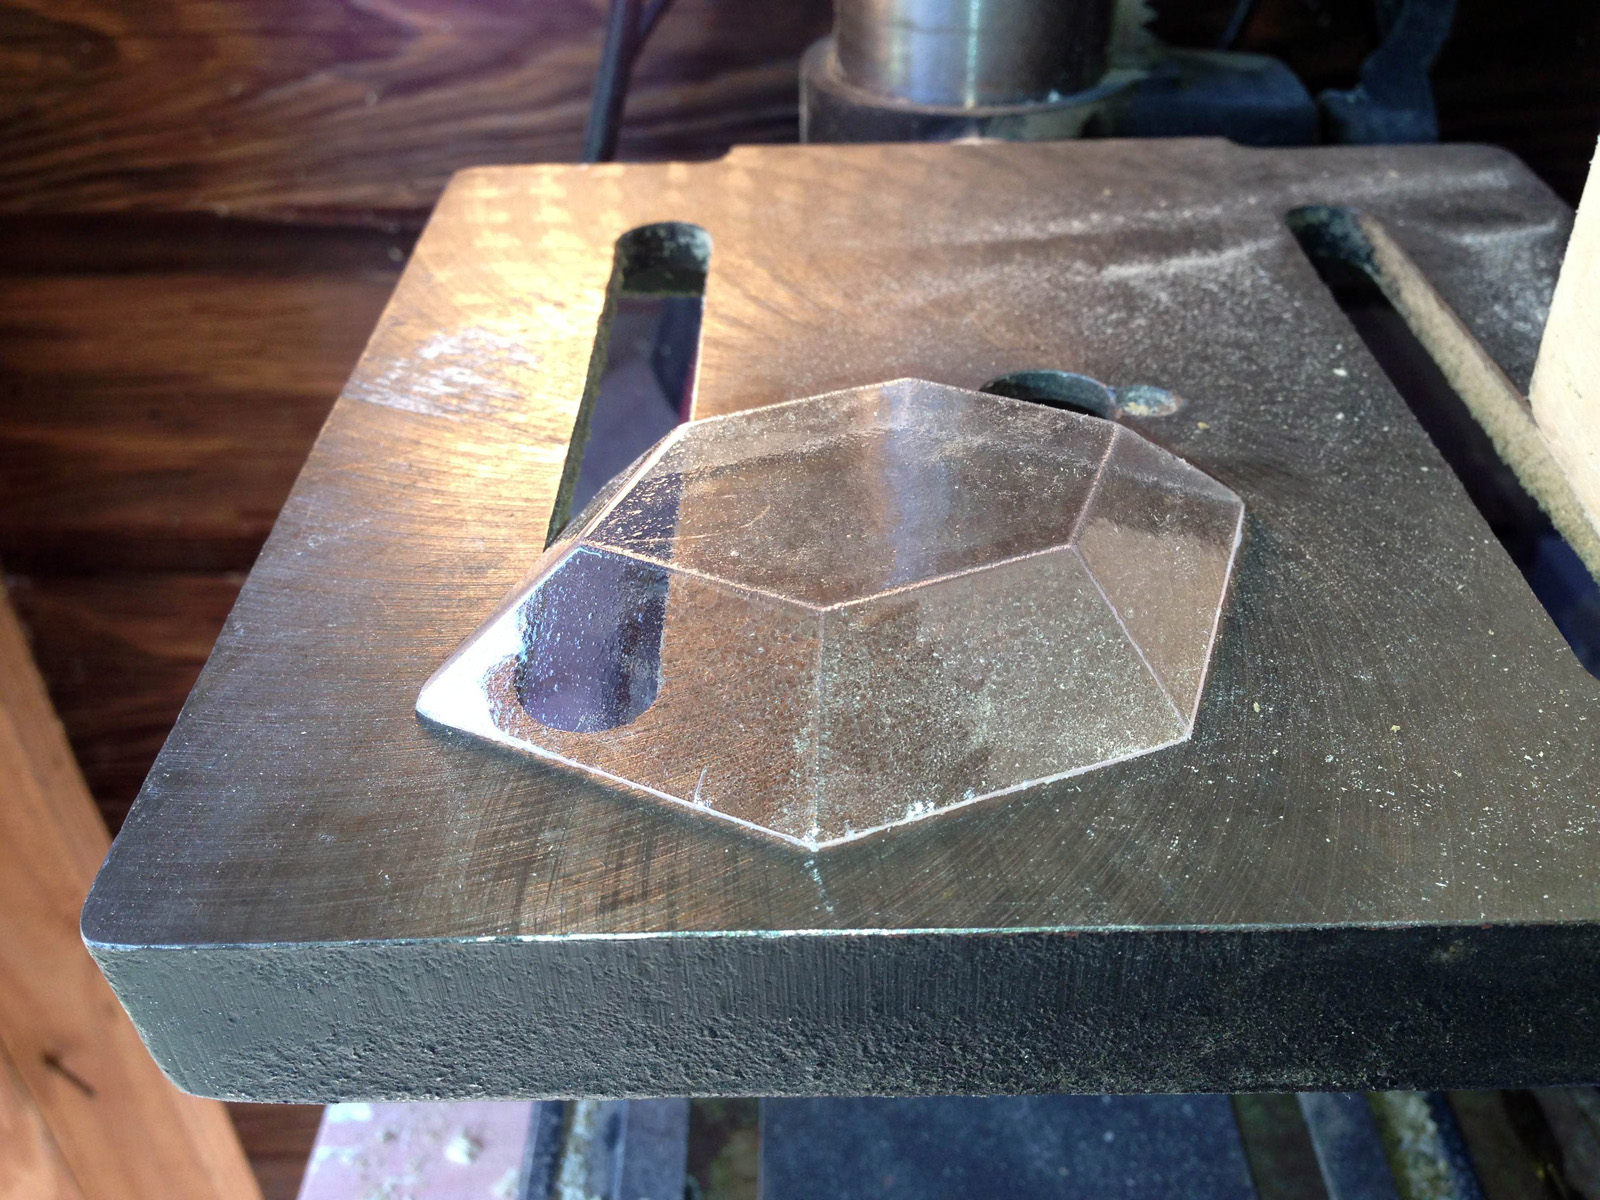
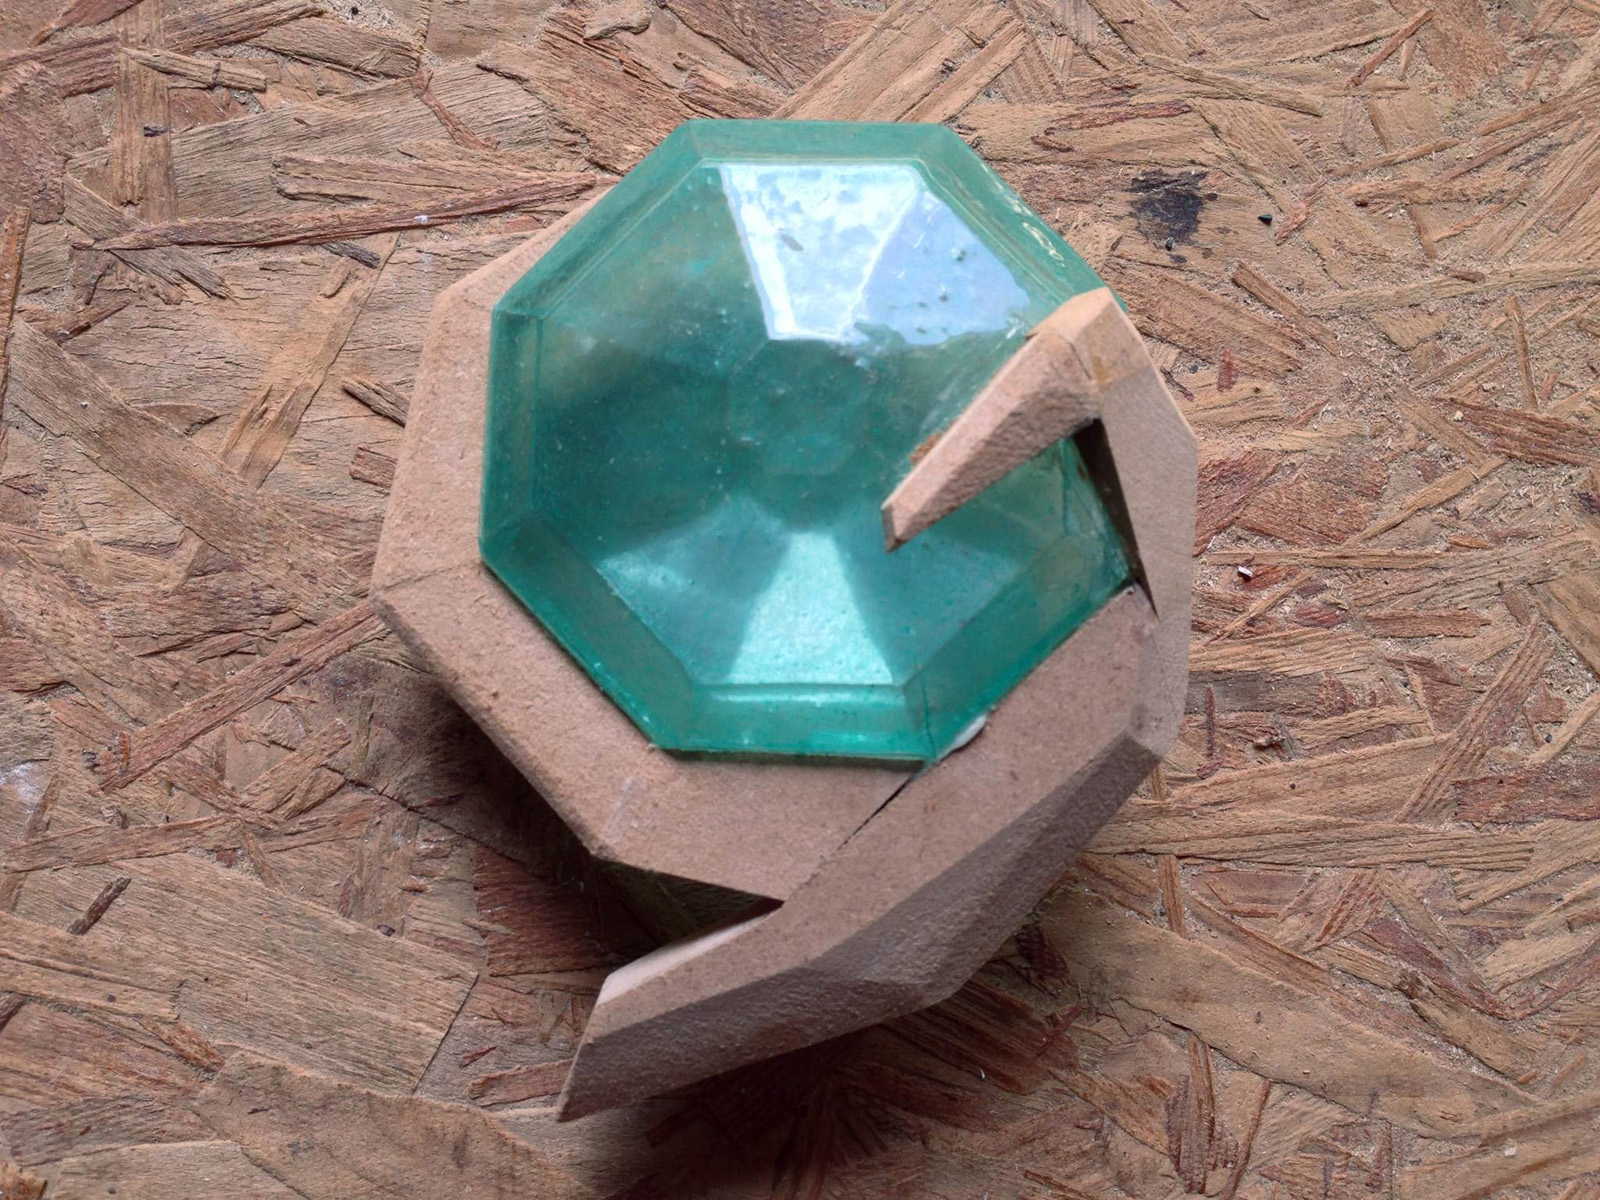
As with the rupees, I cut the shape of the stone out of a piece of wood, vacuum formed two halves out of acrylic, and glued them together (painting the inside before gluing, of course).

Layout of Goron's Ruby
Layout of Goron’s Ruby

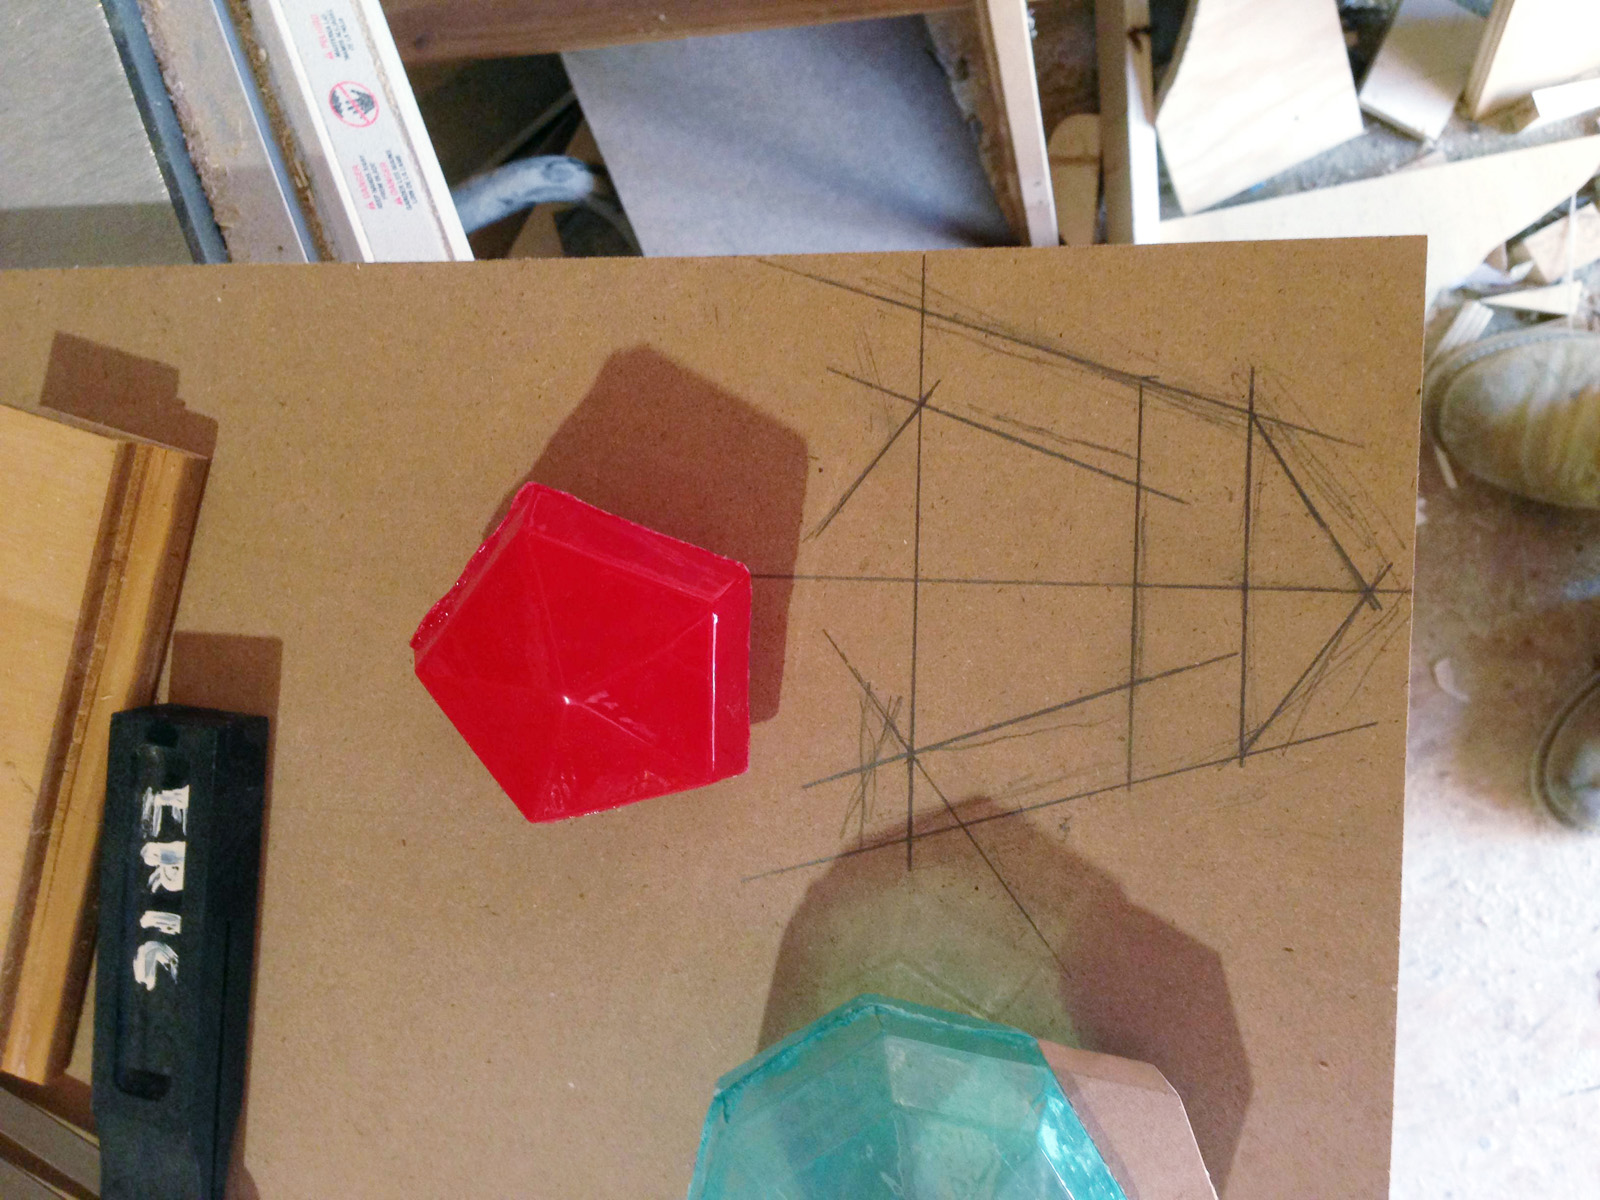
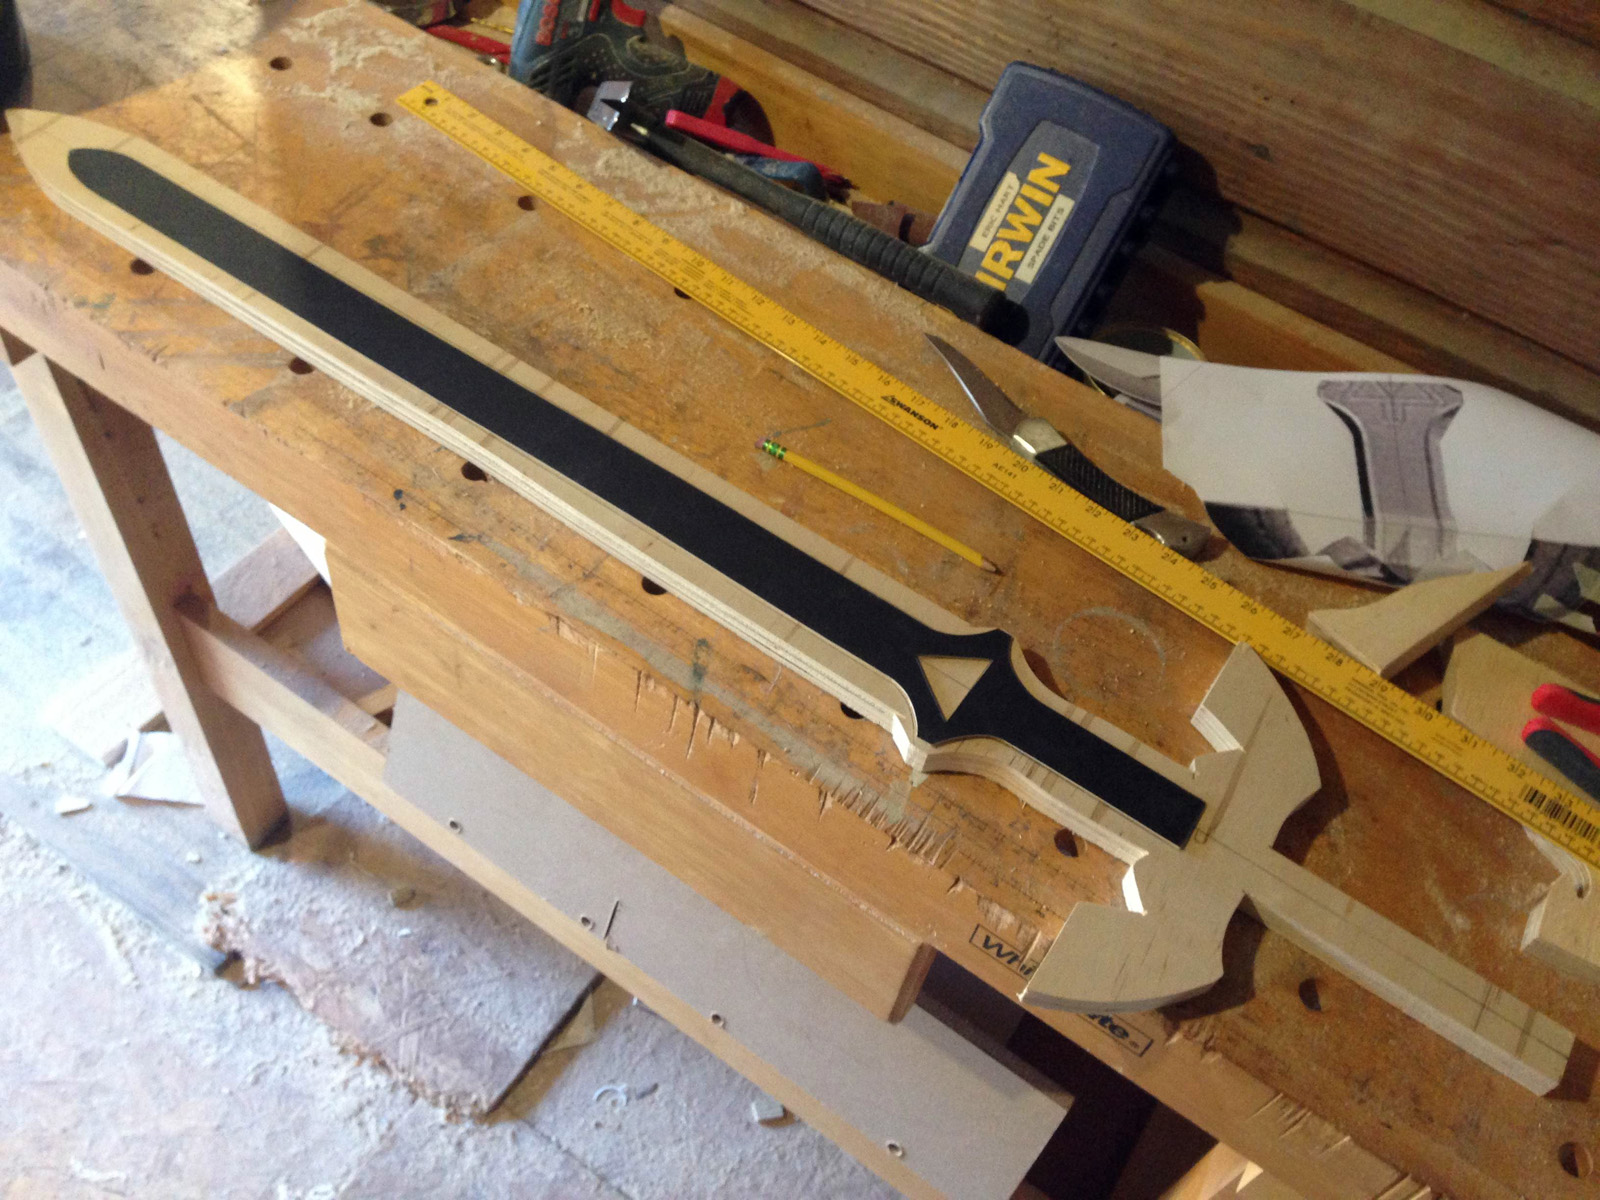
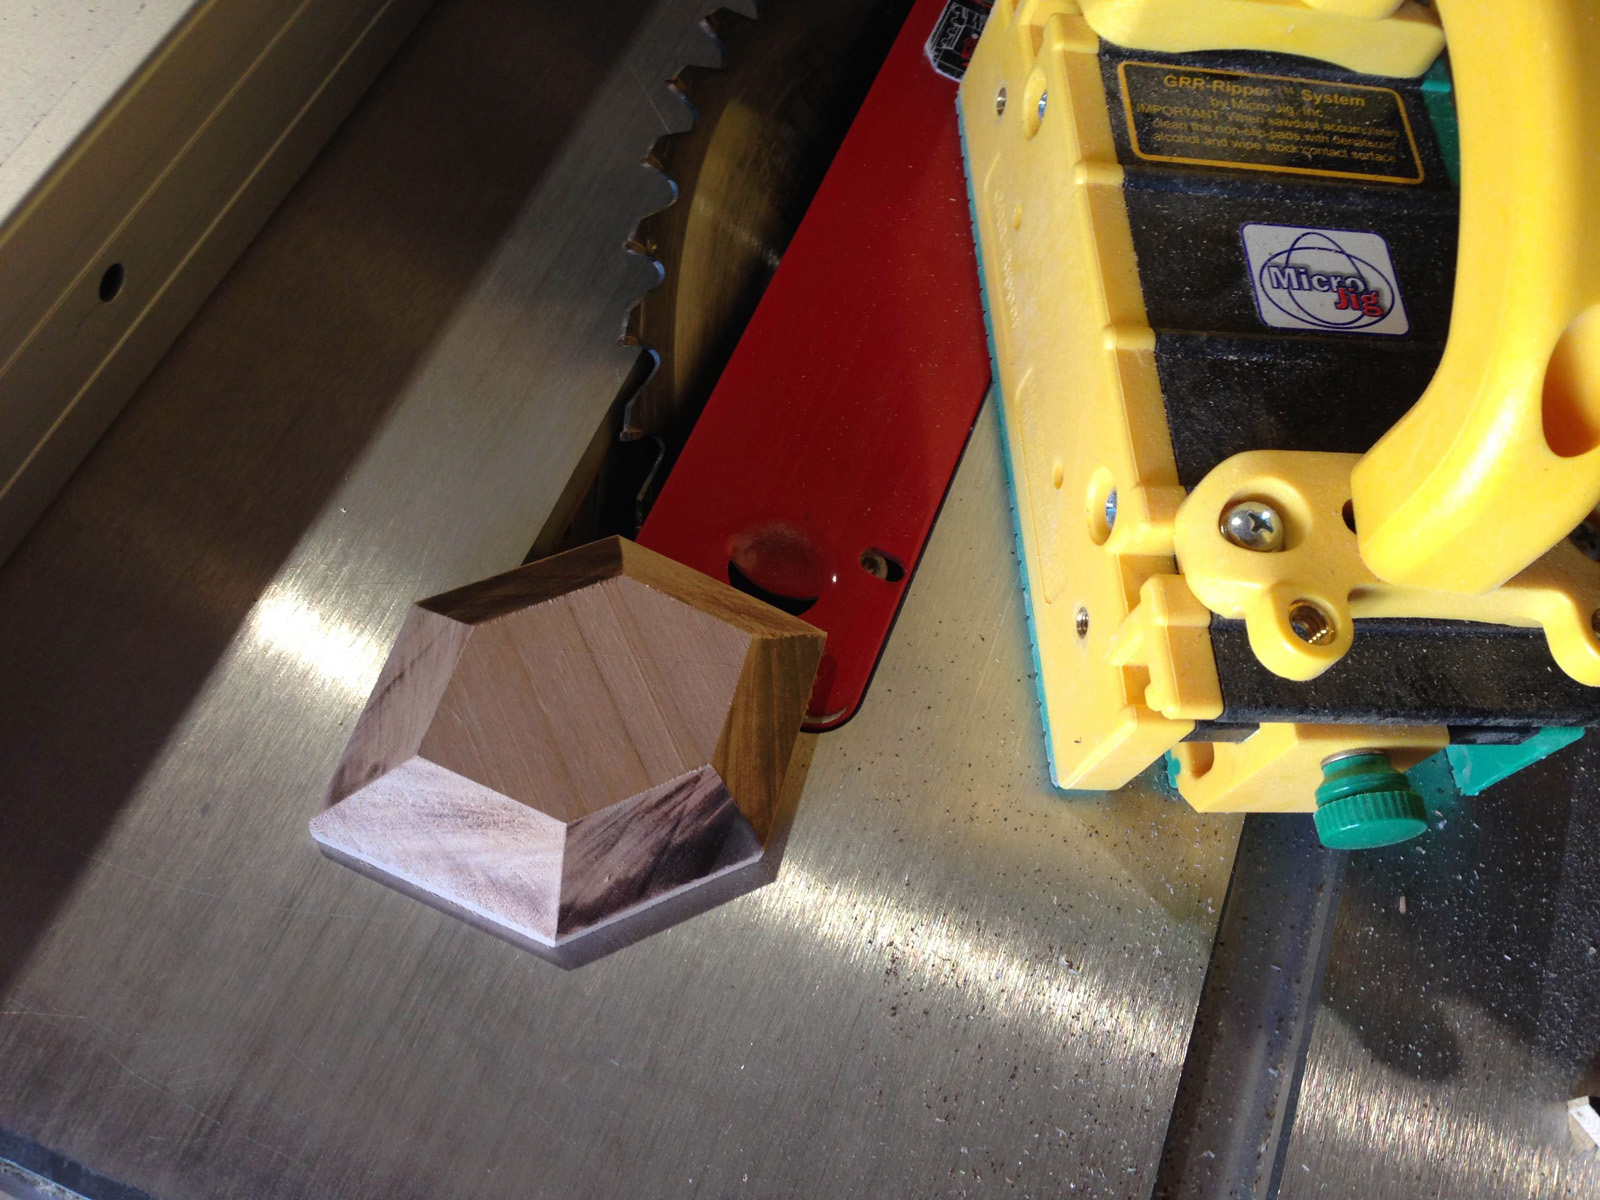
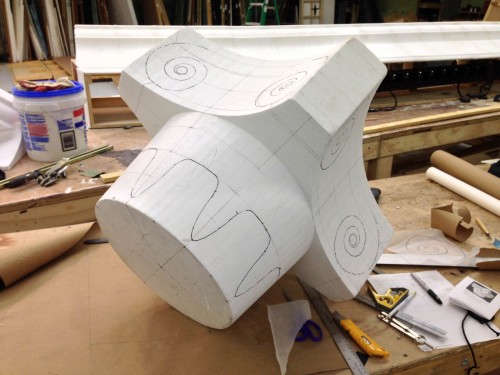
Starting with Goron’s Ruby, I used some reference images from the video game itself to lay out a full scale drawing of the stone’s setting onto some 3/4″ MDF.

Cut and shaped
Cut and shaped

I made most of the cuts on the table saw (my nifty cross-cutting jig lets me safely cut arbitrary angles on small pieces). The bevels were also cut on the table saw with the blade set at an angle.

Piecing together the emerald

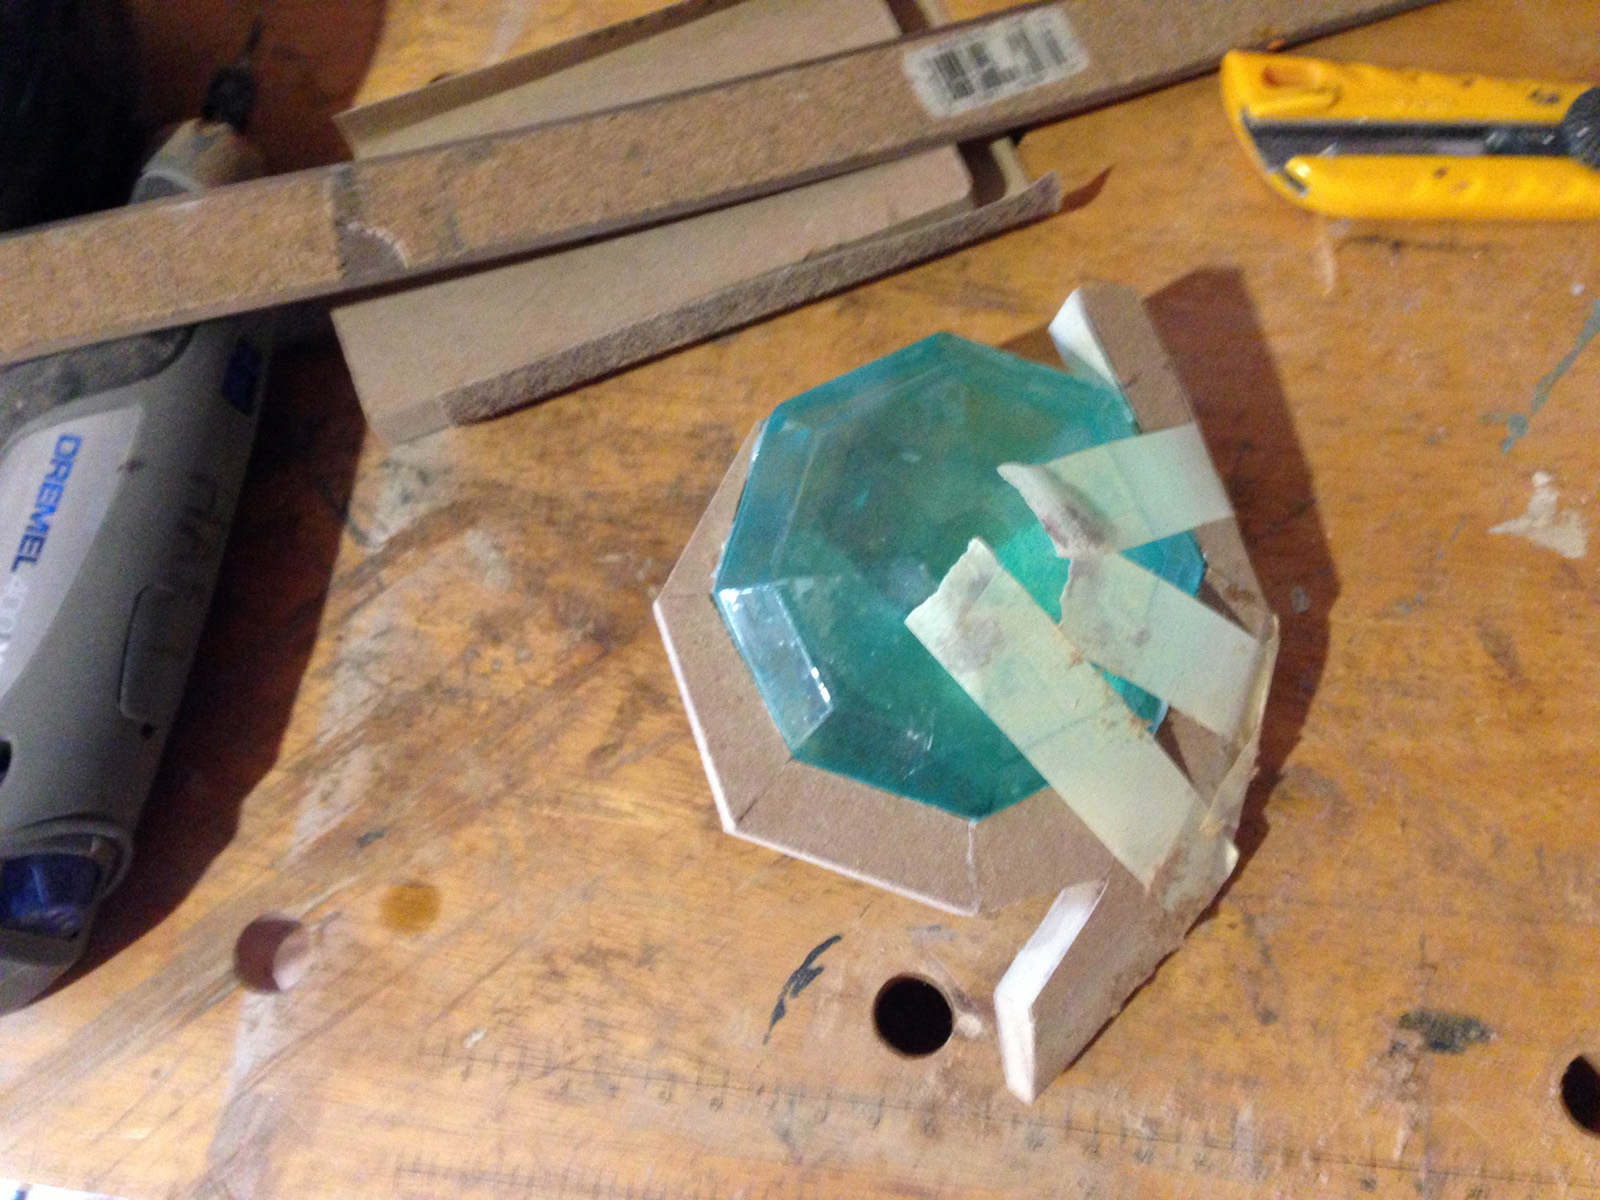
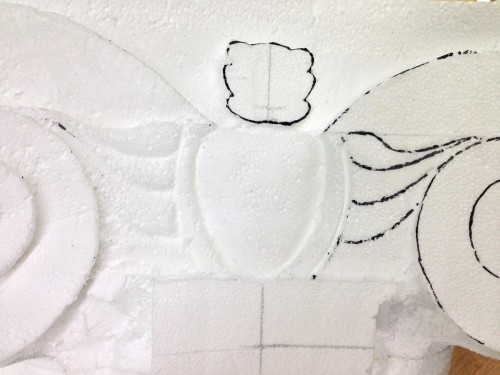
Since the emerald had a sort of “wrap around” design, I cut the pieces individually and glued them on one at a time to achieve an exact fit. It was a bit tricky getting all the angles right, but it gave the nicest result.

Drawing the sapphire setting

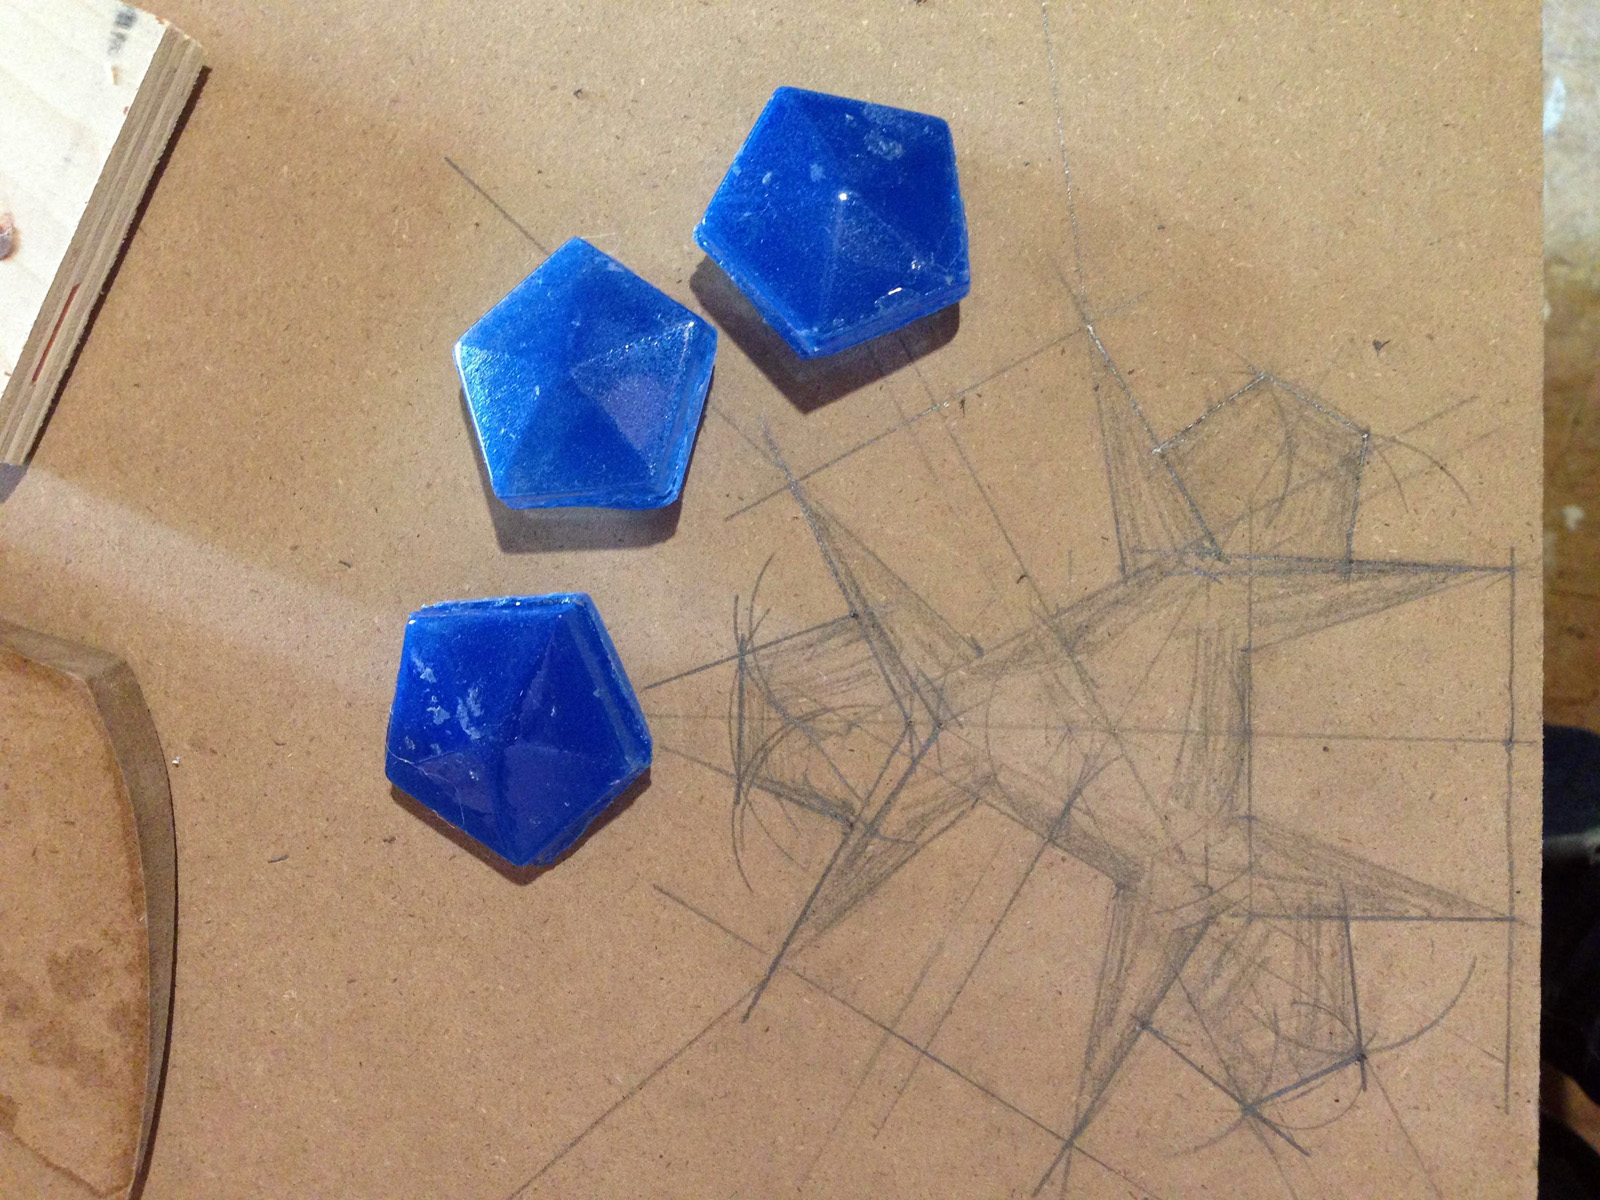
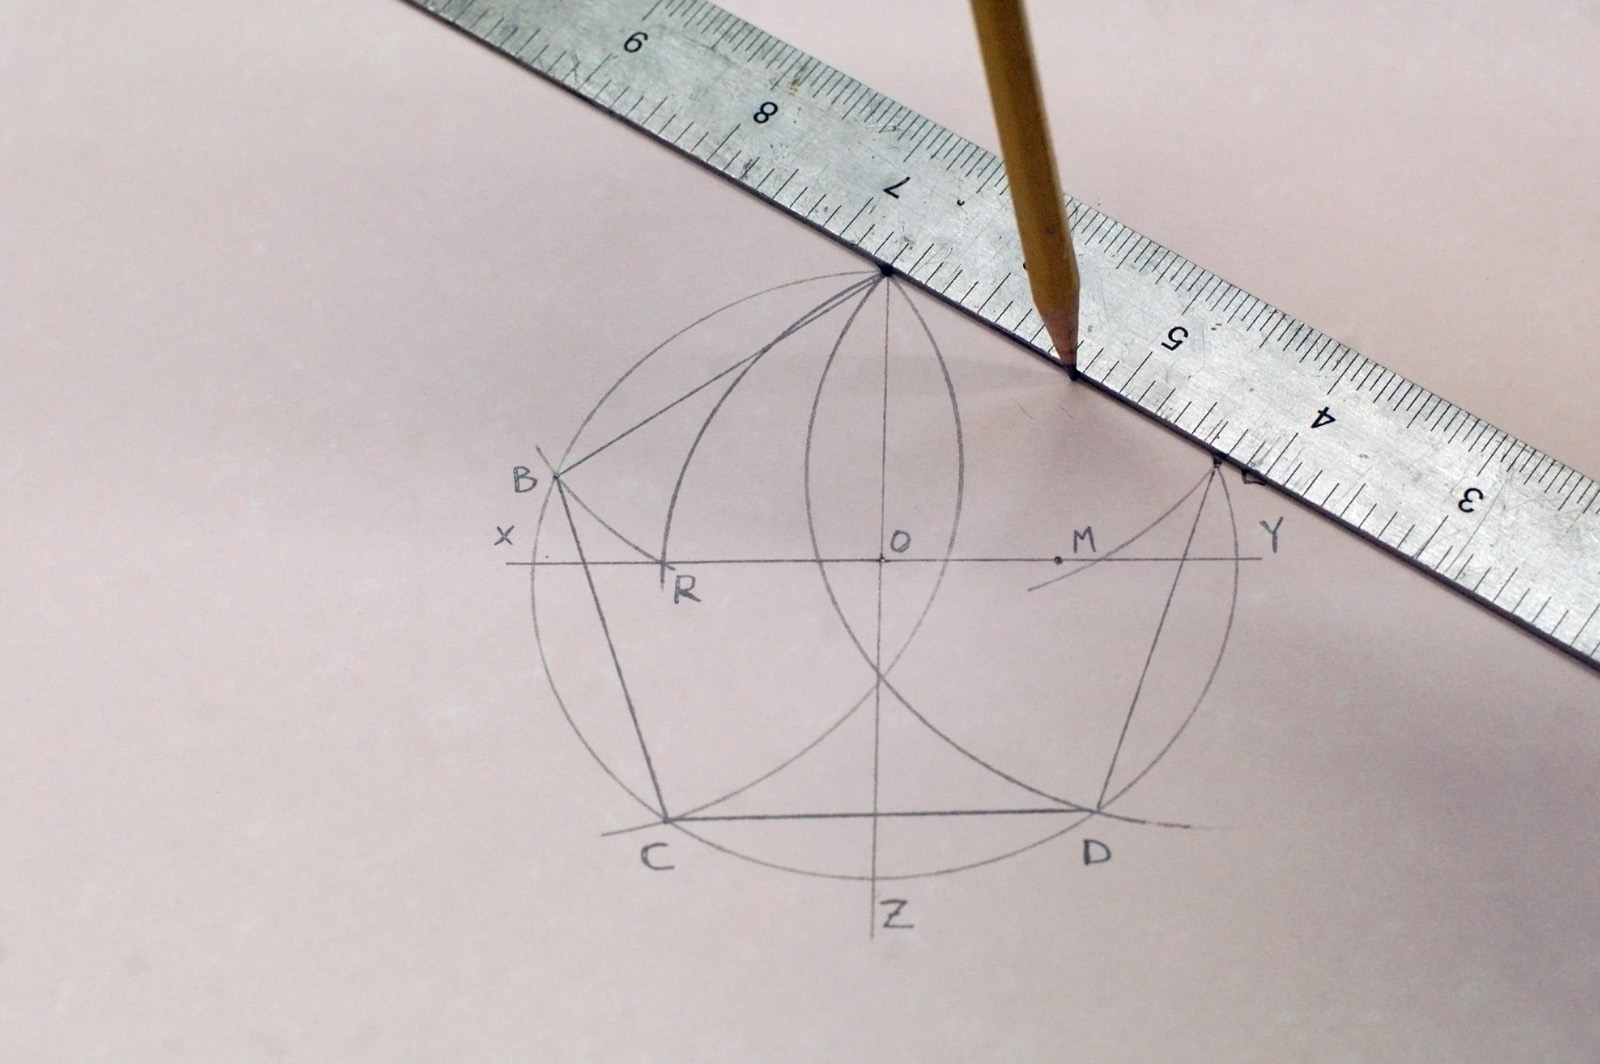
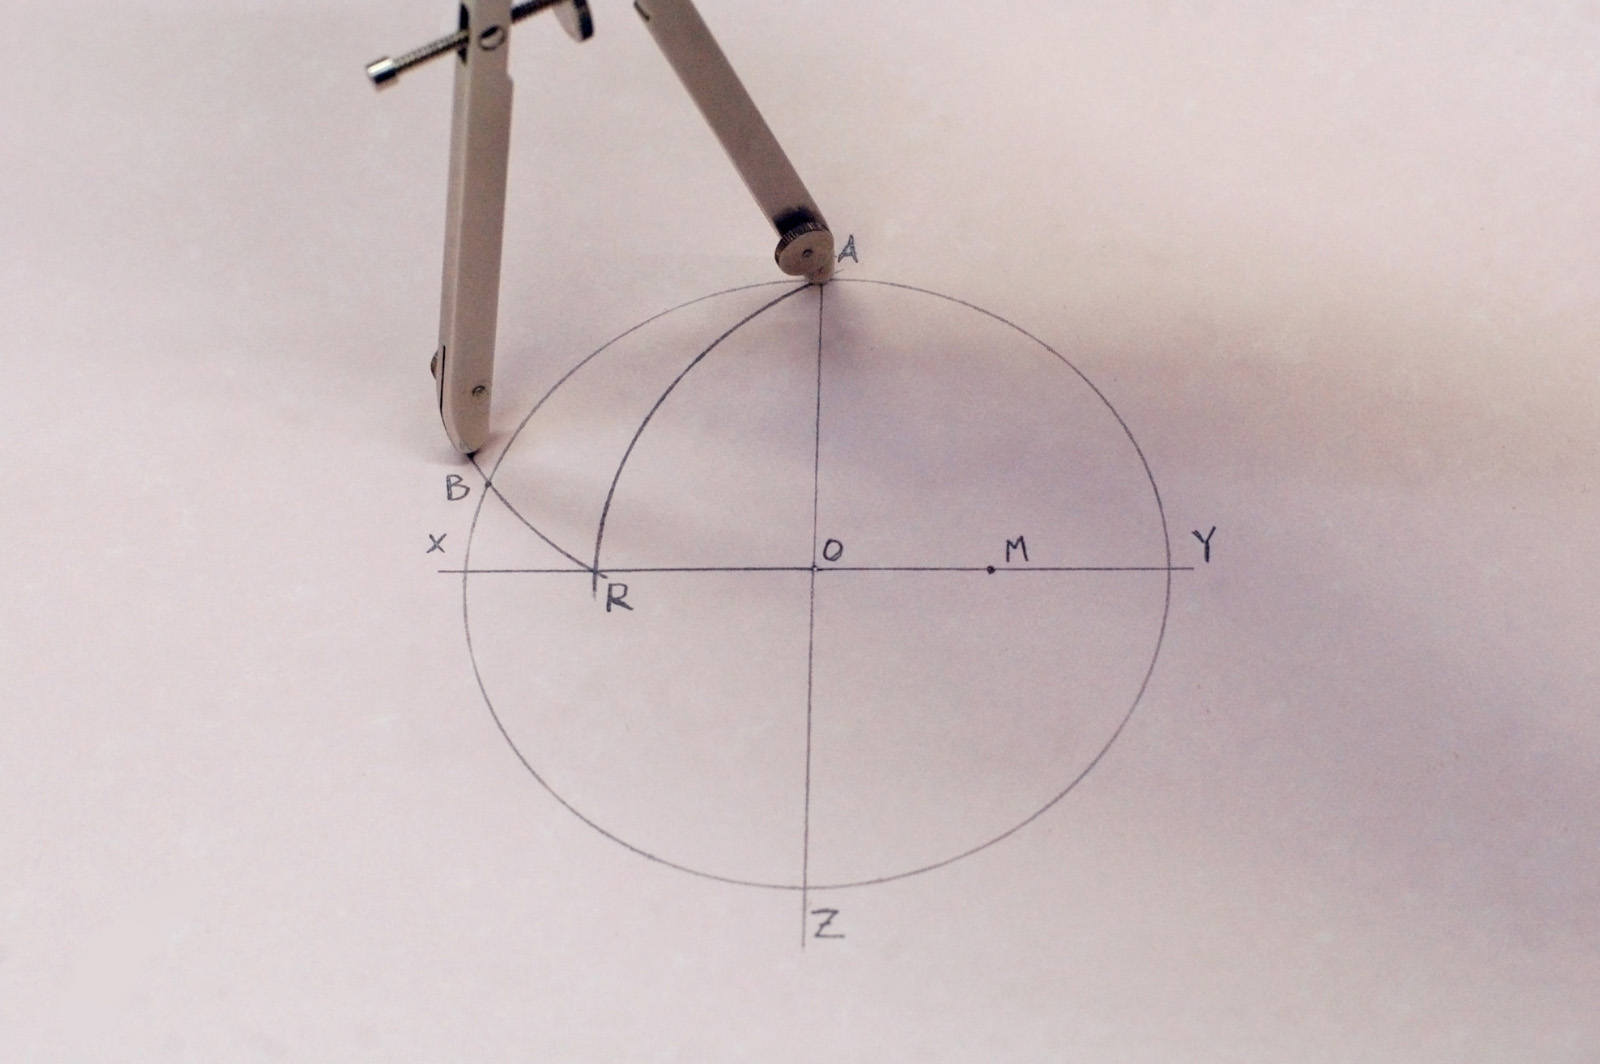
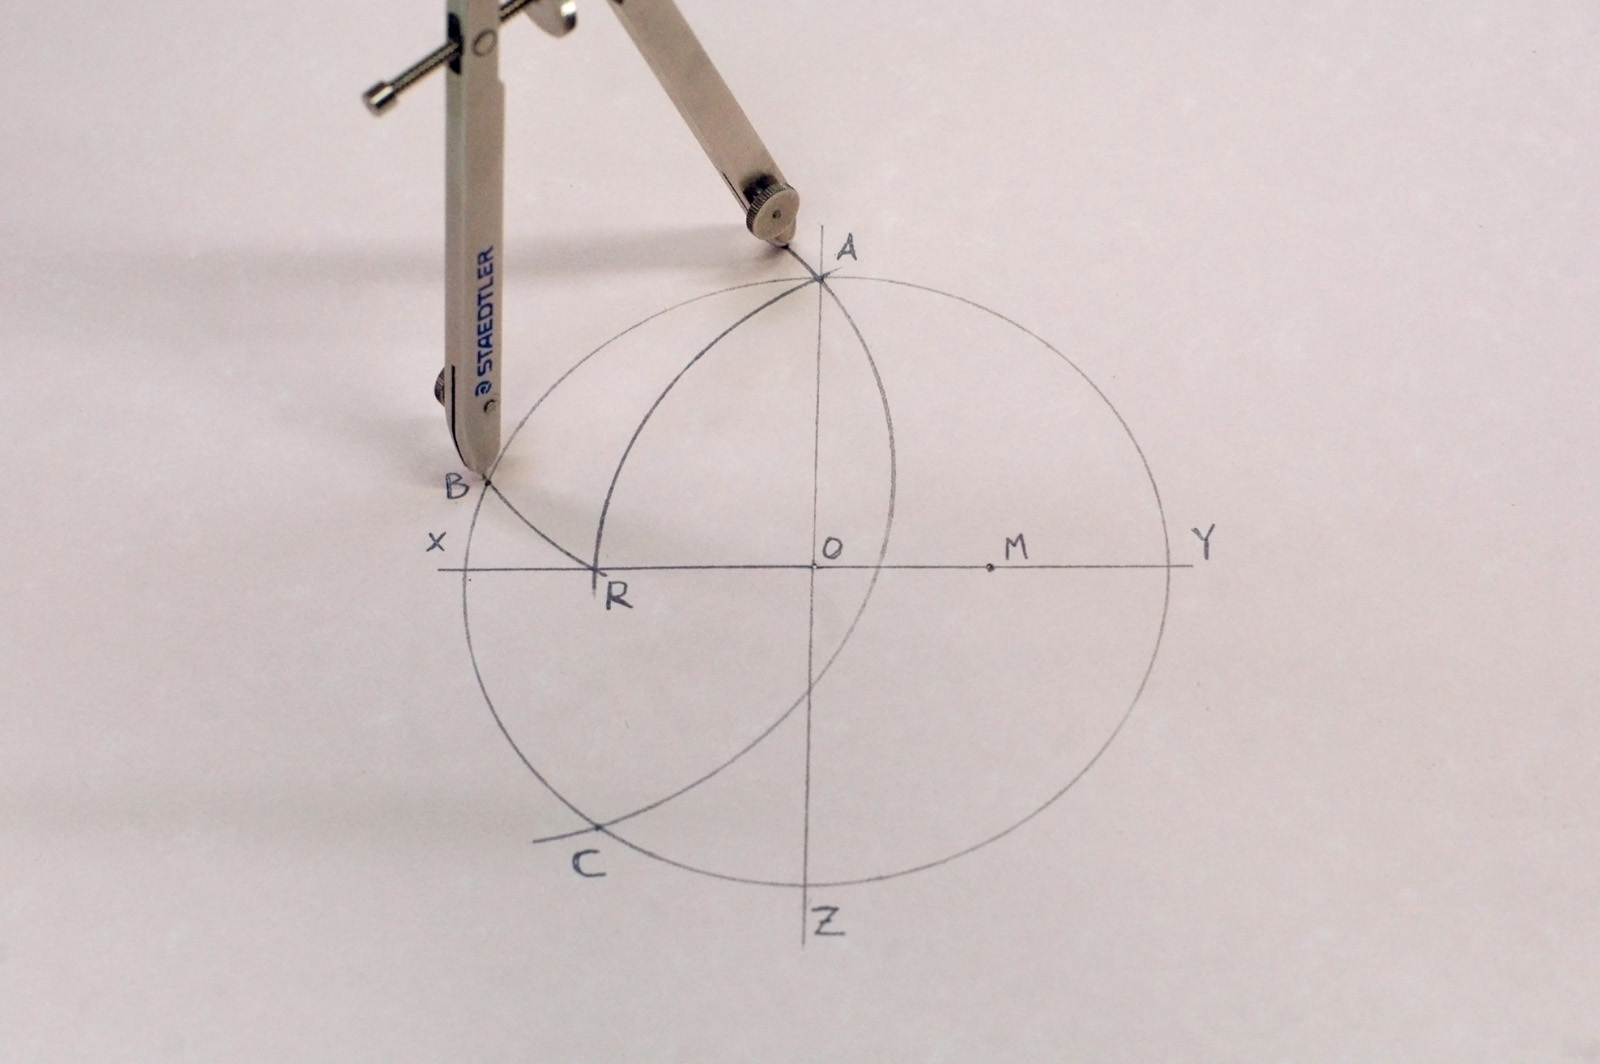
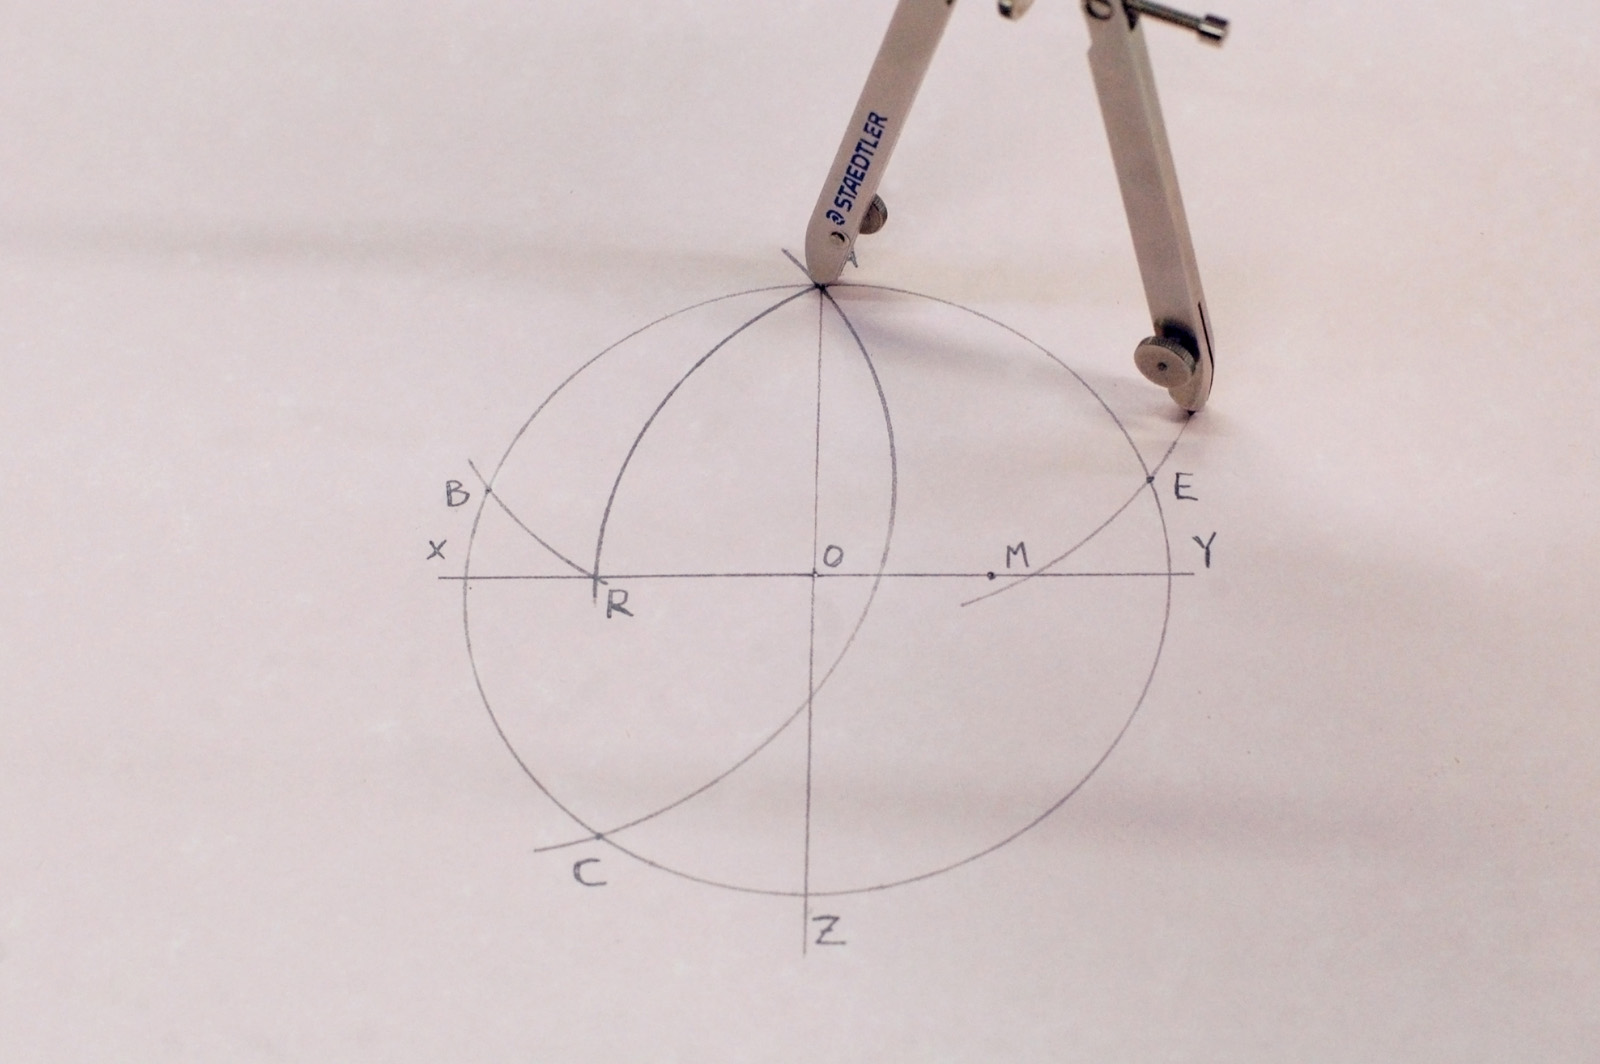
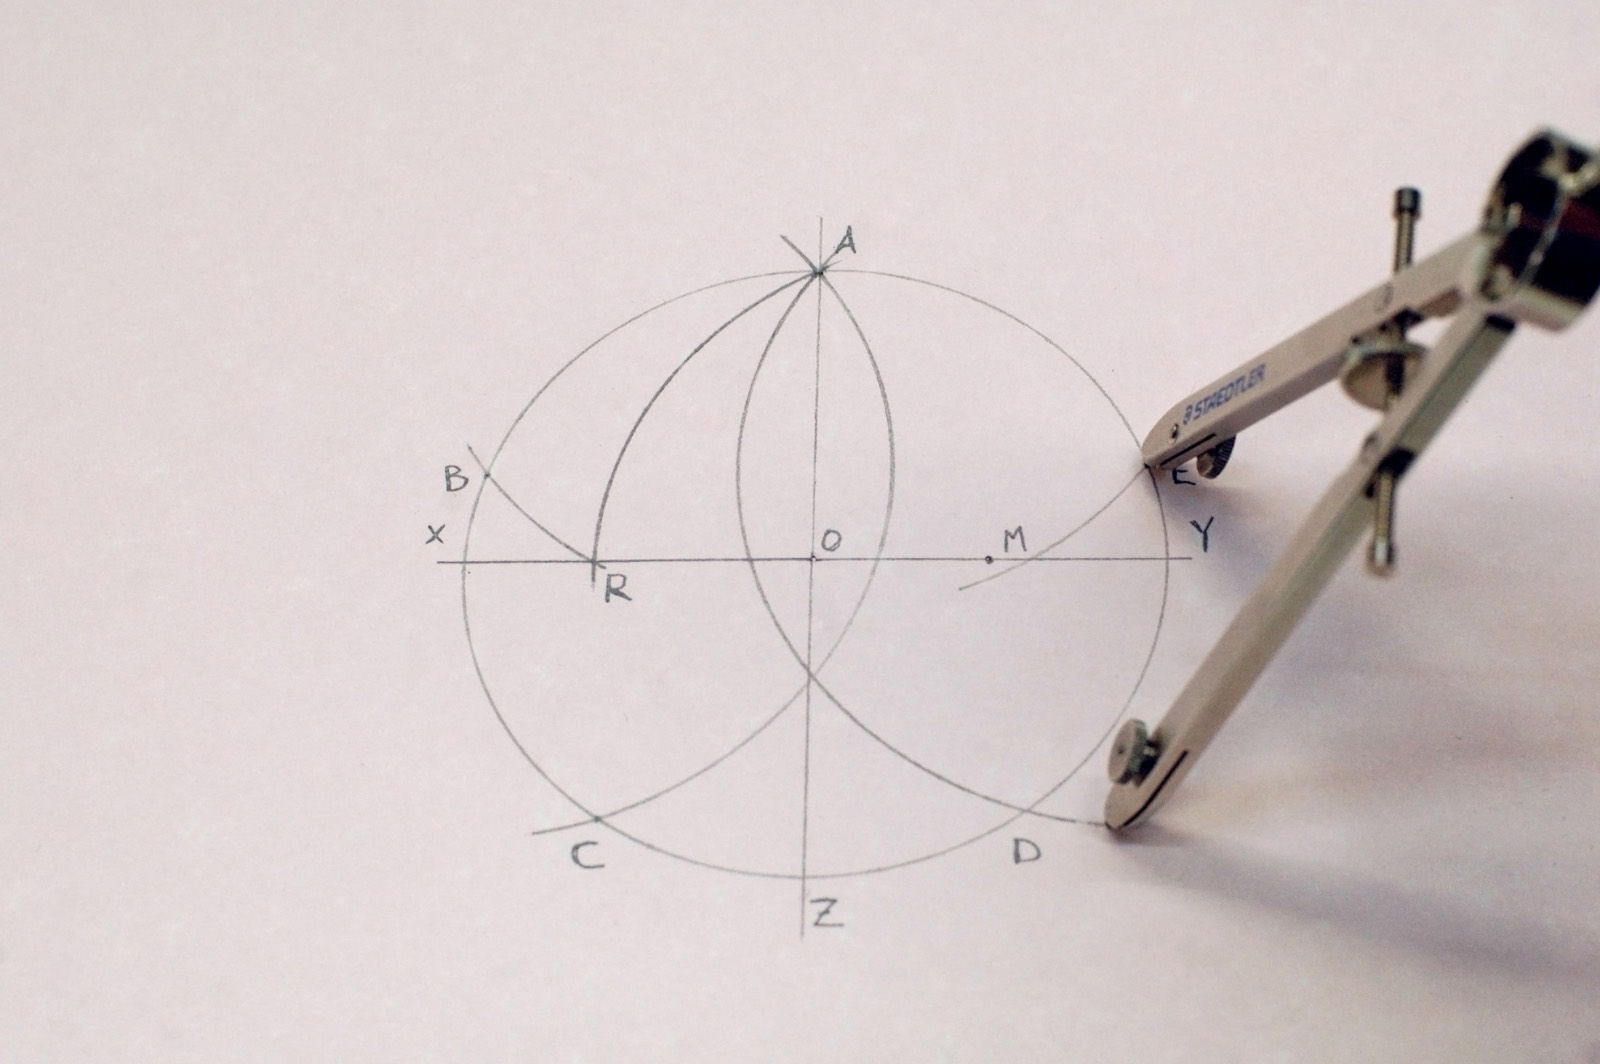
Because the shape of the sapphire is trilaterally symmetrical, I used my compass and bevel gauge to make sure all three parts were drawn the same.

Cutting and shaping
Cutting and shaping

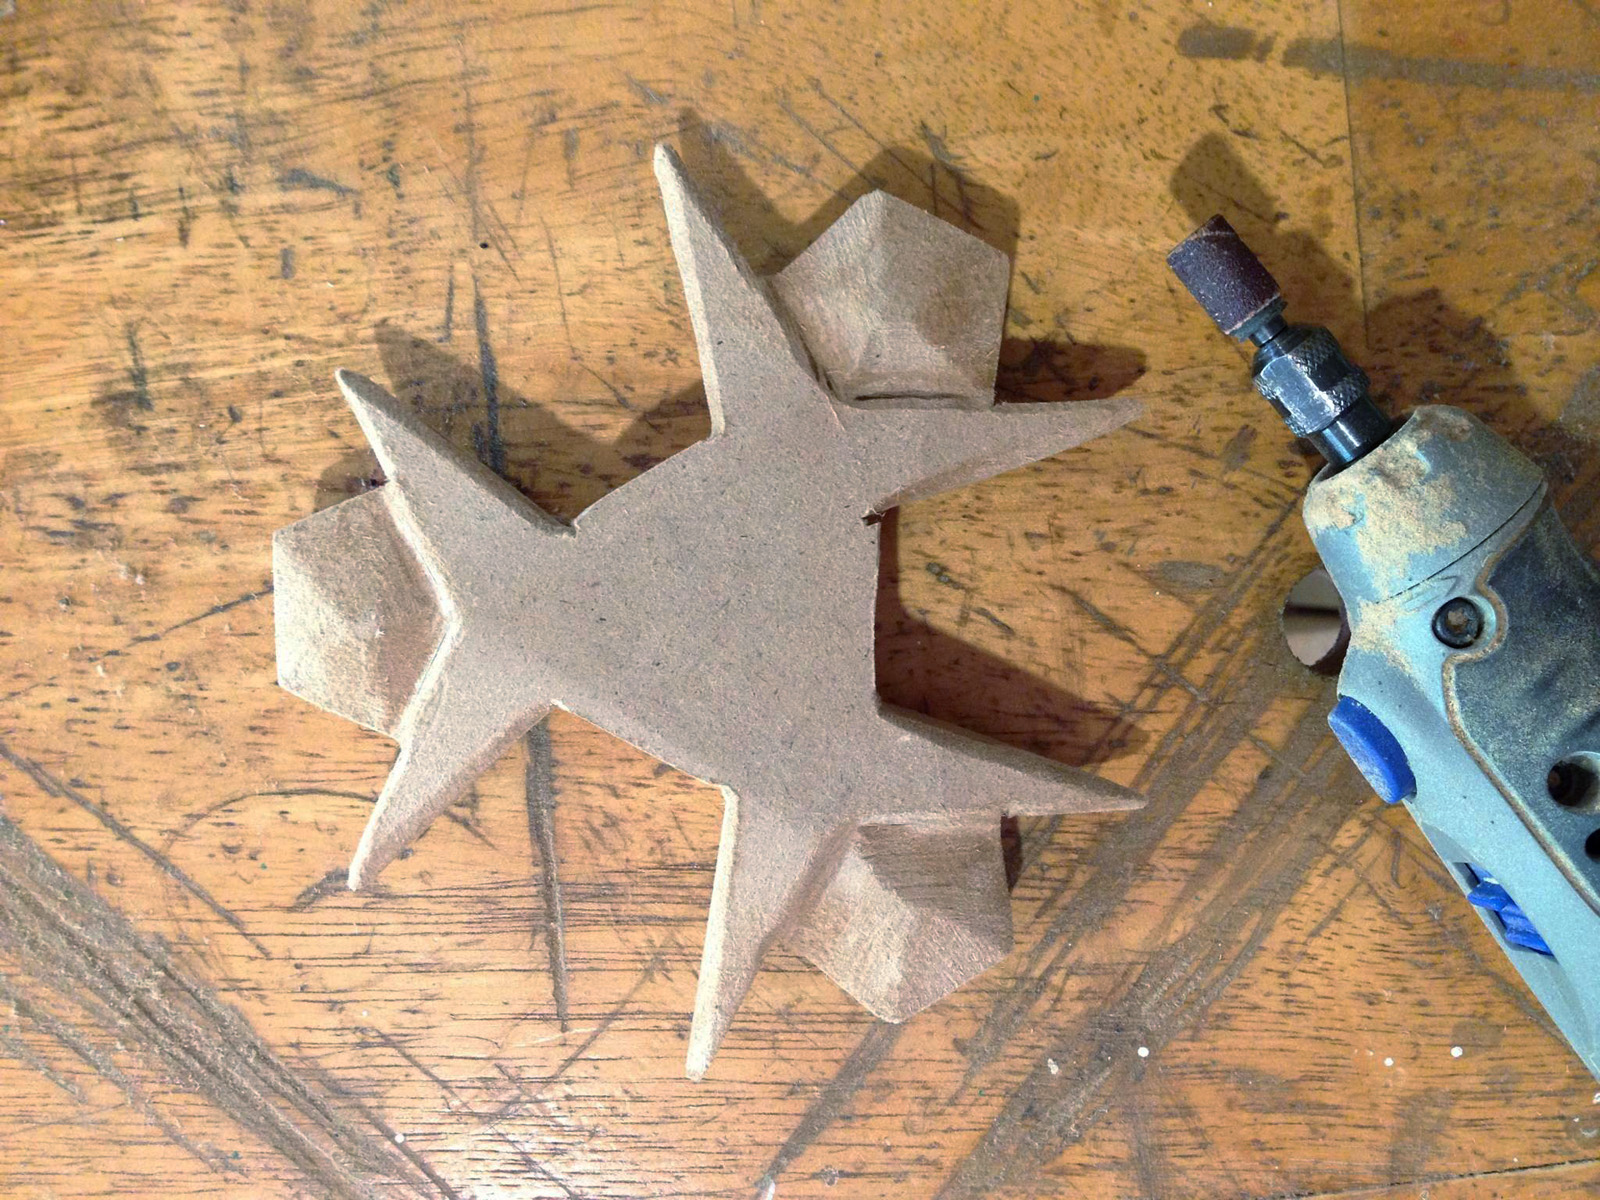
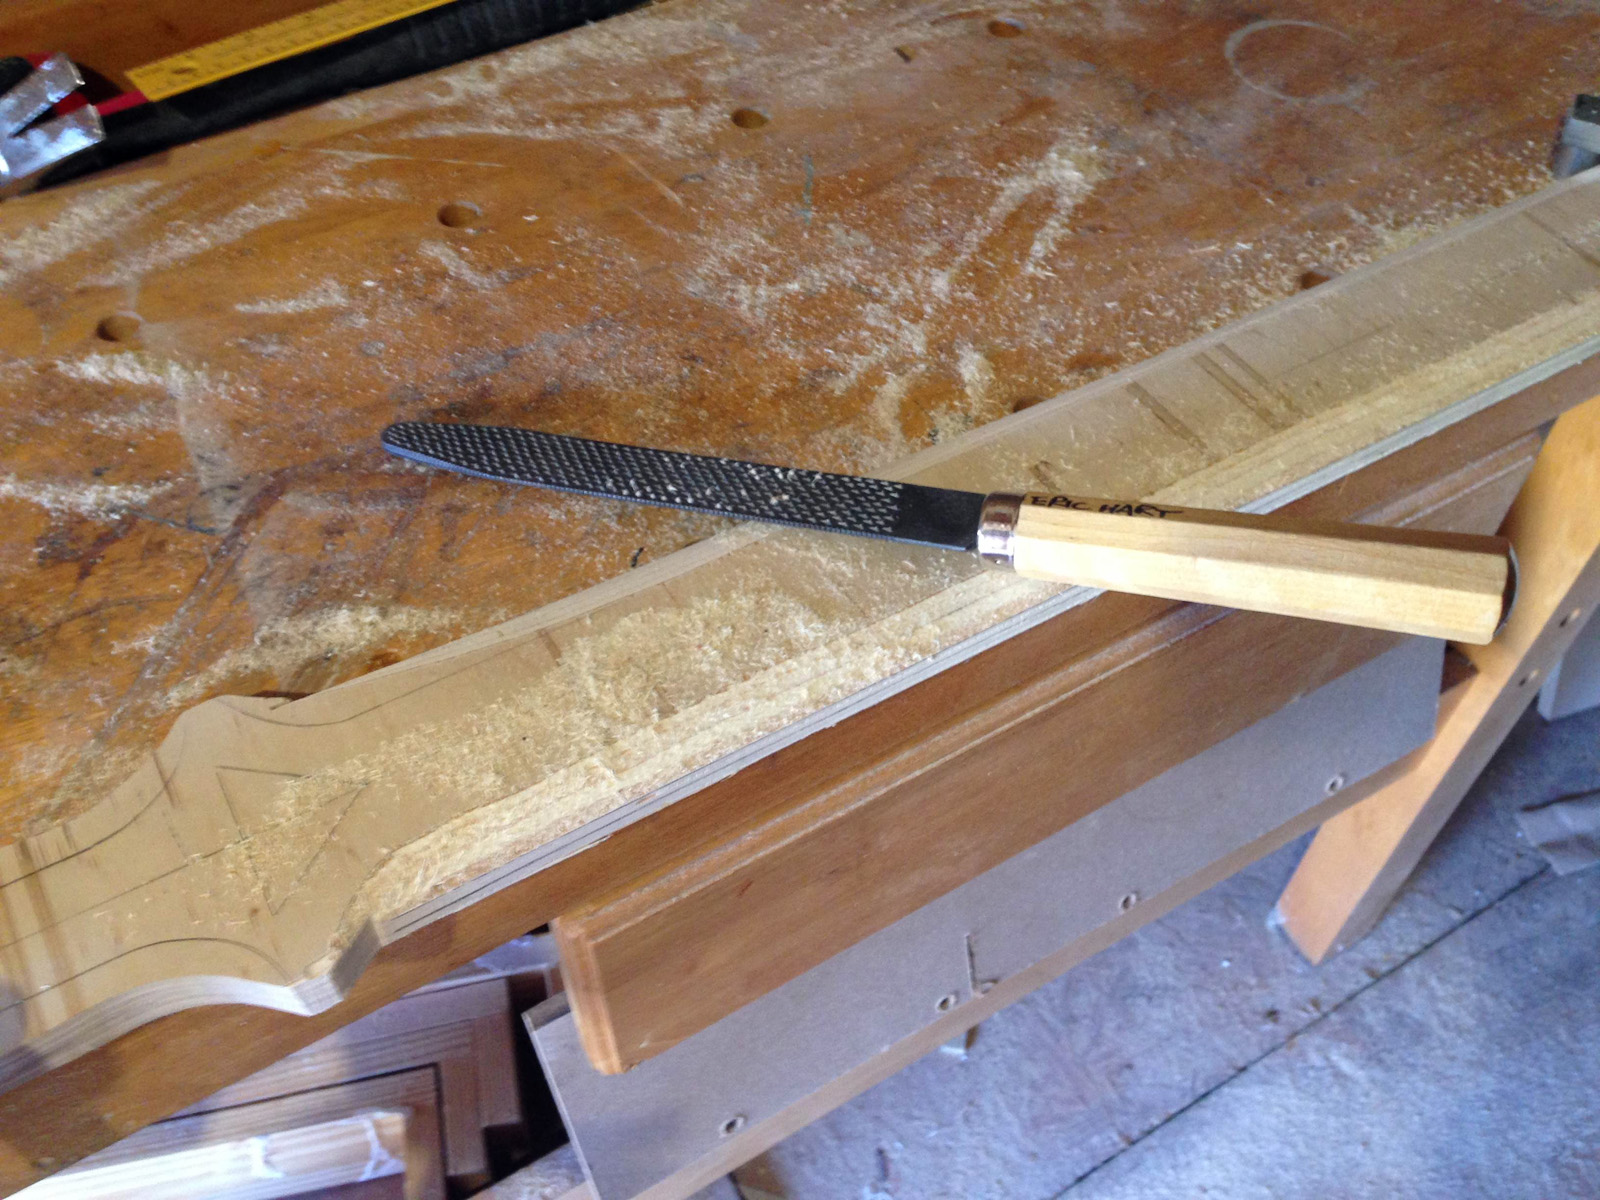
It had to be cut out with the jigsaw and cleaned up by hand with files. Some further shaping was done with the Dremel.

Kokiri's Emerald
Kokiri’s Emerald

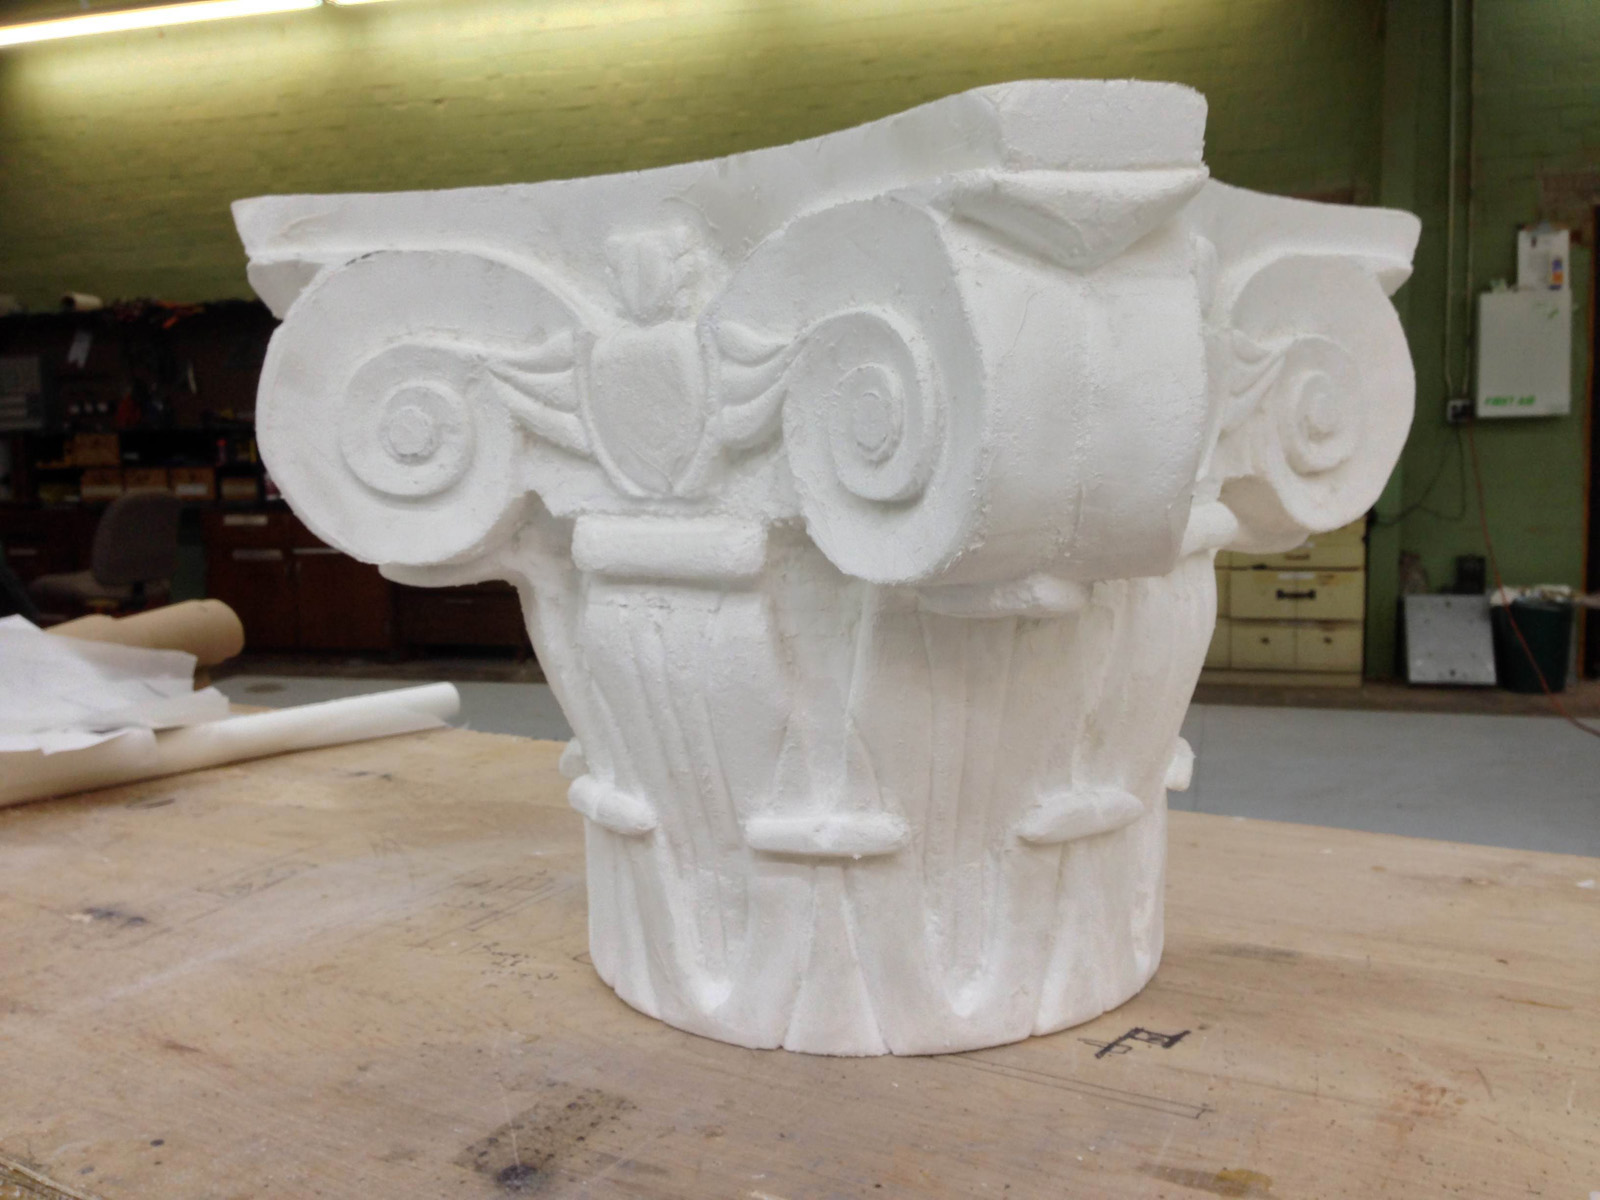
Once finished, the pieces just needed to be primed and painted. The emerald was painted with the stone already attached. For the others, I painted the settings first, and then the stones were glued in (so I didn’t have to mask anything).

Spiritual Stones
Spiritual Stones

Of course, it always helps to take cool photographs of your props. One day, I’ll get around to posting a quick tutorial on photography.

Legend of Zelda Master Sword

A while back I wrote about some rupees I made for a Legend of Zelda musical. The group doing the musical is called The League of Extraordinary Thespians, and I made a few more props for them, such as Link’s Master Sword.

Making the pattern
Making the pattern

The musical is based off of The Ocarina of Time video game, so first I had to find some accurate reference images from the game. From those, I drew out a paper pattern for the blades.

Layout for bevel
Layout for bevel

After cutting the pattern out of plywood, I made another pattern to find the bevel on the blade. I was working on three swords (one for Link, one for Dark Link, and one for a lobby display) so taking the time to make these patterns saved a lot of time in the long run.

Shaping the blade
Shaping the blade

I used a rasp and block sander to shape the blade.

Pommel and Shoulder
Pommel and Shoulder

I turned some of the handle and guard parts on a lathe. The quillon block (otherwise known as the écusson) is just a slice of PVC pipe.

Adding the quillons
Adding the quillons

For the rest of the detail on the guard, I used pieces of MDF which I shaped with my belt sander and fine tuned with a Dremel.

Continue reading Legend of Zelda Master Sword

Rupees from Legend of Zelda

For the last few weeks before I came out to Santa Fe, I was building some props for a local theatre group known as The League of Extraordinary Thespians. They are doing a musical of The Legend of Zelda: Ocarina of Time. The first props I finished were the rupees, which are a type of jewel used in the game to buy items (some of you may have already seen these in an Instructable I posted last week. Sorry).

I figured the best way to make a translucent gem was to vacuum form the shape. You remember my ultra-cheap vacuum former, correct? Before I could use that, I would need a form. I decided to do the front and back of each rupee separately, and then glue them together. So first, I would need to cut a piece of wood into a rupee shape.

Wood form
Wood form

You can see I’m using the (oddly-named) GRR-Ripper from Micro-Jig; it makes accurate cuts on tiny pieces in a safe and straight-forward manner. I did all the cuts with my table saw, giving me a pretty clean-looking rupee half.

Vacuum formed half
Vacuum formed half

I got a sheet of clear acrylic from Hobby Lobby. They only had it in one thickness; I’m not sure what it is exactly, but it’s less than 1/16″. I started vacuum forming the halves and trimming them out, leaving exactly what you see above.

Painted green
Painted green

Before gluing the halves together, I painted the insides. This way, the paint would never wear off, no matter how much the actors handled them.

For the green ones, I tried watering down acrylic paint. It was pretty tricky, since the paint kept wanting to bead up. Normally, you would lightly sand the surface of the plastic to help the paint adhere better, but that would kind of kill the “translucency” effect. So I bit the bullet and bought some blue and red spray paint so I could just lightly dust the other rupees.

Rupees
Rupees

I used a solvent-based glue (Amazing Goop) to glue the halves together. The glue was a bit thick and dried flexible, which helped make a stronger bond since the edges didn’t quite match up exactly.

And that is how you make a rupee!

A Capital Idea

Last week I got a call from Triad Stage, a theatre over in Greensboro, NC, to do some carving for the scene shop. I had done some foam carving in the props shop last autumn, and when another project came up, they thought of me.

Layout on the blank
Layout on the blank

They already had a blank cut to size when I arrived at the shop. This blank was cut by the foam manufacturer, and was made of two pieces glued together (it looked like they used a 2-part polyurethane foam, or even just Gorilla Glue as the adhesive). This helped immensely in getting me started, since the piece was already symmetrical and scaled to the size they wanted. I started by dividing the piece into equal pie shapes and transferring the design from the research onto the foam.

Beginning the carving

The foam they gave me was a 3 lb EPS foam, which was a lot denser than anything I had ever used before. Basically, EPS foam comes in a variety of densities, with 1 lb, 2 lb and 3 lb being the most common. The numbers come from the weight of one cubic foot of foam. So 3lb foam has three times as much polystyrene packed into the same area as 1 lb foam. Of course, EPS is the beaded foam, so it is still trickier to get a smooth surface than it is with either blue or pink foam, but those are not readily available in large blocks like this.

Adding details
Adding details

The designs on this style of classical capital are very symmetrical and repetitive, so I really only had to draw out one half of one side, and then just trace and transfer it to the other seven halves. I carved the whole thing mainly with my snap-blade knife, surform, sandpaper, and a big ol’ half-round bastard rasp. I broke out a router a couple of times to clear out some of the deep pockets; the router also helped me cut to a consistent depth around the whole piece.

Coated
Coated

Since the capital was being placed on a column high above the set and was not going to move or be handled during the show, I opted for a simple coating of joint compound to keep the cost and time down. I basically applied just enough to give it a smooth coating and a nicer surface for paint.

Finished capital
Finished capital

The design on this capital was greatly simplified to allow it to be carved in about half a week. Because it was going to be painted black and be placed high above the set in the shadows, it just needed to hit the high points of the shape so the audience would go “oh, there’s a fancy thing up there.” Or at least, that’s what the audience in my head says after the show.


How to Draw a Pentagon with a Compass

A pentagon is a five-sided shape where the sides are equal in length. It can be a useful shape in prop making; it can also serve as the basis for a five-sided star. It may be difficult to lay out with standard drafting tools, but with the method below, you can draw one with just a compass and a straight-edge.

Start off with a circle of a size that will perfectly fit your pentagon; that is, each corner of your pentagon will touch the outside of your circle.

Figure 1
Figure 1

In my circle, I have drawn two perpendicular lines which run through the center point O. Where they cross the circle, I have labeled A, X, Y and Z (A will be the top point of the pentagon, so place it accordingly).

I have bisected line OY to find point M; that is, M is exactly halfway between O and Y.

Figure 2
Figure 2

Put the point of the compass on M and extend it so the pencil touches A. Draw an arc that crosses line XO; we will call this intersection “R”.

Figure 3
Figure 3

Move the point of the compass onto A and extend it so the pencil now touches R. The radius of your compass is now equal to the length of the sides of your pentagram. When you draw an arc from R to your circle, you will find point “B”.

Figure 4
Figure 4

When you move the compass to pivot on B and draw an arc, it will cross the circle at two points: A and a new point “C”.

Figure 5
Figure 5

Returning your compass to A, draw an arc that crosses the right side of the circle to find “E”.

Figure 6
Figure 6

Move the compass to E and draw an arc to find “D”. In the picture above, I drew the arc so it crossed the circle twice, at point D and again at point A. You don’t need to actually do that.

To check that your pentagon has five equal sides, you can put the point of your compass on D. The pencil should touch C.

Figure 7
Figure 7

A, B, C, D and E are the corners of your pentagon. All that is left to do is connect them with a straight-edge. Presto! Perfect pentagons!