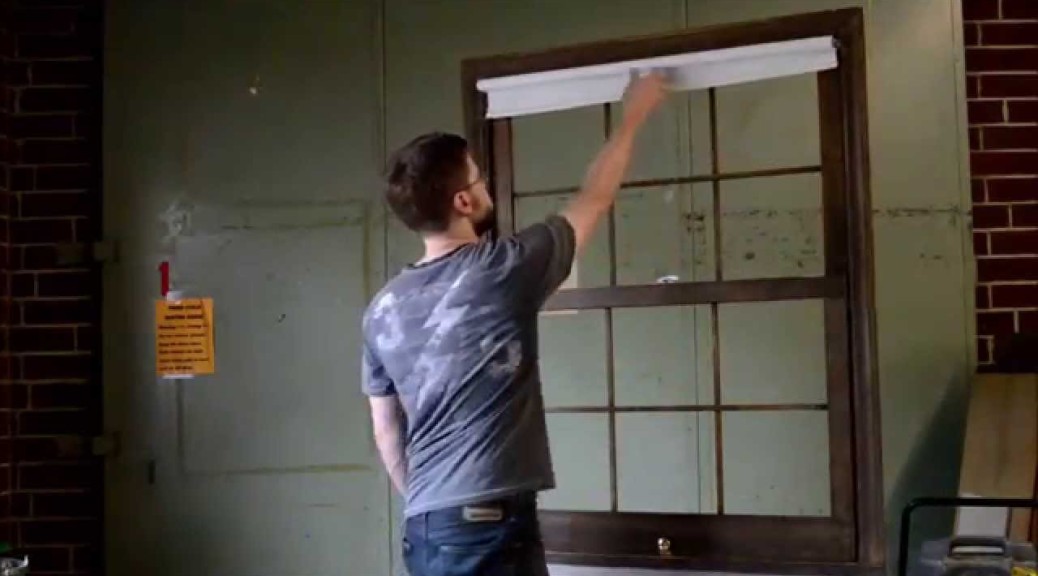
I have a new article in the October issue of Stage Directions magazine. Last fall at Triad Stage, we did 39 Steps. I already posted about the giant chandelier I made for that show. The script also calls for a number of tricks and gags. One of them is a window shade with a mind of its own.
In my article, “Get a Grip“, I go through my process of solving that problem. I start off with an initial idea, and after a few rounds of testing and modifications, come up with a gag that works. How does it work? Well, you’ll have to read the Stage Directions article for that.
I also made a little video on it. You can witness my awesome acting skills.
Last spring, I was approached by a local pastor for a project. He walked with a cane, and he had found a sword cane he liked, but the handle had broken off. He wanted to know if I could make him a new one.
He was a dedicated Doctor Who fan, and wanted a handle in the shape of a question mark. He also wanted his name inscribed in Gallifreyan on it, and painted in Midnight Metallic Blue to match his Doctor Who-themed automobile.
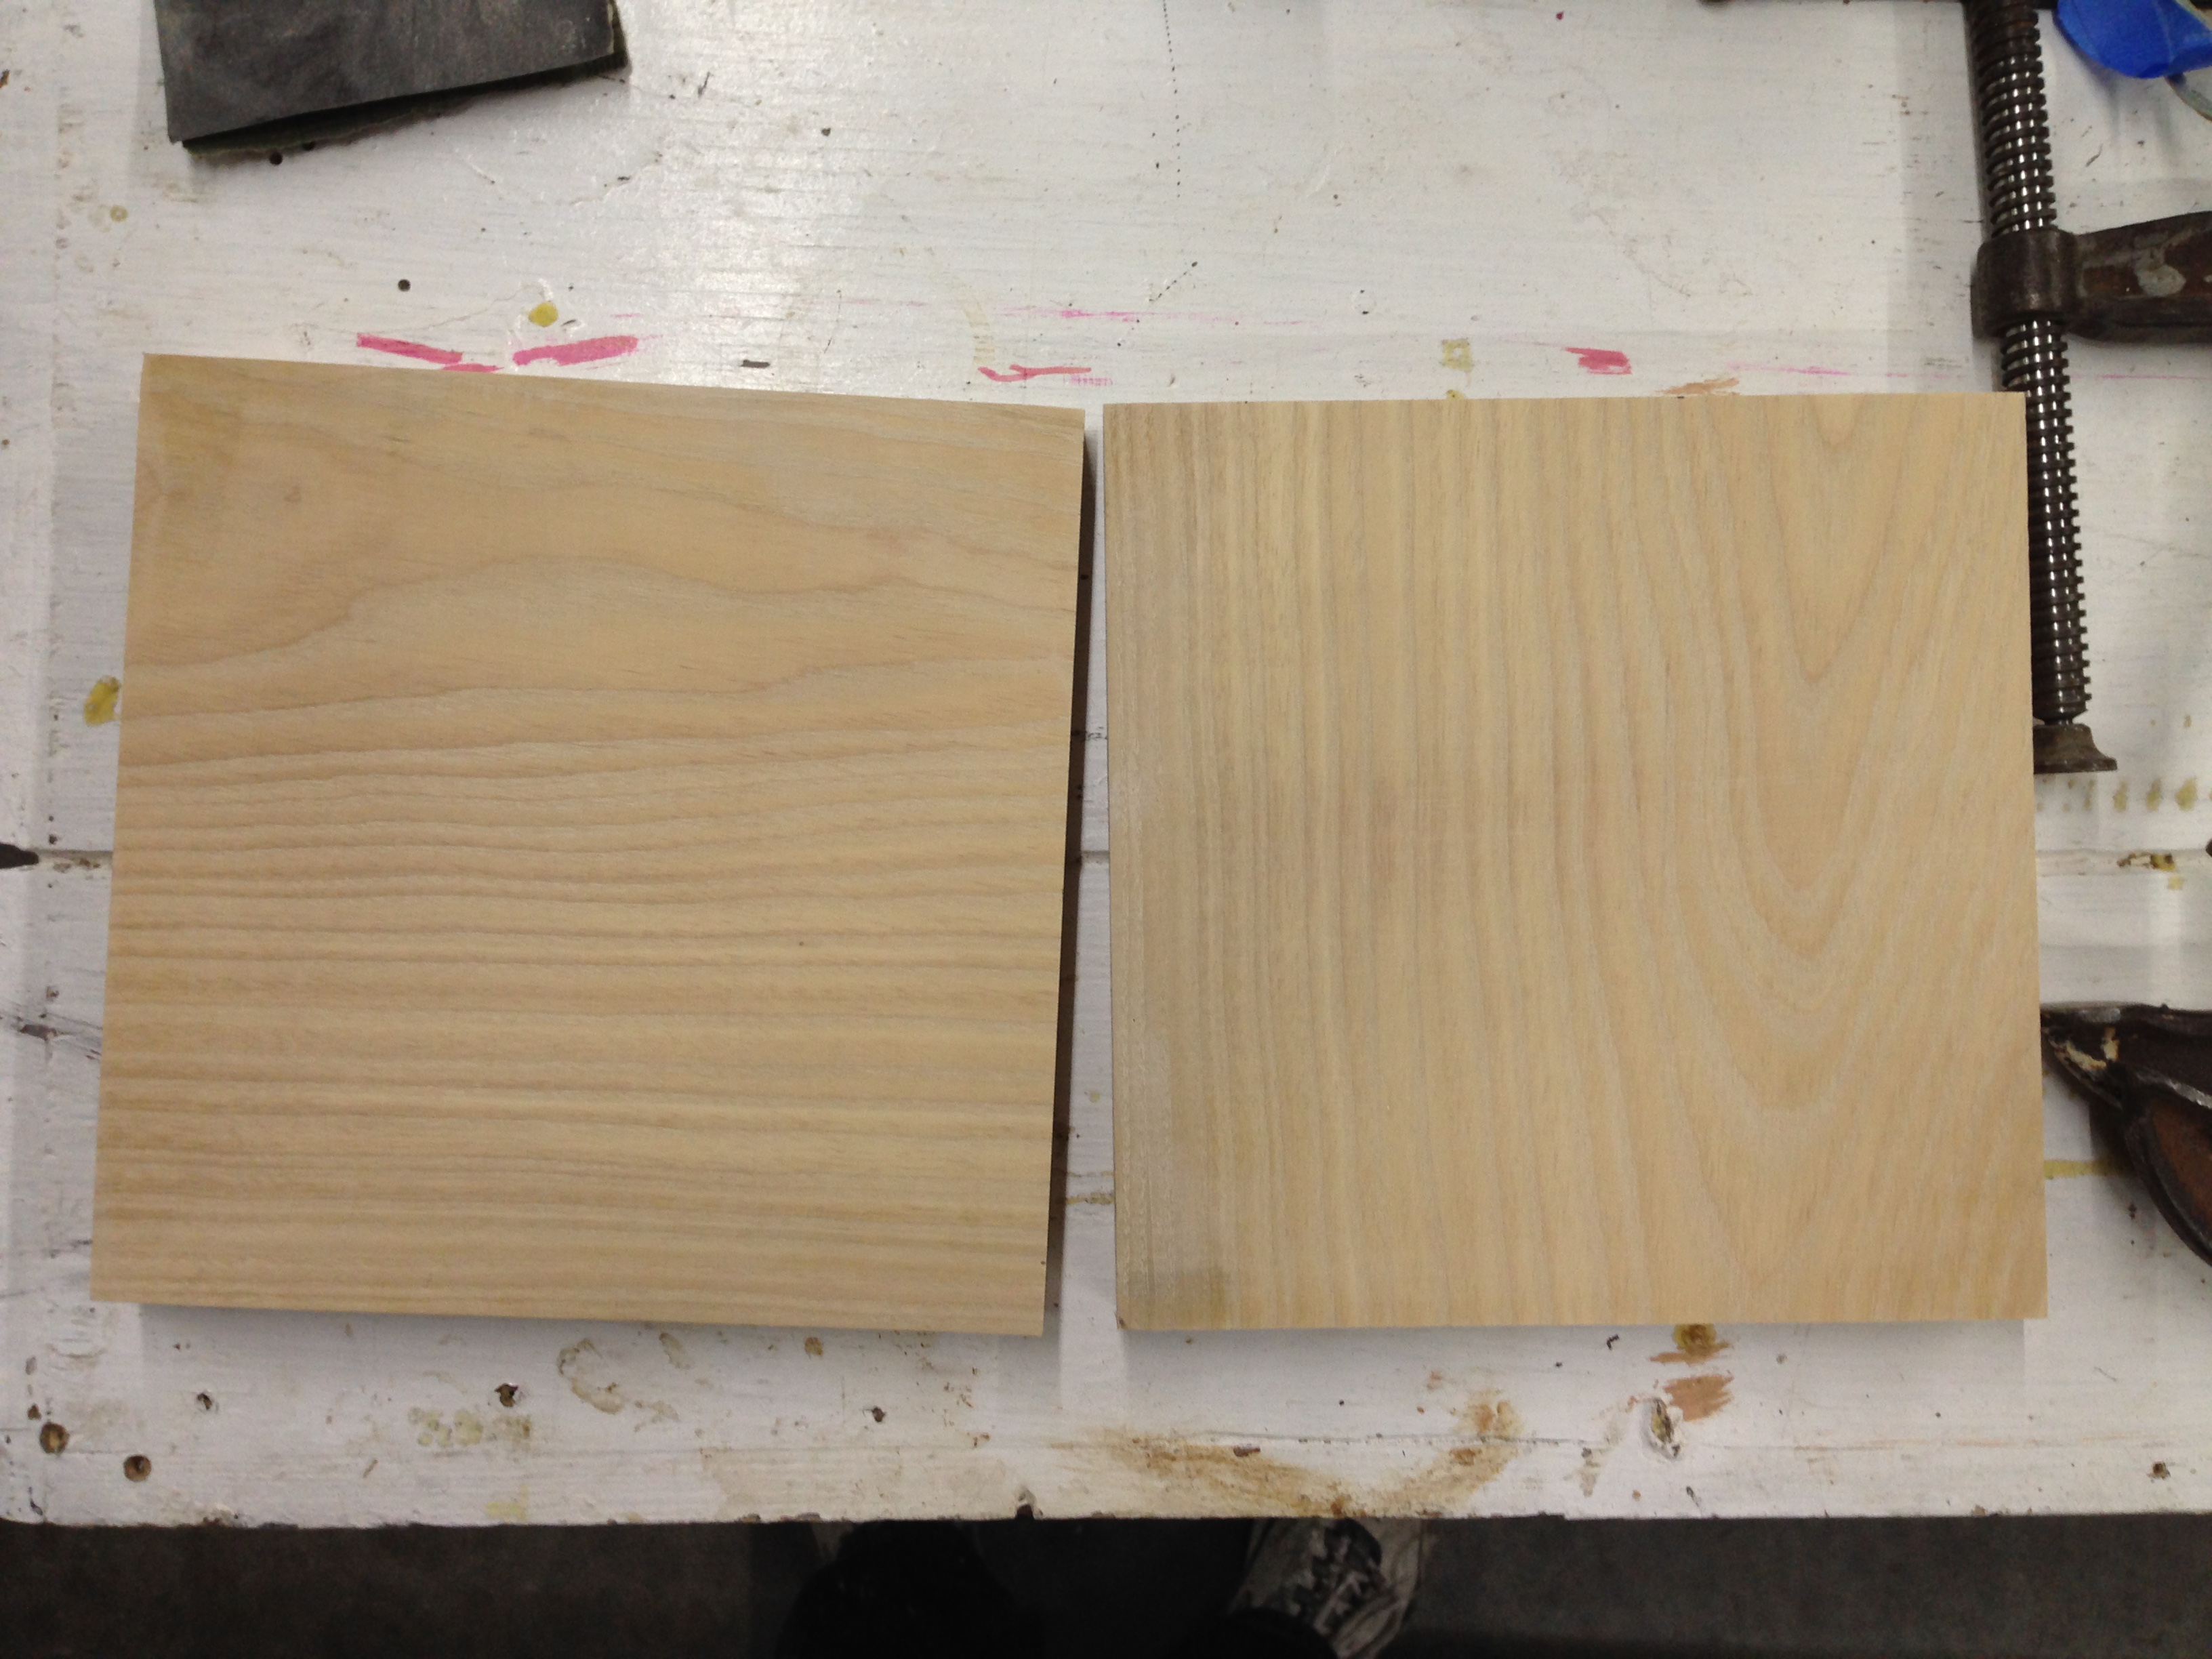
I made the handle out of some of the ash I had left over from my Game of Thrones chest. This handle would need to be strong and hold a lot of weight. The shape of the question mark made me concerned that parts of it would split no matter which way I positioned the grain. I decided to laminate two thinner pieces together with the grains running perpendicular to each other.
Preparing the boards
As you can see in the video, the shape was cut out with a jigsaw and cleaned up with a belt sander and oscillating spindle sander. I then ran it through the router table with a large round-over bit.
Cut and rounded
A Dremel and a file helped clean up and refine the shape. If you are wondering about that strange file in the video, it is a Japanese saw file. I had just gotten it and this was my first project to use it on. It rasps like butter and is easy to keep unclogged.
He wanted his name carved in Gallifreyan. Gallifrey is Doctor Who’s home planet, and the language uses a series of interlocking circles and lines to write words. I found an online Gallifreyan transliterator and plugged his name in. I adapted the result to fit the shape of the handle, and mirrored it so it was the same on both sides.
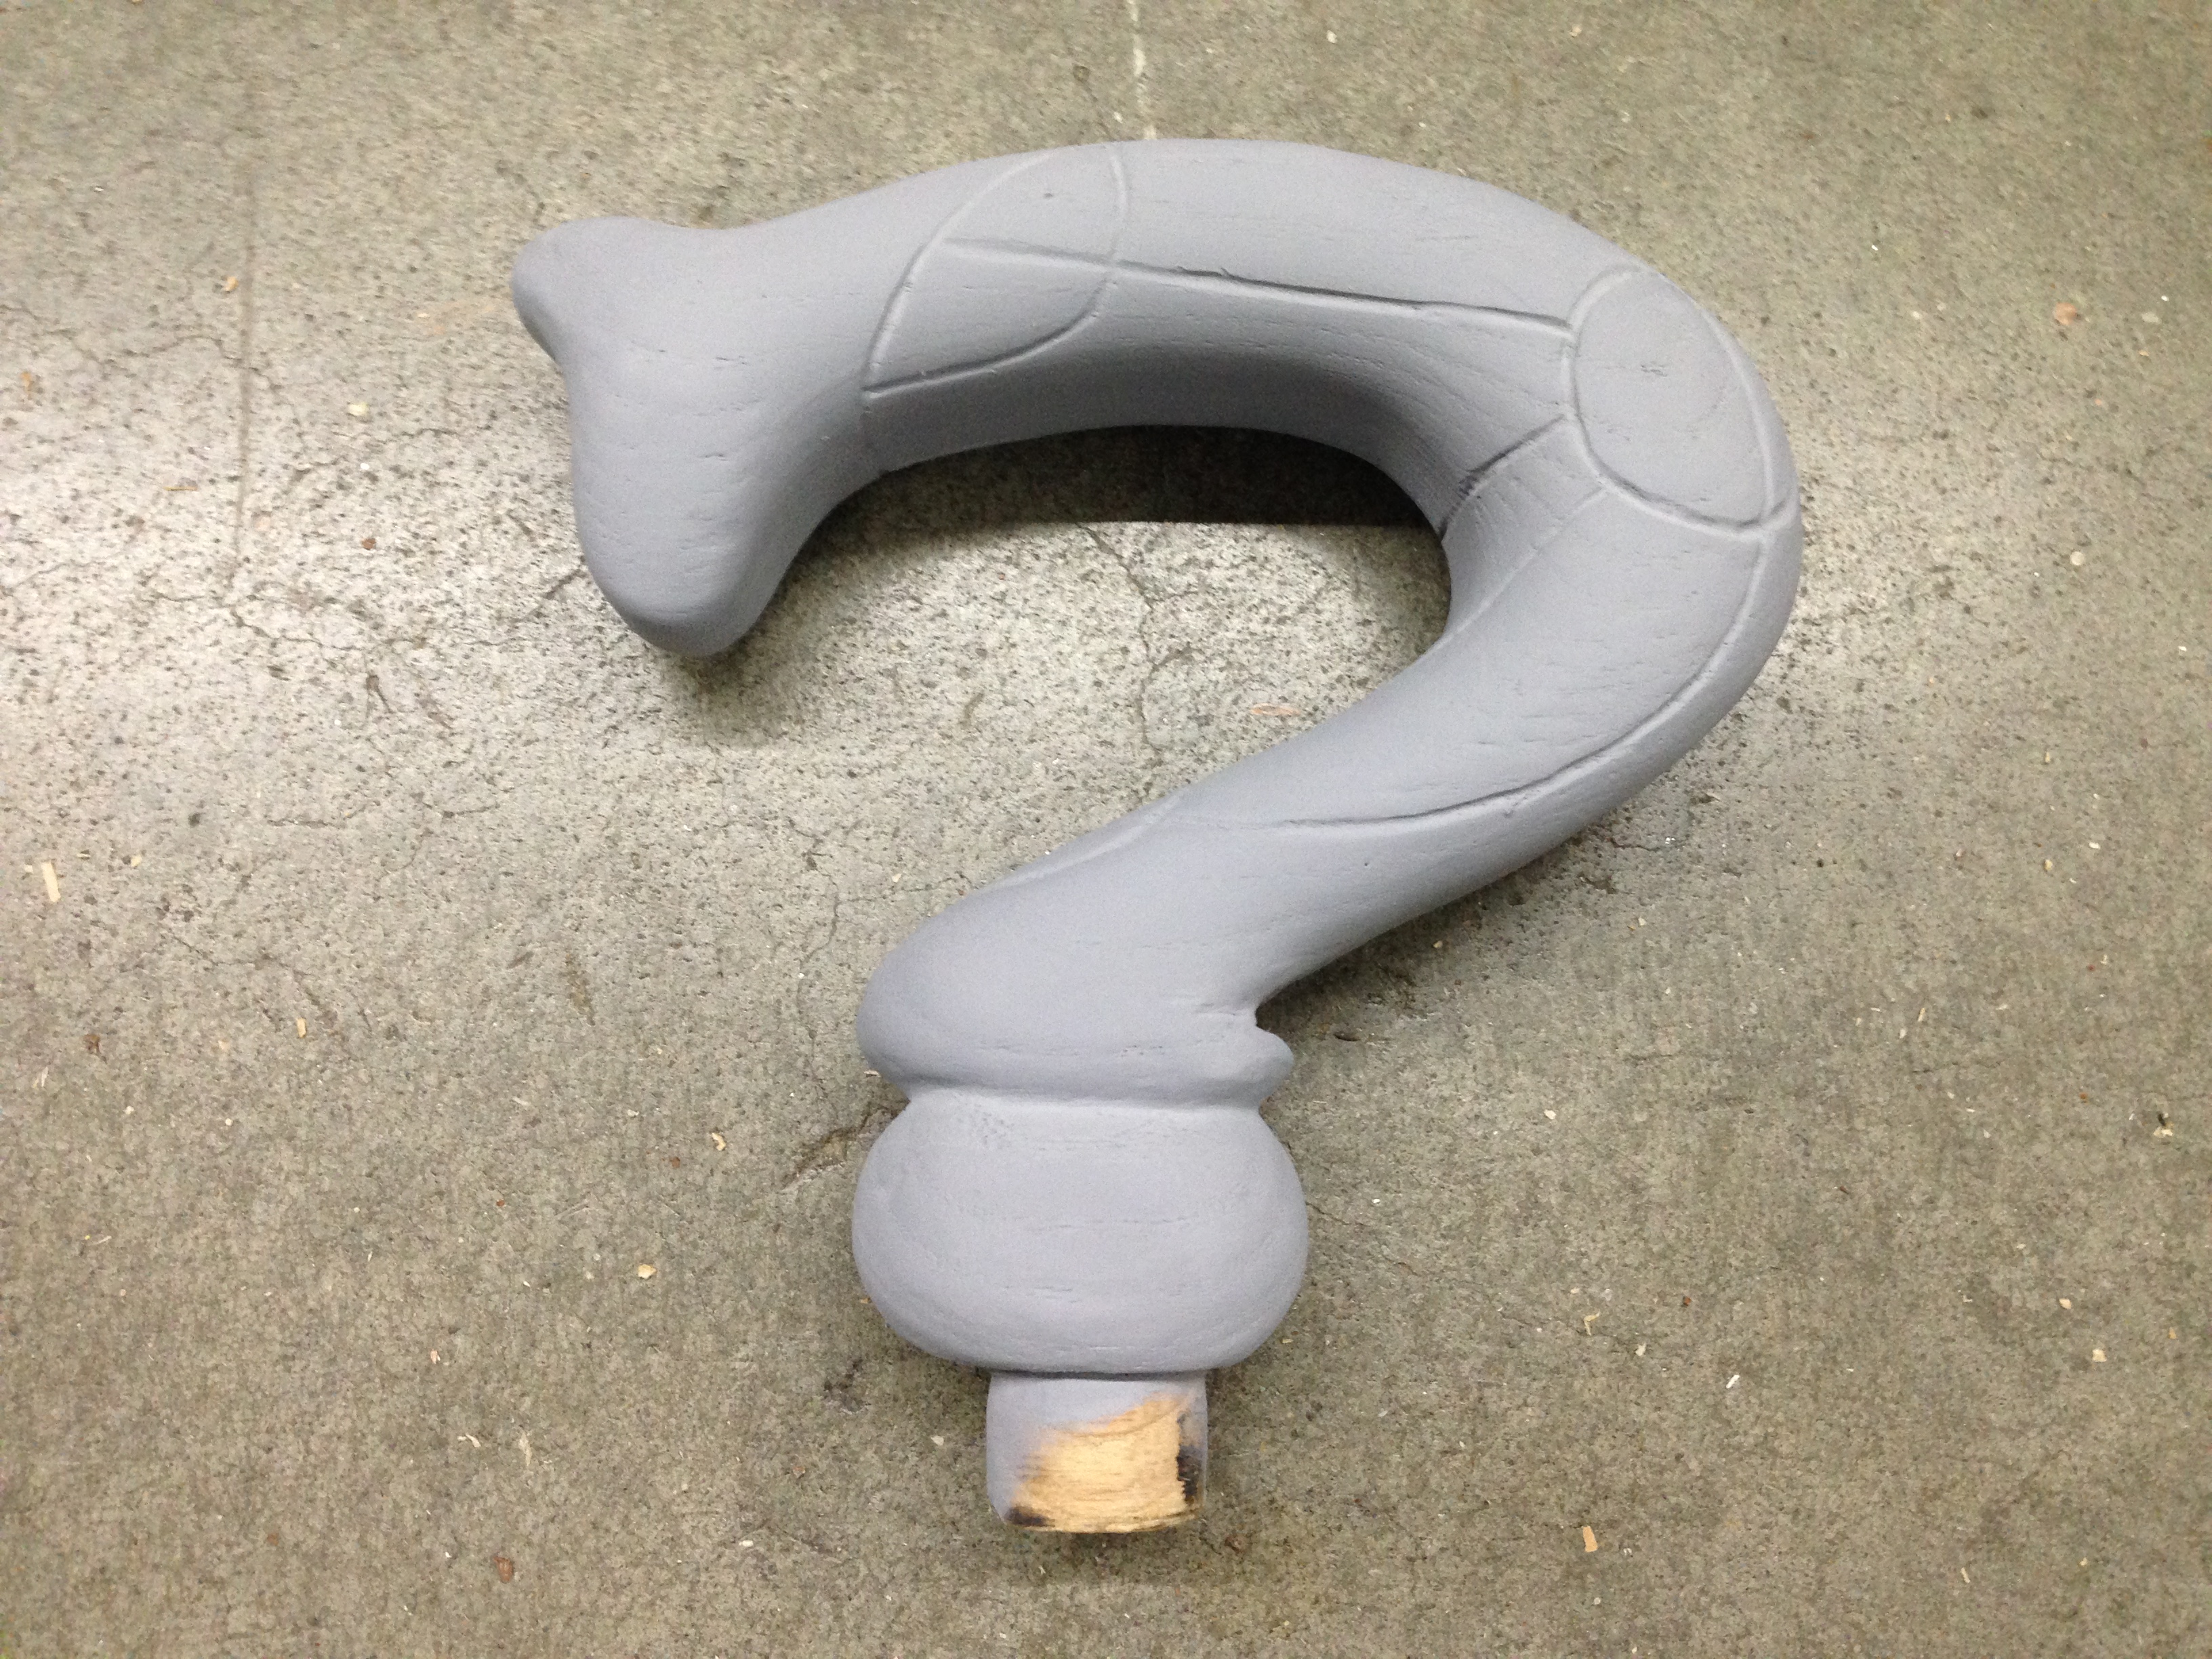
Primed
It took a few coats of filler primer and a lot of sanding to get it smooth and shiny. The last pass was a wet sanding with 600 grit sandpaper. Then I sprayed a few light coats of the Midnight Metallic Blue paint which I had ordered from an automotive paint supplier. The paint also came with its own urethane clear coat, which I applied when everything was dry.
Doctor Who Sword Cane Handle
I threaded the end onto the sword part of the cane and glued it together with epoxy. He loved the final piece. So the next time you see a preacher in the woods fighting off snakes with his Doctor Who sword cane, you know where he got it from.
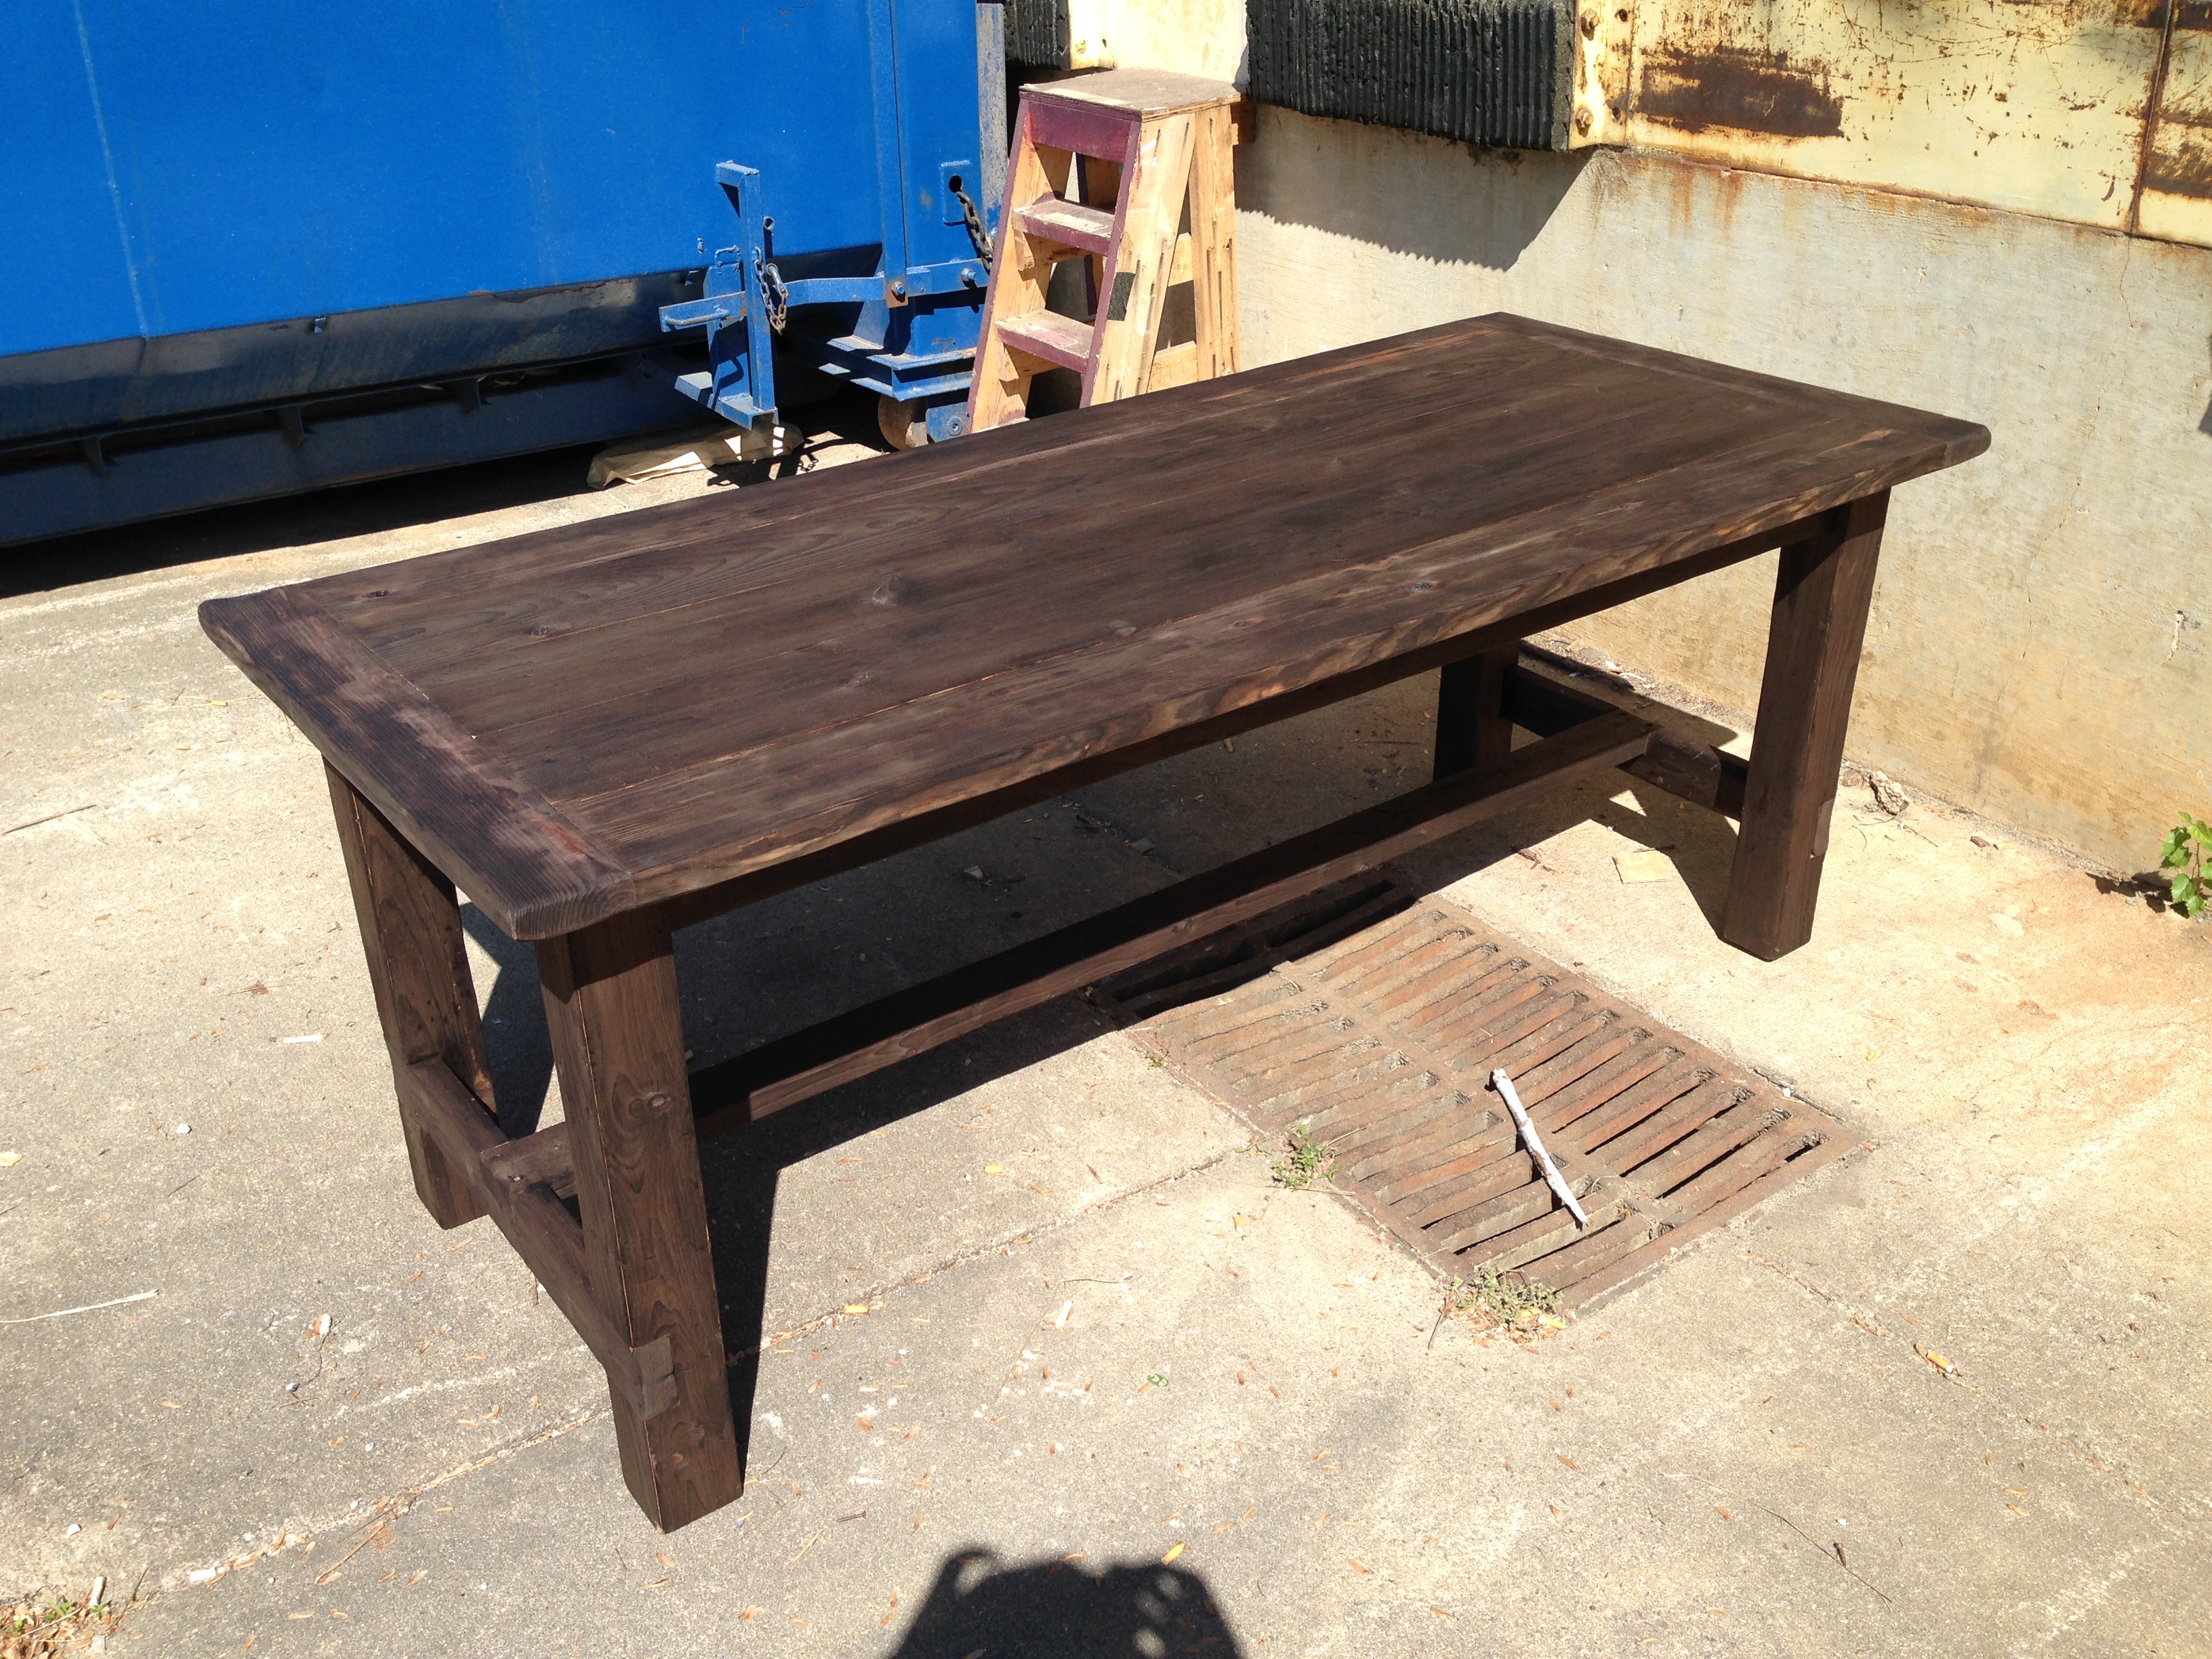
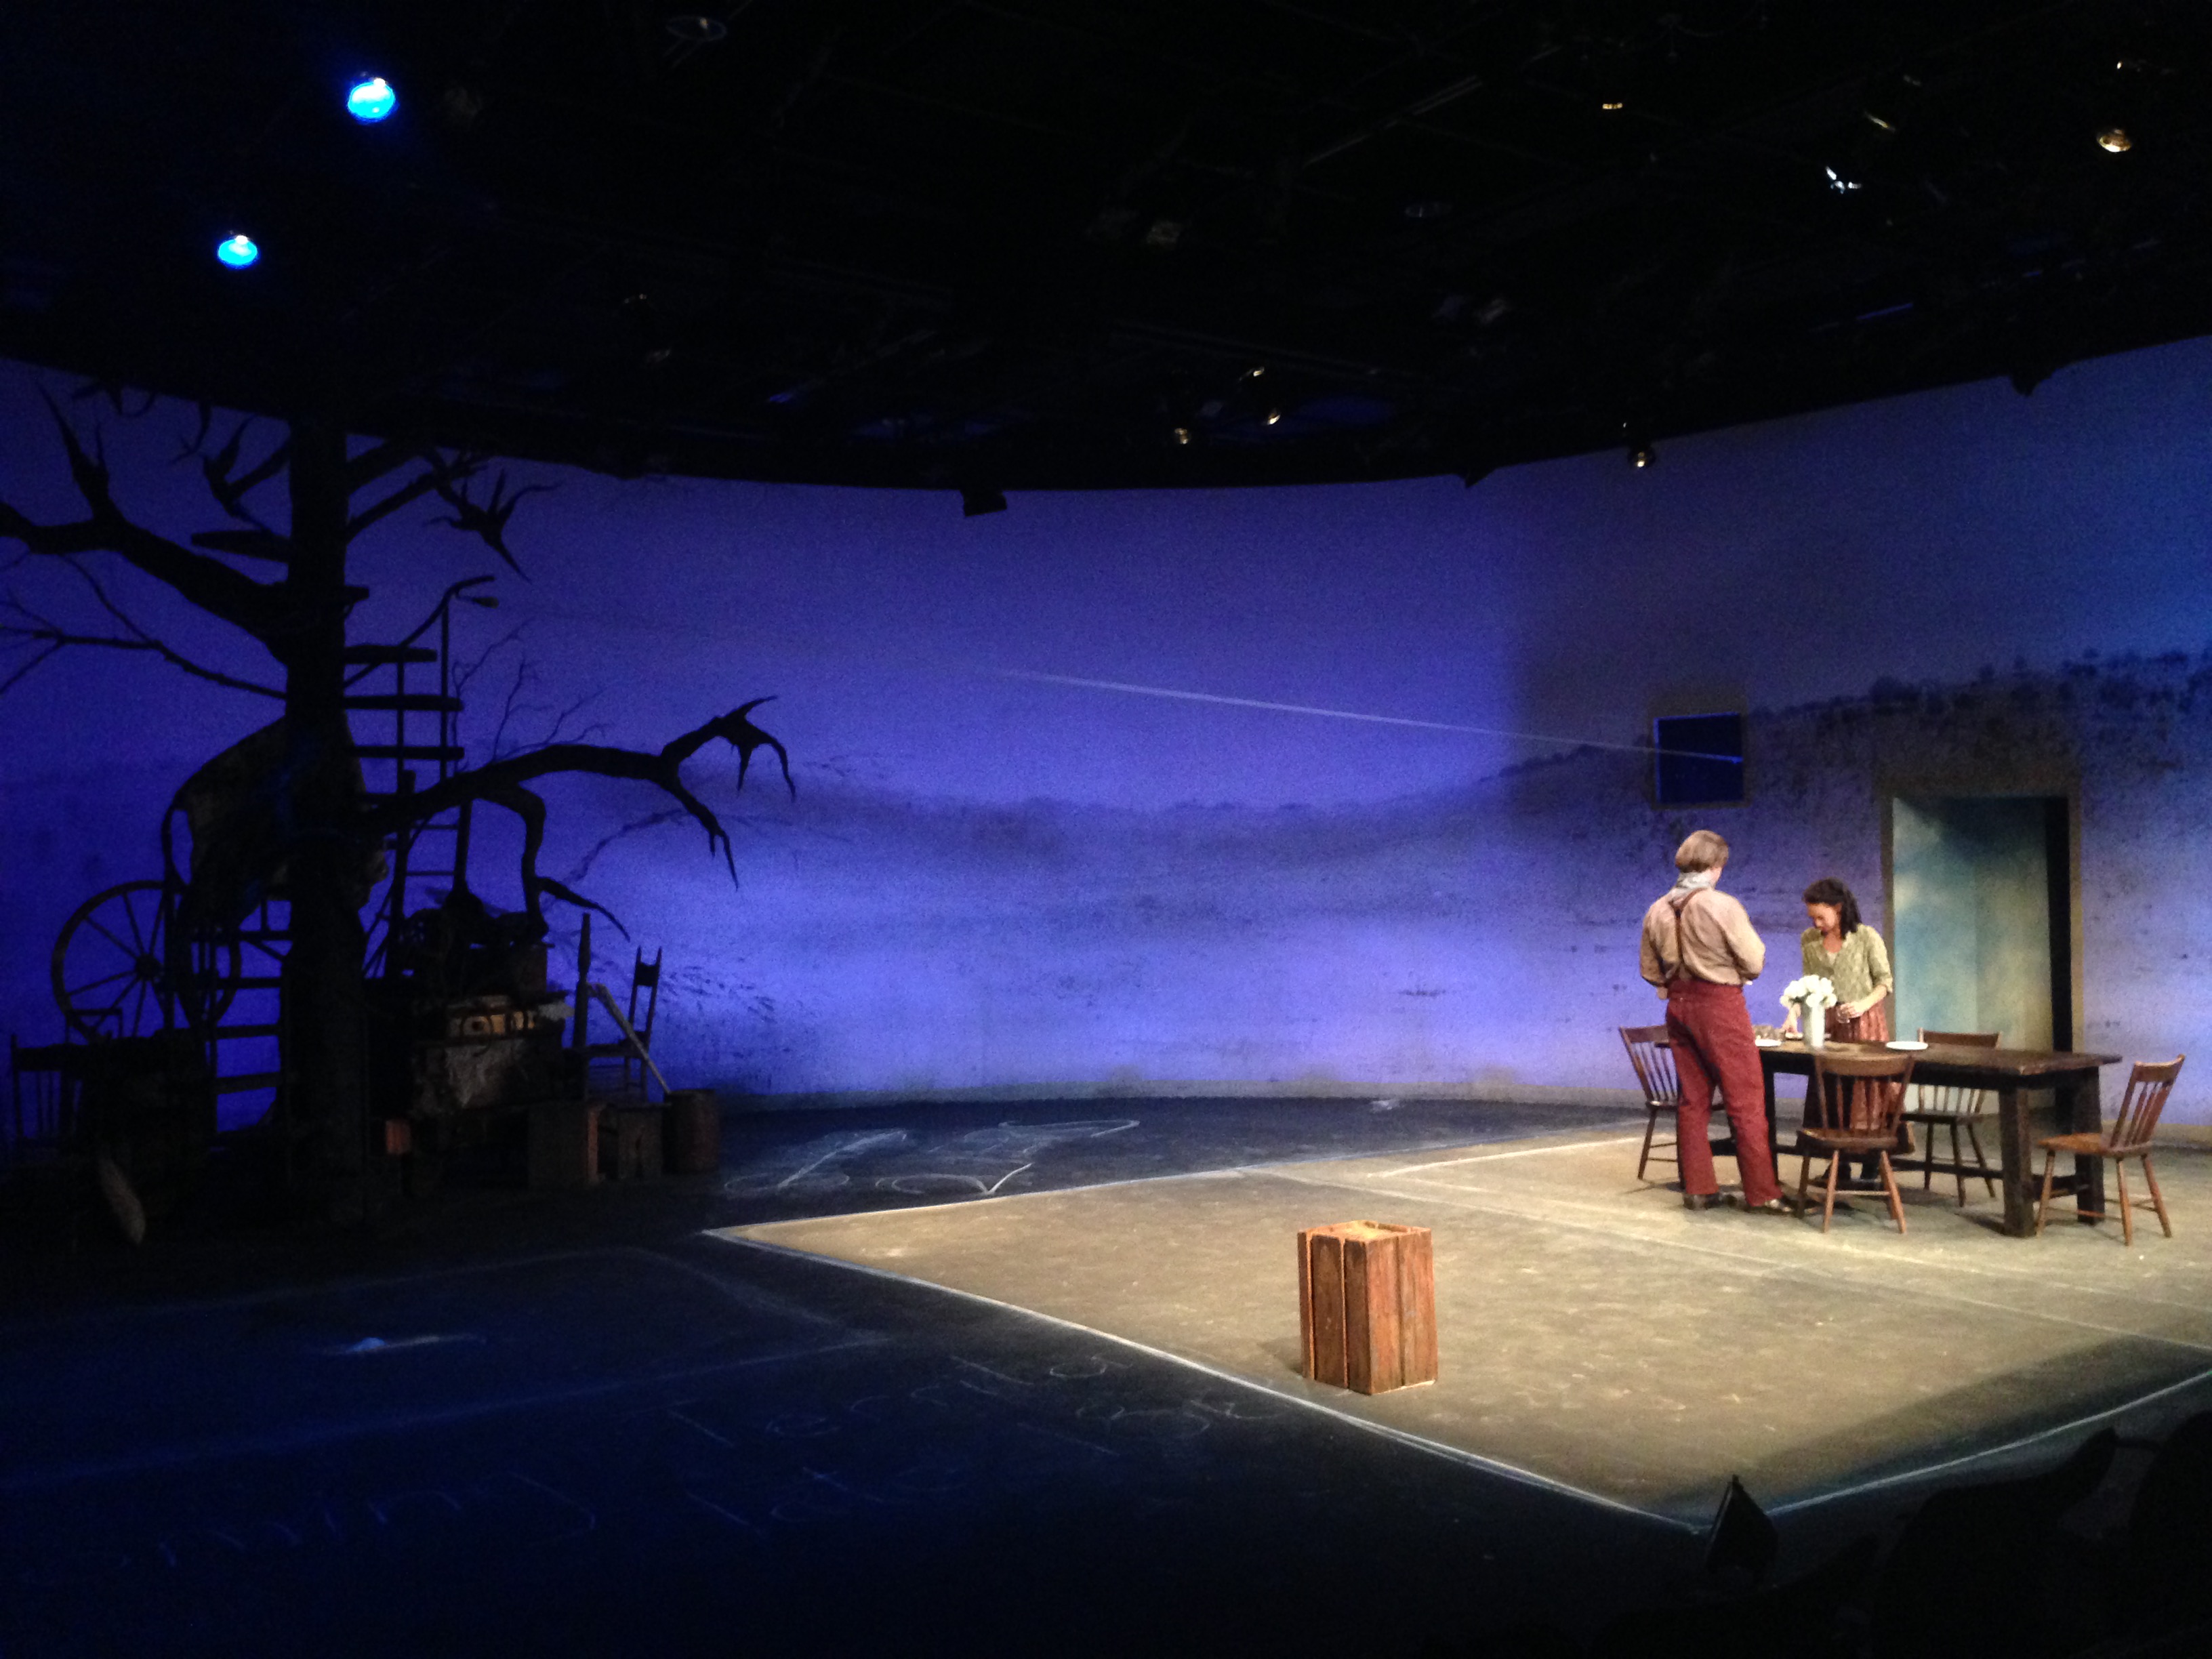
Last spring, Triad Stage did a production of Abundance, one of the lesser-performed plays by Beth Henley. It was directed by Preston Lane, with scenic design by Robin Vest. One of the main furniture pieces was a giant farmhouse table. I decided to build it because finding a farmhouse table this size would blow the budget, and they are usually pretty hefty.
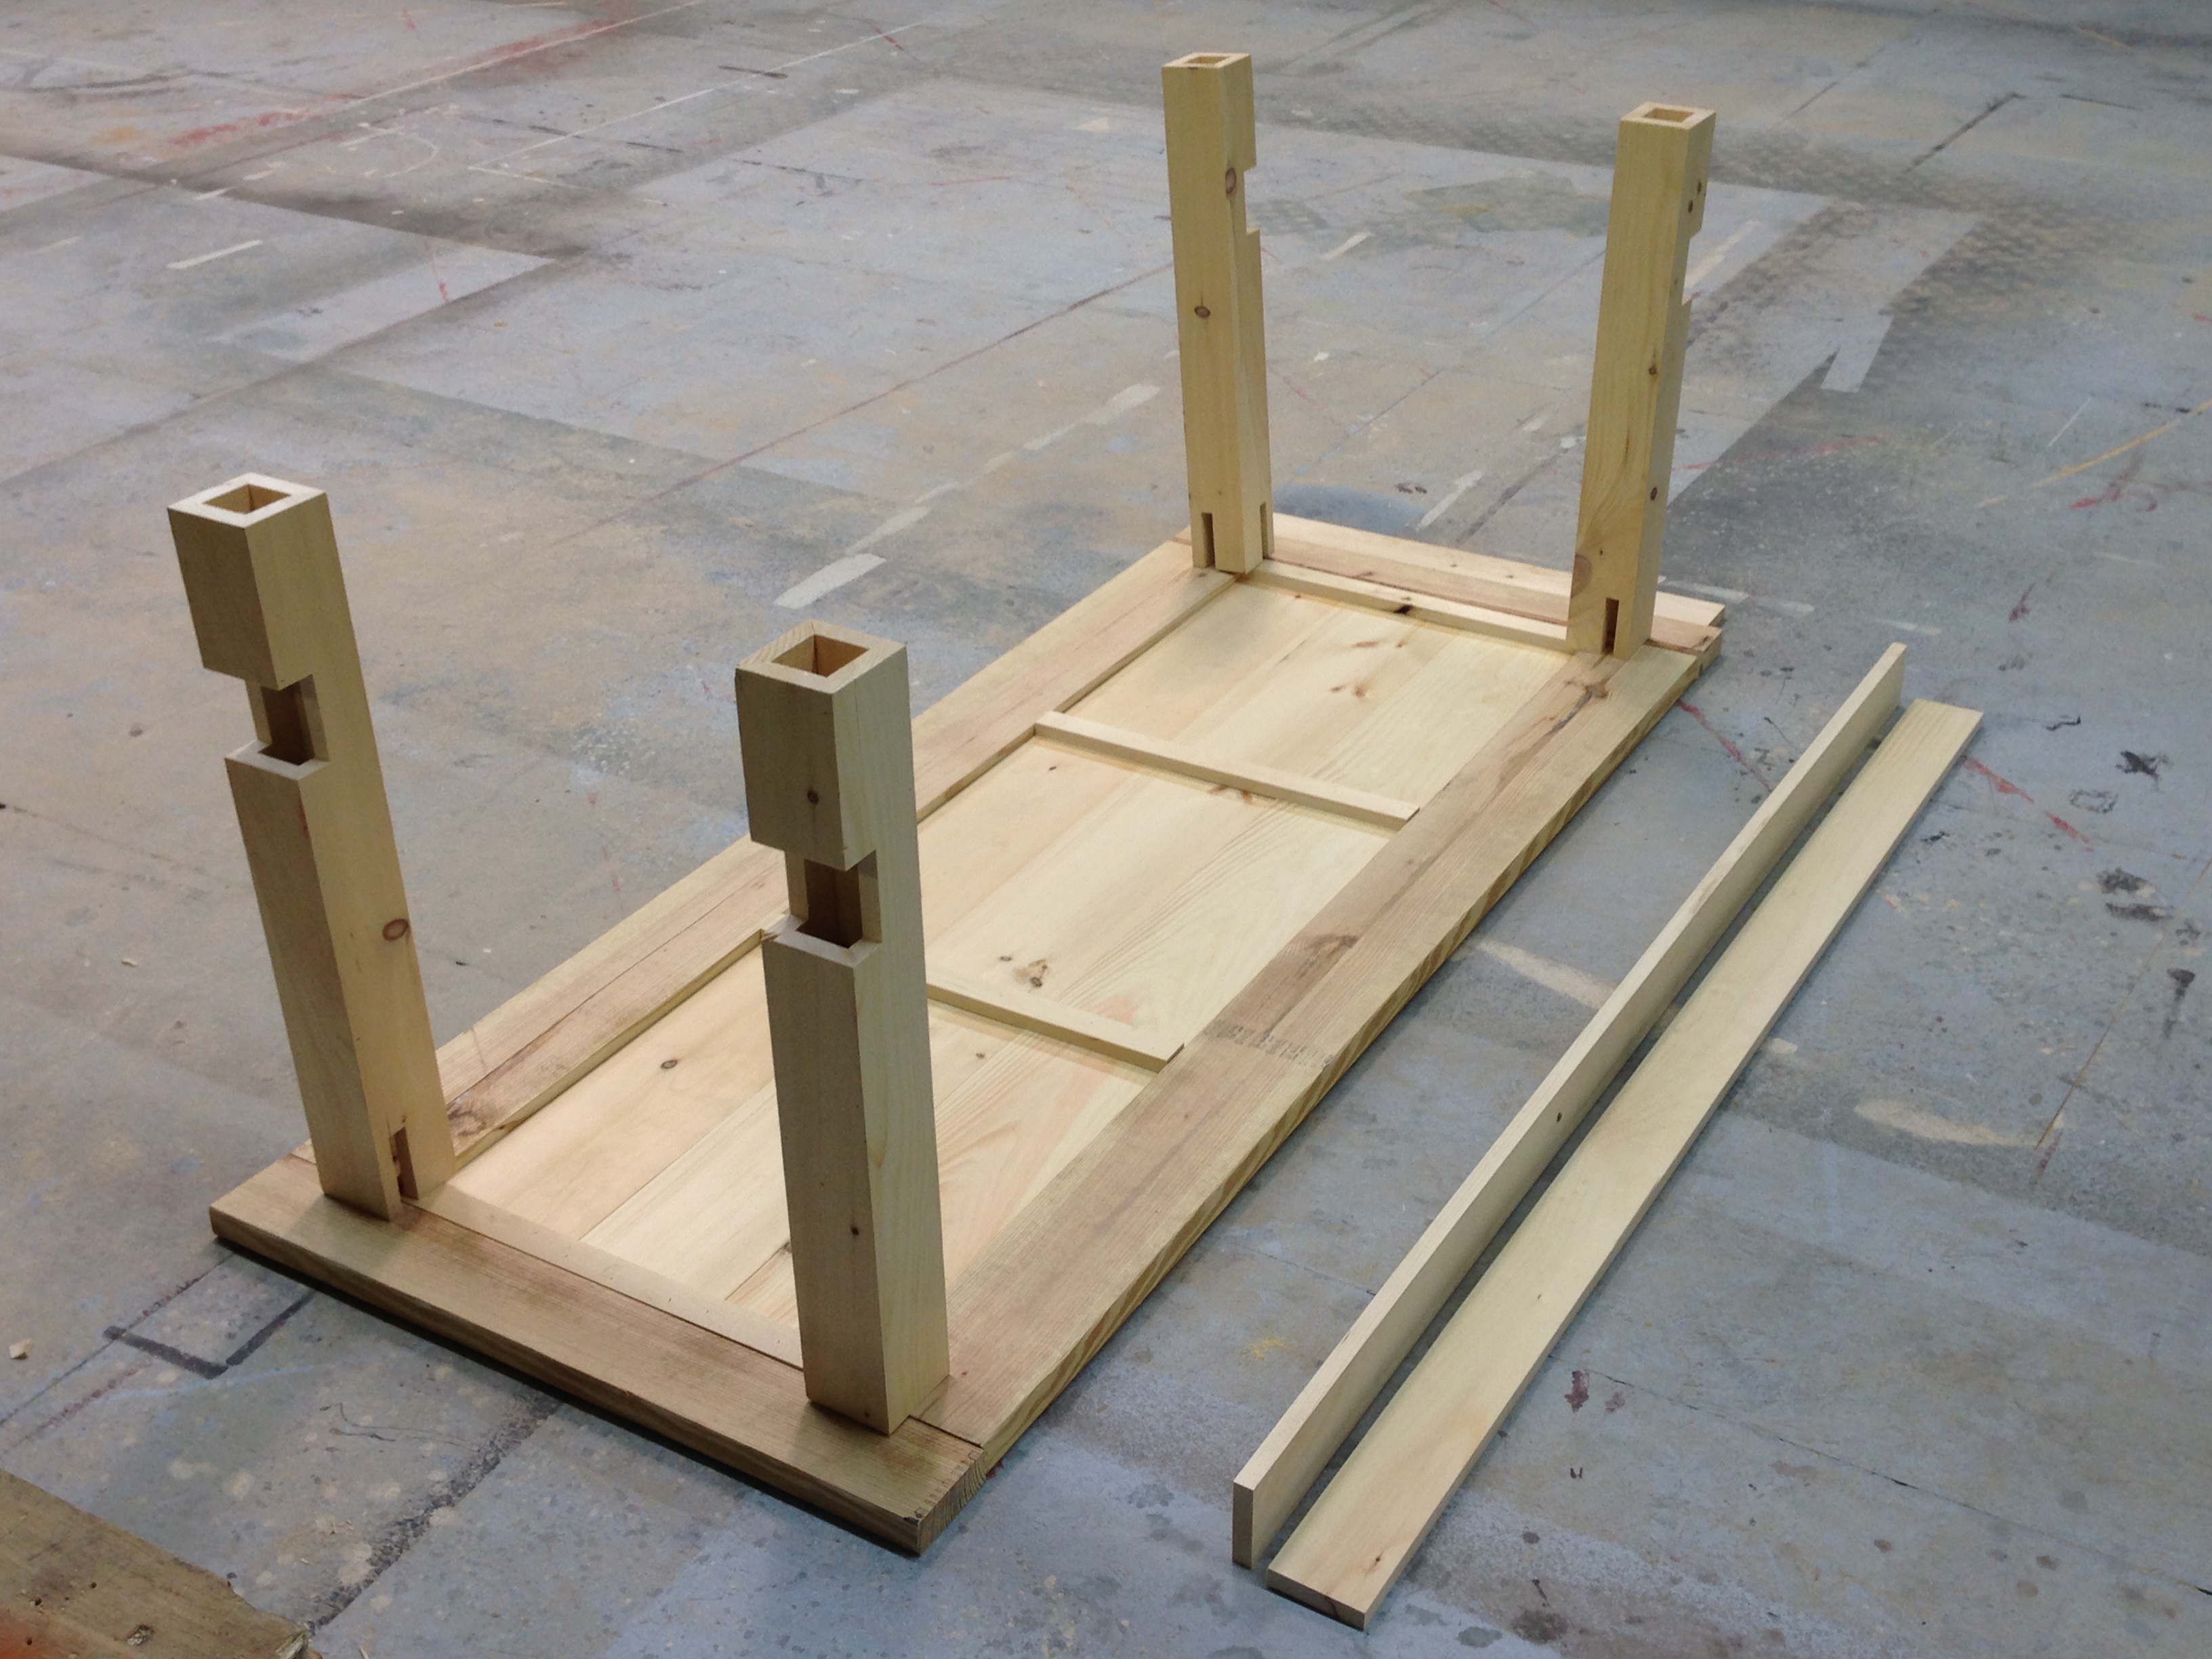
It needed to be super sturdy but fairly lightweight, because they jumped up and down off of it, flipped it onto its side, and dragged it around on stage. To cut down on the weight, only the boards around the perimeter of the top were the full thickness; the ones on the inside were thinner, with a bit of hidden framing to sturdy them up.
Underside of the table
The breadboard ends allowed me to hide the different thicknesses of wood used for the top. I positioned the legs so they would straddle the joint where the breadboard was attached so it would not snap off if the actors ever stepped on the very edge.
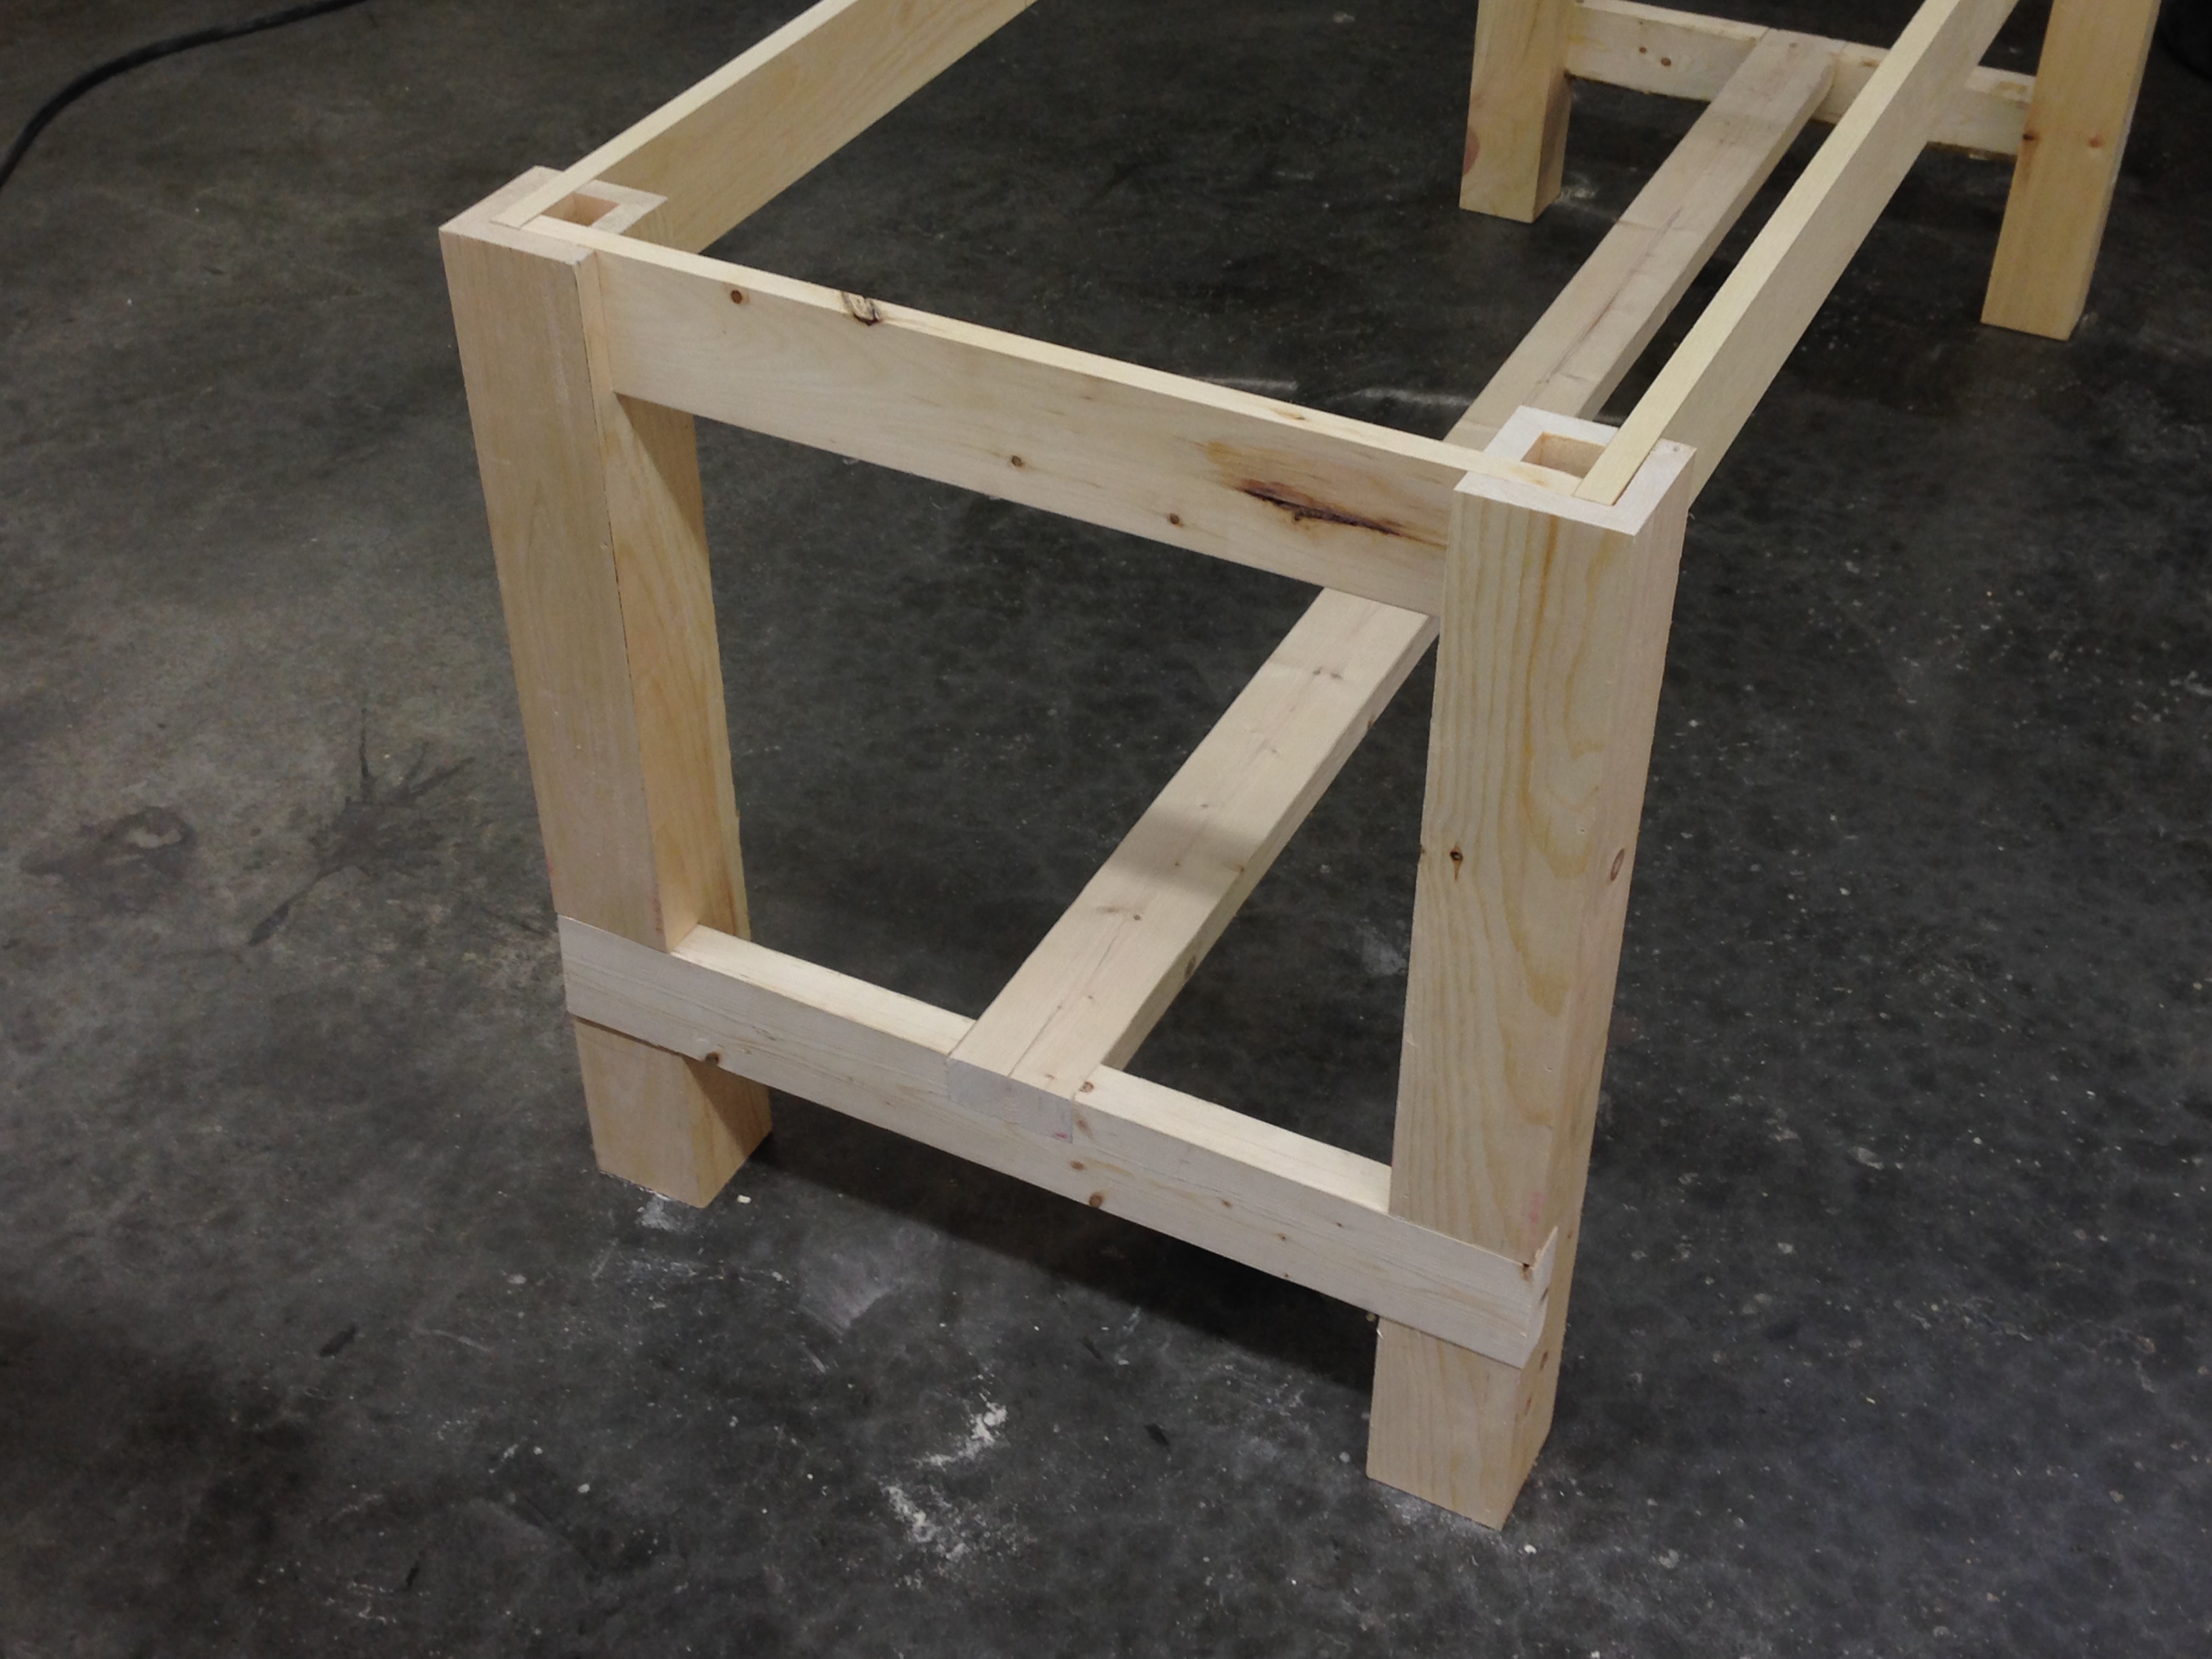
I also made the legs hollow. They were made from four pieces of wood with mitered edges glued together. To save time, I glued up four long pieces of wood, and when dry, cut it into the four legs.
Joinery
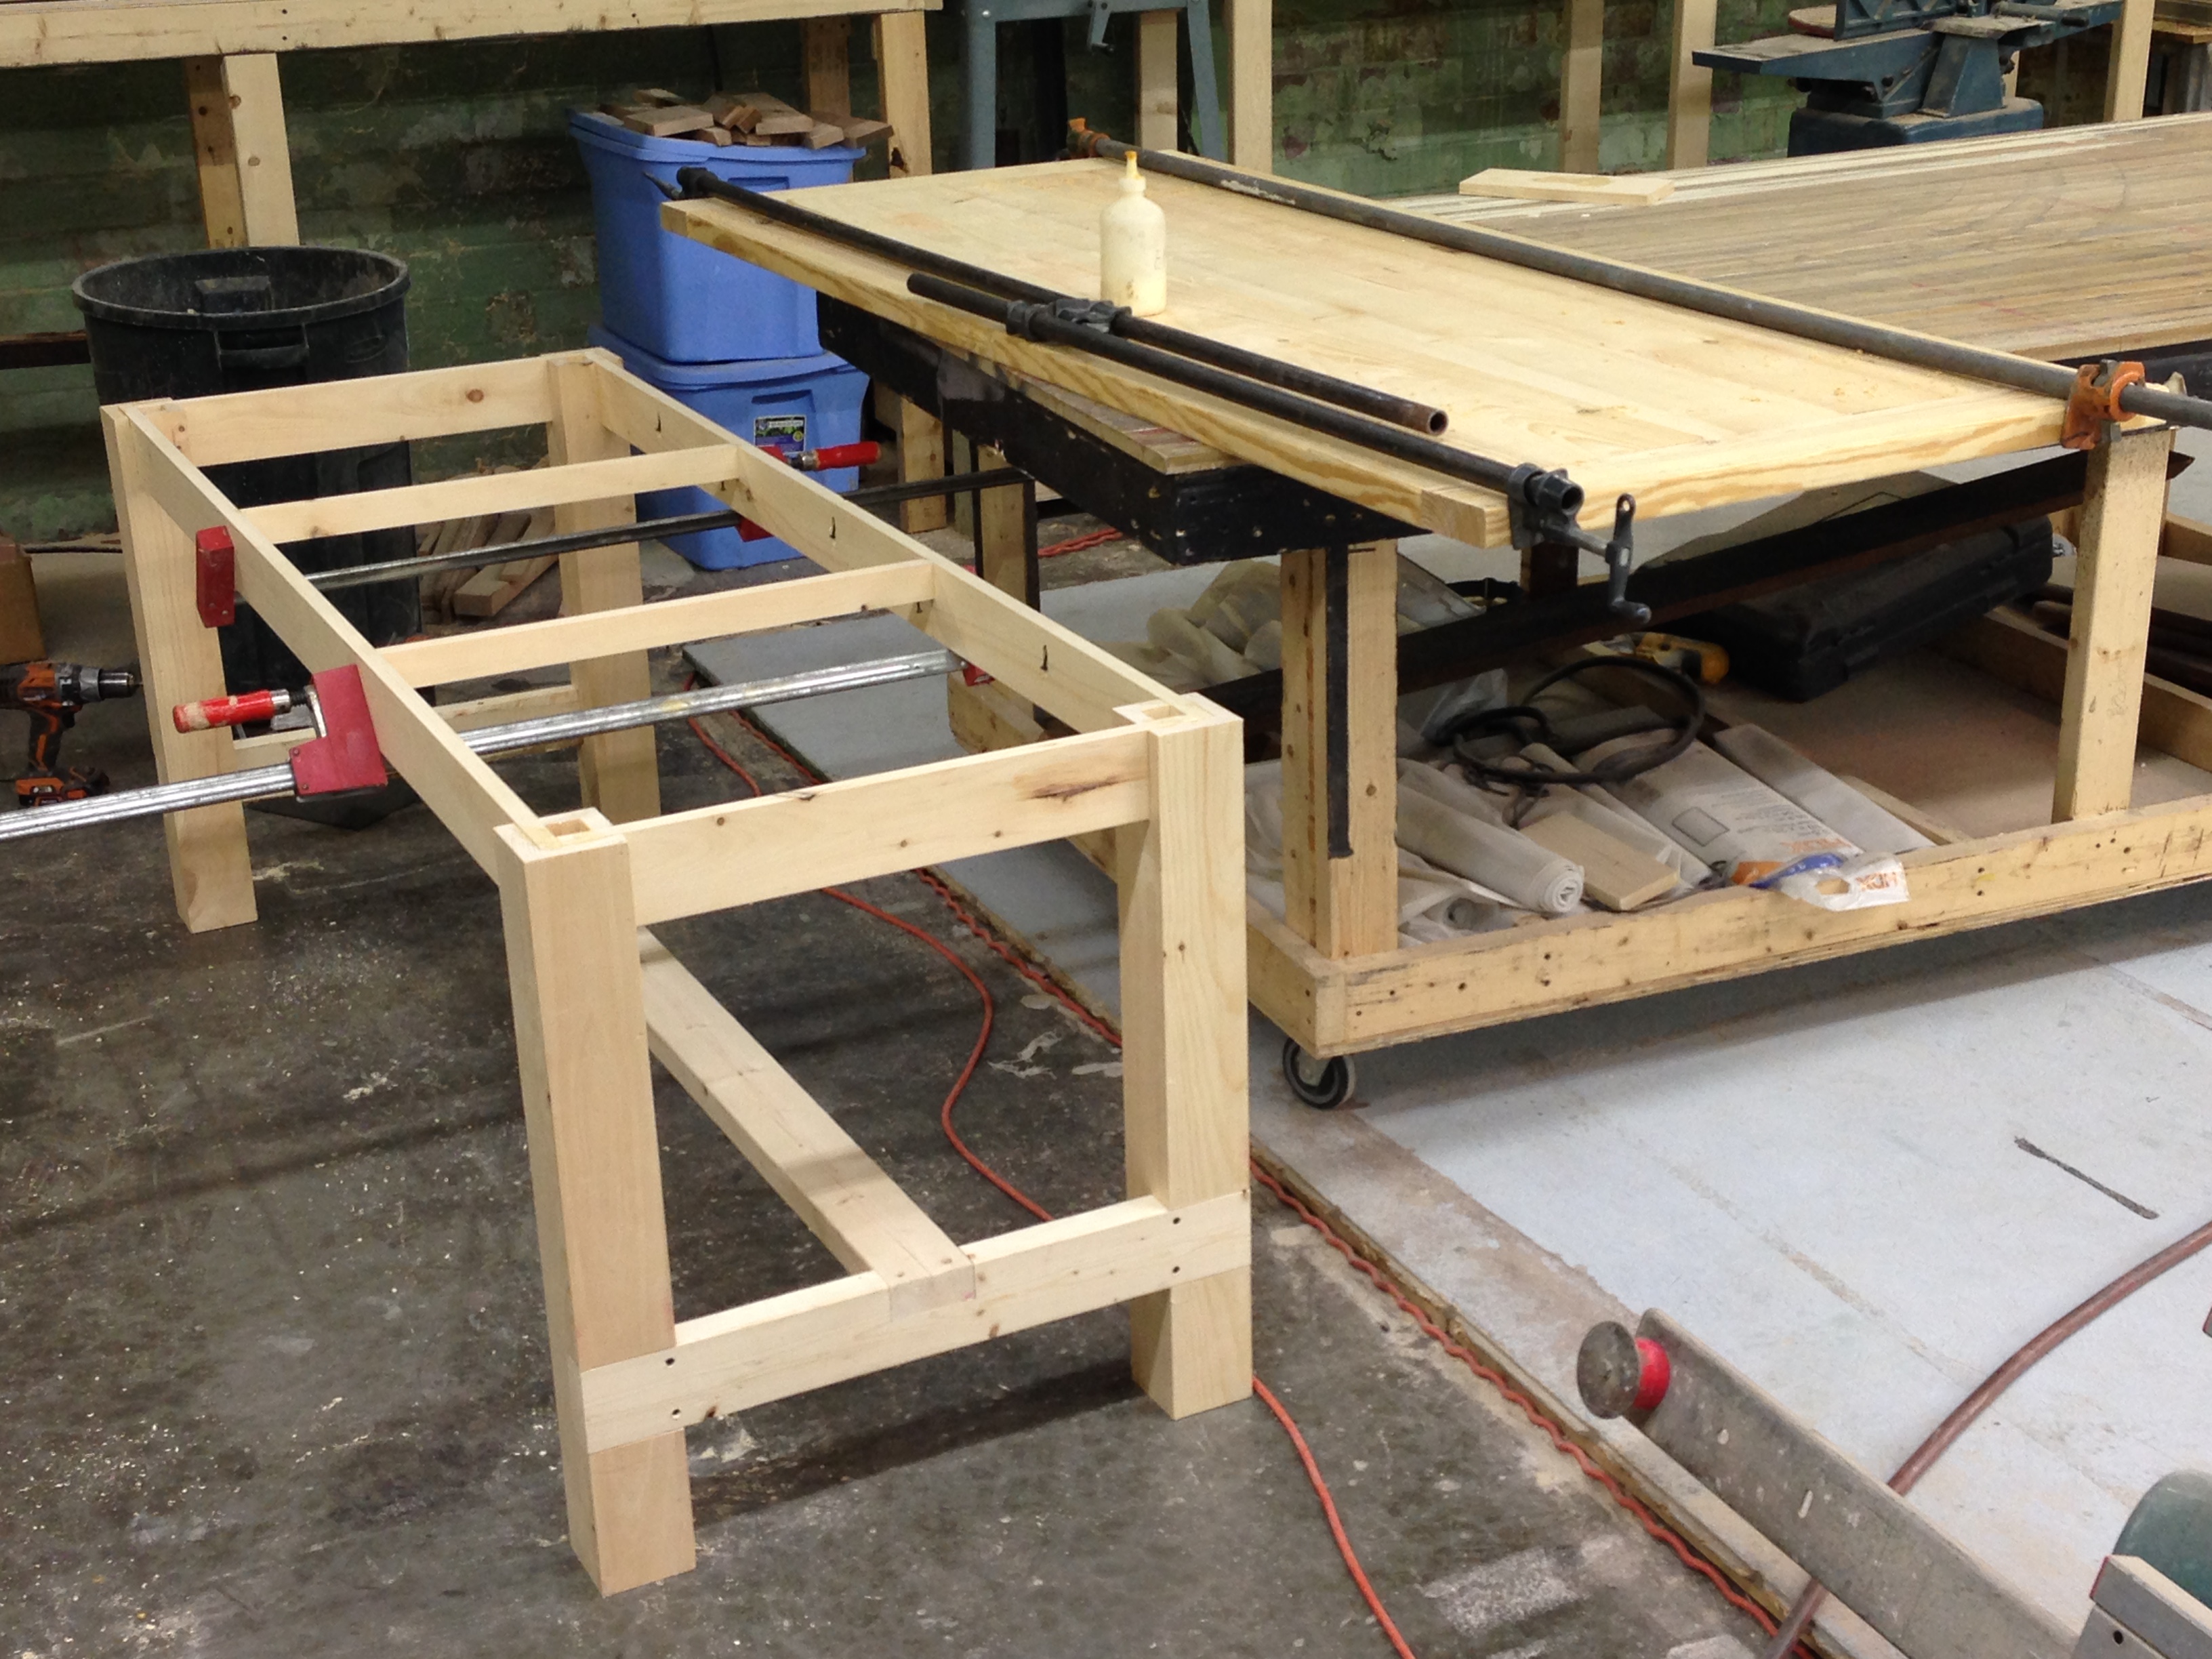
The research images for the table led me to a website called “Ana White”, which also had plans for the table the designer liked. I’ve since come across several woodworking forums which resent White’s style of furniture, since it seems to be flooding the market with this kind of shabby chic table that won’t hold up to seasonal changes. Ah well, the look was right, and it was easy to slap together.
Clamp it up
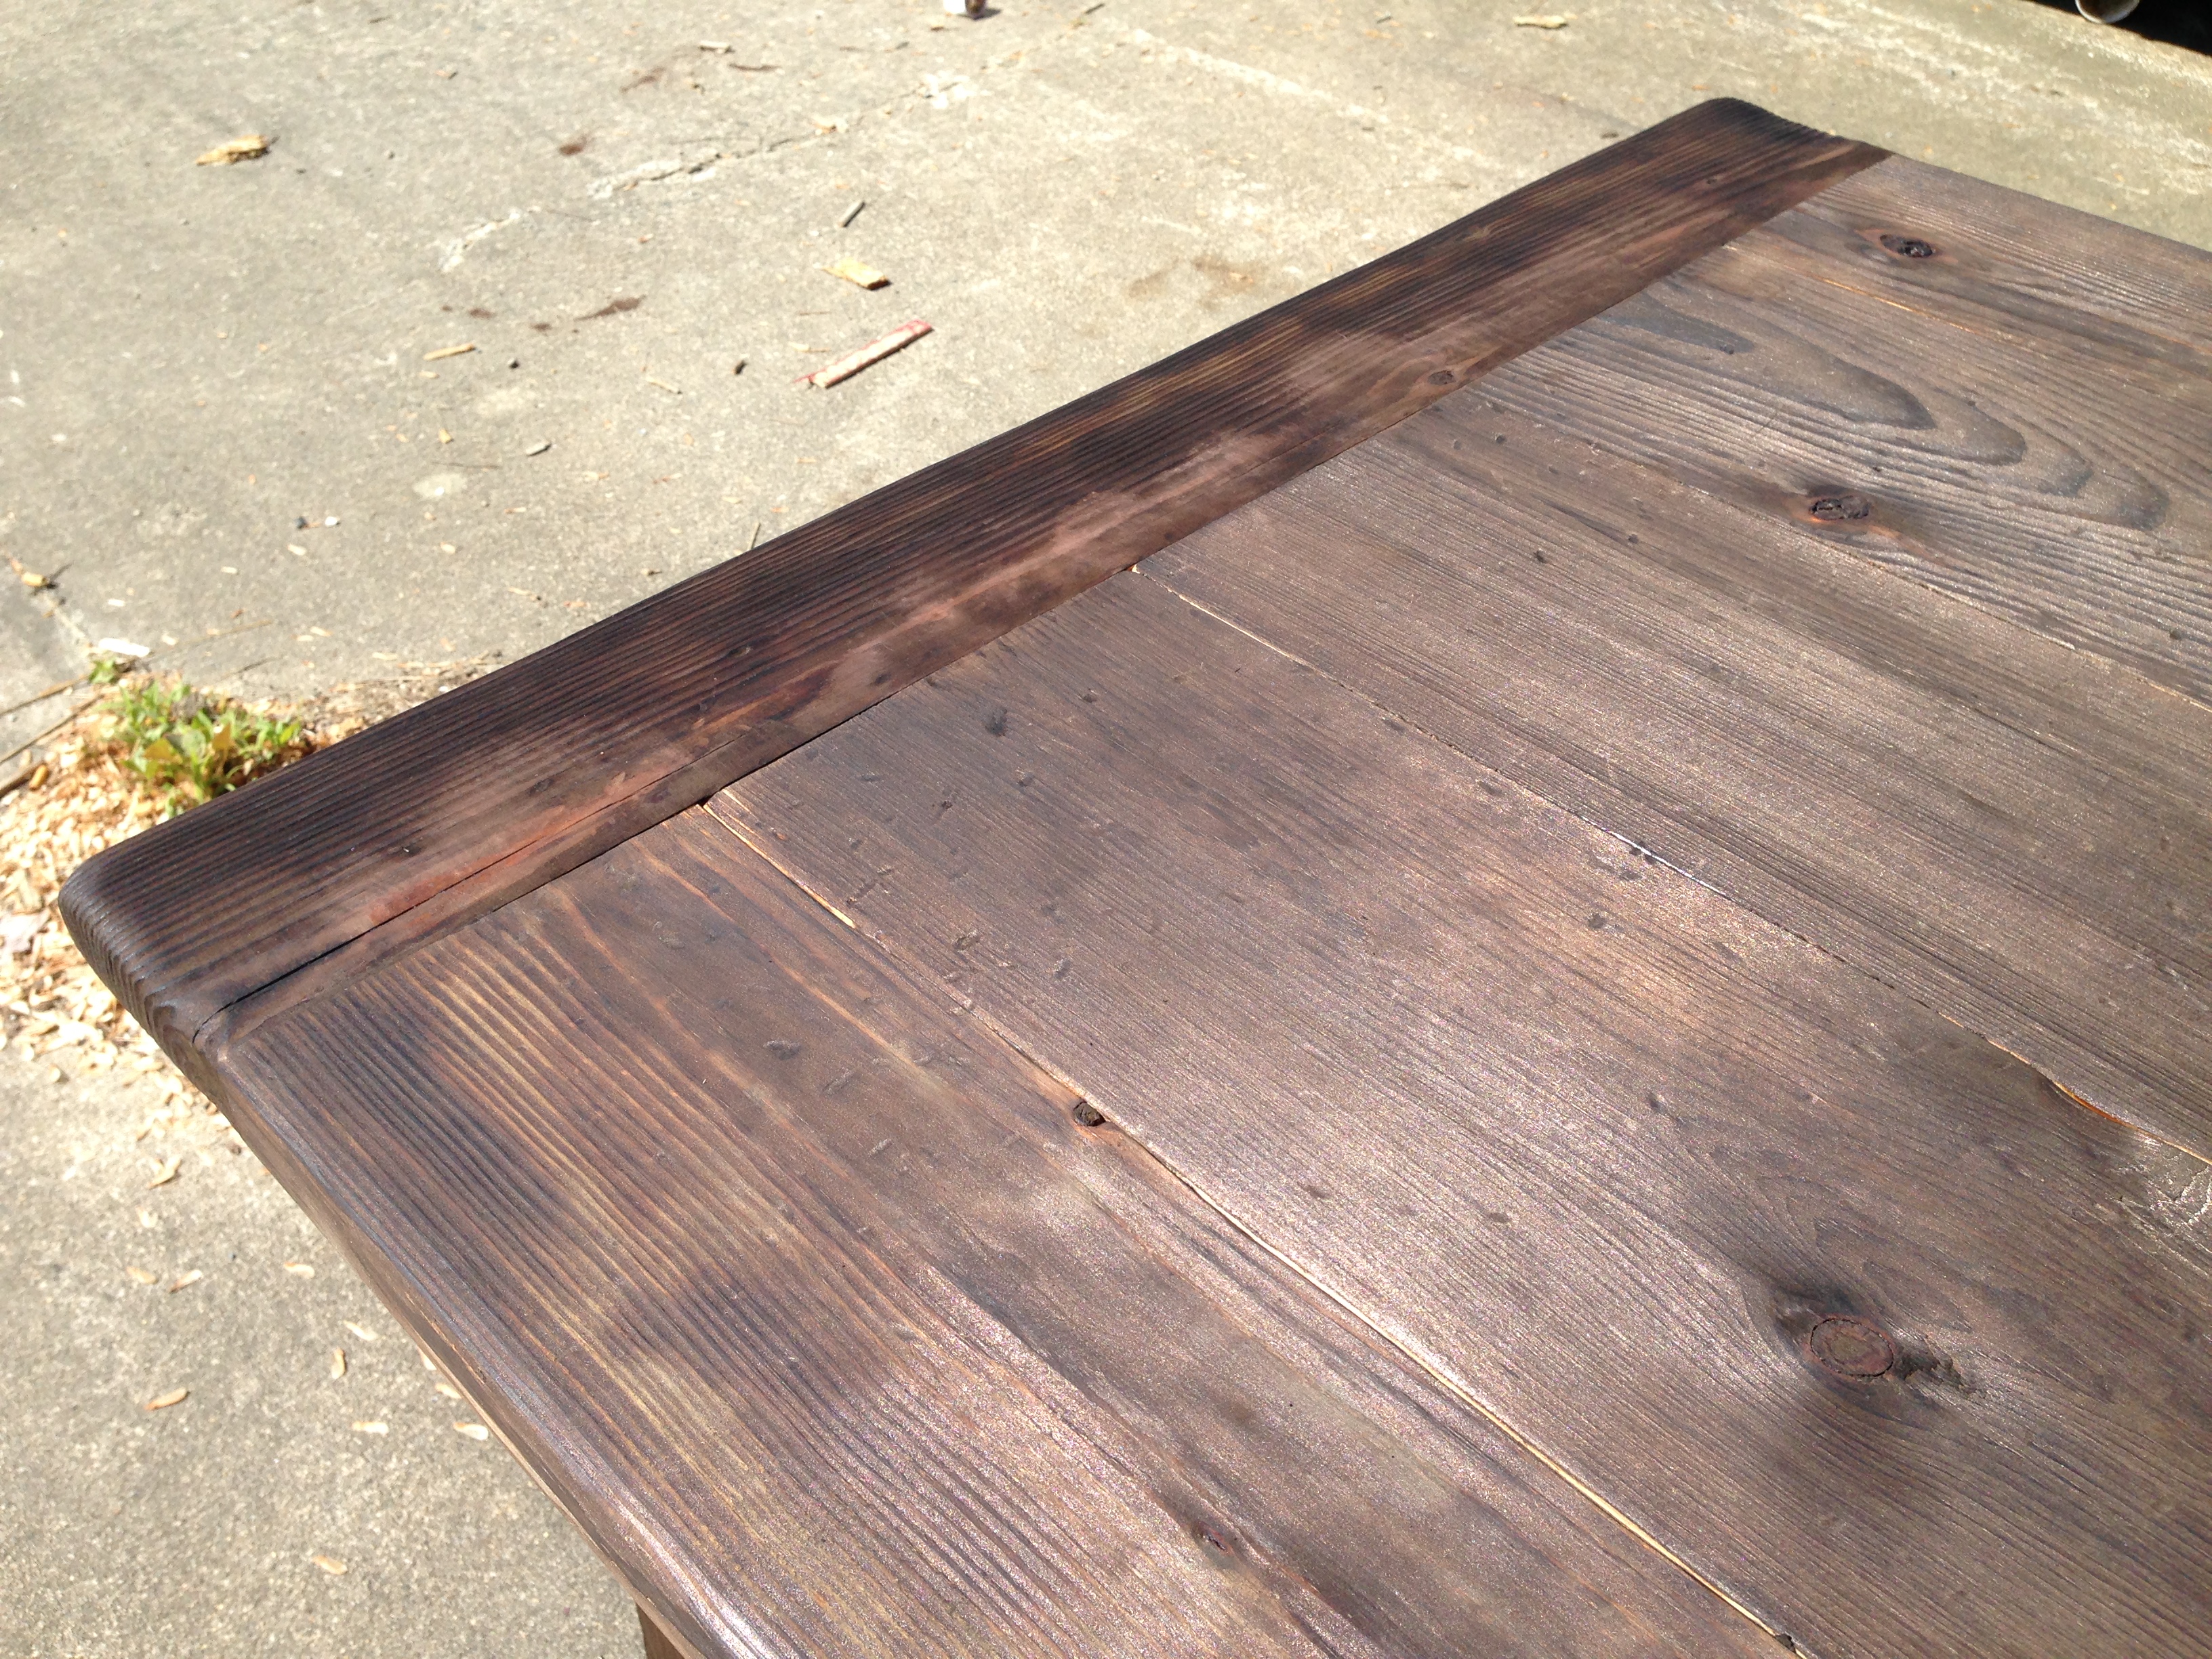
I experimented with some new (for me) finishing techniques to get a really aged, rustic appearance. The first step was scorching the entire surface with a propane torch and rubbing the charred wood away with steel wool. It took forever; I wonder if an oxy-acetylene torch would have been faster, or if it would have just started an unstoppable fire.
Burning the wood
After that, I rubbed an oxidizing solution over the whole thing. You can find instructions on various websites; basically, you let a piece of steel wool dissolve in vinegar for a few days. Apply it to the wood with a paintbrush and it starts to darken and grey the wood over the next few hours. Once it was all done, I rubbed a coat of paste finishing wax onto the whole thing.
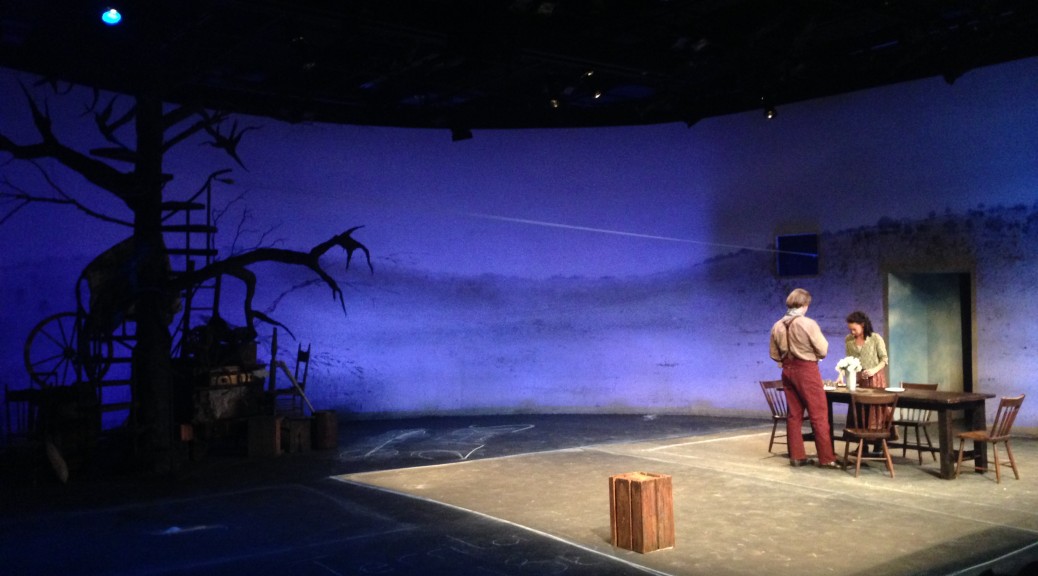
Final table
It ended up being a great table for the show. I could actually carry it around myself, though for the show, it was always two actors moving it. It only started loosening up during the last show, after weeks of being tossed up on its side, which placed a lot of stress on its legs.
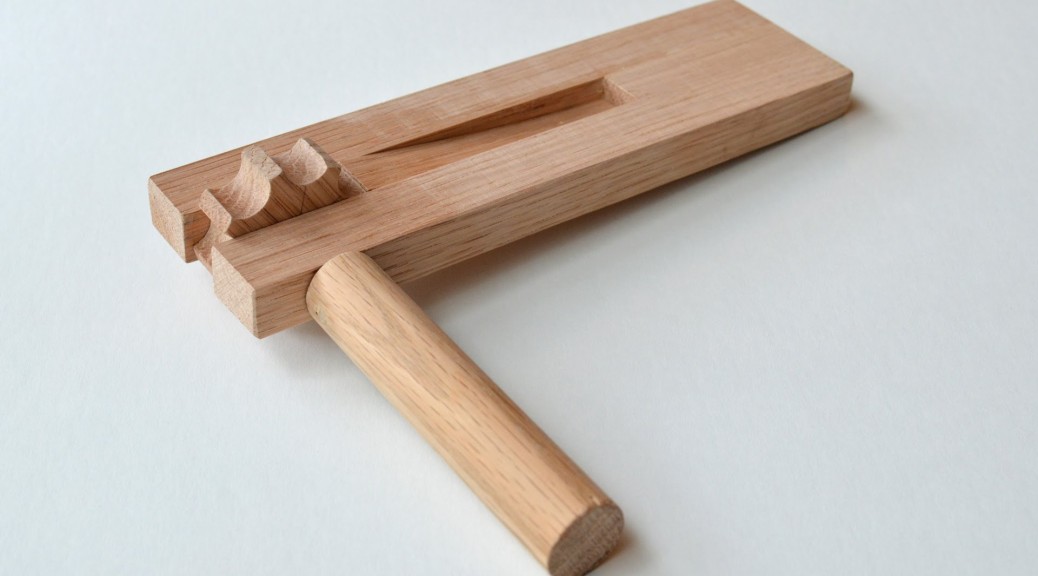
Back in 2009, I made a wooden ratchet noisemaker for a show. The prop was cut. Then they wanted one for a show the next year, so I gave it to them in rehearsal; it was cut again. I published a nice Instructable showing how it was made and that was that.
I recently built a whole bunch more, so this time I shot a video of the process. I redesigned them a bit; they no longer have bolts and pegs in the body, relying instead on glue to keep them together permanently.
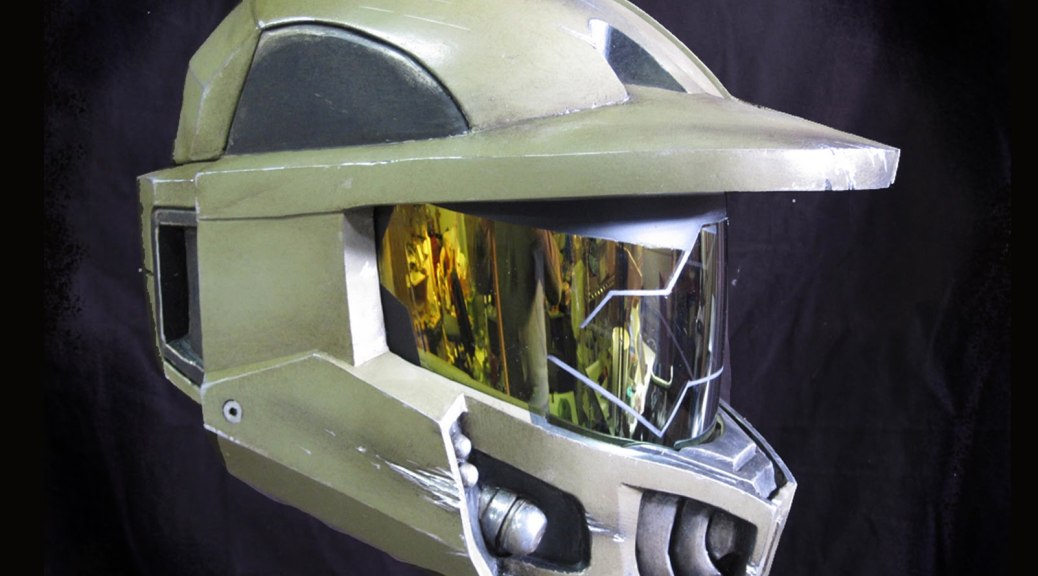
Jonathan Neill  made this time-lapse video where he sculpts a cosplay helmet in just over two minutes. Watch as he takes a lump of water-based clay and transforms it into a piece that resembles machined metal.
Making and finding props for theatre, film, and hobbies