All posts by Eric Hart

Mr. Bradwell, Prop Master of the Met

Last week we were looking at the very first dragon used at the Metropolitan Opera for Wagner’s Siegfried. It was taken care of by the property master there, known only as Bradwell. Who was Bradwell? I found another article from 1891 which gave a bit more information about this man:

“Then Mr. Hay, the executive lieutenant of Director Stanton, turns us over to Mr. Bradwell, the veteran property-master. Mr. Bradwell is from the Drury Lane Opera House, London, and his family have been identified with the property profession for nearly two hundred years. It is a very responsible post, for the whole ‘setting’ and ‘business’ of every performance depends upon the resources of the property department. The ‘properties’ of nearly half a hundred operas, stowed away in rooms, vaults, and racks all over the house, form a more bewildering chaos than the most disordered mind could conceive.”

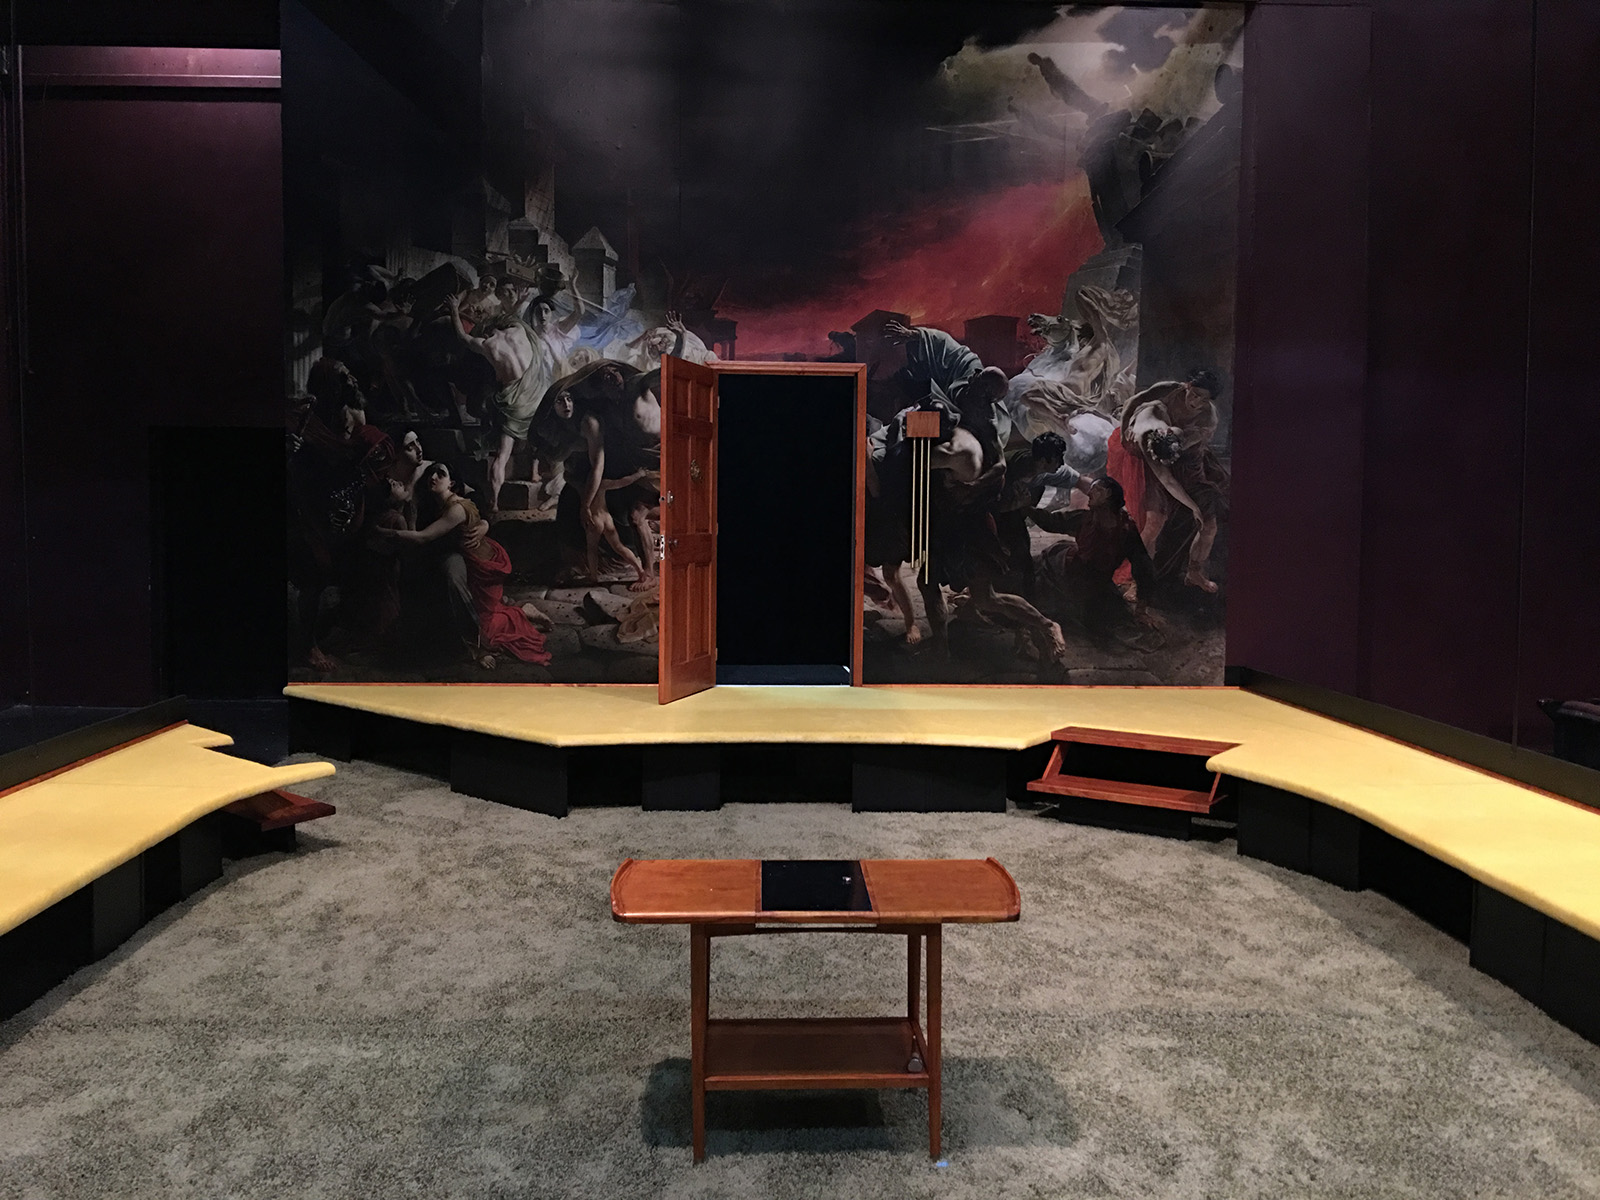
The article also gives us some information about the Met at this time. This is before the opera moved to its current location in Lincoln Center. “At the right, or Thirty-ninth Street side, on the various floors, are the director’s office, the principal artists’ dressing-rooms, those of the male chorus, the offices of the various heads of departments, music library, property carpenter-shop, papier-maché-rooms, armor-rooms, etc. On the left, or Fortieth Street side, are the greenroom, the main scene-room, the property-master’s offices and store-rooms, dressing-rooms of the female chorus and ballet, and various work-rooms devoted to the manufacture of costumes and stage properties of every description, from a twenty-foot dragon, down to the flower which Marguerite pulls to pieces in the garden scene of ‘Faust.'”

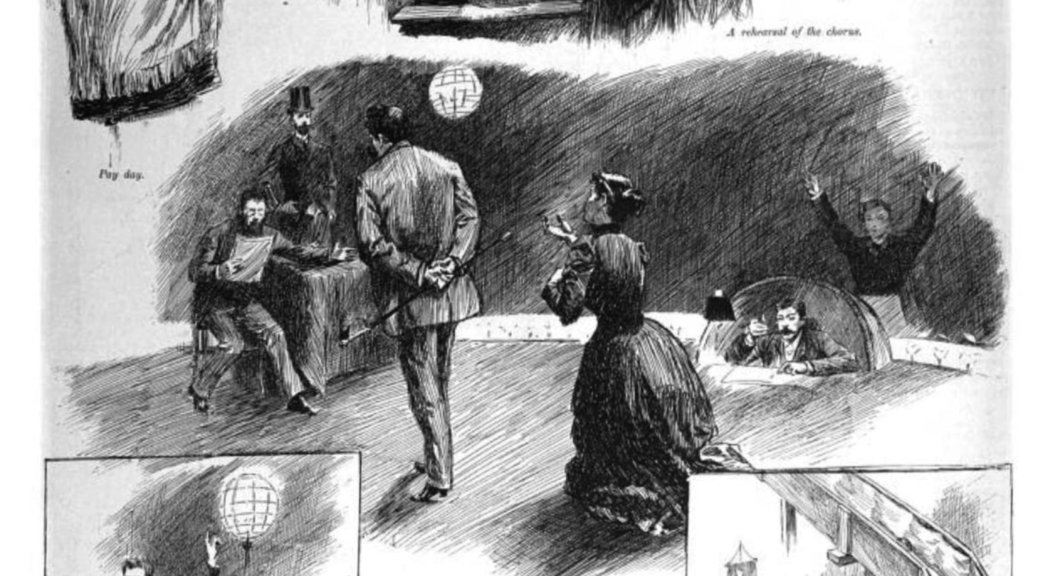
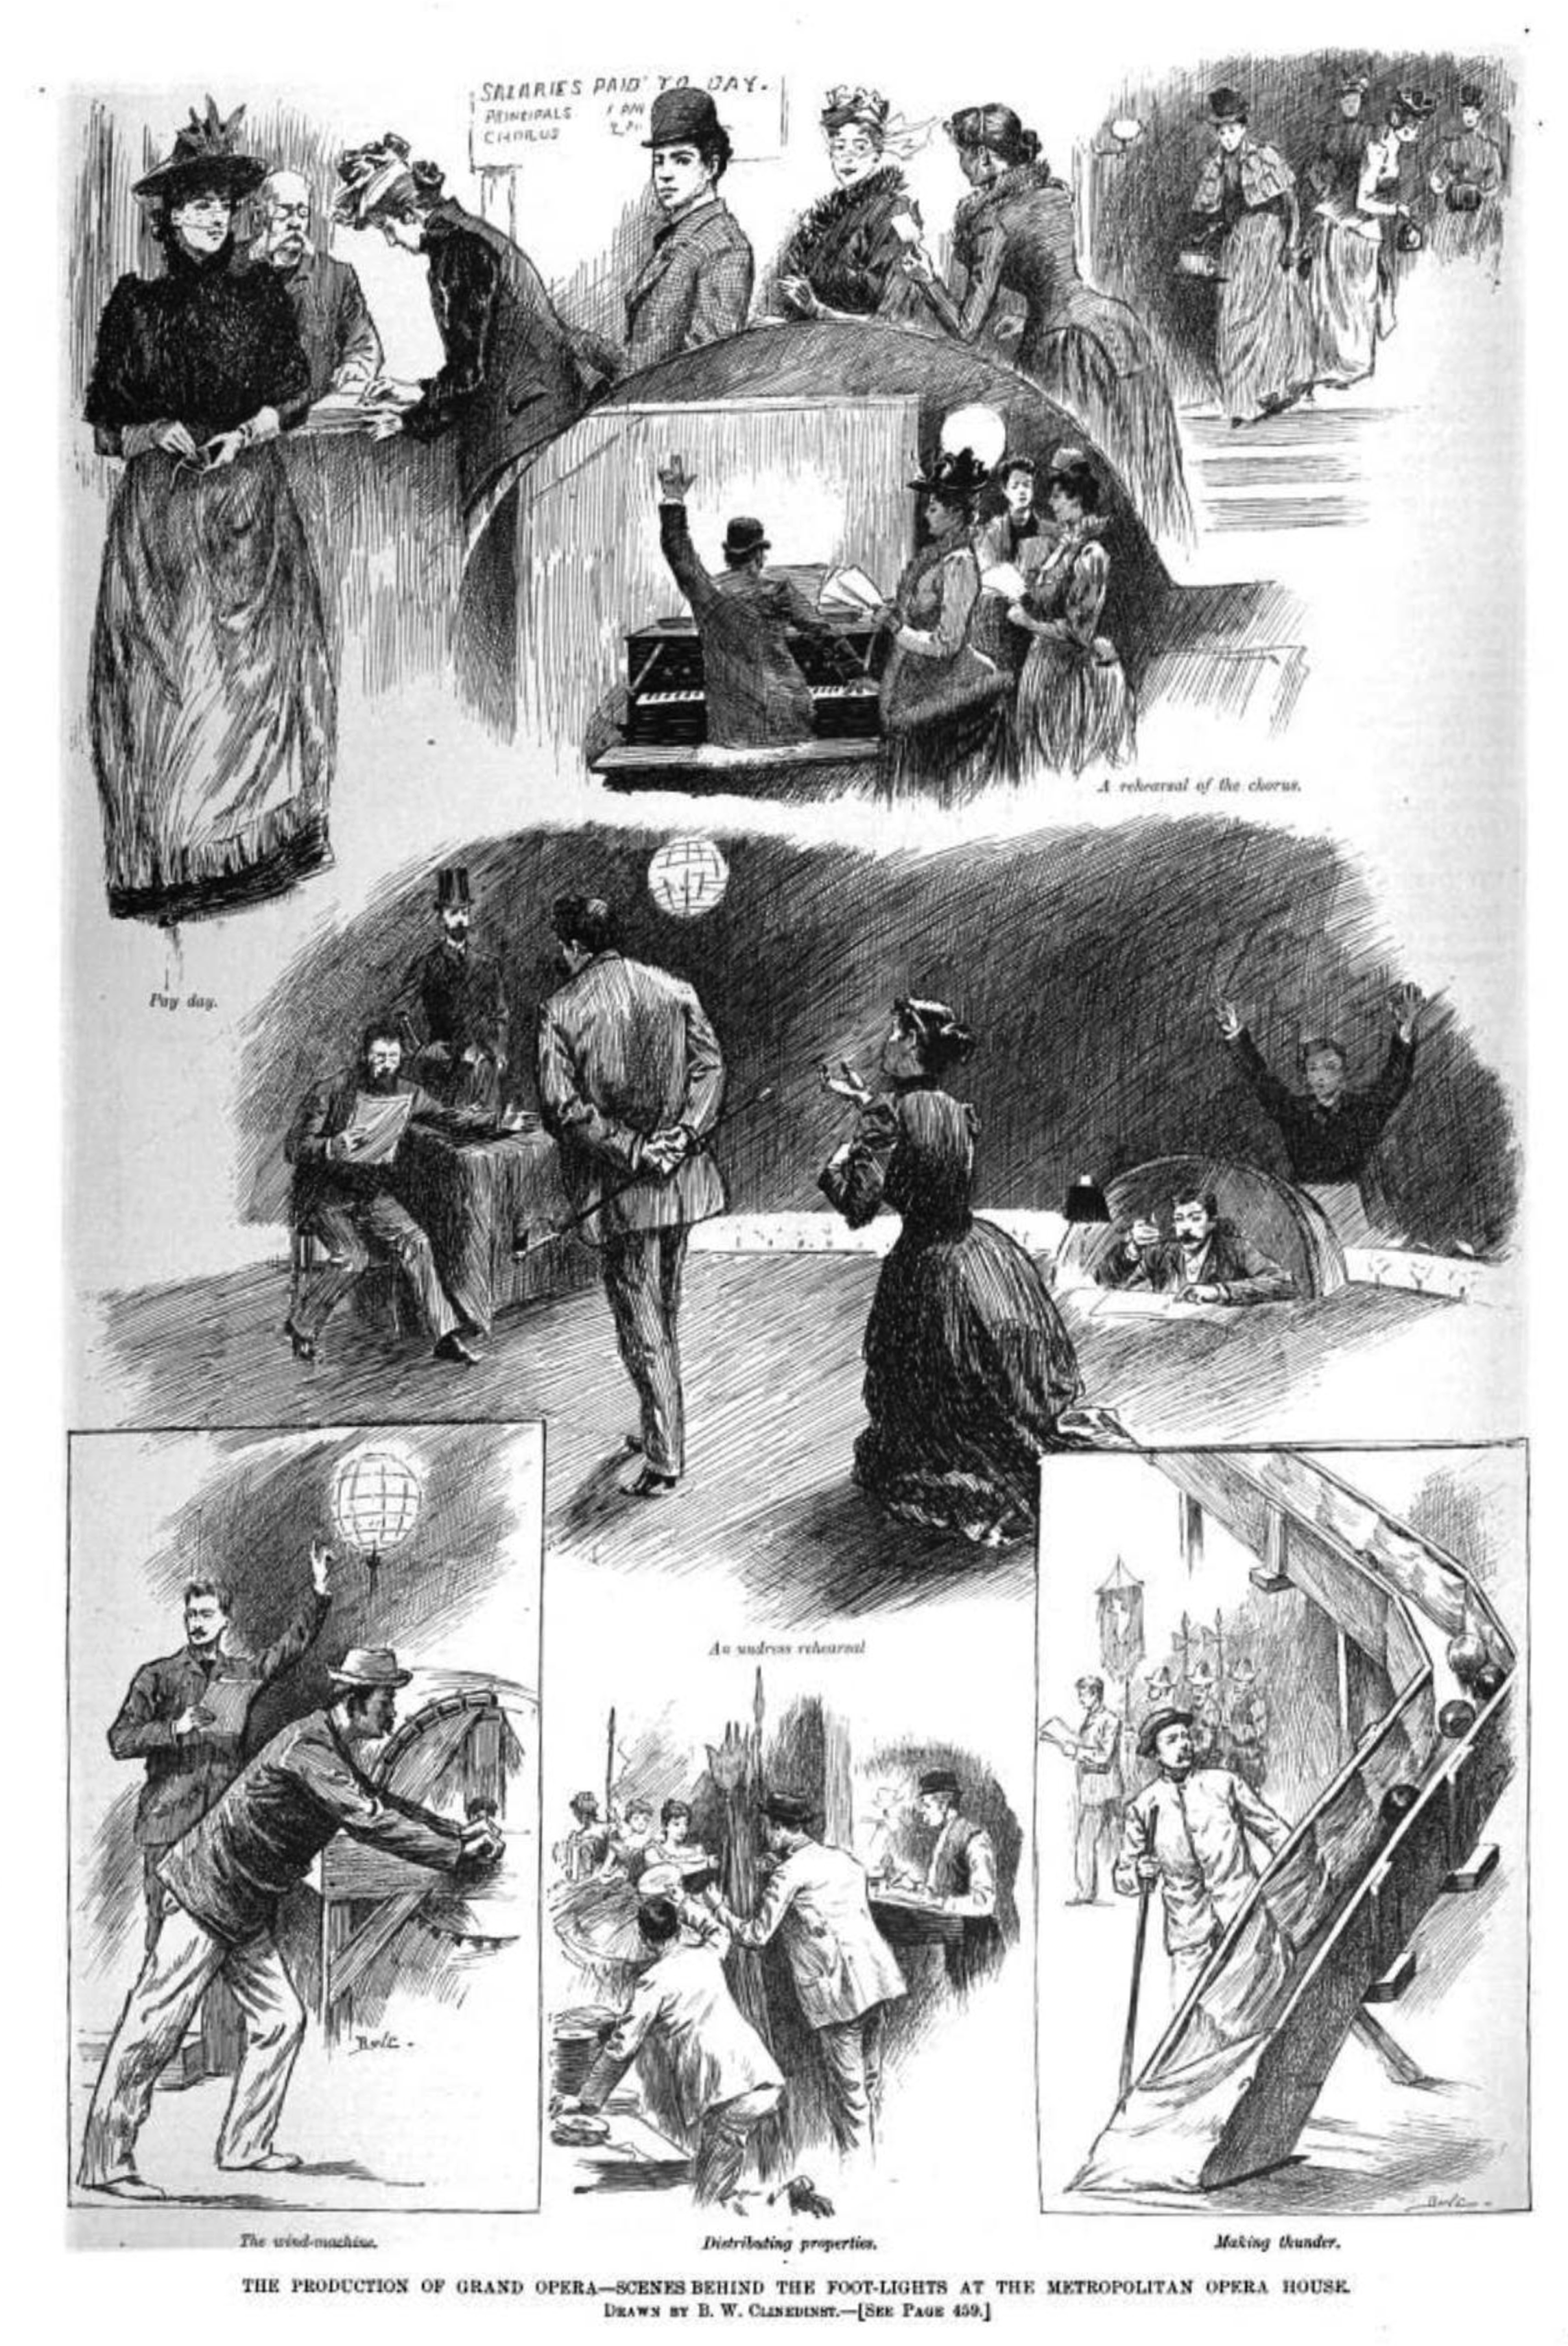
The article also features a very well-done collage illustrating several backstage scenes:

Illustrations of the backstage of the Metropolitan Opera in 1891

Tyrrell, Henry. “Grand Opera at the Metropolitan.” Frank Leslie’s Illustrated Newspaper, 17 Jan. 1891, pp. 459–460. Google Books, books.google.com/books?id=f8IrAQAAMAAJ&newbks=1&newbks_redir=0&pg=PA459#v=onepage&q&f=false.

Getting Wagner’s Dragon Ready, 1887

(the following first appeared in an 1887 issue of the New York Tribune. The dragon in this article is the same as described in this article by Gustav Kobbé. I believe this dragon was built by a man named William De Verna, and that the property master in this article acts more like a house property position rather than the fabricator. I could be wrong, but what follows is still a great description of the dragon’s construction)

The Prodigious Monster Which Will Lash His Tail and Roar at Siegfried

The preparation of the beast which will take the part of the Dragon in “Siegfried” at the Metropolitan Opera House is an interesting study. Up among the flies Property-master Bradwell has the creature in charge and the evolution of the animal is exercising his best ingenuity. The Dragon in its early stage of development gives the unheroic idea of an immense battle. The body and tail are of steel wire wound in spiral shape and tapering off from a diameter of three feet at the shoulders to a minimum at the tip of the tail thirty feet away. Over this framework a covering of green silesia has been placed to afford a chance for fastening on the scales. These will be some 5,000 in number and are made of leather in strips five inches or so in length and about three inches in width. These overlap each other and are tinged with iridescent colors which will give the beast a glittering and imposing aspect when he is completed and in working order beneath the electric light.

The steel wires project about the shoulders and front part of the beast’s body, so that when covered with scales the dragon has the appearance of a horny monster. The head and feet are of papier mache. The head is some three feet in length and of about the same depth, with a lower jaw which is ominous in size. The feet are three-toed and cover a space two feet square. Yet head, feet and body are together so light that they will not weigh over fifty pounds all told. The feet are front feet, of course only two in number. The rear part of the body runs on two casters.

A man will work the monster from the inside, his head extending up into a huge hummock just behind the dragon’s head, his feet being encased in Wellington boots fitted into the feet of the animal. The manipulator will be enabled by a system of wires to turn the casters, swing them around and at the same time control the head movements and the lower jaw of his charge. Incandescent electric lights form the dragon’s eyes and the eyelids of these are also moved by the inhabitant within. Steampipes will be introduced at the tail of the dragon and at the proper moment steam will be forced out of his nostrils. When the steam and the eyelids and the jaw and the head are working at their liveliest, men in the flies, with wires attached to the dragon’s tail will make that part of the beast thresh the air in fury, while in the wings a mighty trumpet will sound forth the musical notes in which the Dragon will express musical sentiments appropriate to the occasion, at least until Siegfried shall put an end to the tumult. Mr. Bradwell is proud of his progeny and thinks his initial appearance will be a great success.

New-York tribune. [volume] (New York [N.Y.]), 23 Jan. 1887. Chronicling America: Historic American Newspapers. Lib. of Congress. <https://chroniclingamerica.loc.gov/lccn/sn83030214/1887-01-23/ed-1/seq-9/>

Midcentury Bar Cart

For Triad Stage’s production of Who’s Afraid of Virginia Woolf a few months ago, I needed to find a very specific bar cart. The scenic designer, Anya Klepikov, provided me with a research image of a stunning midcentury piece that was uncomfortably out of our price range. It had some challenging aspects to it, but I knew I could build it myself for a fraction of the cost.

Clamping the pieces
Clamping the pieces

I built the table out of a mix of oak boards and oak plywood. For the thicker pieces of oak, I laminated several pieces together.

Assembling the top
Assembling the top

In the research image, the table of the cart splits in the middle, and a black melamine leaf is added to make it longer. Ours didn’t need to do that, so I just built the top as a single piece. It was a single sheet of plywood covered in two thin pieces of nice plywood, with a piece of melamine in the middle. The edges were strips of hardwood to cover the plywood edges. I couldn’t find black melamine, so I used white that I spray painted black.

Attaching the lip
Attaching the lip

Each end had a curved breadboard with a raised lip. It took a bit of finessing to cut the end of the plywood and the breadboard so they fit together perfectly.

Attaching the lip
Attaching the lip

I cut and shaped the raised lip as a separate piece before attaching it. I routed all the edges, and I was worried that I wouldn’t be able to fit the router on if the lip was attached. Once it was glued on, I did some hefty belt sanding on the end to smooth everything and make it appear to be one solid piece of wood.

Rounding the edge with a router

I clamped a rail on the bottom so I could round over that edge as well, with the rounded edge fading out gradually.

Milling the joints
Milling the joints

Because the legs were both round and tapered, they needed a flat surface to attach the apron and shelf to. I built a jig for the router to mill a flat area perpendicular to the ground. The apron pieces could then be doweled securely to the legs.

Glue assembly
Glue assembly

Before gluing, I fit everything together dry to make sure my measurements were all correct. When you have round tapered legs, it is very easy to make a mistake between the length of the top apron pieces and the shelf apron pieces; everything needs to be exact to keep the whole piece square and sturdy. Once everything was fit properly, I disassembled it, added glue to all the joints, and clamped it all back together.

Preparing to stain
Preparing to stain

After one final sanding over the whole table, it was ready for staining. I used a tint from Minwax called “Gunstock.” I sealed it with a coat of amber shellac. When it dried, I rubbed it down with #000 steel wool, then added a second coat of amber shellac, which was also sanded with steel wool. The whole table was then wiped down with Pledge Furniture Polish. This not only removes the finest dust particles, but it imparts a thin layer of wax that helps give the surface a bit more shine.

With stain and shellac

The photo above shows off the sweet curves which the piece has.

Completed bar cart
Completed bar cart

When I shared images of the completed bar cart with Anya the designer, she realized she wanted brass leg caps added to the bottom. I wasn’t able to find an exact cap to fit the legs, so I coated them with a thin layer of epoxy and painted it with brass spray paint. It gave the same effect as brass caps, but with far less work.

Bar cart on stage
Bar cart on stage

The bar cart was the only piece of furniture on the whole stage, so the extra work to make it perfect was justified. It was a nice piece to build for my last show as the full-time props master at Triad Stage.

The Art of Papier Mache, 1899

Originally appeared in an 1899 issue of New York Times:

“Yes,” said the little man up town who makes theatrical “Props” and incidentally any number of “props” for other things, “there is nothing like papier maché. It is being used more and more all the time now and there are more and more things for which it can be used. It is the strongest material known for its weight. You see, for anything to use in the theatre you have to have something that is strong and that will stand traveling and being thrown around, and if it is big—columns in the scenery, for instance—it must not only be strong but light, so that it can be moved easily. It must be light anyway. Imagine a band of Amazons traveling around the country with suits of metal armor, or wearing it, either, for that matter. The Amazons would strike, the railroad companies would strike, and the theatrical company would go out of business. There is nothing you can’t make of papier maché, from an elephant to a vase. The greatest trouble is to get the models. Sometimes you send out and get small ones of plaster or marble, and at other times you will have to work from sketches and photographs and use your own ingenuity, working on a geometrical scale for enlargement. Continue reading The Art of Papier Mache, 1899

Umbrella Gun

The umbrella gun scene in Who’s Afraid of Virginia Woolf? is one of the most visually memorable in the play. George, tired of his wife Martha’s insults in front of their guests, exits offstage. He sneaks back wielding a shotgun aimed at her head. The guests see him and scream as he pulls the trigger. Instead of the loud report of a bullet, though, a brightly-colored umbrella emerges from the barrel. Hilarious, right?

The original production was written to use a trick umbrella they already had in stock, but every production since has given the props master a headache as they try to figure out the gag. I initially checked with other theaters who had done this show, but theirs had either broken or been disassembled. The rental options out there were either too expensive or looked unrealistic. I decided I needed to build my own.

Drawing the stock and fore-end

I needed a pretty thick barrel to fit an umbrella inside. It would look out-of-proportion if I just stuck it on a regular shotgun body. I scaled up the stock and fore-end to cut and shape out of oak.

Chainsaw disc shaping the wood

I bought a chainsaw grinding disc for this project because I had always wanted to try one. It was amazing; it acted like a wood eraser. I just pointed it to the wood I didn’t need and it made it disappear. I will never attempt wood carving without one of these again.

Scaling the receiver to match the stock

The receiver would need to hold all the parts of the shotgun together and hide all the mechanisms inside of it I cut out several pieces of flat steel stock to weld a hollow container.

Welding the receiver from steel

With just a welder, angle grinder, and belt sander, I was able to fabricate a decent looking receiver.

Spring mechanism for umbrella

I took an existing umbrella from stock which had its own spring mechanism to make it pop open. I cut off the handle but left the hollow shaft in place. I welded a steel rod to the shotgun that the umbrella could sleeve onto and travel back and forth. To minimize binding, I put a bit of UHMW rod on the end of the umbrella that was slightly smaller than the inner diameter of the copper tube I was using for the barrel. I used copper tube because it was the most rigid tube I could find with the thinnest walls.

Pieces of the trigger mechanism

I drew up a full scale trigger mechanism in cardstock to figure out what would fit within what I had built. It was just two pieces: a trigger that rotated on a pin, and a long lever with a latch on the end that held the umbrella against a spring until the trigger was pulled. I traced the pieces to steel and cut them out. I slipped a small piece of spring into the fore-end to return the trigger after it is pulled. I slid a long spring over the metal rod in the barrel to actually propel the umbrella after the trigger is pulled.

Finished trick shotgun

I painted the barrel to match the receiver and stained the wood pieces darker before sealing them. I coated all the static pieces of interior and exterior steel with shellac to prevent rust. Any pieces of steel which moved against another part was coated with dry lube. I built the gun for easy disassembly in case any future users needed to fix or replace a part.

Umbrella Gun

I have a video which shows all the parts as they are assembled. You can see the various inner mechanisms in more detail if you are interested in how it all works, and if you wanted to see it actually fire.