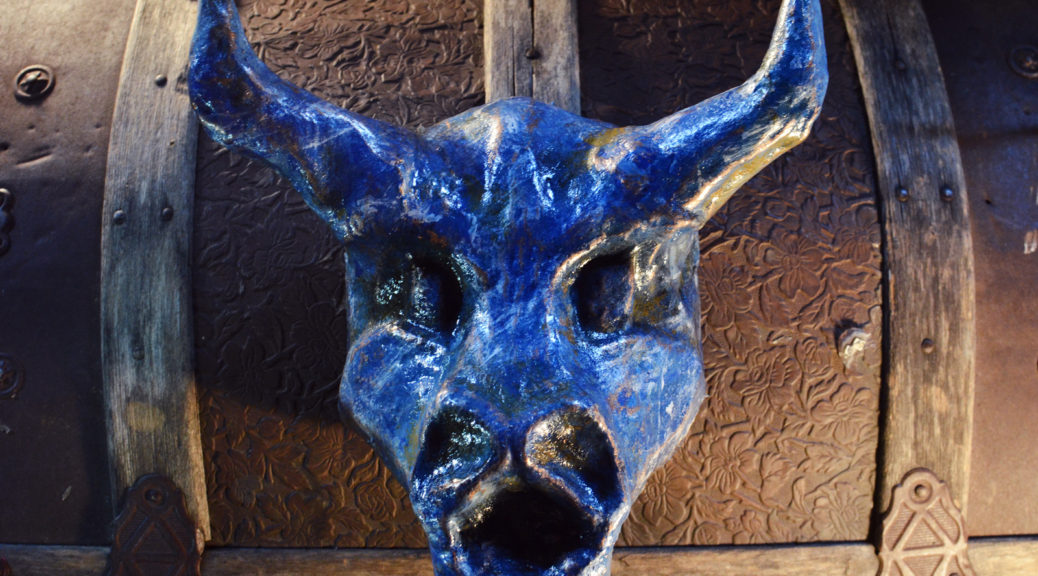
I have a second project from The Faery Tale Adventure which I recently finished. Like the Magic Seashell from a few weeks back, this was a project I used to get photographs and videos for various techniques covered in the second edition of The Prop Building Guidebook, which will be out in early 2017.
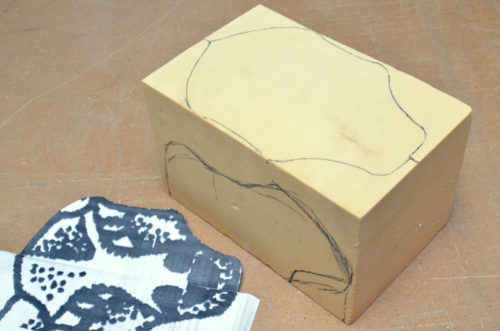
This was my first time carving into polyurethane foam, and the difference from polystyrene foam was remarkable. It does not have any of the sponginess of polystyrene. It cuts like butter but you can get really sharp, defined details.
Unfortunately, the dust may be reactive with your skin, so you need to wear gloves, sleeves, and a mask while working with it. The inertness of polystyrene dust has it beat there. But for a small piece like this, it was pretty fun.
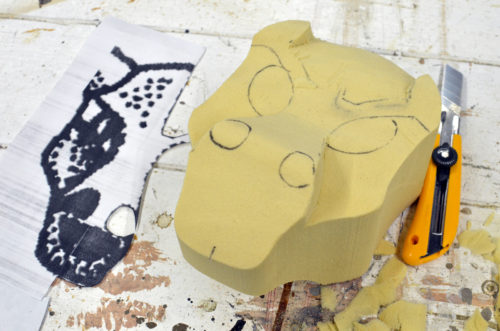
The video game graphics were not helpful; the actual Talisman is only seven by nine pixels big. But the manual has some artwork which I enlarged and used as a guide.
I have some more photos and information about carving polyurethane which will be in the second edition of my book.
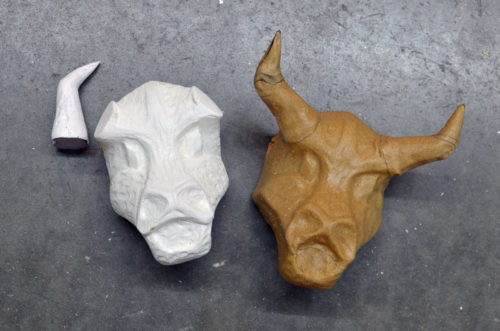
I tried out Worbla for the first time on this project. I have a video on Worbla coming out within the next few months, and the second edition will have a lot more information on it as well.
You can see in the photo above I coated the polyurethane with Flexcoat to give it more of a shell. I made the horns separate and attached them afterwards.
I’ve worked with Wonderflex before, so I noticed some differences between the two materials. First, Worbla smells like maple syrup when it’s heated. Really. Wonderflex seems to have much more of a transition between hard and soft. Worbla will become pliable very quickly with heat, then re-solidify quickly when cooled; Wonderflex becomes gradually more pliable as it is heated. That may be because the Worbla is thinner, or maybe because its formula is a bit different; I don’t know.
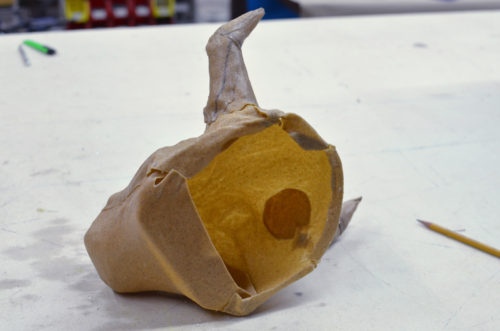
Like other thermoplastics, the benefit of Worbla is that you make a hollow shell of a prop rather than a solid chunk. My original plan was to fill the void with lights so the Talisman could glow, but I ended up putting so much paint on the outside that it became opaque.
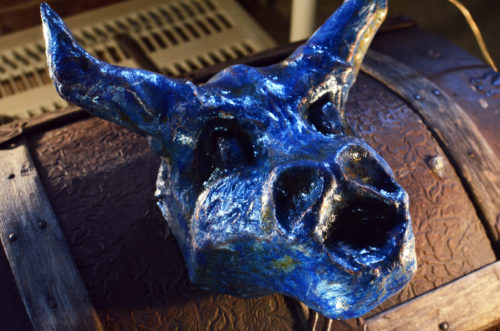
For my first attempt at paint, I tried hydro-dipping. That did not work. So I covered that over with a traditional marbleing technique, which will also be in the book and in a future video.
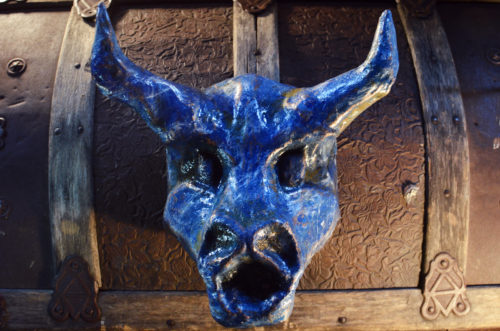
I finished it off with a black wash for ageing and some copper metallic acrylic for highlighting, followed by a spray gloss clearcoat.
And now I have a Talisman that can keep my humble props shop safe from evil spirits and undead creatures.

