I really like this illustrated chart of hand tools over at Popular Mechanics. The chart itself is good-looking enough to hang up in your shop, while the tools pictured on it give you a great idea of what your shop is missing.
If you ever wanted to take the time to make chain mail by hand (as opposed to just spray-painting some crocheted yarn), Make Projects has a great tutorial on just that.
It is Thanksgiving tomorrow for those of us in the US. It is a time to reflect on the things we are thankful for, and I thought I would make a list of ten things that prop masters are thankful for (plus one bonus thing). What would you add to the list?
A props list that fits on one page.
Being able to return an item with an open package.
Finding the perfect prop on eBay… and it has a “Buy it Now” option.
Interns who understand the difference between craft and fabric scissors.
When the designer says “I have the perfect one at home, I’ll just bring it in.”
A publicity photographer who actually includes some of the props in the photos.
Finding out the Meet and Greet for the next show has real food provided rather than just light snacks.
When the designer chooses the fabric to reupholster the couch and it’s the cheapest option you presented.
A cast with no food allergies.
When that challenging prop you don’t even want to think about gets cut before you even thought about it.
And of course, the thing we can all be thankful for this holiday season:
Not having to shop on Black Friday because you can just buy The Prop Building Guidebook for everyone this Christmas.
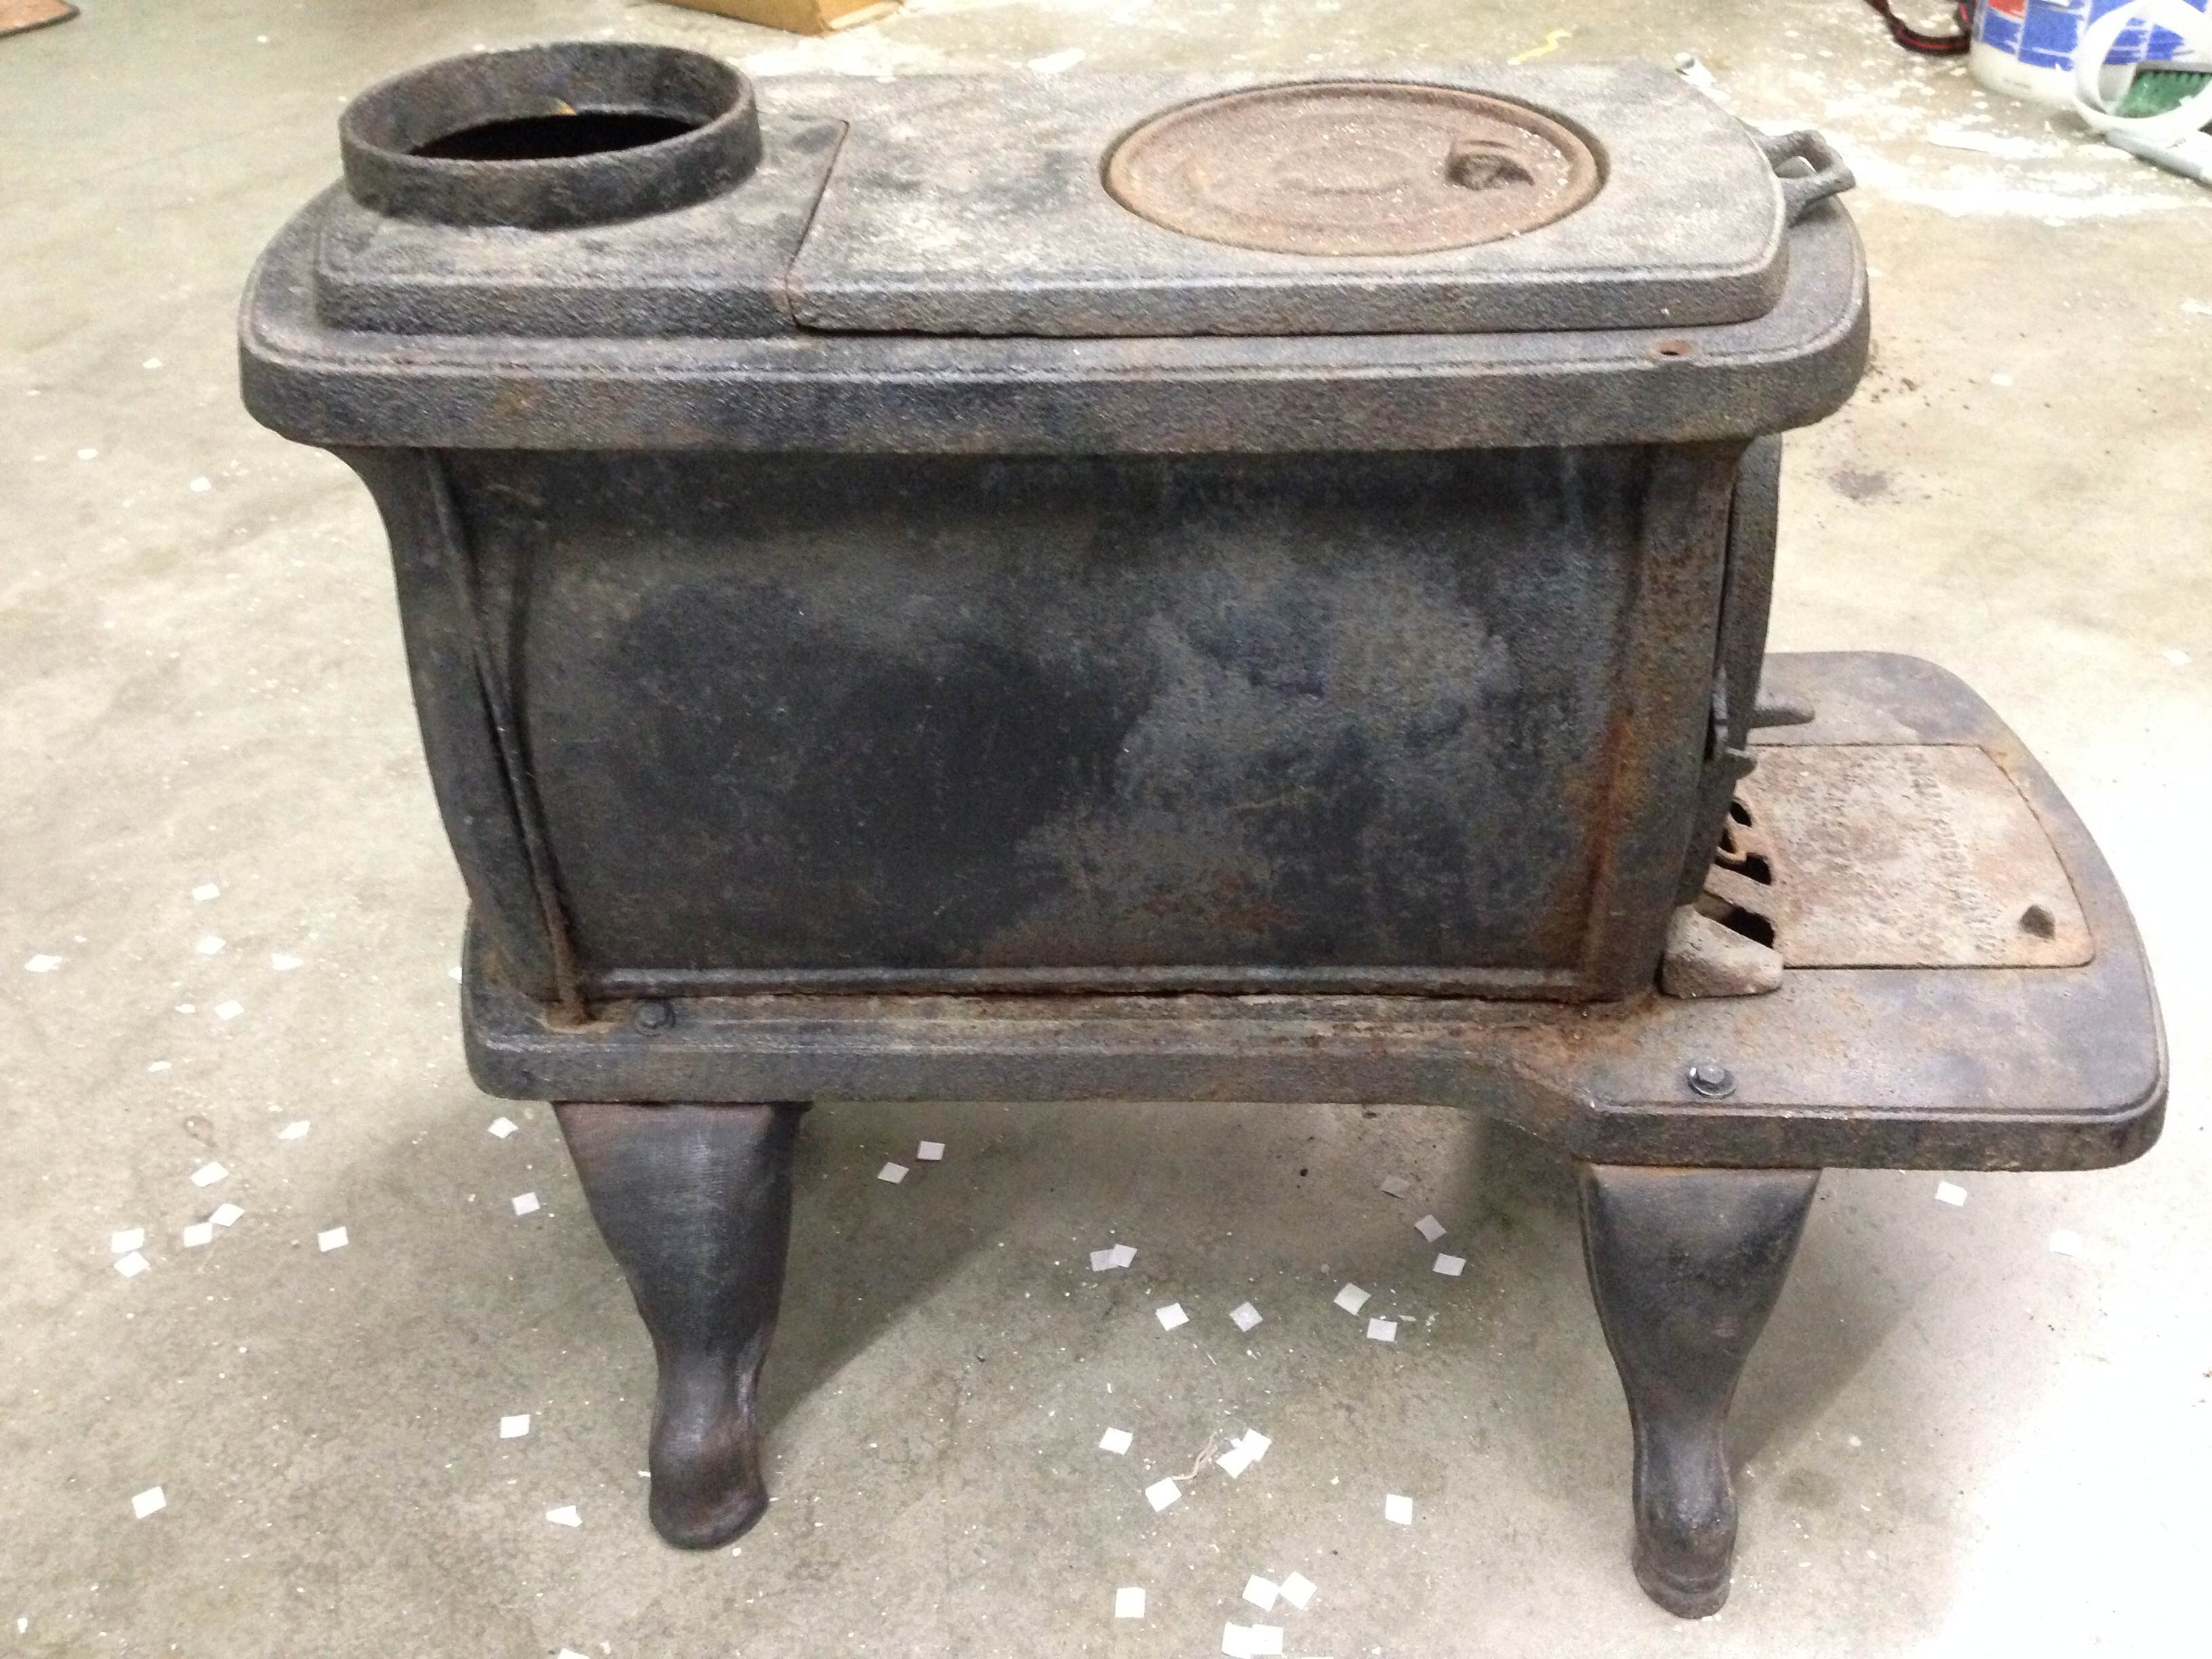
For our upcoming production of Snow Queen at Triad Stage, I am building some super-awesome puppet animals. But you won’t see those until December. Instead, I will show you a stove leg I had to replace. See, the show needs a wood-burning stove, and we had a great one in stock, but one of the legs was broke and another was missing. I could have molded and cast some new ones, or sculpted a new one out of wood, but I needed a ten-minute solution that did not cost anything.
Luckily for me, I had ordered several sheets of Wonderflex for the aforementioned puppets. I figured I could just use a few of the scraps to make myself some new legs.
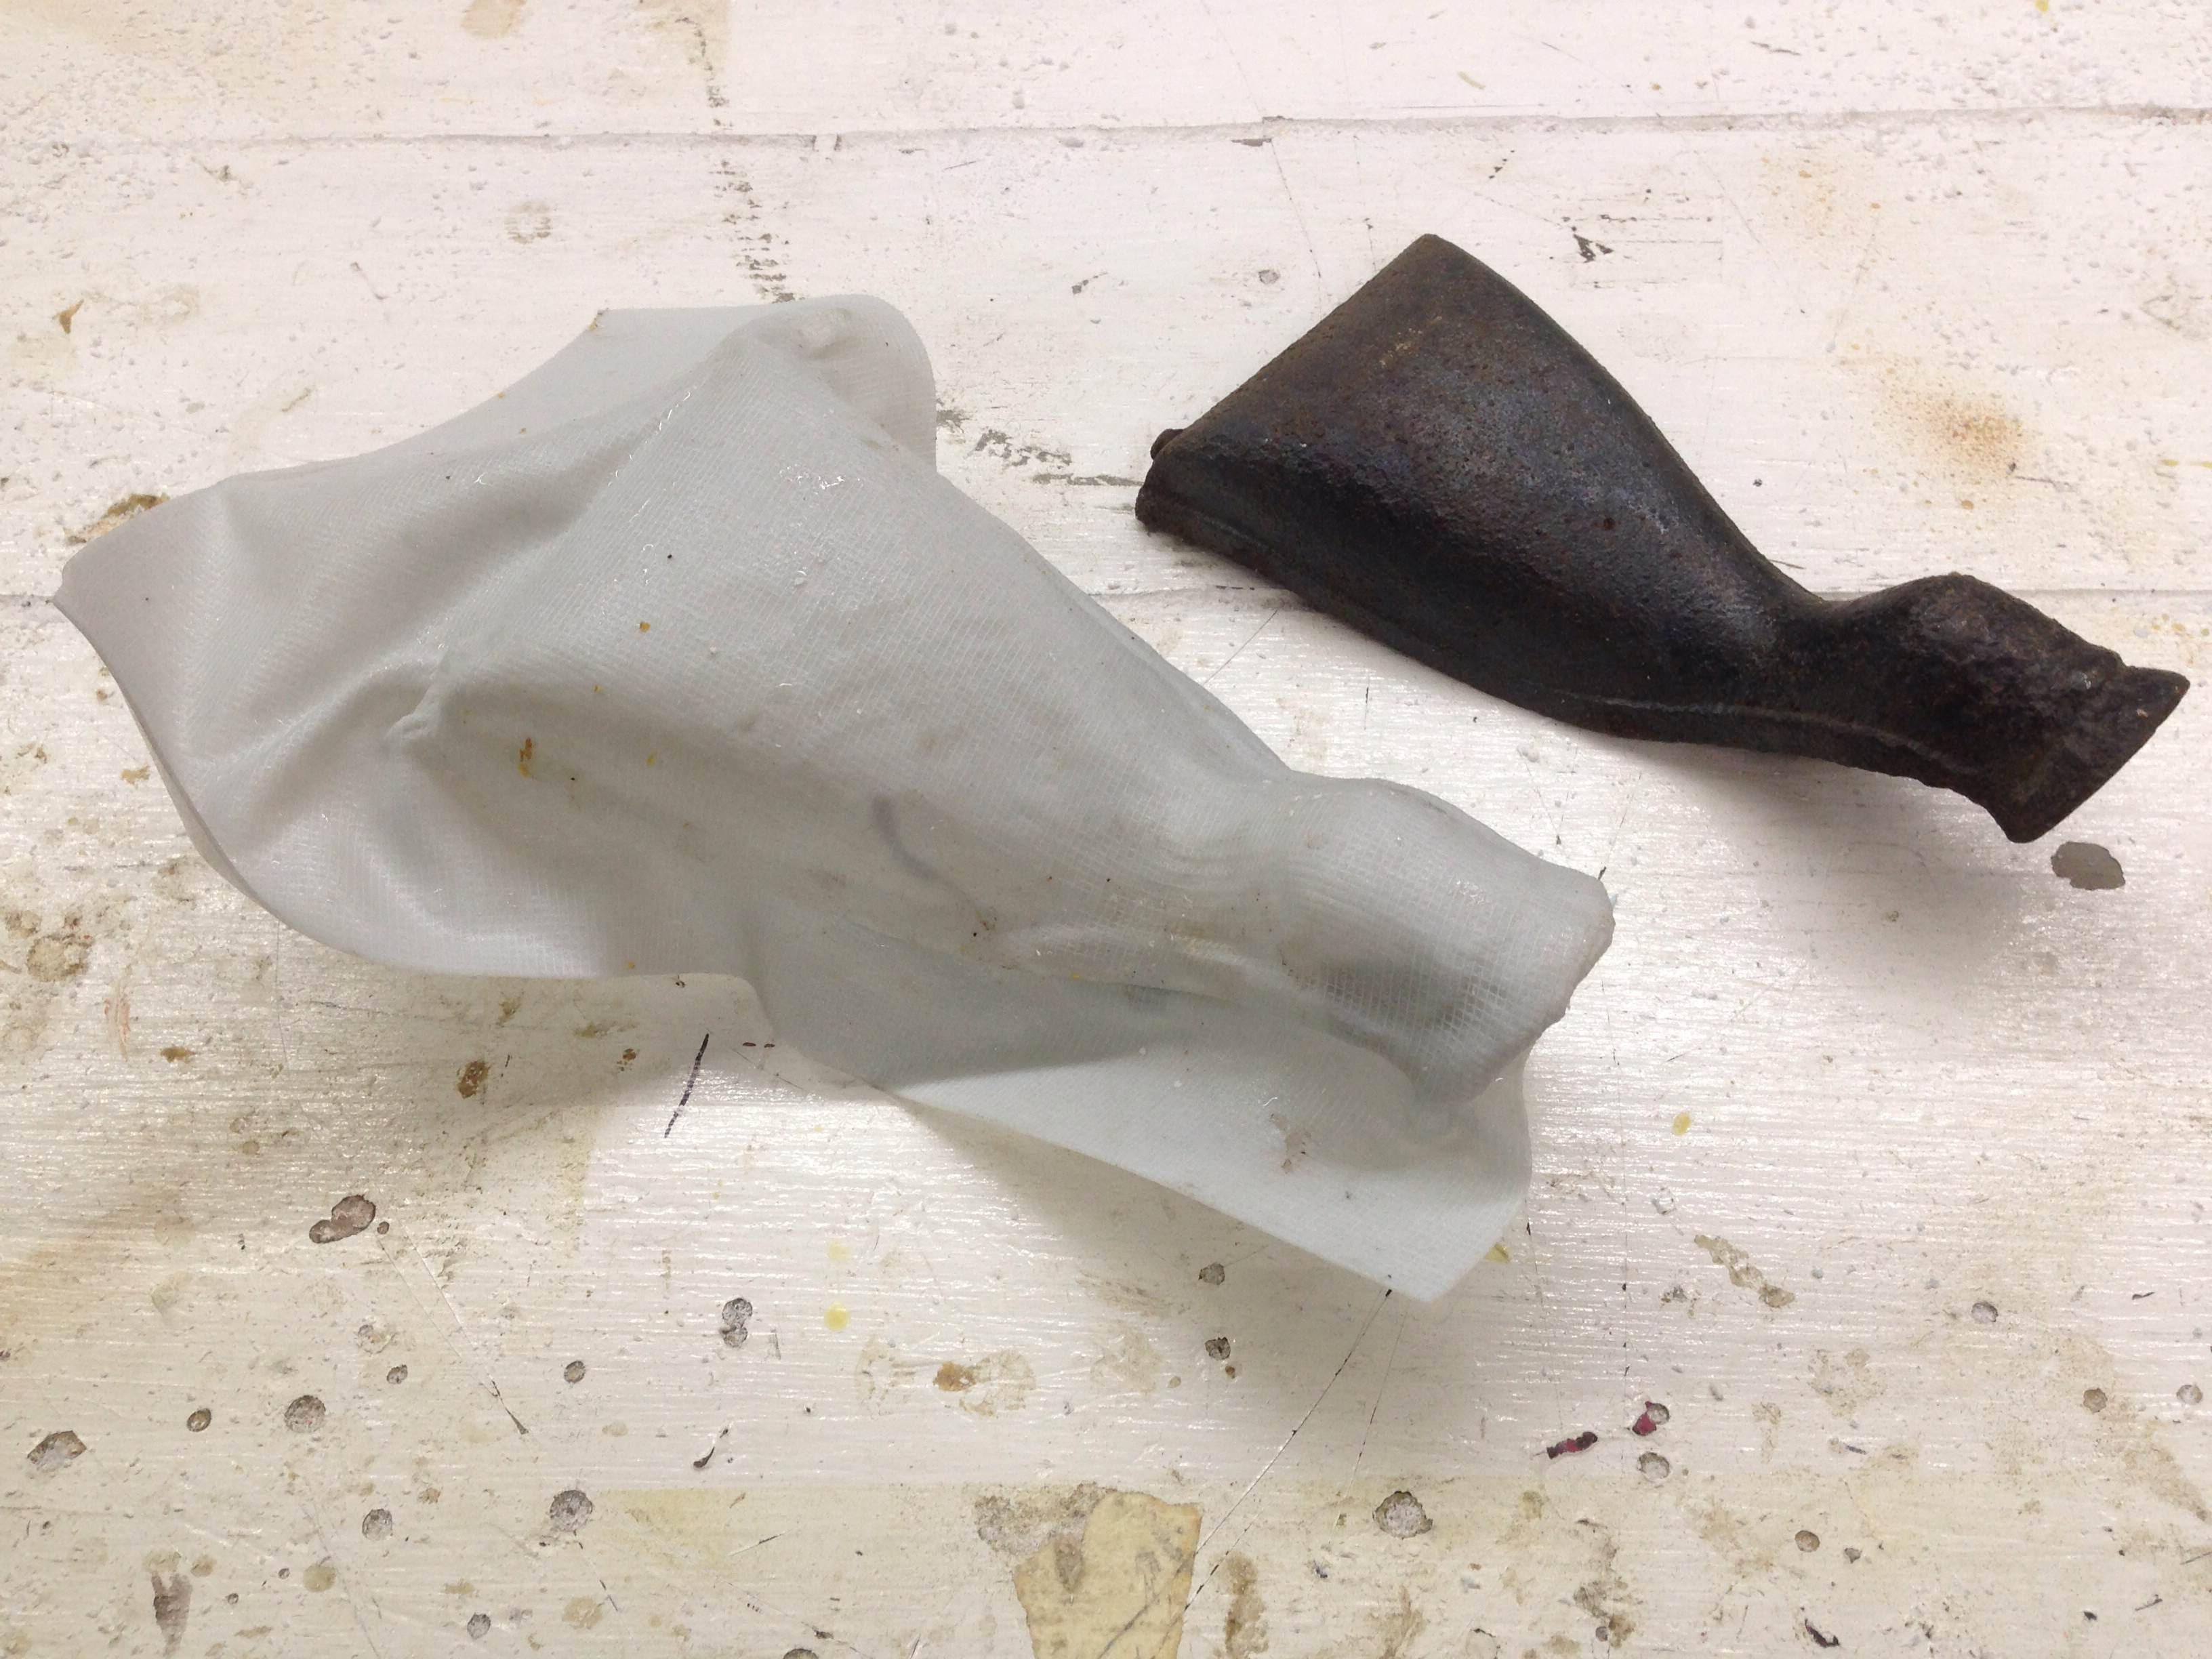
Wonderflex leg
Wonderflex gets sticky when hot, and I did not want it sticking to the leg, so I wrapped the leg in aluminum foil (not pictured here). Next, I heated the Wonderflex and essentially draped it over one of the legs. I worked it tight against the surface using my hands, and really dug in along the sides to pick up the raised-edge detail in the original. I wrapped the remainder around the back. Once it had cooled a bit, I carefully pried it apart and pulled the original leg out, than let the Wonderflex finish cooling until it was hard again. I was able to peel most of the aluminum foil off the back of the Wonderflex (the back had picked up the texture of the foil, but it did not show through on the front).
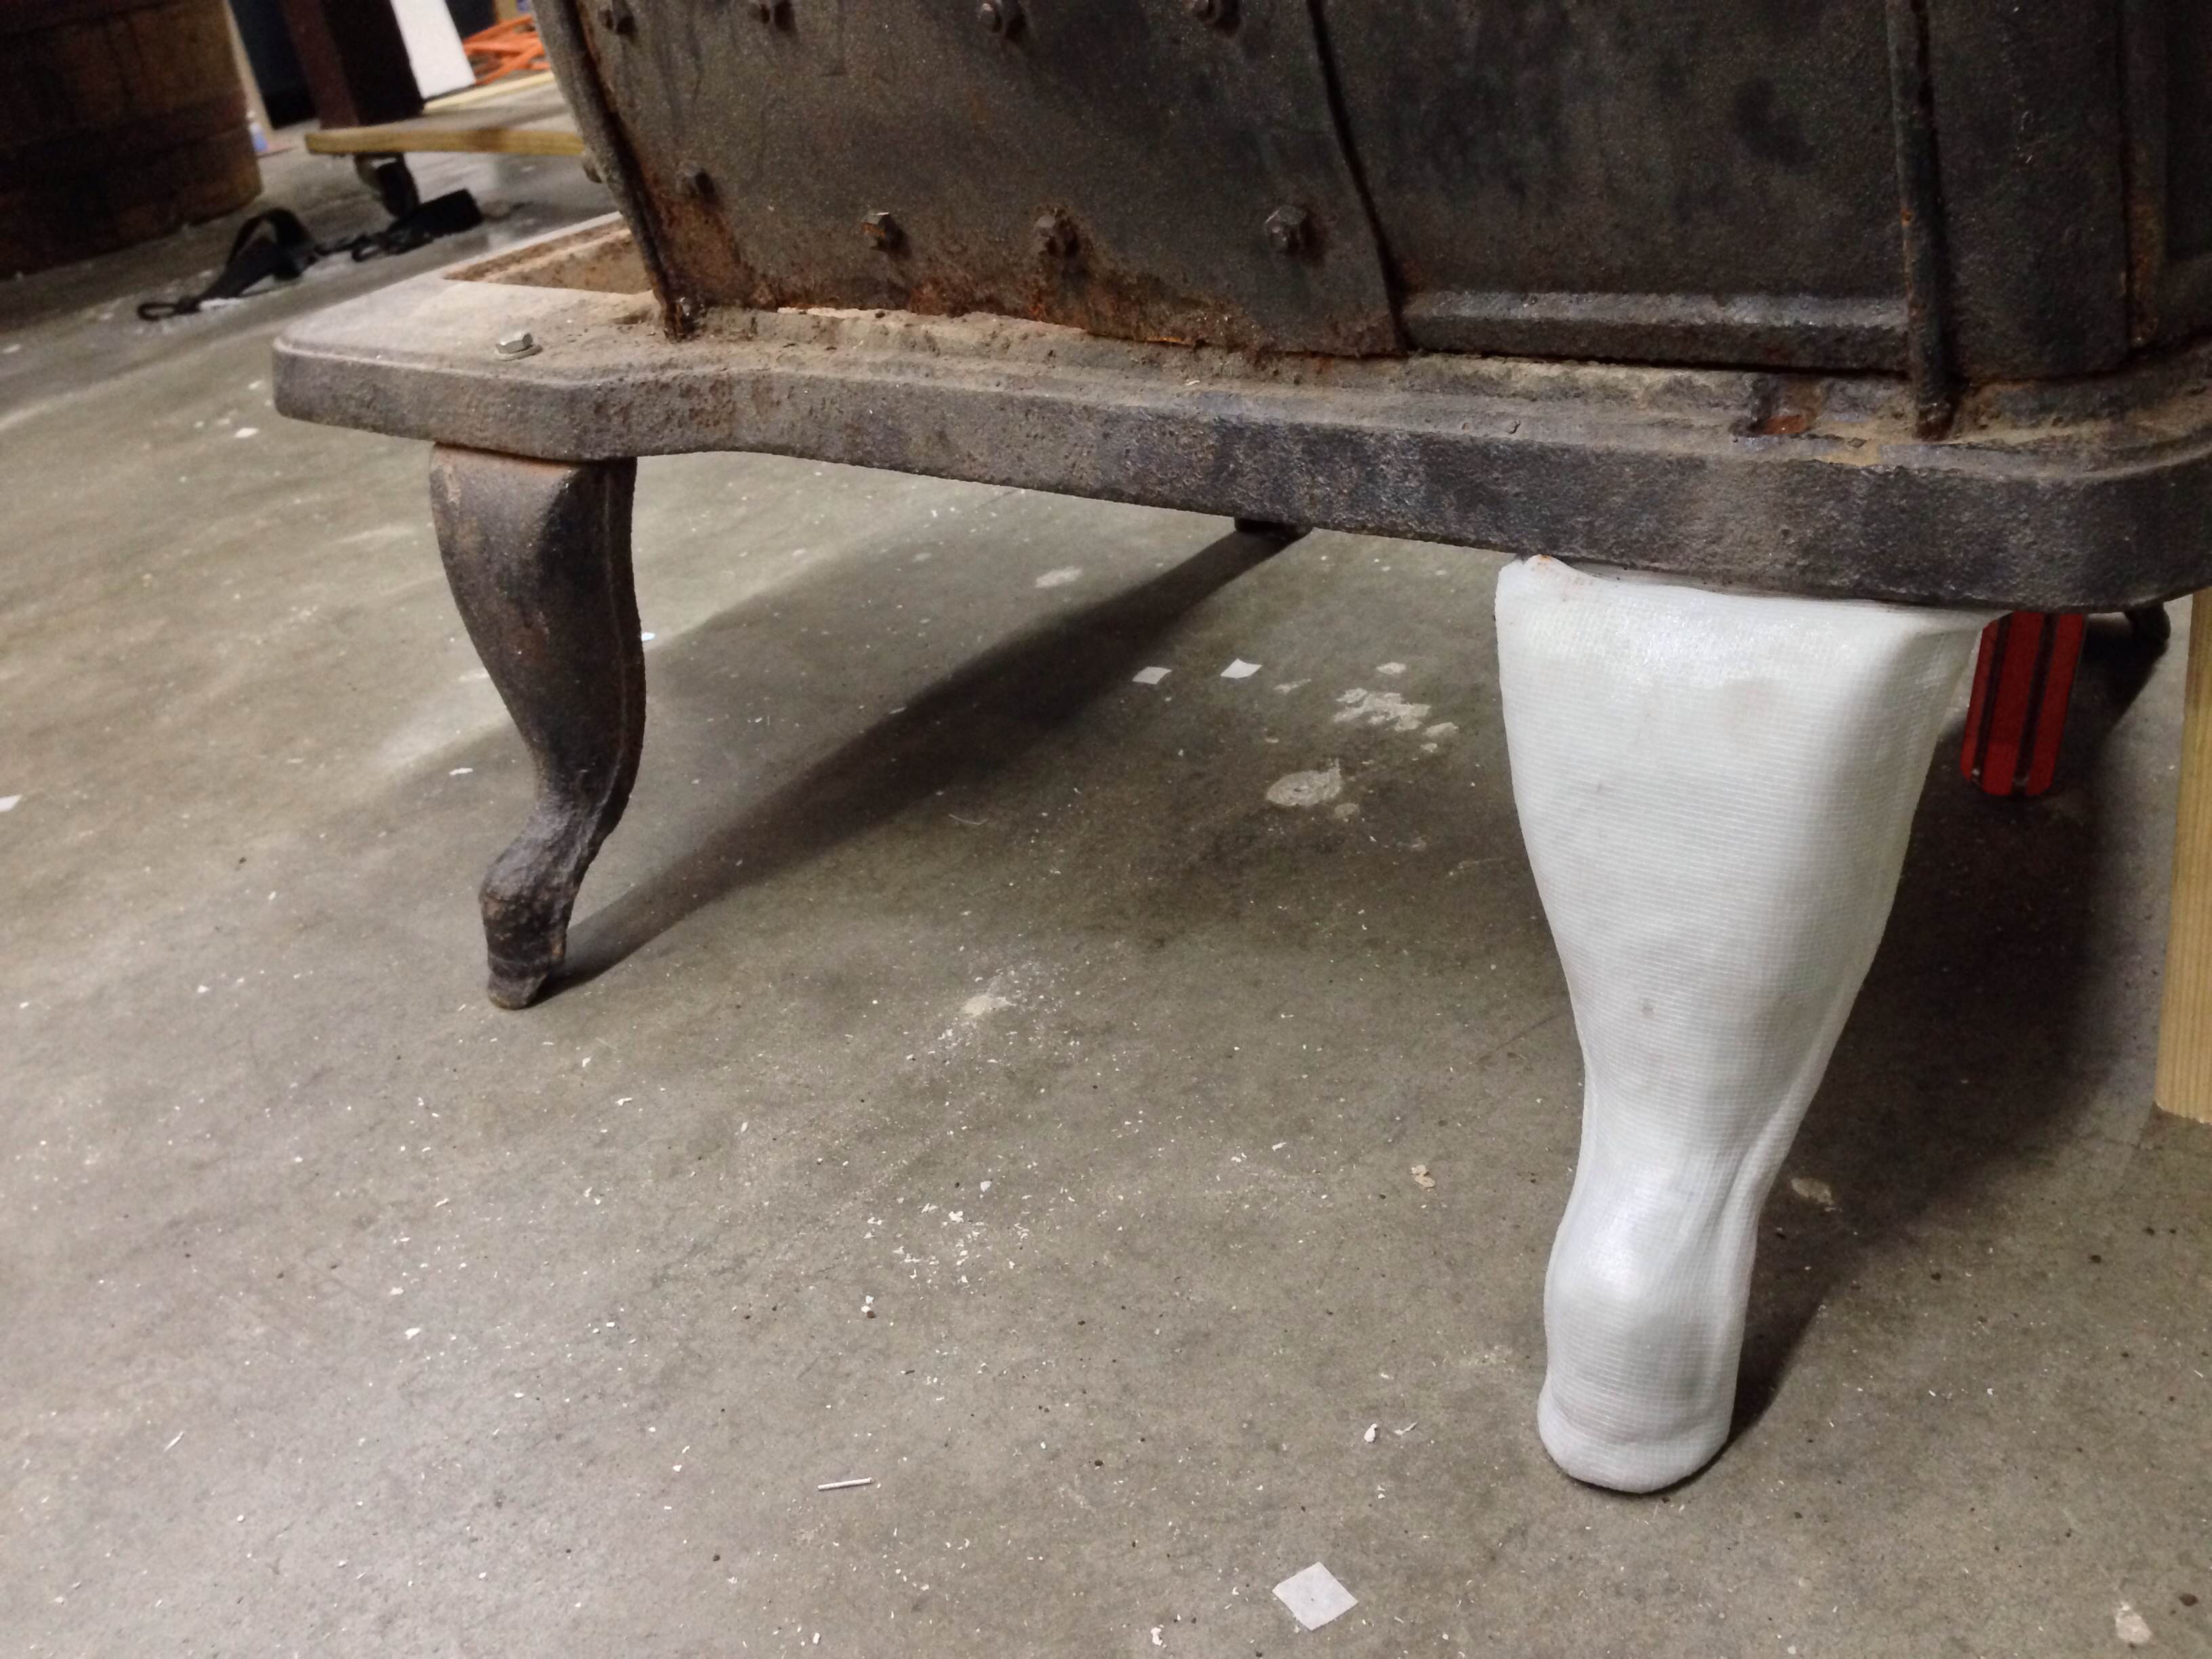
Trimmed and attached
I trimmed the excess material around the edges, leaving some extra on the top. I placed the leg in place and heated up this extra top material and shaped it to fit the underside of the stove. Once cool, I added a bolt to hold it in place.
Painted
Finally, I painted it. I started with a flat black spray paint, then dry-brushed some rust color and some grey. You can barely tell which leg is real and which is fake in the photograph above. Plus, the whole process was less than ten minutes of total work time, in between other tasks on the show. The end with the fake legs does have a block of wood underneath to hold it up; the Wonderflex is nowhere near sturdy enough to support a cast-iron stove on its own.
The Guildhall School of Music & Drama has a great-looking blog going for their technical theatre departments. This post has a lot of photographs of their work in progress for their current round of shows, but check out the whole thing for some inspiration.
The production designer for BBC’s What Remains has a behind-the-scenes look at the design, construction and dressing of many of the sets. It is a bit more focused on the scenery rather than the props, but it has a ton of photographs; I mean, if you printed out all the photos, they would actually weigh one ton. She gives a look at not just the construction and final product, but also the design inspiration that went into it.
An interesting story has come out of the filming for the new Star Wars film. The producers have reached out to the R2-D2 fan building community, and are using a fan-built R2-D2 in the film. Why have your prop shop build a new one when you have fans who have already constructed several?
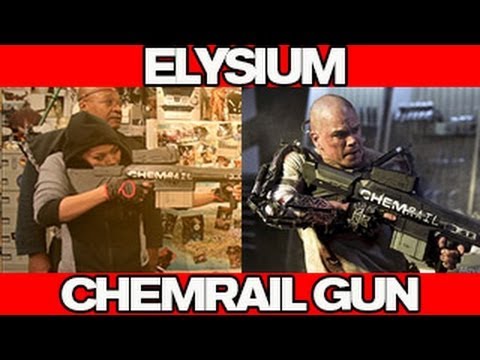
“Kill Phil” continues to be an interesting and informative little series over on the YouTube. The premise is simple; take a well-known prop maker and give them 3 days to recreate a prop from a film. In one of the latest episodes, they turn to Dragon Dronet of Renegade Effects, one of the top prop makers of Star Trek: The Next Generation and other sci-fi shows and movies from the 1990s onward. They task him with recreating Matt Damon’s gun from the film Elysium, which hadn’t come out yet when this was filmed.
He slams together this prop by hacking apart several toy guns and a vacuum cleaner, than refining all the details with pieces of styrene, jelutong wood and Bondo. It is also interesting to see that he works with little more than a band saw, belt and disc sander, Dremel and a drill gun.
On an unfortunate note, he does all this without any protective gear. You see him using Bondo and Zip Kicker without a respirator, sanding and cutting without a dust mask, and applying Bondo without gloves (even using his hands to smear it on!). With that in mind, watch the video for the techniques, but don’t forget about the safety.
Making and finding props for theatre, film, and hobbies